entity
-
Posts
895 -
Joined
-
Last visited
Content Type
Profiles
Forums
Events
Everything posted by entity
-
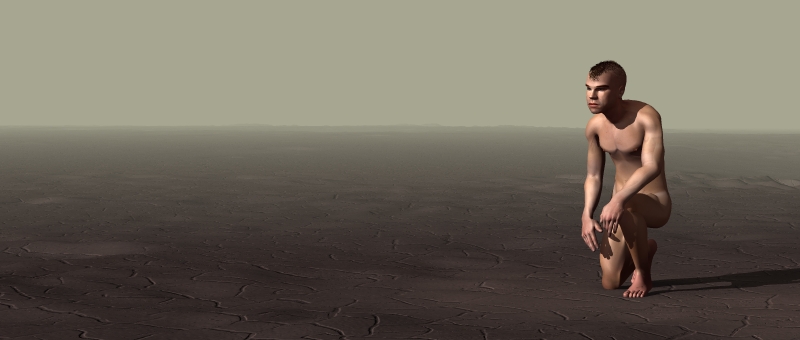
This version I changed a few things... trying to SEE the differences. I think the Brownish sky gives you the feeling it's about to rain or storm and you get the feeling there is a heavy overcast... going back to what John Keates (Thanks for the additional info) was explaining. Which is the way I saw it in my dream.-- Yes the set is from a dream I had years ago and the colors are the same in my dream-- yes sometimes I think I'm dreaming in color. Actually, inside the little movie trailer I made (Glatiators' World -on A:M films), I drew this whole story and the places I saw from when I was having some really inspiring dreams. The scene with the ship diving with fire and smoke billowing out was actually very close to how I saw it in my dream. (Robcat- I used to live in the high desert-- Bartow... then moved to Victorville. I went to L.A. a few times during that time in my life... years ago- 1990-1997.)

-
I'm sorry Yves, I get soooo caught up in it sometimes I don't notice these things... I'm just glad that someone is here to point out what is "missing" or what I haven't shown... I have to remember that - if I want people to appreciate the work I've done there are certain points of view I have not thought of... You always bring a deep insight with your critiques and it is appreciated, but sometimes you can be "cryptic" and you should understand I don't have the ability at this time to reach where you are now... I'm way behind you, artisticly speaking. So I'm glad that you submitt your imput to me... it means I must be headed in the right direction.
-
Have you ever been to L.A. on a HOT day... It almost does look like that sky...
-
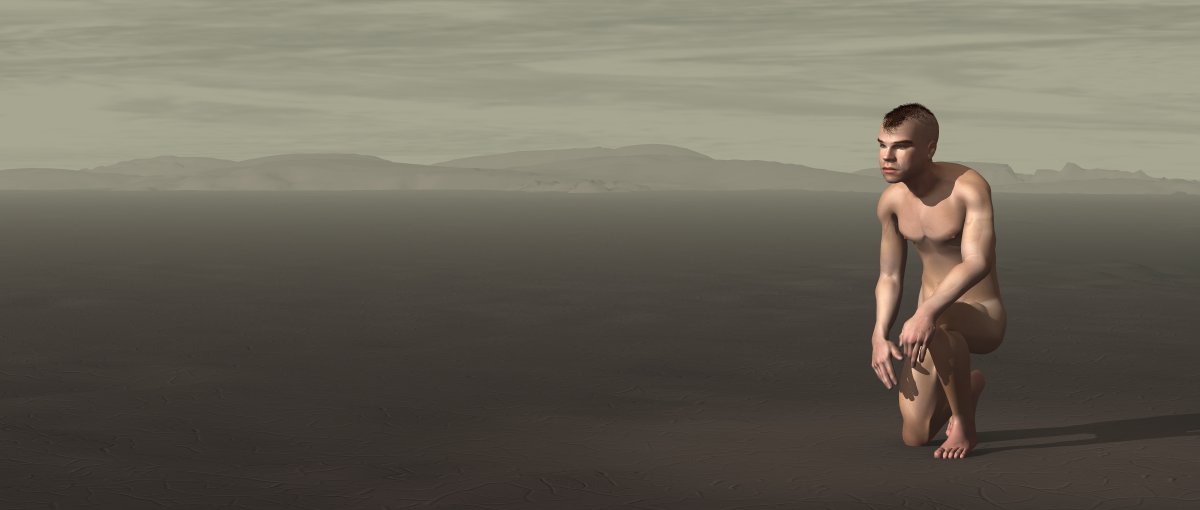
After "flying off the handle" I reread your post... so it is possible this planet could have heavier particles in the atmosphere with the moisture in the air could produce a different hue for aerial perspective? I chose to make it that dull yellow--- maybe the violet is being dispersed?
-
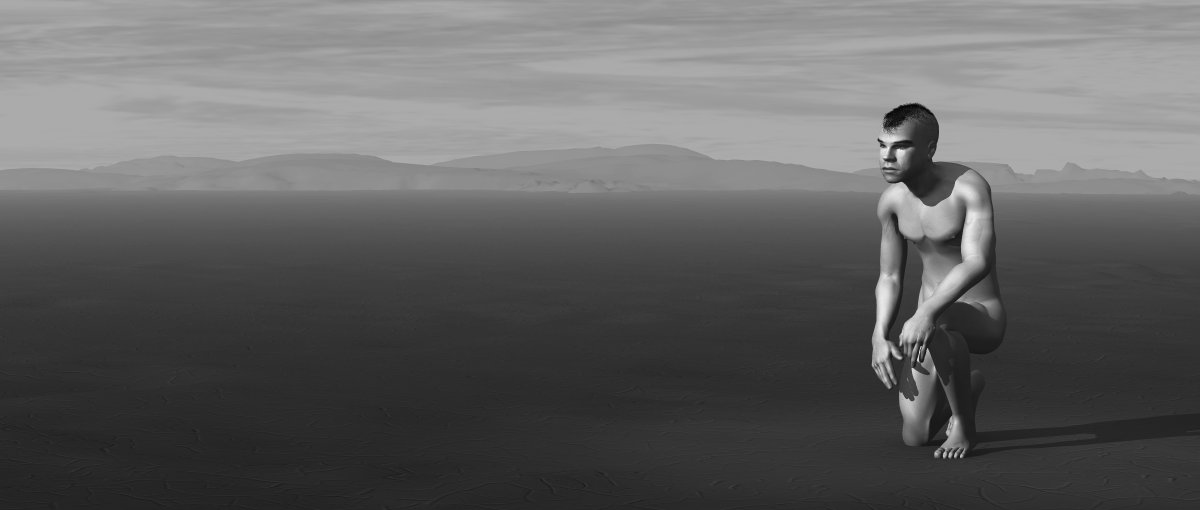
Okay Yves, For the sake of ART... lets not get so... TECHNICAL. This is a surreal scene. I edged the gray sky to very dull yellow/ green and the grounds color is a dull dark redish color to tie in the flesh color to the ground and seperate the sky and atmousphere from the ground. I wanted to make the background colors dull so the character "pops" forward a little... evrything I did is based on color/tones ... if the sky coloring is all wrong-
-
Mountains are made with the grid wizard and magnet mode... you create your grid and then look at the grid from a high angle and just pick cp's adjust your magnet size to make different sizes as you go and pull them up. I also have a displacement map on them using a terrain elevation map for small bumps and craters and a bump map of a cracked earth tiled on it. For some reason I can't get the displacement map to work all the time when I render. So I may have to use terrain wizard to create the surface. It may be a bug... so I'll have to try and see if I can generate a report for Hash... It has to do with combining several of these maps on one suface so large and patch heavy... investigation is needed and it could just be a memory thing but I'm going to pursue this further. Thanks all of you for your very positive feedback. About putting it on the cd... the image maps are very large and detailed. I don't think it would be economical abroad for people to use render-wise either. But I could make a low rez version complete with camera settings-- without the character. Is that feesable?
-
Another render WITH clouds sphere... I changed the fog settings to begin before the man and end after the clouds sphere. I also lightened the color of the fog... I think I should make the fog a little more darker.
-
Great! I like so far... and I guess Haikalle is trying to say that he will change proportion later... he's concentrating on fleshing (excuse the pun) it out first and that's the way he works... hope he doesn't run in to problems later because of that...
-
Also, you could have Penumbra on--- I don't think you need that.
-
You seem to be using the default values??? click the little triangle thing next to Volumetric and you will see Quality-Brightness-Contrast settings: you can adjust the brightness of the effect by lowering that number... and you can increase the quality of the "light casting edges" by increasing the Quality... Contrast gives you a more defined "light"edge. Personally, I like to use the Z-buffered shadows for this because they are faster and not as hard edged as the raytraced. And you could change the Map resolution under Cast Shadows to a higher setting. What do you want the lights to look like? The ones you have there look pretty good to me.
-
Here is the back view... now back to work. FinalC_back.mov
-
Thanks guys, for the replies... it's nice to recieve that. Yves, still working on the cloud sphere... this is an alien planet so the atmosphere has somewhat a different look to show that. I call the planet Twil-- I will explain by saying look at the Gladiators' World trailer I made on A:M films and you will see a ship on fire streeking past the camera... notice the background... that's what the sky will look like when I'm done... The reason is because I lost the actual transparency map I had for that, so I'm still going to use the same effect with a different map... not done painting it yet, but I will show when done. I did some cloth tests: You will notice that I used "suspension cp's" (Suspension cp's are explained in great detail by Carl Albrecht-Buehler on the siggraph 2003 cds and his site "HERE") to control the cloth, but allow it to react to the environment. I still had some of the underlying mesh penetrate the cloth during the simulation in the wireframe render... You can simply HIDE that part of the mesh when you render it out ( If it's supposed to be under the cloth completly) and that solves it in cases where the cloth isn't penetrated too much. I hid the penetrations for the final render pass. Below is the front view FinalC_front.mov
-
In that position, I had to bend him till the constraints stopped me... His stomach was out (according to IK it was the best solution) but I pushed the pelvis to point back a litttle... you have good eyes Vern! But if I didn't tilt the pelis back a little, the legs would be in the ground... I guess I could have relaxed the constraints a little on the legs so he could bend farther. Well, that's the reason I'm still building him. I keep finding things that need fixin! The clothes will come very, very soon. I haven't made up my mind on whether I should use cloth simulation or make more rig bones for his clothes... I may go for modeling clothes and rigging the clothing so it reacts to his moves (usualy looks stiff and unconvincing). Recently, I tried simulating cloth but I can't seem to get the shirt to work properly (I built the mesh's sleeves first, then modeled the torso part from bottom to top. I think I remember something about having to build for cloth in a particular way---that may be the wrong way!)... the pants performed perfectly. And, honestly, I don't know if I want to have to sit through so many simulations each time I get an action done, but this character demands that realism... so what do you think?
-
Ken, MOUNTAINS... geometry with displacement... Brian Prince would be proud of me! The render to 30 mins and 24 sec. with just A:M running (image size=1200x510).
-
Documented????? Where?? hahahahah.
-
Oh Ken, Those aren't flipped... they render fine in final render... I think it's my card... time for an update? Could be.
-
The ground is a tiled bumpmap of cracked ground just repeated it 100x100 @ 300% (bump) and the lumpy ground is displacement using one of those Mars elevation maps. The geometry of the ground is huge! 1000x1000 grid made with the grid wizard. Takes me about 2 minutes to load that model the first time, but it renders pretty quick... 800x340 about 20 min. I think it was... I did so many tests to optimize it I forgot how long it took on the render... I just rendered another one exactly the same but at 1200x510; it took about 48 mins to render... but I was bouncing online from site to site so it probably could render faster than that time.
-
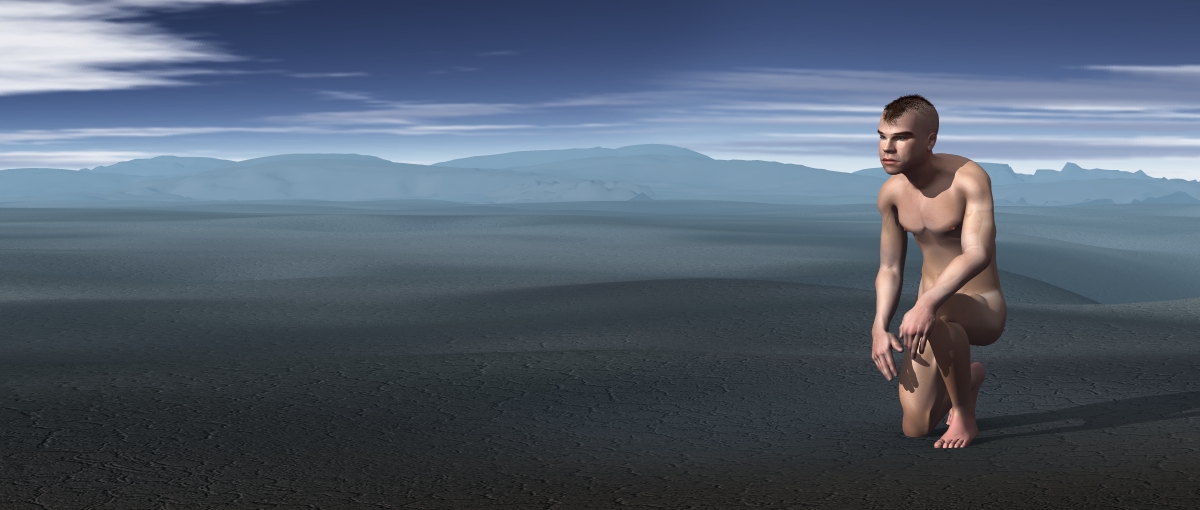
I been working a little on scenery... It will be a set and I just wanted to see what a figure looks like in the set... used a large sun and a skycast light for the model using the sky color... I know he's nude! I'm working on the clothing. *Edit- Opps!! I posted the TGA file by mistake... sorry... I'll upload the jpg.
-
That looks GREAT!! And the hands look fine to me from what I can see... glad your up and running... are you having to overcome that obstacle with the saving files?
-
it's a little lacking in clearity... the stop and look part is to fast... I don't get a chance to see their expressions or faces very clearly. The idea and characters are beautifuly done and the lighting is good... why not give them some motions that warrent their characters... I understand the dynamix stuff isn't working properly.
-
You are an inspiration... and you draw so well! You are certainly meeting your challenge! I've redesigned a few characters clothes... no sweat at this stage I am at though. Fay, I don't think will have the same look as the mother in any way... one is ethereal tones... the other based on human tones.
-
John!!! Okay, I get the messege! I like to do things that look realistic, but I still find your way of modeling of help to me also... "getting a lot done very quickly", I seem to be quite a "sloth", lately. Your voice is very calm... how do you say all of that without stuttering or gaps in memory?
-

Flogtales: Characters, progress and bios!!!
entity replied to Flog's topic in Work In Progress / Sweatbox
Rigged?? -
Can't wait to see all of your models in action... how's the rigging going?
-
That is excellent John... and rendered with a Skycast light rig, no less!!! Can't wait to see the tut.