DanCBradbury
-
Posts
683 -
Joined
-
Last visited
Content Type
Profiles
Forums
Events
Everything posted by DanCBradbury
-
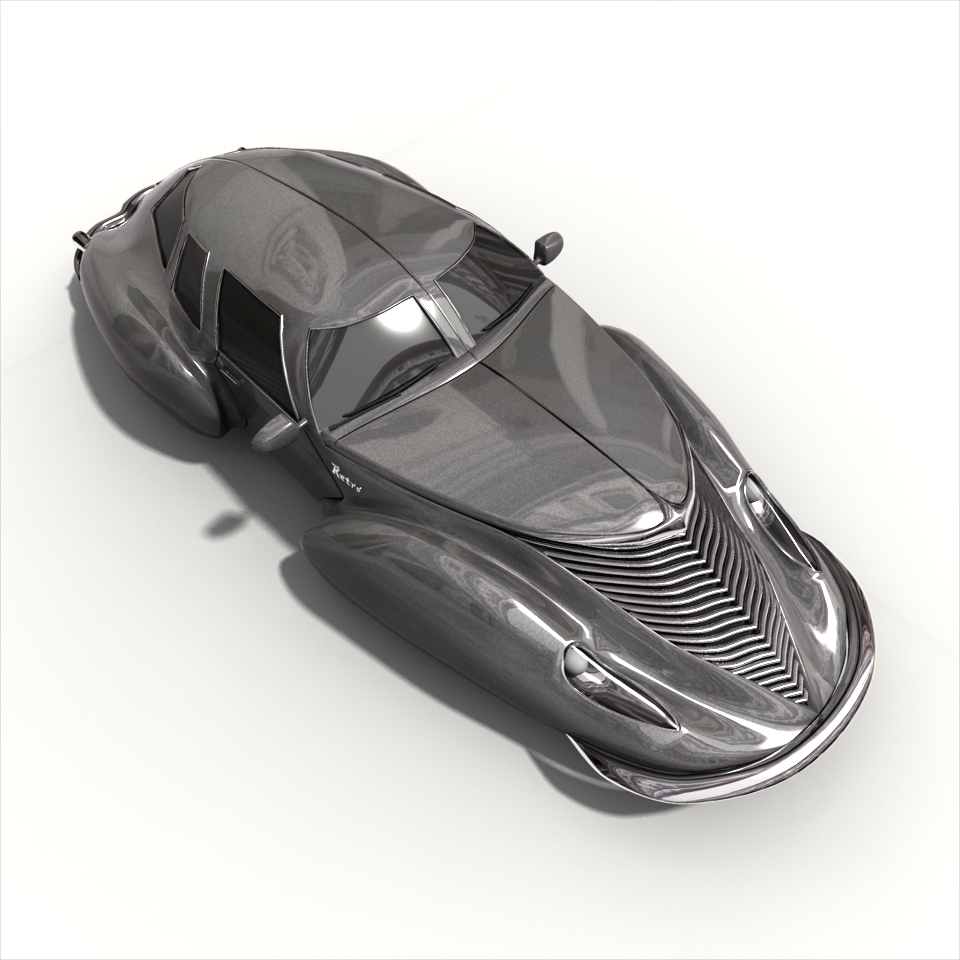
Thanks Dahr, but you must give great credit to Yves and Collin. Without them, I would have never had hdri in A:M and no understanding of how env maps acutally work. Nope, there's no specularity at all. Specularity is just a cheap trick, though effective, to try and replicate reflectivity in a very fast way. So if you have advanced reflective cabablity like hdr, then specularity just gets in the way of a better, realer look. So basically, there is no specularity in the real world, it is all reflection. Thanks guys. The zip file is ready, but i cannot fit the vital 8.6 mb .exr file onto the download section here, but it is up for download here. Enjoy @Yves: is there any reason that the bright pixelated regions, like those on the window trim and grill, do not smooth out, even at 256 passes? Should I file an error report? carpaint.zip
-
yeah it's a progressive render. And did you mean to say it was too reflective? The Uffizi env is not very balanced. I had to raise the exposure way up so you could see the buildings. So i'll probably have to find a better, more balanced hdri env sphere. Do you know of any other ones Yves? Also, Collin's paint material no longer resembles its original self. I've changed it so much, the only thing that is original is the fact that i'm using a cell turb. The best part of my paint material is that there is no more specularity elements at all Just let me know when you want the materials.

-
Here's the latest render with an .exr environment map. I corrected collin's cell turb metal fleck paint material so that there was an actual environment for the reflectivity, reflective filter, and reflective blend values to reflect.
-
hmm... ic you are taking over my tread now... it's coming along nicely eric.
-
great character. But for such a big mean and scary creature, he's got such a tiny tail lol
-
awesome render. How did you apply a displacement to a sphere? is it a projection map? Anyway, there's one problem i see with your render. Your mountains are a tad bit too high, about 60 miles to high. The highest peak on mars is about 27 km high, and your highest peak there is about 126 km high. So by decrasing the displacement map percentage by a factor of 0.2 your peaks should be much more acurate. In either case, that's one damn fine render you got there
-
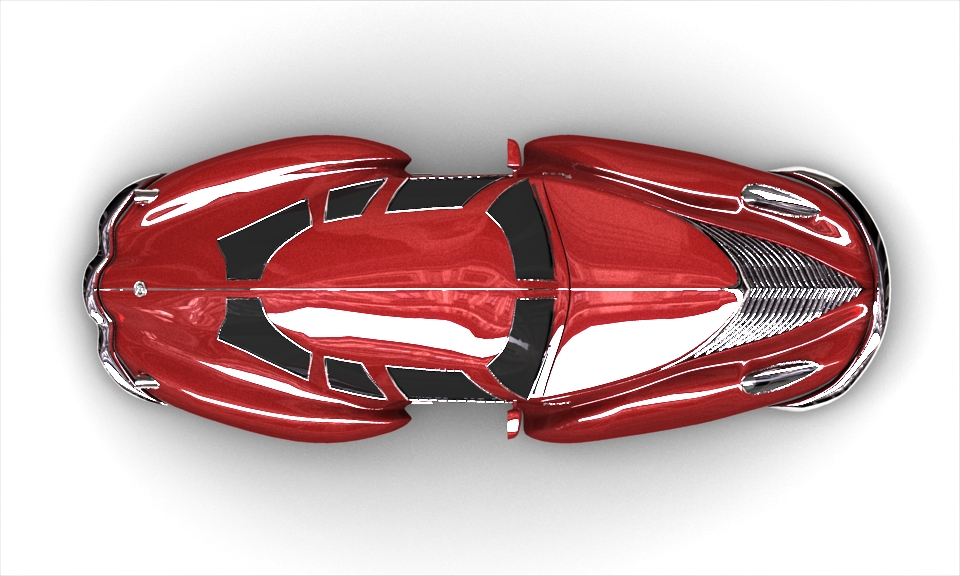
Thanks Eric. When you get ready for the paint just let me know. I'll send over all the stuff you'll need. It's crazy how much you have to do for this all to work. I will have a render up by tomarrow of the top view.
-

had to play with the alpha new displacement
DanCBradbury replied to johnl3d's topic in Work In Progress / Sweatbox
Absolutely amazing John! We need more people like you to show off the capabilities of martin hash's genius. your render reminds me of those pesky white blood cells. -
I dont get it? the cannon ball is a sprite emitter? How did you get a sprite to shade like a sphere?
-
Awesome effect. How exactly are you doing it?
-
This HDRI environment maps are awesome! I'll have to post some new images when i get it all set up to look good. One thing though, is there anyway to control the exposure level in the renders?
-
pretty cool... but i dont know if i can do that with my car
-
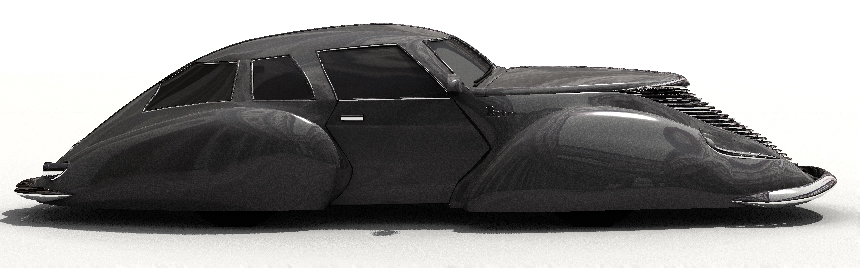
OH! yes that's uffizi. I was just wondering what you were talking about with the OpenEXR stuff. It was the only 360x360 environment my car actually looked like it could be in. A woodland forest and a church are not common place for a car. lol About the reflectivity cap. In the HDRI topic one of your last shots had spheres with reflective values way beyond pure white. Can you make a tutorial or just explain how exactly you got that look? Right now the specular aspect of the car is rather cheap and i'd like to see if i can use the effect you used to get the HDRI results. Anywho, the car would most likely feature compressed air or hydrolic suspension, that way you could have it low to the ground while parked and raised when driving. Oh... and i completly forgot. What's a good exast setup? Is there a particular brand or layout that would go better with this type car? And how come it wouldnt be street legal? lol Here's the rendered form of the progressive pic i posted last.
-
I'm not real informed on sliders, but you're able to control the speed of the propeller with a slider? That would be real good for animating something like car tires.
-
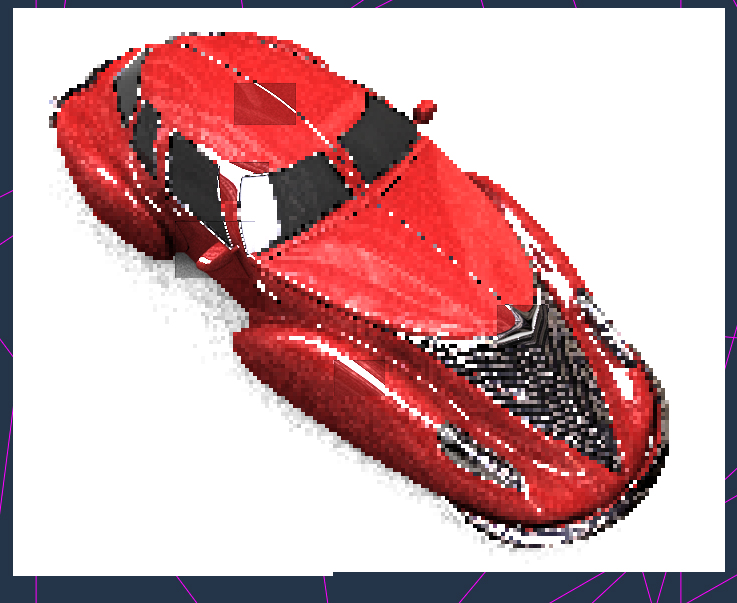
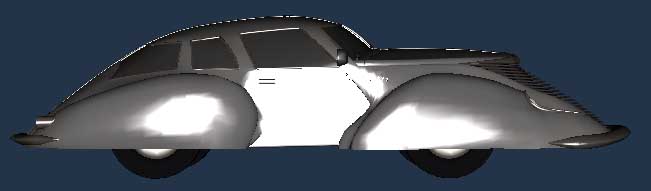
i changed the tire size to about 13". Is 4.5" a good car height oakchas? anywho, it looks much better now with the lower profile. I cant imagine what the people who drive them suspended like that are thinking. SPEEDBUMP!! woop... your whole car is totaled now. lol ?? you lost me there yves. I just used the environment map material and the 360x360 image from collins paint material. The only thing is the maps a .tga and has no exposure data, so the reflections aren't very dynamic at all. I'm thinking about doing some ldr to make the scene fit to it's reflection, or better yet some hdr if you can tell me exactly how you were able to increase the cap for reflectivity values beyond 100%. here's a new progressive render for the side view. I think it looks much better now.
-
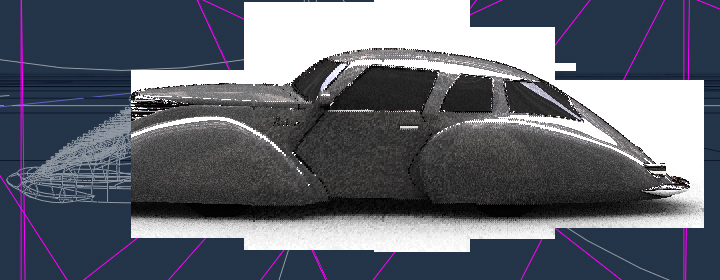
thanks you guys I used the distortion grid tool to fix the very odd upward curve at the front of the car. It had looked like a fish for a while, but now it's flat and looks more like a low rider. Only one thing though, is there a minimum requirment for tire diameters? i'd like to lower the car but at the moment there isnt much room because the tires are just about pressed up agains the weel wells. Anywho, here's the new side profile, and a back shot. I need to make an error report about these line shadows that just pop up in random locations on the ground plane.
-
Looks pretty good, but your motion blure is a little too much. You should tune it down and turn on multipassing to make the quality much higher.
-
most likely you need to install the divX codec, but if you hold your mouse over the file name in the wmp play list after it turns red, it will tell you what codecs you need to run it.
-
Hu? What's a distortion grid? This was just an example. The actual group that i want to manipulate in this way is acually quite complex and the "manipulation splines" or what ever they're called would be curved in all sorts of random positions. I know A:M has this feature... I'M NOT CRAZY!!
-
How did you do the texturing on your tubing? And how did you do the spiraling tube comming out of the fule tank? On a relatd note, does anyone know of a tool in which you can move a collection of patches with 2 splines as the manipulation modifiers? I saw it once in a video tutorial on how to build a spider in A:M. it works somethin like this
-
If 2 rays removes the banding I guess I don't need 36 passes. But with just 1 ray there was an noticeable difference in the banding between 16 and 36 passes. I'm going to update the setup with 1 ray banding will always be present, but if you use 2 rays and up the resulting shadows will not have banding, rather noise. A noisy/random-dot shadow is 10x better than a banded shadow because there is no visible shadow imperfections like hard line shadow penumbras. Plus at 16 passes the noisy shadow becomes so softened that it no longer looks like noise at all.
-
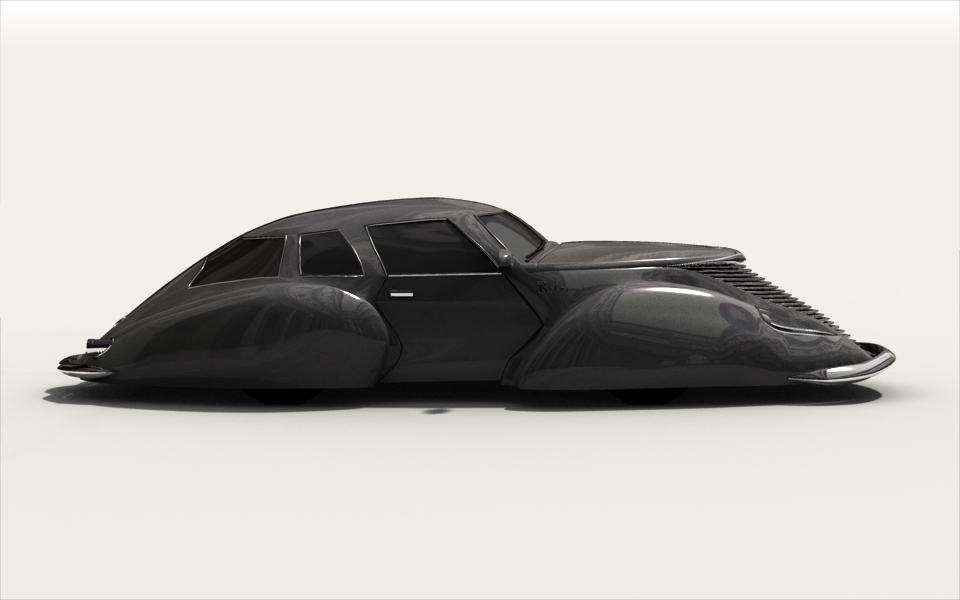
hm... i've fixed the hood so it's not so very flat. It looks much better than the original. Anyway, here's a front shot of the car with all it's new changes and a Silver-grey paint job
-
In the yves skydome i use for my retro renderings, i do a 4x4 pass render with 2 raycast lights, and it normaly takes about 3 hours to render a 960x960 image. Do you realy need 36 passes? Anyway, any raycast above 1 will automatically disrupt the banding you got.
-
lol if only it were that easy.
-
Great model. He reminds me of pinky from Doom 3.