DanCBradbury
-
Posts
683 -
Joined
-
Last visited
Content Type
Profiles
Forums
Events
Everything posted by DanCBradbury
-
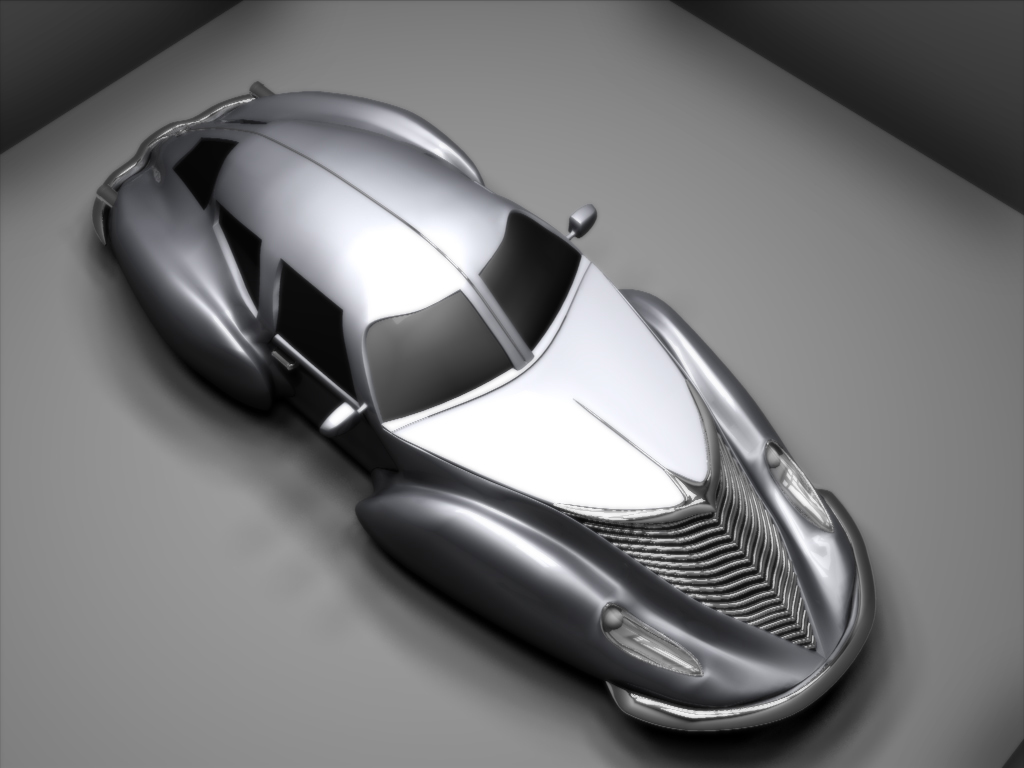
It's been a while since i did anything with this post. I redid the hood and grill entirly, i added side mirrors, and i gave it a silver paint job. Let me know what ya guys think. by the way i made a spinning movie... but it was gunna be huge, 19mb or so, and it was only 380x285. what's the best settings for .mov compression?

-
That's pretty good... but i dont think that chain would work in real life... it's only like half of the track long.
-
Nope the blade very much has depth, and is a solid. Here's one of the cross sections for the blade.
-
hm.... i'm not sure what exactly i'm lookin at. id have to say, you've thouroly confused me.
-
wow... thats quite a lot of moving parts like the rubics cube bone constraits... i think this one's gunna be complicated. but maybe someone around here will know
-
no problem andy. Ya, this forum has helped me out a lot too.
-
Nice character. Reminds me of the incredibles. Probably the black boots and gloves. I've yet to model a face... i should try it sometime... maybe when i get some free time. lol
-
Oh, hello. Ya... about that. I'd rather not have my katana end up in someones work in the WIP with their name all over it... so i'm just gunna hold onto it for a while. However, a wireframe will be in order. i guess you'll just have to have fun with this instead. lol
-
Oh... sorry about that, i wasn't able to get to this topic yesterday. Ya, ambience color is somethin new, but dont worry. Like arkaos said, the ambience color is what ever the diffuse color is, and it will still work.
-
What's up with the hood area? it's all wavy... Crazy. Is it the set you have it it?
-
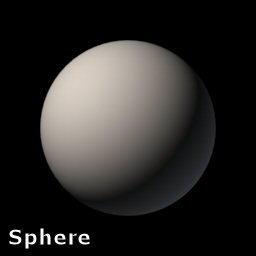
What is the depth buffer? Anyway, these are the renderings i got with my method. Would it turn out any different?
-
Awesome model. Hope to see what you do with it.
-
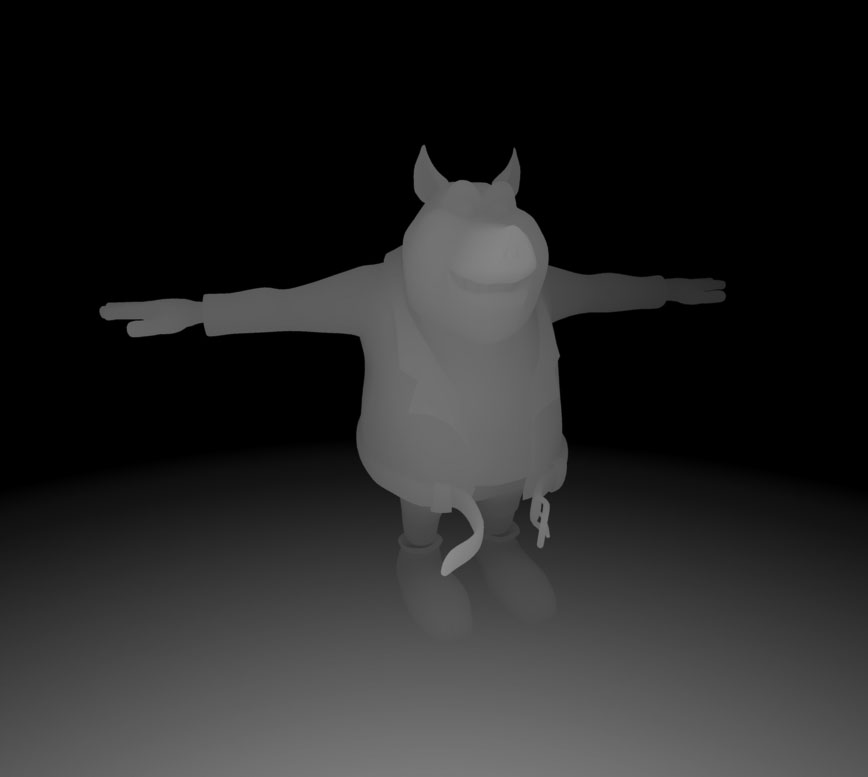
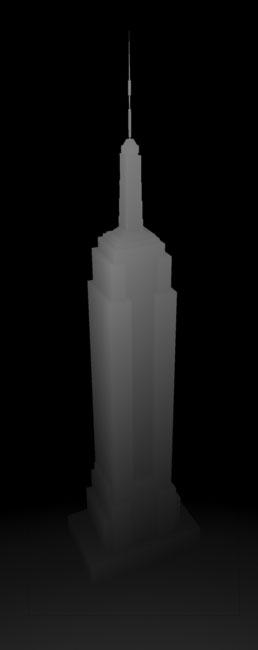
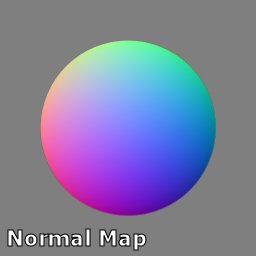
Wow... it just so happens... i recently used this effect to creat my normal maps. The easiest way to do this is to set up your shot like you want. Make the model without any textures, or colors. Make the entire set and all models pure white and have an ambience of 100 and ambience color of pure white. Then, take the camera, make it have a black background, with fog. Make the fog start at the closest point in your shot, and end to the furthest part of your shot. So if it where that plane, i'd make the start of the fog probably somewhere near the first wing, and the fog end at the very back of the tail fin... or further. I did the same thing with arnolds head, and it created a perfect bump map of his face. It was awesome. You should make sure that all the components in the shot are within the fog range that you want. Let's see what you're workin on.
-

Got home late so I decided to do a quick idea for fun
DanCBradbury replied to johnl3d's topic in Work In Progress / Sweatbox
You seem to love makin very odd special effects. I'm not realy sure what i'm looking at... but it's real sparkaly. -
WOW! nice spider and walk cycle... the only thing i see that's a little funny with it is that the back end doesnt move as much as it would seem to. You should realy rerender it with real raytrace shadows. There's a lot of funky shadow mess-ups... especialy near the feet tips. BTW: Spiders freak me out.
-
Nice spider model... looks like one someone did a while ago. It's in the a:m stills section.
-
It's strange... I dont think specularity exists in the real world. Isnt it just the reflections of bright objects off reflective objects that makes them look shiny and speculary? I tend to find that having only reflections, and no specular the realest. But, if you're goin on the fly and need quick renders, specularity is the way to go. lol
-
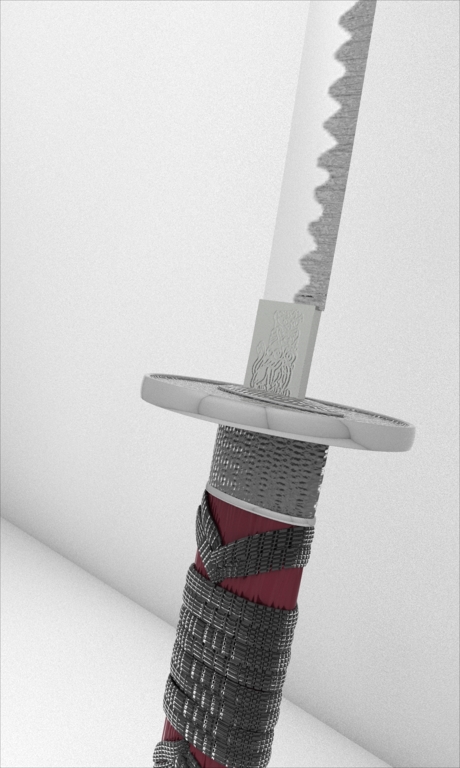
The handle is 2 pieces. The cherry wood shaft, and the string. I actually modeld the string surrounding the wood in this model. I applied a normal map to the patch images of the string, giving it a flowing look that would have been impossible with pasting on a decal. The wood on the other hand has a simple normal map decal pasted on both sides. The handle only took about 20 or so minutes to model, and seconds to apply the surface and decal attributes. normal mapping is an application of the technique known as bump mapping. While bump mapping perturbs the existing normal (the way the surface is facing) of a model, normal mapping replaces the normal entirely. Like bump mapping, it is used to add details to shading without using more polygons. But where a bump map is usually calculated based on a single-channel (interpreted as grayscale) image, the source for the normals in normal mapping is usually a multichannel image (that is, channels for "red", "green" and "blue" as opposed to just a single color) derived from a set of more detailed versions of the objects. A normal map is basically a slop map; unlike the hight map of a bump, displacement, and fractal maps in which slope is generated as a basic afterthought of the render proccess resulting in undesired slopes sometimes... or at least that's what i've found to be the case. In Normal mapping, the reds are sloping from the left to the right and coming towards you. The Blues are sloping from the left to the right away from you. And the Greens are sloping from the top to the bottom comming towards you. And the shades inbetween are the varrying level of slopes... depending on their amount of blue red and green. The flatest part of a normal map shows up as a sort of dark sky blue color. well, that's as far as i want to explain normal maps now. lol. Hope i havent bored anyone to death.
-
yup. Almost all renders i do nowadays are done with radiosity. It can make your worst looking models looke insanly awesome. lol. I dont know y so many people dont use it for their stills. It's not good for animation purly because it takes a long time to render, but it realy makes a difference in the look of a render.
-
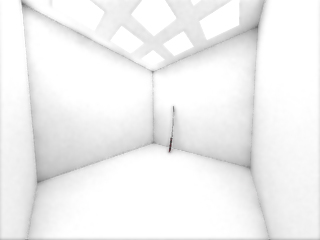
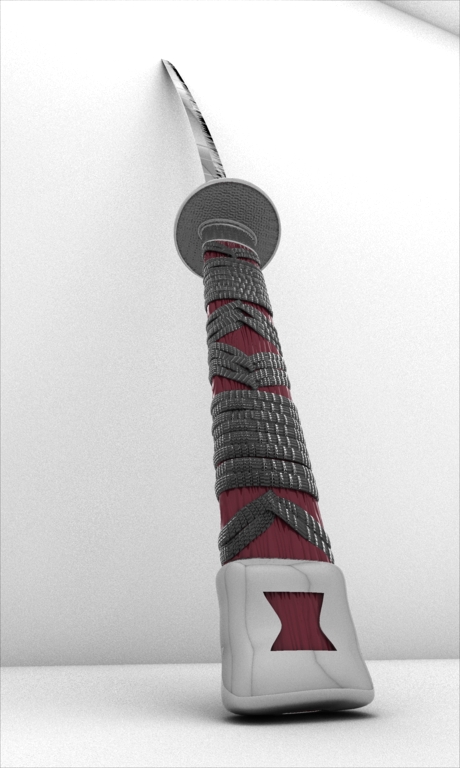
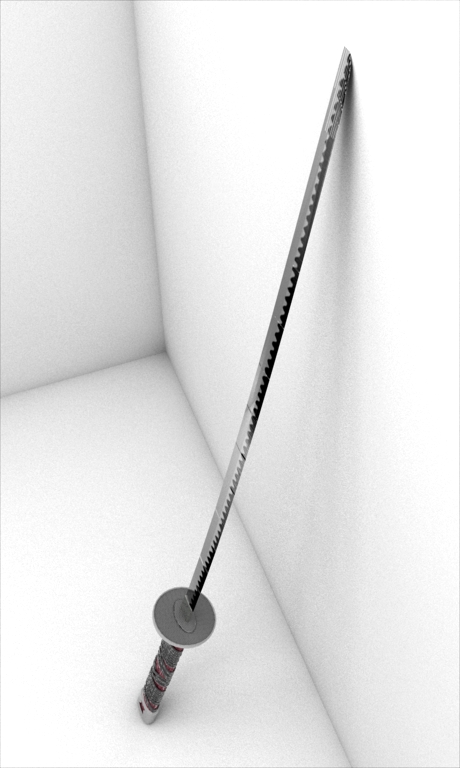
Well, it's not so much as a fish eye lense as it is making the camera focal length property smaller. It can produce some realy crazy looking renders. This is a picture of a square room... but it looks all rounded and stuff. lol If i wanted a real fish eye lense... i'd probably have to create a refractive parabolic dish to bend my images correctly.
-
No, i just used a simple normal map for the detailing. The grip string was about the hardest part to make on the model. It's actually modeled, and i made a normal for the ridges onto the string. Pretty much every surface has a normal map on it... from the stainless steel look of the wave pattern on the blade to the wooden handle. i had to use a fish eye lense to get that shot. But i still like the close up shot of the handle and blade. I'm happy the way it came out. Thanks for all the coments guys.
-
reminds me of a certain someone... i cant quite put my finger on it.
-
Here's a model I made today. It's a japanese Katana with a wave inlaid blade and a lion insignia. Let me know what you guys think.
-
Very nice model! did you utilize the alpha's and magnitues for every single spline? Very keen attention to detail here. One thing though, your radiosity and shadows seem to be incredibly noisy. You should adjust your samples and jittering. Also be sure to make sure that you use the radiosity calculator to get the perfect sample area. The sadow settings should be set to 100% dark, 2 ray casts, and be sure to render at least 16 (4x4) passes. Other than that... yeah, just more population of the scene. Nice work.
-
Nice model and action. The movement seems without weight though... like when it moves up real fast the center mass doesnt make the rest of the mech sway or bow at all... but for a starter motion, it's pretty good. Nice job. BTW: very odd way of showing off your work, a rar inside a zip? is that even legal? lol