JohnArtbox
-
Posts
1,303 -
Joined
-
Last visited
Content Type
Profiles
Forums
Events
Everything posted by JohnArtbox
-
Great little animation Devo very nice first post..and a funky little website.
-
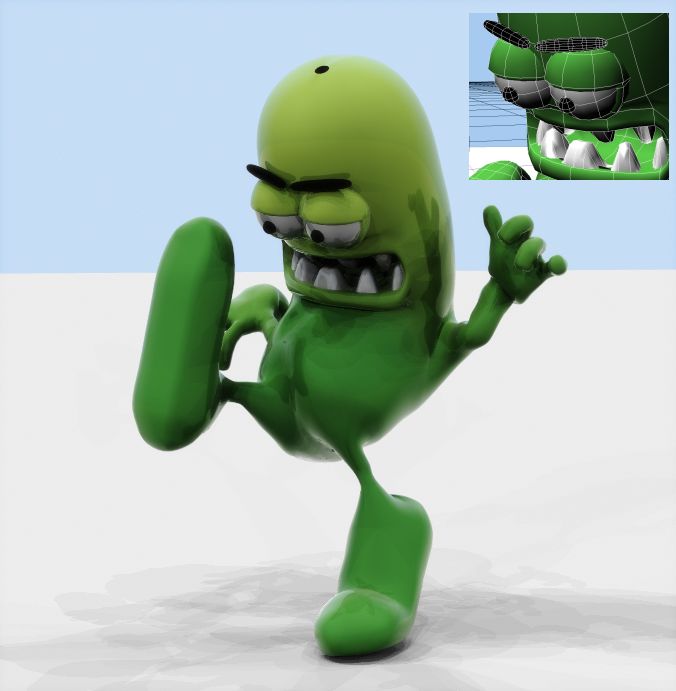
almost alive . I've added the Setup Machine Rig and used weighted CP's instead of fan bones to smooth out the joints. Nice feature Hash Tip: for easy point weighting start a new action and put your character into an extreme pose. Open a model window and adjust the CP weighting. if you click in you model window and hit "Spacebar" to update you can instantly see if your cp weighting figures are working. Paul:I hope the eye wireframe isn't a disappointment. I'm just using a sphere for the eye, a smaller sphere for the eyeball and two hemispheres for eyelids. OzTiff: Funky Character. There'll be more models available soon, I need time to organise them and a little more webspace.

-
Pretty Good Rogelio. Like Rodney says the main flaw is that everything is so clean and pristine. Adding reflections to the windows and van would help, as would diffuse(dirt) maps. drainpipes, fires ecscapes and airconditioning vents would help add details to the scene without too much work.
-
thanks...here are the sketches that I started with... and some answers Jon: it's a Twin Light Rig using a 4x4 twin skydome action colour set to white and the two lights set to suns at 70% intensity Rod: extreme squash and stretch the legs will stretch when they need to CAY:still one of my favourite games , beautiful quirky design and animation, but I must admit I can't remember the purple guy tobinjim: more like one of my daughter's games...under 6 soccer all enthusiasm and no coordination
-
It's been a while since I posted. Just a simple character I'm building to have fun with..
-
Nice work guys....when do we get a feature ? fantastic.
-
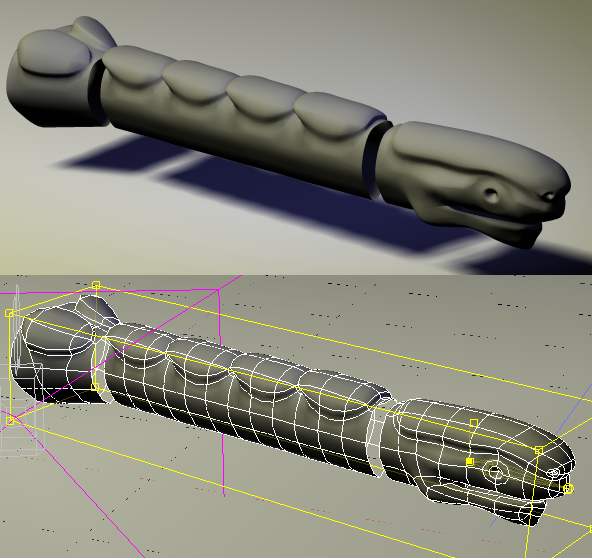
and the mdl file dragonHeadNeck.mdl
-
Dragon Head and neck to go with the wing
-
Ken, the conversion to AV2 is to get as clean an export as possible. I still build the models with 5 point patches because they are more effective models for use in AM. if I subdivided the 5pt patches manually I would have to redo the UVs
-
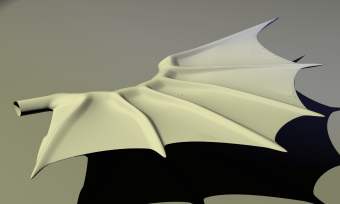
and this is what the dragon wing looks like.
-
For a while there I thought this was going to fall flat But it looks like in might fly....so here's a dragon wing. I haven't had a chance to download Xade's excellent offering but variety is always good. I'm on a severe deadline for the next couple of weeks but lets keep it moving. materials and patch decals of things like scales or zebra markings migh also be cool. Amar: I like keeping things simple because they're easy to alter, but it's a personal preference...and in this case the project belongs to anyone who chooses to contribute. If the join rings are the same it becomes easier to use but people could always use hooks if they wish. Thanks to all the contributors so far... dragonwing.zip
-
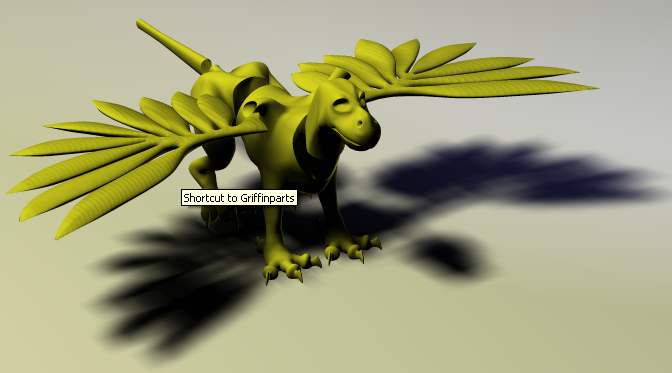
Ok Here's the full griffin figure built in parts http://www.artboxanimation.com/AmStuff/Griffinparts.zip If parts are built to approximately this scale that'll make it easier. I haven't added bones because there are so many different systems. Drakkheim:I used 8 points on the neck ring. Parts with 8 and 4 point link rings would be ideal, but you could always hook in if the parts need more. OK guys get making (Edit) any version of AM should be ok because we're talking modelling only.
-
And my first component is a set of lion's rear legs LionRearLegs.mdl
-
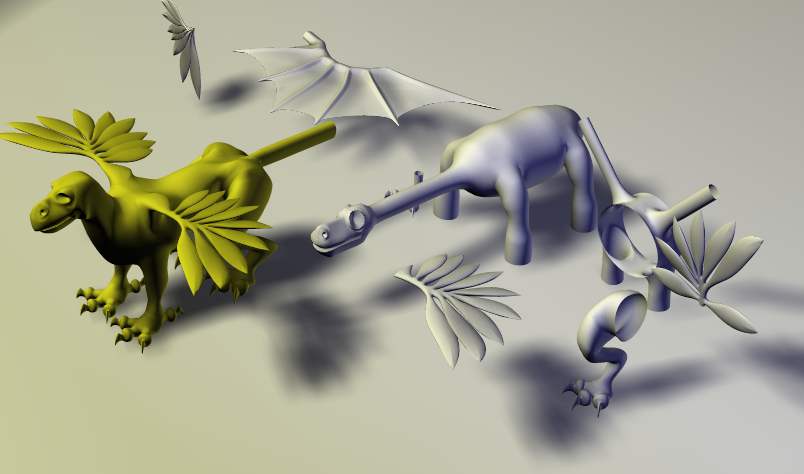
I build simple models. I build a lot of them. and then I modify them to make more models I use basic construction methods most of which are based on 4 and eight point extrusions. So tonight I sat down to build a monster. Nothing hyperreal, just a fun little dinosaur. The bodyhas eight points in cross-section and the limbs are fourpoint extrusions. About halfway through the dinosaur I though"what if I built a whole lot of components...diffferent body types, legs, wings, different heads..so that you could easily stitch your own monster together . A few components later I had the griffin. So here's the challenge..... build a component body and heads to join using an eight point spline. Arms, legs, wings etcto join using a 4 point spline. Post your body parts here with an image and i'll post some of my components. Hopefully we'll get a library happening. I'll even offer a free copy of Skycast for the best component or monster created(if they're a Mac person, they'll just get a stack of Artbox models/textures).
-
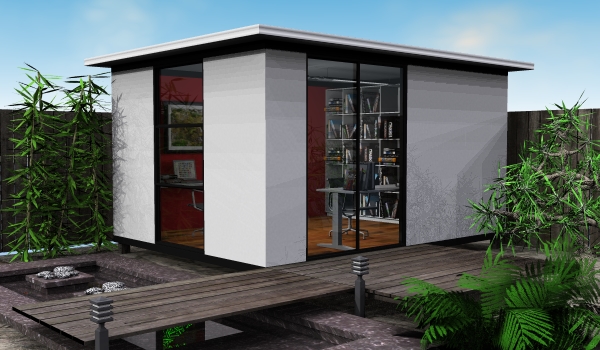
and the matching Floor Plan
-
nice words Sharky and MATrickz. I think this one is finished now...at least until the client asks for changes. Time to go back and add some nice little details on some of the others.
-

Advertising of a bottle with water
JohnArtbox replied to serg2's topic in Work In Progress / Sweatbox
Great little spot serg, I can't believe you got it done so quickly -
Thanks for the comments kualrobi...unfortunately they'd blow the budget..but they are pretty An update...
-
simple straighforward little animation, it's great
-
I hadn't bothered joining it to the body yet. I'm doing that now . Hopefully I'll have the am render tomorrow.
-
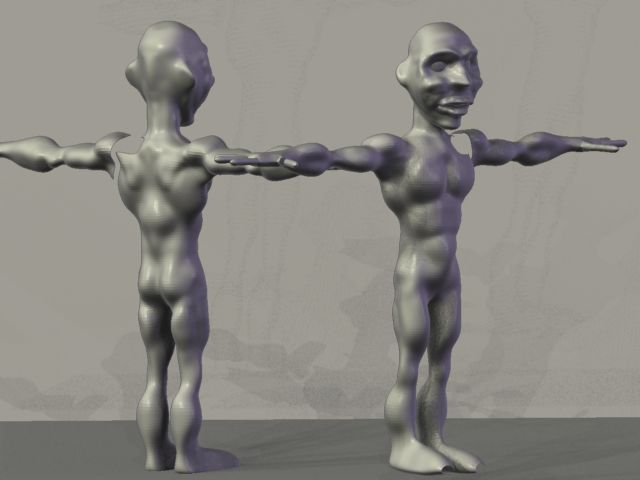
Ok latest in the line of experiments, I've rebuilt my basic humanoid with as few five point patches as possible. None on the face, and eight around the neck(top & bottom) and two for each arm and leg. I've then deformed it in ZBrush without displacing any of the 5point patches,and this is what it looks like. In theory it's the result I can get out of AM's displacement map on a simple model. Jack in theory you could use the uv editor to realign the edited patches, I imagine it would get fiddly. We need a way to maintain spatial UV while editing the patches but it's not possible at the moment. The best way I've found is to redo the uvs in am with a seperate decal(while still maintaining your imported UV's) and render from the imported to the new. You can then update the corrected patches. Or you can import UV's from AM and it's hassle free
-
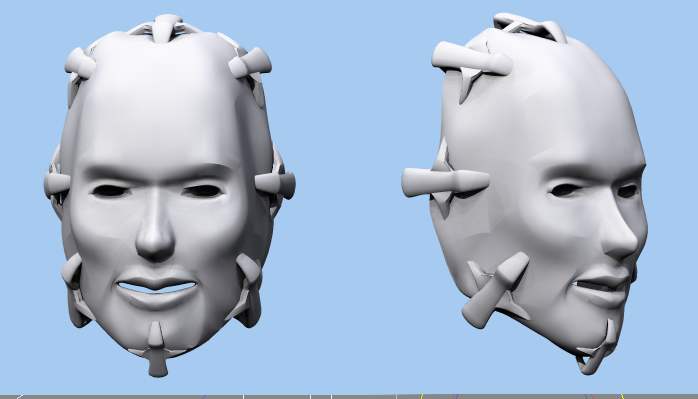
Chad: file attached Ken and Chad: displacement seems to work best on meshes with spline continuity, the areas at the mouth which break under displacement have non standard AM spline layouts and need to be altered by hand. You need to alter points which have more than two splines travelling though them using hooks and 5pps.
-
Ken and I were obviously typing at the same time Chad here's a render
-
Ken: Cool isn't it...Dan Teidy let me know about the fix Chad: The displacement loss off detail is in the lack of subdivision of patches more than in the loss of shade. You can generate a bump map by getting zbrush to calculate the difference in heights between the maximum AM displacement (2 subdivisions in ZBrush) and the subdivision used for detail in zbrush(eg 5 or 6). In ZB Generate the displacement map from the low re model as per the manual. move two subdivisions higher then generate displacement again and it will give you the smaller detail to use as a bump map. AM will use both. There are no problems with loading 9.5 models into 11 that I know of. UV's are simple and easy to use in AM. I'm pretty sure Will (Zandoria) has a tutorial on the UV editor.
-
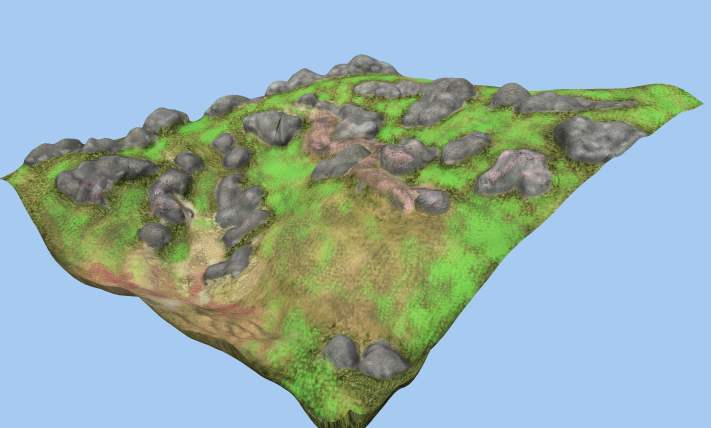
Some Answers Bjorn: The problem in your workflow is the 3rd party renderer. At the moment I just can't see it happening unless Hash take on the development. With SkyCast and the other illumination options available I'm happy with the Hash renderer, it doesn't have all the options and speed of the standalone renderers, but it's as good or better than many of the renderers built into other aps. One major issue with the render is that a lot of people use the truly awful default lighting setup. I've had some problems with imported zbrush models losing their UV's on saving, but I've sent it through to Steve and I'm sure Hash will have a fix soon. ZBrush models have been coming in cleanly with some issues at joints. Personally I think I'll use zb models as is, for bg objects, props and previsualisation because you can produce them so quickly. With character's I'd do hand cleanup on the joints and then look at redoing the UV's by hand and transfering the textures...I still think it'll cut down the time to get a character from A-B, and I love the ZB sculpting techniques. Displacement, colour and bump maps are still ZB's major selling point for me, with a base AM mesh. Last night I built trees and leaves in AM for import into ZBrush. I've used Zbrush's modellor a bit. I like the sculptural feel and the built in UV's, making it the fastest way to get a textured model that I can think of .The barbarian model was built from ZSpheres which is a pretty cool way to quickly build masses. Plus it's great little paint program for BG's. The short answer is that ZBrush to AM is easy but not perfect. MitchVFX: Ken's answered it. Just make sure you use Group UV's, and as I've said in the above post I've hit some UV problems, although that was on a ZBrush plane primitive, not a poly model. Chad: Link is above...nice head drop plugin into hxt folder close and restart am. create a new model. right click in the model window and select plugins/import/object model(*.obj). The render's a quickly sculpted landscape imported from ZBrush and rendered in AM without alteration