Heiner
-
Posts
394 -
Joined
-
Last visited
-
Days Won
2
Content Type
Profiles
Forums
Events
Everything posted by Heiner
-
Hi there, every once in a while (mostly in my holidays) I return to A:M and try to make it really work for me. Still dreaming of an animators career, doh. However, one point where I still have huge problems with are Normal and Displacement maps. While mighty and powerfull I was never able to make them really work for me. When I render in A:M I only get unpredictable results, which by far not what I expect. Therefore it woud be nice, if you could tell me what to look for when using this kind of maps. Info about where you do the maps, how you export, what type of Normal adn Displacement maps you us would be also cool! Thanks in advance!
-
Hi there folks, since Neymax script established a pipeline between A:M and Blender, you can now do your UVing much more comfortable in Blender and bring the model then with the UV layout as decal stamp back in A:M. The attached picture, which is taken in A:M, shows the kind of UVing you can do in Blender. At the first glance the process is quite complicated, but it is in fact not as difficult as it seems. This is a short tutorial which shows the very basics of the process. If you have questions, just ask. xhttps://www.youtube.com/watch?v=9oRehwuOSqI&feature=youtu.be
-
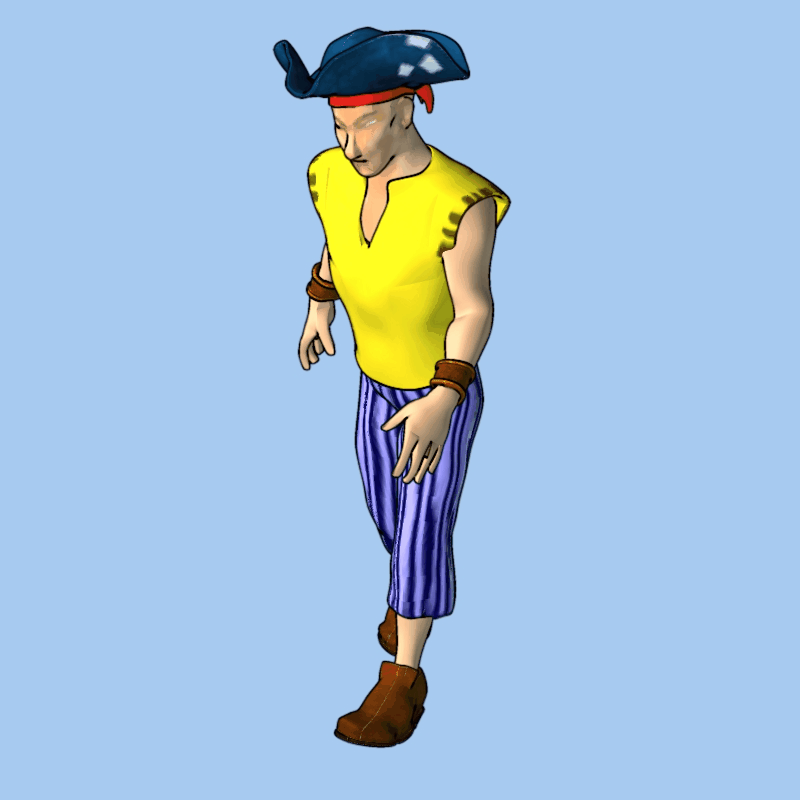
I just reactivated a real old character. Its for a game, and a friend of mine is starting to do some coding for it. I thought instead of puting up a new thread, I just put it here! Besides, the guy is animated already! Cheers Heiner

-
Hi John, I will give these suggestions thought and tries. Right now my bread n butter job is a little demanding and limiting the time I can spend on fiddling around with it. I get back as soon as i have more time again ... Cheers Heiner
-
Hi there, after toying around with the saucy rigg, I am very happy with it: Ease of use in installation and usage is great. By the way: Is there any reason not to add additional bones like fanbones, bones for a facial rigg? What will i have to keep in mind / avoid if I add additional bones? Cheers Heiner
-
A newer version with a little pshop magic on top ... Forgot attachment
-
One first little Illustration using the model!
-
Hi there, I am trying to shape her hair for a still in that way, so it fits my design. I have the impresssion that in grooming mode, you can only affect the controlpoints on the end of the guidancee splines. Is that so, or did I miss a special trick which makes that possible? Regards Heiner
-
Hair starts to look better, but I am still far away from what it should look like ... She looks like an indian now ...
-
When I want the Hair to have collisions with the body, do I need to define the body as a colision object?
-
So, the main model is done so far. Next thing will be the hair. Oh man. how I love it. With hair I always have the feeling as if I am walking entirely in the dark. Try and error -- hardcore version. Besides, I think there is a problem with the rendering. Cheers Heiner
-
Thanks for your help. I put all that theory to good use and tried the "Average Normals" option. Thats what I got out with a setting of 100%. I think that look a good deal better than before! Cheers Heiner
-
Next steps. Thanks Fuchur for your input, I tried it with the skin parts of the model. But to be honest, I do not see any results ... Cheers Heiner
-
Thanks for the support. One question: My models tend to be quite dense. What is the best way to even out surfaces? In the polyworld thats a easy task, in AM its one challenge. So far I am aware of the porcelain material method. Any other ideas? BTW: Where might I get the porcelain material from? Cheers
-
Sorry, I got it. I always only looked at the post option on the lower end of the threads. Sorry for disturbing! Regards Heiner
-
Latest stage. Rendered with Nancys help! Thanks again! Heiner
-
I am a little confused about how to use images in the forum. When I start a new thread, then there is the uploader and I can add a attachment. When I reply to a topic, even in a thread I started myself, I can not add atachments any more. How can I add images in this case? Regards Heiner
-
Hmmm, now that you mention it. As a returning user which did not work wit A:M for about 2 or 3 years, I forgot about that. I will do it like that from now on. Thank you, Heiner
-
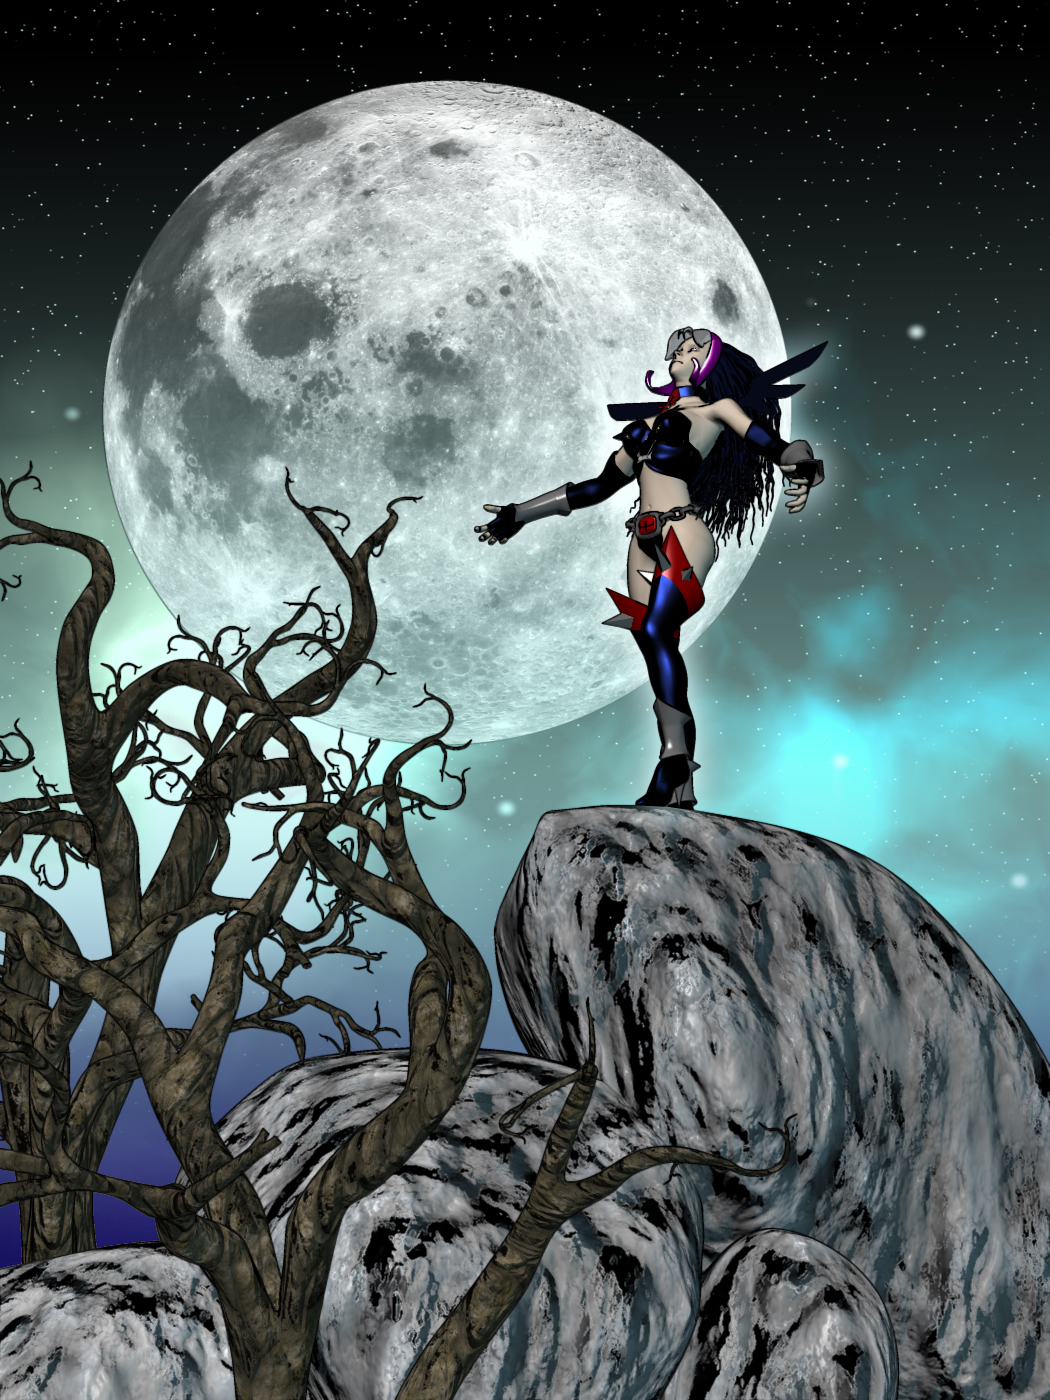
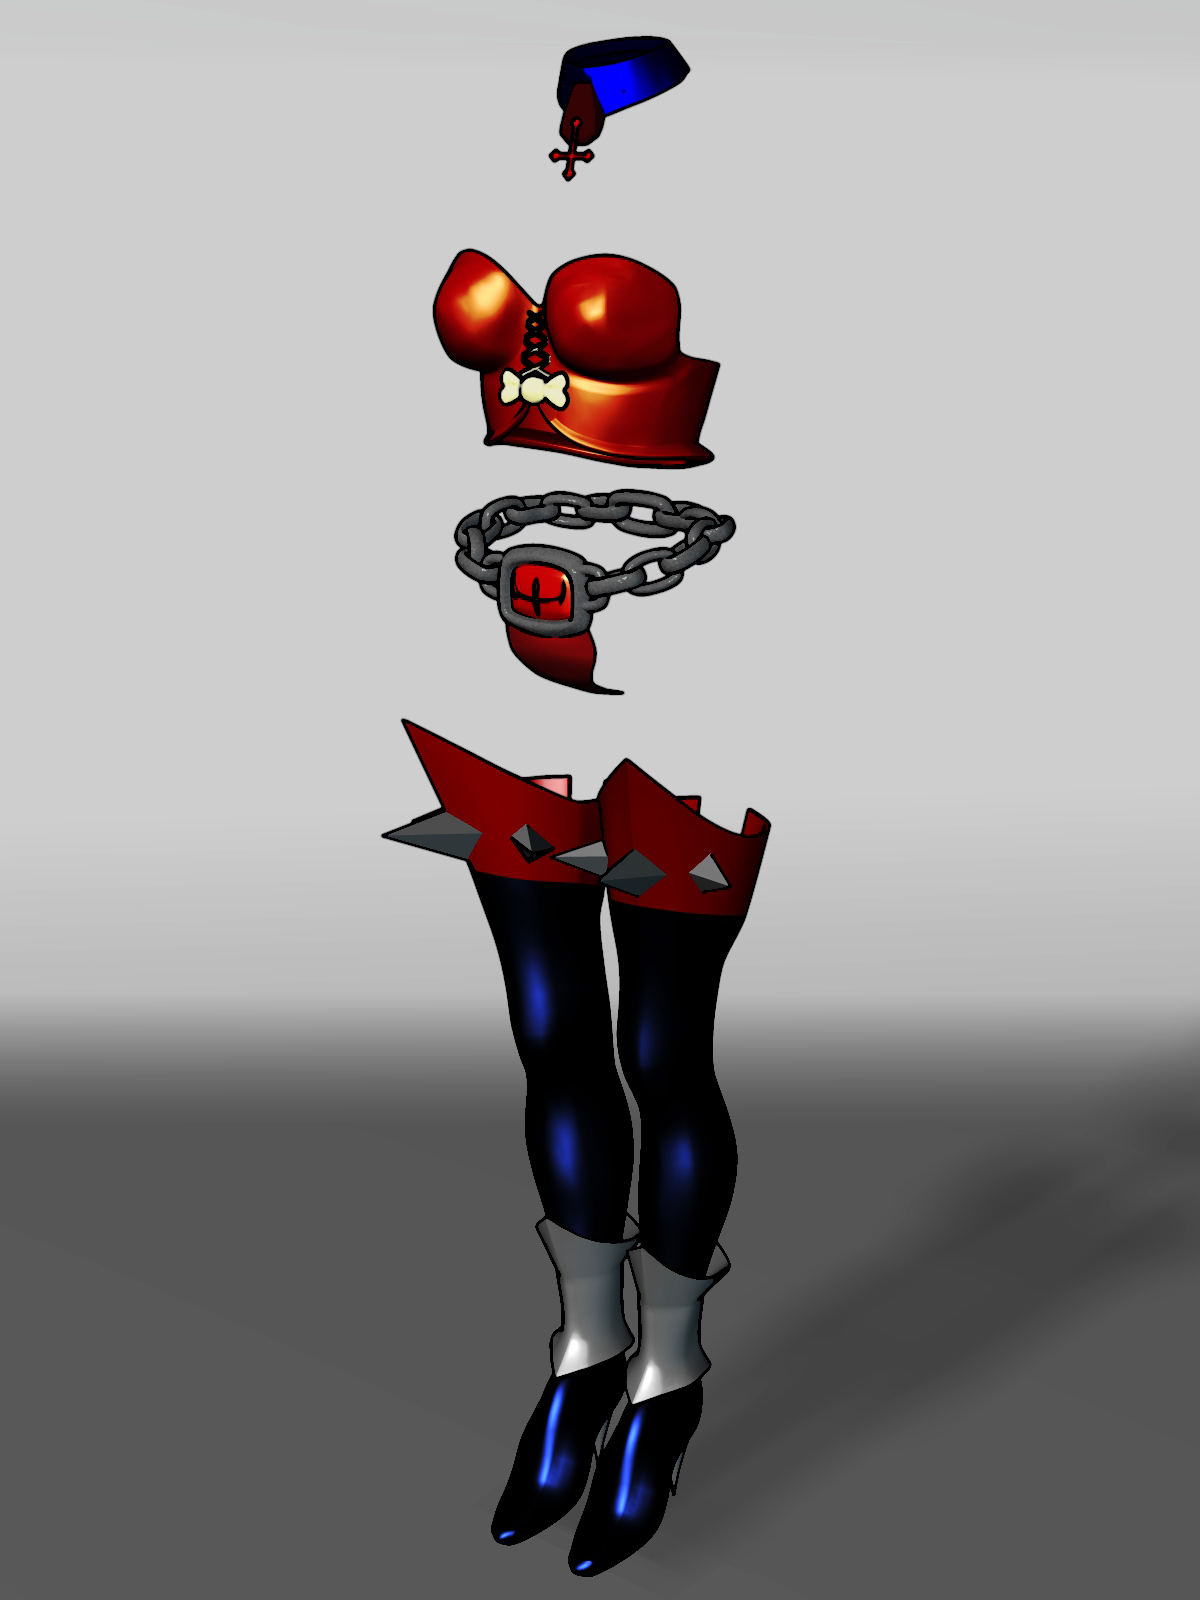
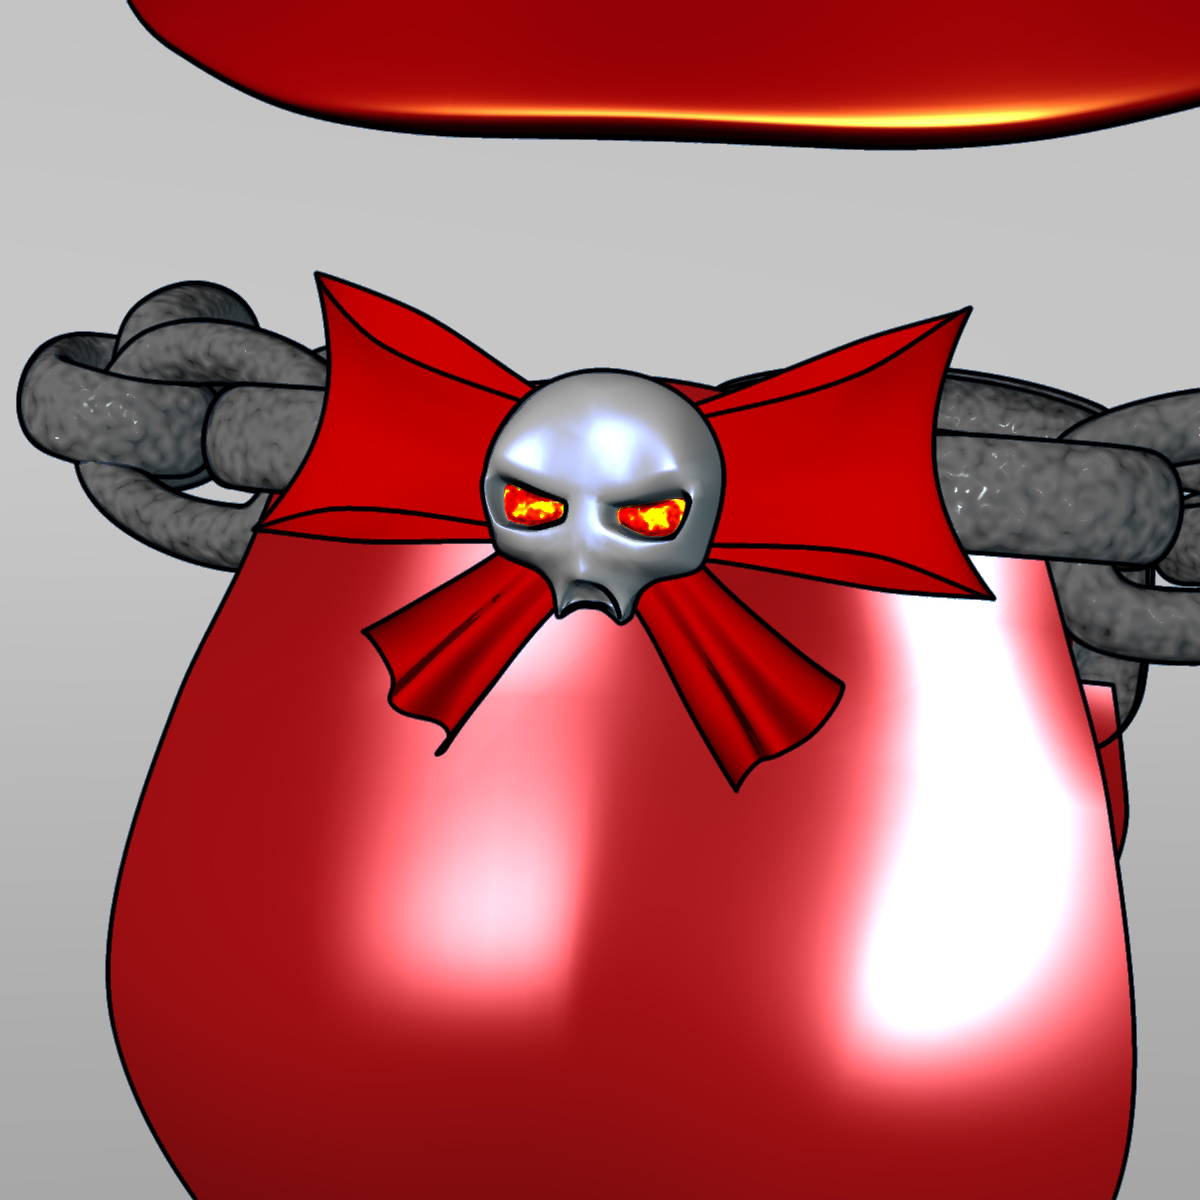
Its going to be a 3D version of a German comic character: Die kleine Gruftschlampe. I am in touch with the creator Tikwa and doing a full 3d version of that character. I am not able to post a full picture of the character yet, but just google it. So far I did the cloth. Rendering is done in two steps: One regular render and one toon lines only render which gets layered onto the standard render. Cheers Heiner
-

Hair material properties settings to make it look real
Heiner replied to Heiner's topic in Animation:Master
Hi Folks, thats exactly what I aam looking for: Plenty of stuff to learn from! Thanks so much, Regards Heiner -
Hi there, I am doing a charakter which will have also hair. Does anyone have some good settings for the material properties to make it look nice and real? I am just asking in order to save some work on experimenting and searching for propper settings. Thanks already! Heiner
-
Yipieeeee! Great Stuff, thats what I am looking for! Robert, you are a Hero! Best Regards, Heiner
-
Hi there, you make your model in AM and animate it. Then you can export the animation as MDD and import that into Blender. It does not matter if you start your model as a OBJ which you import in AM and work in AM or if you do the modeling entirely in AM. The MDD is the entire animated character. If you want the character to interact with something, then you import OBJ models as props into AM and use them in a Action to position your character acordingly. Is the animation finished, delete the prop and export MDD. I Blender import MDD and object to interact. Position camera and render. You can not do any adjustments to your character other than on vertex level: No bones and such things in the MDD Cheers Heiner
-
Hi there, after having another look on the description of the Flatten command, I thought to myself, that this could solve much of my UV problems. Then I tried again, and like the 150 times before, it did not give me the results I expected. With lots of shifting, tilting, rotating I was finaly able to get a decent result with a open cylinder, but it was so far away from beeing a workflow one wants to utilise :-( Has soeone a decent tutorial on this, maybe even a video tutorial? Then, the manual says that flatten uses a invisible cylinder pointing along the Z axis in order to flatten the model. Maybe if that invisible cylinder would be made visible, the process would not be so abstract and more predictable for the user ... just a thought. Cheers Heiner
-
Look again, there is no import of X files to blender! Because it is in Blender in the import--export section does not mean, that there is a importer too! But you can get your animation in Blender via the MDD file format. That works quite niceley, at least it did, when I made some small tests with one of my characters. BTW: The laurels for finding that workflow goes to the Soulcage guys. Thanks for sharing guys, much apprechiated! Regards, Heiner