-
Posts
394 -
Joined
-
Last visited
-
Days Won
2
Content Type
Profiles
Forums
Events
Everything posted by Heiner
-
Hi there, is there a list of the new features found in R19? Thanks for pointing me in the right direction. Heiner
-
Hi, the modelling is done and now comes the export and uving. I continue to document that on my YT channel: https://www.youtube.com/channel/UCPYrrS8e-b5jiG-ue-bMfKA
-
-
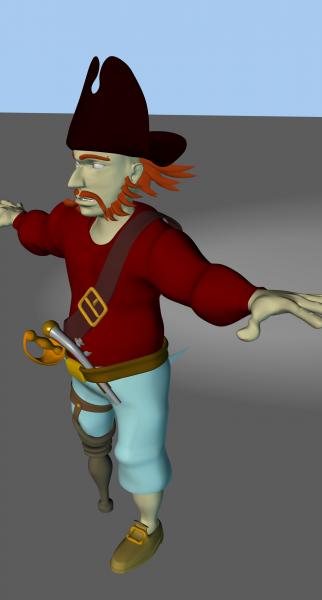
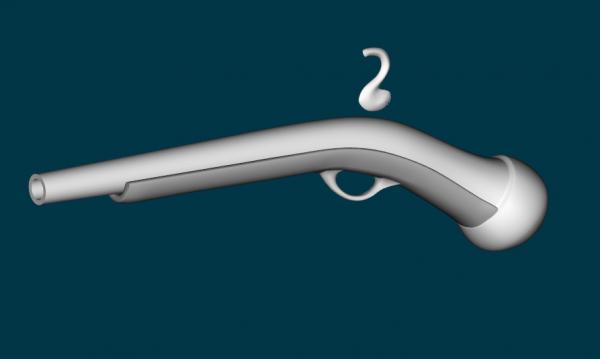
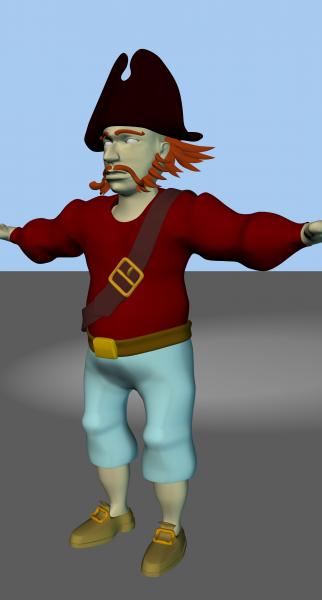
Hi, like I said, I pistol will come, and here is a first example of the work on it. Modelling is sort of a bit*** to me because while I am at it, the character can undergo so many mutations. Right now I am thinking about having a coat and maybe instead of the shoe have a boot like a musketeer or such. Man, it all starts nice and little and evolves over time ... Regards Heiner
-
Which part do you mean by "Pad". English is not my mother language and I never heard that. For the angle, how many degrees downwards do you think it shoud point? best regards Heiner
-
-
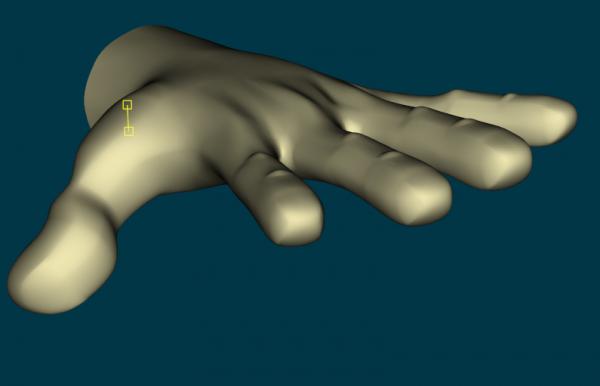
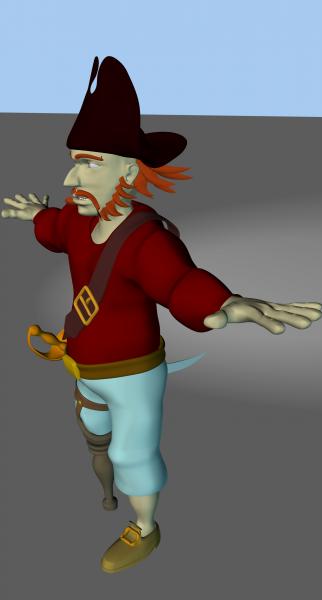
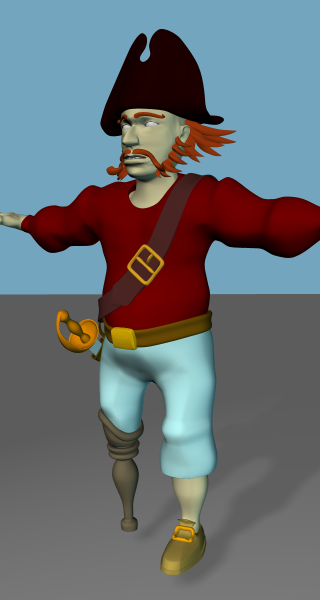
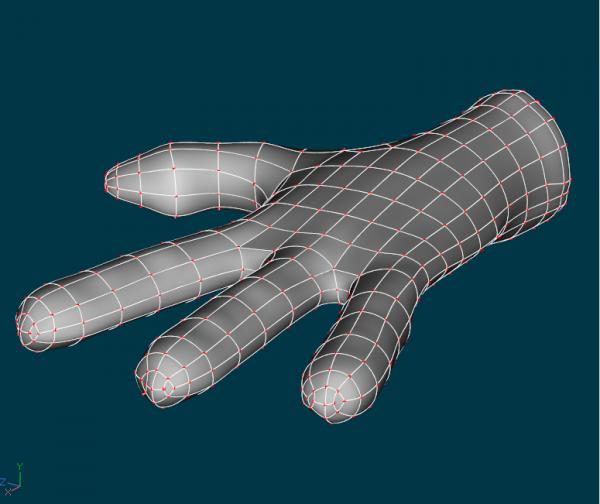
Hi there, so, a little different angle, and four fingers and one thumb. Semi realistic cartoon style like in franco-begian comics ;-) The pegleg received a little more attention and now there is the pistols left to do. Regards Heiner
-
Four fingers, one thumb? So five in total ... Or Four finger including thumb?
-
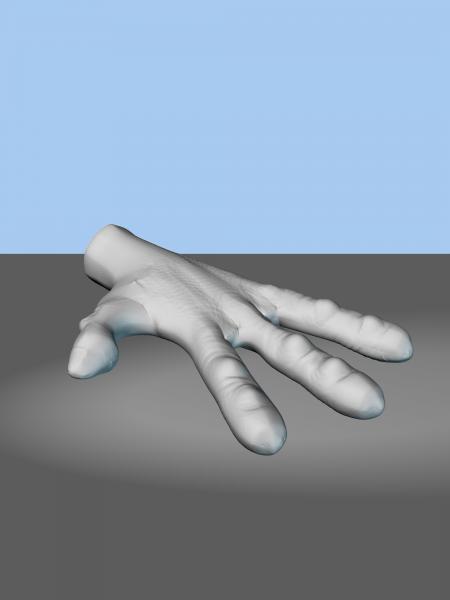
The next stage, I decided to go for a pegleg. He has teeth and togue now and I did the hand anew. Still I can not decide if I go for three fingers or four ... I am getting close to the end of modelling. There is the Hands issue, I will add two classical pirate style guns and than thats it. Then I am at the point when the UVing will start. Still have not made up my mind if i go for one stamp or if I will have more. Regards Heiner
-
Hi, right now its all about the shape, texures and colors are all up for further modifications. Right now, i will finish modelling and then apply the UVs. Regards, Heiner
-
Hi again, just wanted to share the next stage of my pirate. Its amost done, and then I will give him a treatment with Malos exellent tools and make some UVs in Blender ... Regards, Heiner
-

Tell me all you know about Normal and Displacement Maps and A:M
Heiner replied to Heiner's topic in Open Forum
Hi there, the reorienting of the normals took away the weird look. That leaves the strange artifacts and the seams ... any ideas on that and how I may get better seams? For stills that is ok, there it could be fixed with a paint programm, but for animations its not working at all. Regards Heiner -

Tell me all you know about Normal and Displacement Maps and A:M
Heiner replied to Heiner's topic in Open Forum
Hi there, @ Rodney> Good point, I will give it a shot ASAP! Regards Heiner -
Hi there, working quite a while with A:M, I noticed that there is quite some areas where undo will not work at all. First and foremost if you make changes to the bias handles of a CP, Undo will not take those changes made back. Also when you work on a model with a Decal applied. If you delet something, take the changes back with undo, the undo will not restore the deleted and restored CP in the stamps. Cheers Heiner
-
Yeah, I should have done the modeling directly in Blender but I I thought that would get me to far away from my initial idea ... Anyway, check out the second video, there I cover the re-export / Import and put your exporter to good use. Cheers, Heiner
-

Tell me all you know about Normal and Displacement Maps and A:M
Heiner replied to Heiner's topic in Open Forum
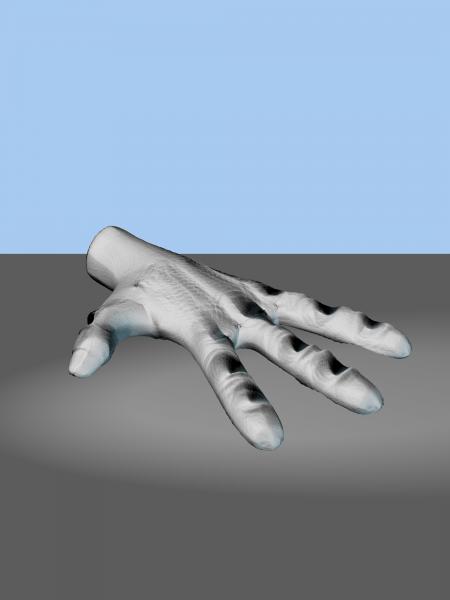
Hi there, here is a sample of the issues I am having with displacement maps. The general impression is there and also the displacement effect. But there is also a heck of a lot of artifacts and I dont know where they are coming from ... For comparrison there is also a image of the model in realtime ... Regards, Heiner -
Hi there, as anounced, I did the first recording and put the video up to YT (see link below). In this part I deal a bit wit modelling exporting and importing. After the A:M model goes to Blender, there has a lot of reworking to be done, so the smooth exporting, further processing and reimport to A:M can be maintained. Enjoy and have a great easter! Heiner xhttps://www.youtube.com/watch?v=yC60d3fjakQ&feature=youtu.be One step further: https://www.youtube.com/watch?v=KysTfIZ-eo8
-

Tell me all you know about Normal and Displacement Maps and A:M
Heiner replied to Heiner's topic in Open Forum
Hmmm, looks nice, but I think also that displacement would be better. Especialy when you check the area where the coal bumps onto the tender. Thats not really convincing. But then, whe you do not have sich hard contrasts of materials/objects it might work ok ... Regards Heiner -
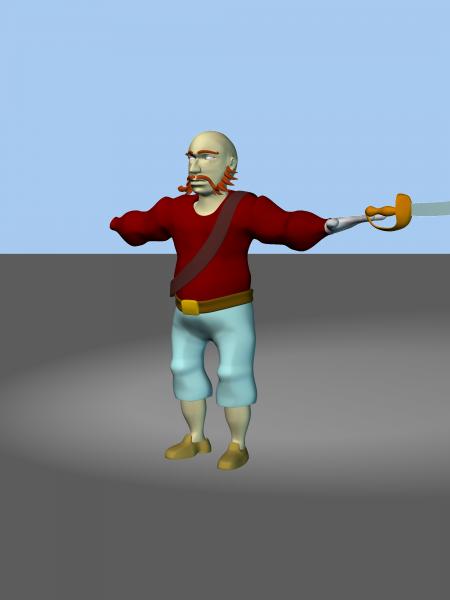
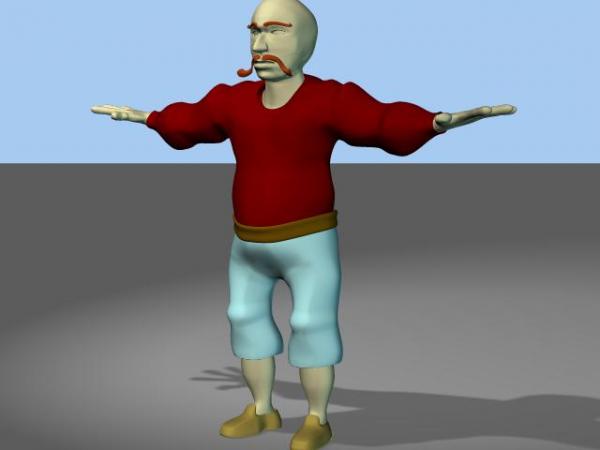
Hi there, a little update. After my return from the philippines i had some days more off and spent them with modelling. I think I will document the work process from A:M through Blender and zBrush as videos and post them via YT. For the time beeing, here the raw modelling so far. The sword I added into the model, because it can be easily seperated if necessary and for later animation it looks more easy when the model is included. Regards, Heiner
-
What I know already: Blender has very nice UV tools and a great MDL exporter. Some work involved, you get a great model with UVs into A:M. Blender UVing is seam based and gives you good control over the layout. zBrush has some great UV tools too, but without the level of control you have in Blender. The thing is, you can export a model from blender (after prepearing it for it) to A:M again (including the UV layout) and via OBJ to work on it to zBrush. The sculpted deformations you bake in zBrush you can use the previously done UV Layout. So the UV layout on the A:M model and the zBrush model is the same and you can use the baked sculpting displacement maps from zBrush in Blender. I was hoping to get wrinkles of cloth and such done and rendered in A:M. Now there is the issue that you have a lot of setups for baking, exporting and using the maps in zBrush and in A:M. There I was hoping to get some assistance ... Regards Heiner
-
Prepearing the uv coordinates for the textures aka decaling.
-
I am planning to try out a workflow from A:M (modelling) to Blender (UVing), then Export to zBrush and A:M again. Do sculpting and export displacement maps fom there, then go back to A:M, apply maps and a rig and do some animation. Then, export MDD and render wherever it looks best. Maybe I do some cartoons about a pirate lost on a small Island ... Best regards, Heiner
-

Tell me all you know about Normal and Displacement Maps and A:M
Heiner replied to Heiner's topic in Open Forum
Hmmmm, thanks for that. I was hoping someone uses zBrush or such ... -

Tell me all you know about Normal and Displacement Maps and A:M
Heiner replied to Heiner's topic in Open Forum
Thanks for the answer. But, where do you generate the maps? What settingds do you use? Regards Heiner -

Tell me all you know about Normal and Displacement Maps and A:M
Heiner replied to Heiner's topic in Open Forum
Unfortunateley not right now, because I am sitting in the Philippines with no real acess to my work. But what happend was mainly that the deformation and the displacement was not smooth. Instead I got very aliased results. As soon as possible I post samples. Regards, Heiner


