Kelley
-
Posts
768 -
Joined
-
Last visited
Content Type
Profiles
Forums
Events
Everything posted by Kelley
-
This is it! I checked the original that was copied. There's only one there. Early in my A:M days, I had a problem with white lines highlighting the patches. Nancy Gormanzano showed how to see if there was a second copy underneath. [click on a spline near a CP and Group Connect. Slide object away to reveal what's underneath. Clicking directly on the CP won't work.] But I know that as a .prj grows and models are added, my machine slows and the CTRL>V often doesn't register. So I hit it hard and hold it. That's gotta be doing it. Thanks all.
-
robcat: Thanks for the comeback. It's hard to tell if the 'lag' solution would do it without seeing a cable connecting the two eggs. However; the gas pump .prj looked really outstanding. Tomorrow I'll dive into that. Thanks again.
-
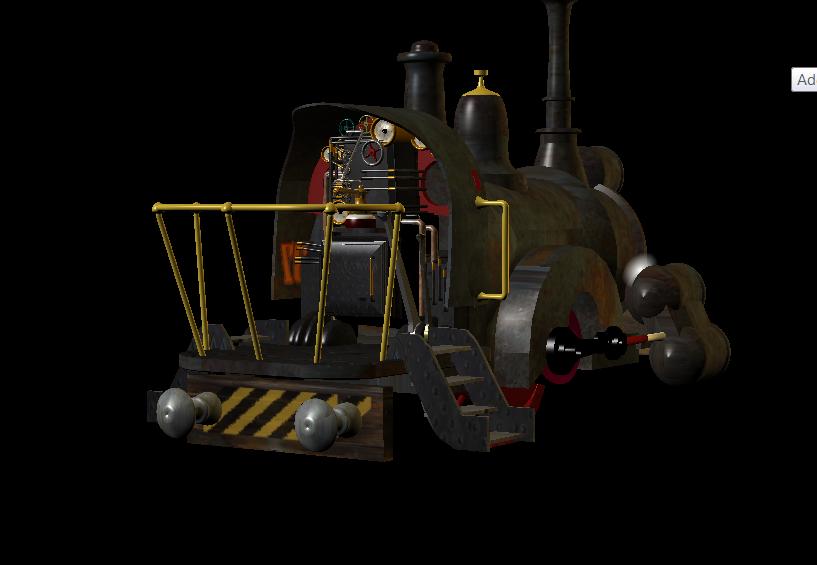
I've spent the best part of the last two days trying to make the X-Machine float alongside The Sentinel. On the first try, it and the umbilical were part of the Beast model. There was a chain of 10 bones starting at Beast's pelvis and running out to the X-Machine. This didn't work because Beast has a rolling waddle, and this just yanked the machine left and right. It appeared to be firmly mounted on a curved pole which was bolted to the saddle. Also, moving the machine always kinked the chain and fine-tuning each bone was going to take years. Then I cut the machine and cable out of the model and broke it into two parts: machine and cable and Translated them to Beast. Same problem, different shape. Then I deleted the bones altogether and Translated the machine to Beast and left it pretty much in place, and Scaled the umbilical to longer and shorter as Beast walks. No good. the biggest problem was keeping the two ends of the cable at the proper point on two surfaces, one of which is moving. It might have worked if I could match one end to the machine, and use the Rotate tool to adjust the other end up or down. But to do that, I need to be able to move the pivot to the machine end, and the pivot [to the best of my knowledge] doesn't move in the choreography. I'm about to delete the X-Machine altogether. It doesn't really play a part in the story. But I thought I'd try you all first. Any ideas? Thanks,

-
When I Copy and Paste between two documents [like between Model#3 and Model#7, but both in the same .prj] I usually get three copies stacked on each other. Any clues as to why that happens? Thanks.
-
Thanks Robcat. I woke up this morning, somewhere in the early hours, and thought "He's following the Model Bone". But I didn't realize that you could 'Translate to' a specific bone in a chain. Thanks again.
-
I have both the rider, and the X-Machine [the drum-shaped object on a tether] Translated to, and Oriented Like, the Beast. I tried adding a Roll Like, but it did no good. There's gotta be a way. Edit: Apologies. I posted the wrong clip. [the rider is there, but turned off.] WALK_TEST_08.zip
-
That did it! Thanks.
-
I have a simple practice animation using Shaggy. He has about seven seconds of movement keyed in. For a while, the animation would play just fine. [in the Choreo. window/Skeletal Mode]. Suddenly, it has locked itself at 04:08. I can't move the slider under the Choreography, or, it just bounces back to 04:08. If I enter the numbers 00:00:00 and hit 'play', it jumps to 04:08. I've set the Choreography length in Properties. I've set the length at the top of the Project Workspace, and I've set the length of the blue bar in Choreography. Still, something is not right. I have a second Choreography going with Shaggy, and there's no problem.
-
Very slick. Very professional looking. My only suggestion [albeit after the fact] would be to speed up the beginning...prior to the throw.
-
I'd go with the gray.
-
Spotlights can have a negative value? This is the first time I've head that mentioned!
-
I lurch forward, step by halting step. I can only get the Flatten Command to work if I'm in Muscle Mode...and point not stressed so far. I asume that's the way to go. However, when applying the grid as a Decal, I can only access the 'Add Image' Command if all the CP's are selected, and when they are, then the whole grid gets applied to each patch. Any thoughts on how to get around this? Thanks.
-
This cries out for animation! You have so many things to look at. Fly a camera through the scene, then do it again with some characters moving. And then again...
-
Good thought. I bought a copy some time back, but have yet to open it up and play around with it. I'll give it a shot.
-
Thanks Caroline, for your posting. [and thanks johnl3D for putting it in .pdf format] From the enthusiastic responses that I'm seeing, this is definitely the way to go! I thank you. The Woods Chunkles thank you!
-
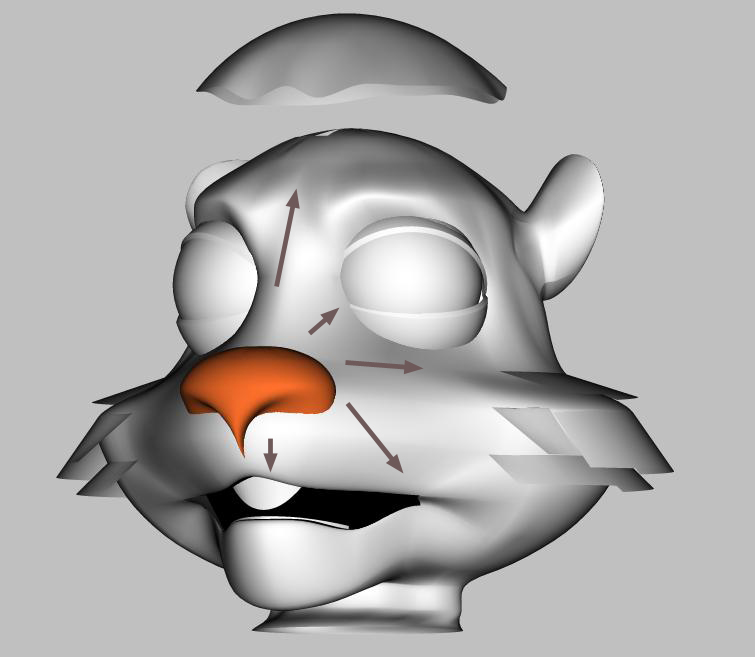
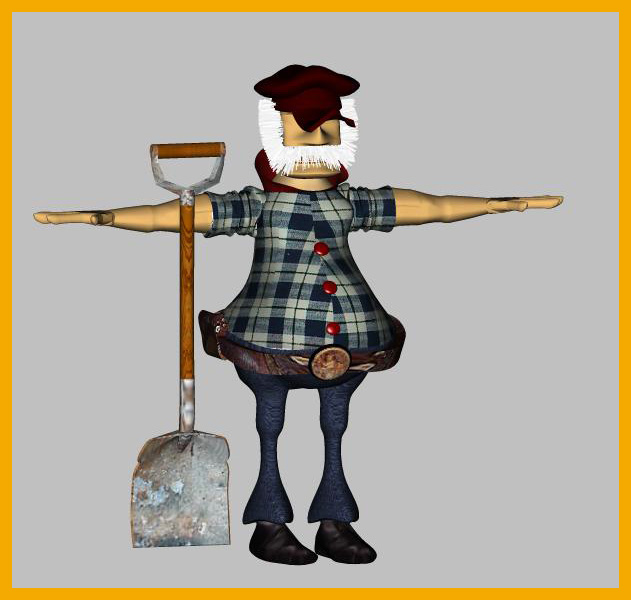
Rodney: I'll dig into Fuchur's site again. I may well have missed it. It is UV help I'm needing, not just Decaling. As you can see from the picture, I need to map hair on a [Woodschunkle] face. I considered using the Hair Function, but that slags the rendering time unmercifully. I've yet to use the Fur, but suspect it's much the same. Also, the Hair would require hours of grooming to make it lie correctly. So I settled on UV Mappping with a Bump Map under. I'm not following your advice on the CP's. How to move, scale, etc., without deforming the mesh.
-
I followed the link, but I'm not seeing anything UV related.
-
Can someone point me to a good UV Mapping tutorial? Thanks.
-
Aha! The dreaded 'dead-end spline'! Thanks.
-
Yup. I had noticed that too. Actually, that posting is the end result of hours of tweaking and re-tweaking. Periodically, it's looked better, and just as often, it's looked worse. But not much worse. And all my mistakes were made in A:M. No imports. Clearly, there's something I just don't get about slpines. "Spline Flow" & "Spline Direction"...I'm not sure. Is it as simple as "direction-on-the X-axis", as opposed to "direction-on-the-Y-axis"? Or can the X-axis have two directions: moving-to-the-right, and, moving-to-the-left? How does one tell the direction a spline is flowing just by looking at Bezier handles? In the diagram Ken posted, I see how the red line on the left is a problem. But the red lines on the right side seem to be accepotable four-point patches. What's the problem there? I've been trying to apply the lessons tendered here. So far, with mixed results. I realize now that [for the most part] the CP's with more than two splines are the result of trying to extrude the nose outward. It would appear that this makes a spline on the Z-axis. For the sake of asking: is this as bad as it appears, or can an extrusion be done? Randy: Thanks for mentioning the center-spline on the Y-axis. I'd been coming to the realization that this was perhaps crucial, not optional. Vern: Will A.R.M. be up soon? I think there's some articles in there that I could use. Thanks all for checking in.
-
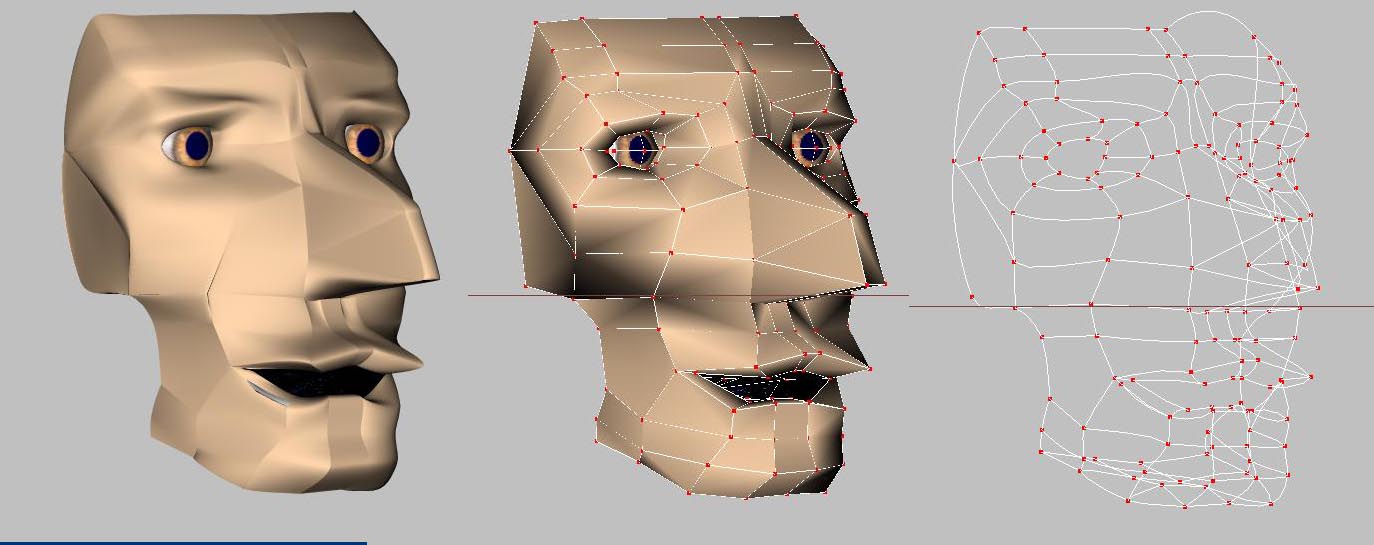
Here's a comparison 3-shot. I see two of the CP's with more than two splines running through, but they don't seem to be the worst of the creases. Thanks for the help. Any suggestions on Spline Organization, and face modeling. I've got the TAO and A:M 2000, 2002 and A:M Complete Guide.
-
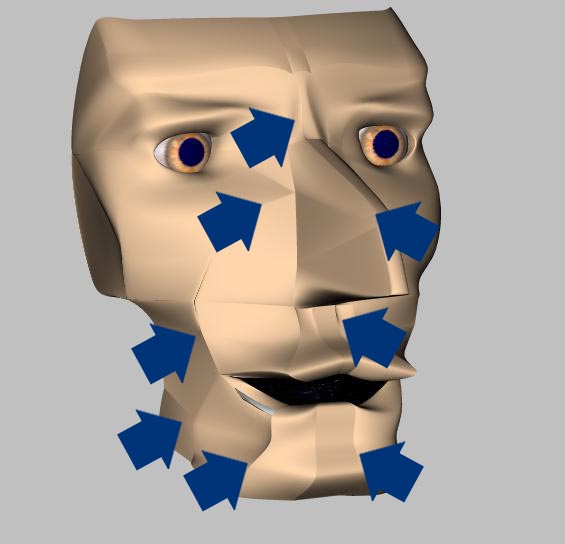
Every time I try to build a head, when I try to patch sections together, or fill ares by closing off with a spline, I get a complete mess like the pic. shown here. I try to pull and adjust the Bezier handles, but it nearly always makes it worse. I doing something fundamentally wrong, but haven't a clue as to what.
-
Now on to the bones...
-
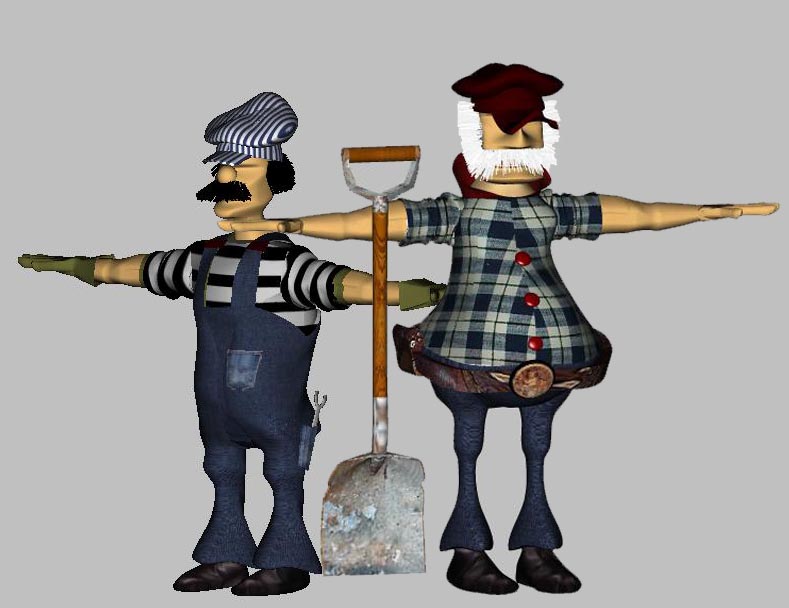
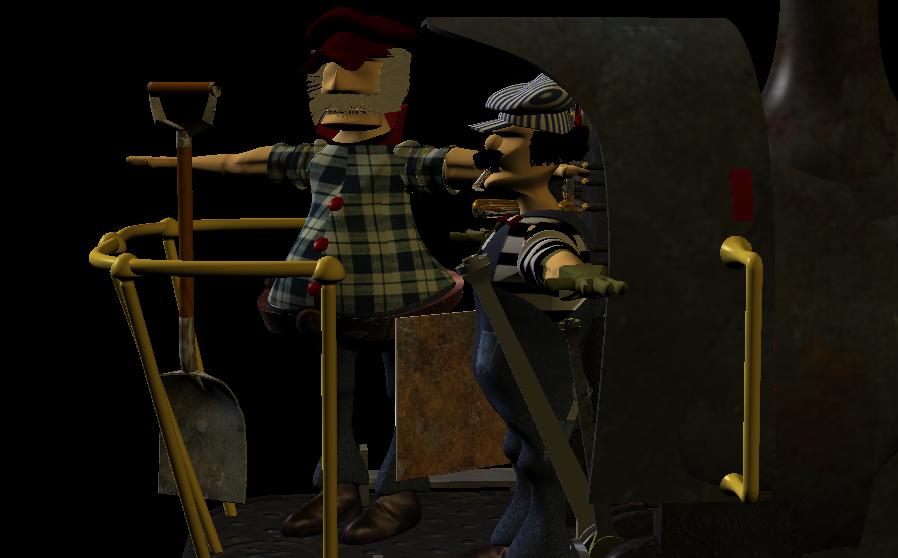
Here's the Fireman for the locomotive. Engineer to come...
-
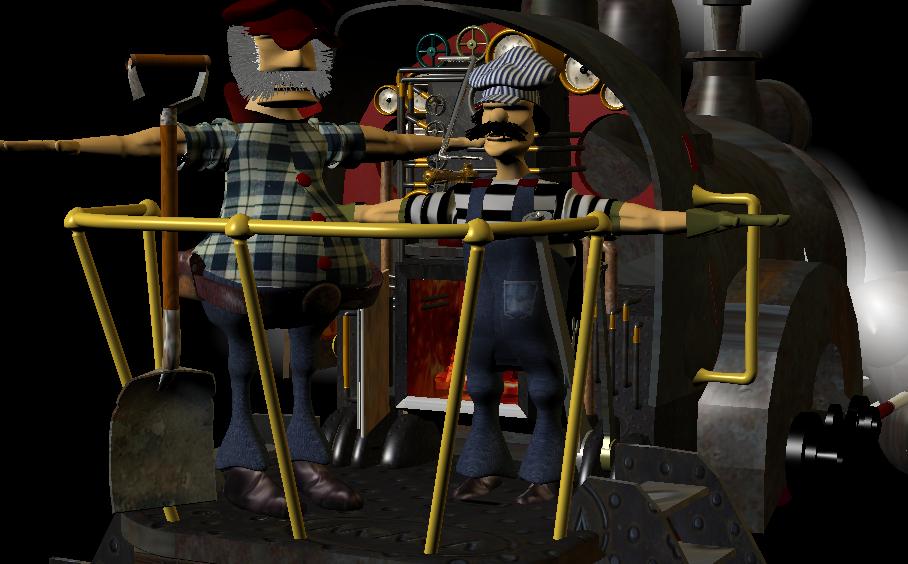
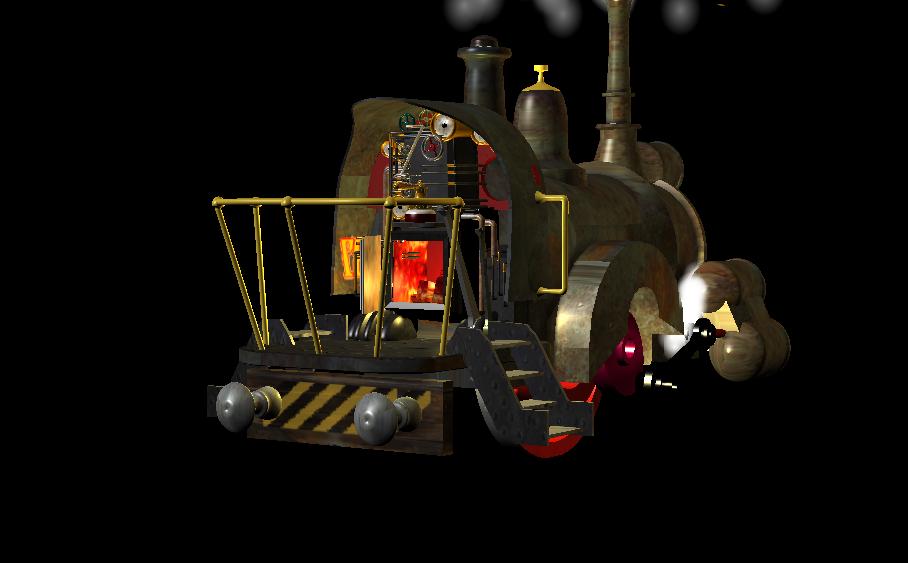
Finally finished up the engine's cab. Now for the engineer and fireman FIREBOX__zip__DOOR.zip