MattWBradbury
-
Posts
1,410 -
Joined
-
Last visited
Content Type
Profiles
Forums
Events
Everything posted by MattWBradbury
-
Great model! It looks like something I'd expect to see in TWO. Or is it a TWO model? Either way, you have some great spline man-ship. You would have to use a lot of hair in order to get it looking natural. Texturing (for rendering time) is your best bet. Is this character going to be more chartoonish, or are you going to make at jump for realistic (all you need is textures)? I never really was the great at reproduced faces correctly (Probably because I've only made one).
-
Greg, The Quake II Engine was used for games produced top notch games four to six years ago. Games like Half Life 1 and Solidier of Fortune were based off of the Quake II engine. Remember that the games coming out right now were being made about three years ago. If you really want to compete with the games coming out right now, you should be looking for engines that have fully integrated HDRI source. Look at Half Life 2 Episode One, Day of Defeat, Call of Duty 2, Top Clancy's Splinter Cell Choas Theory, Far Cry, Huxley, Gears of War, and Unreal Tournament 2007. I do not know whether or not the Doom 3 Engine has flight simulator source in it. If you plan on having a lot of out door areas, you should really look towards the unreal engines. They are much better adept to rendering outdoor scenes than Doom 3 because of the lighting different from the two engines. You are also going to want to look at engines that have light map baking for topography.
-
$40 is quite a bit for a game. Though if it has a great story line and great believeabily then you could even sell it for as much as $54. I'm using some light gels to filter the light into the room, but I have no idea how to use light gels for point lights.
-
I just bought the game, and used the target extention +editor. This turns the shortcut into the executable for the editor it'self. You can download Half Life 2's editor off of Steam when buy a copy of Half Life 2. For the quarter million dollars you would spend on the Quake III engine, it will come with tons of tools and instructions on how to use those tools. The Doom 3 editor uses the Doom 3 Engine to compile and run the maps produced by the editor. So you do not actually minipulate the engine itself. Right now, the Unreal III engine is being used to make some of the best looking games coming out on the market right now and the future. If you want to see some of the upcoming games that the Unreal III engine is making, look up Unrealtournament 2007 and Gears of War. The doom 3 editor, just like with most game editors, comes with all of the textures and prefrabricated models that are in the game. This allows users to create their own maps filled with monsters, triggers, and they can even recreate their own game if they wanted. They must only stay within the grounds of the editor. Another thing you have to look at is the way inwhich you load models into the game. Doom 3 uses 3D Studio Max modles, so you would have to also own a copy of 3D Studio Max inorder to create your own modles to import into the game. That is why having a 3D Studio Max exporter for A:M would be awsome. Though again, that would cost a lot of licensing for Hash Inc. to do that, and it would inevitably lead to a higher price for A:M, and we all don't want A:M to cost the price Maya.
-
This engine is quite complex, but there are far more complex map editors out there. Half Life 2's source engine had tons of physics including: ropes, welds, sliders, friction, elastics, ballsocets, magnets, and even thrusters. Doom 3 is more based on static environments filled with realistic lighting. The only thing is the size of maps. Games like Half Life 2 and Doom 3 have relatively small map sizes compared to games like Grand Theft Auto III where you have miles and miles of map. It is always going to be quality vs. quantity.
-
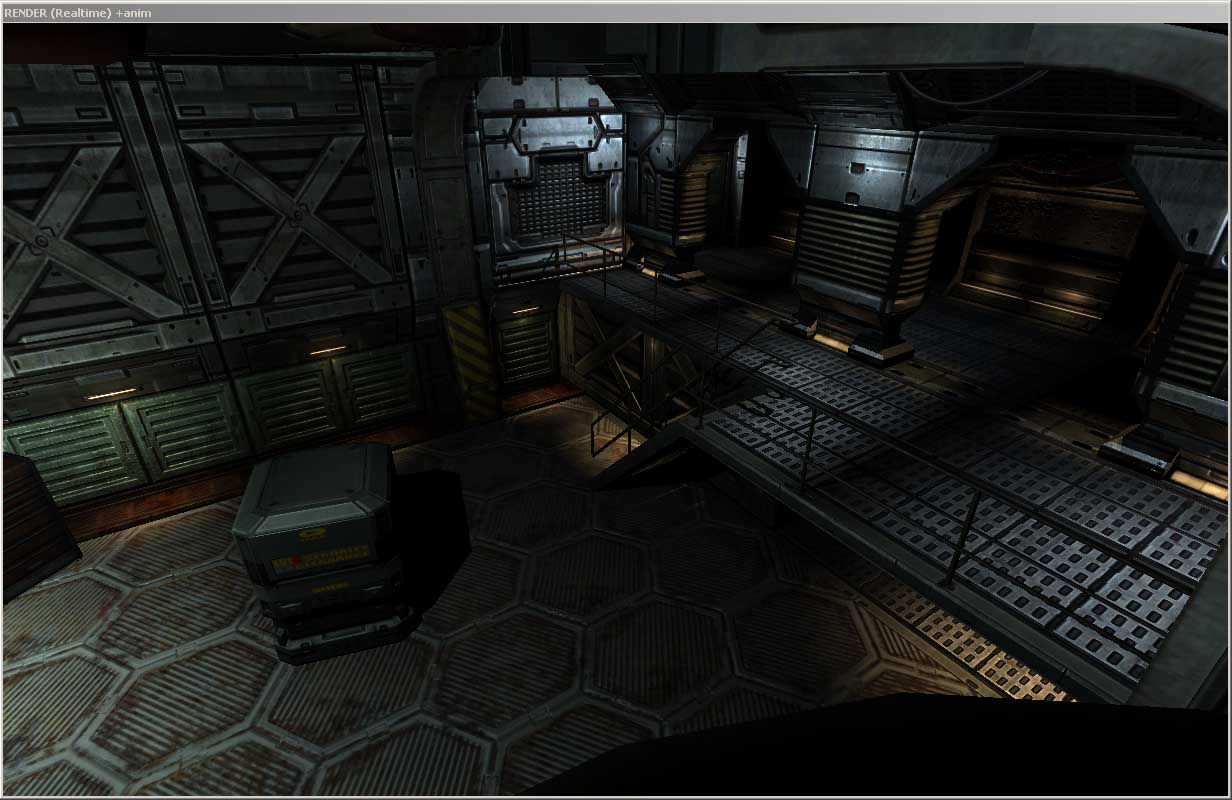
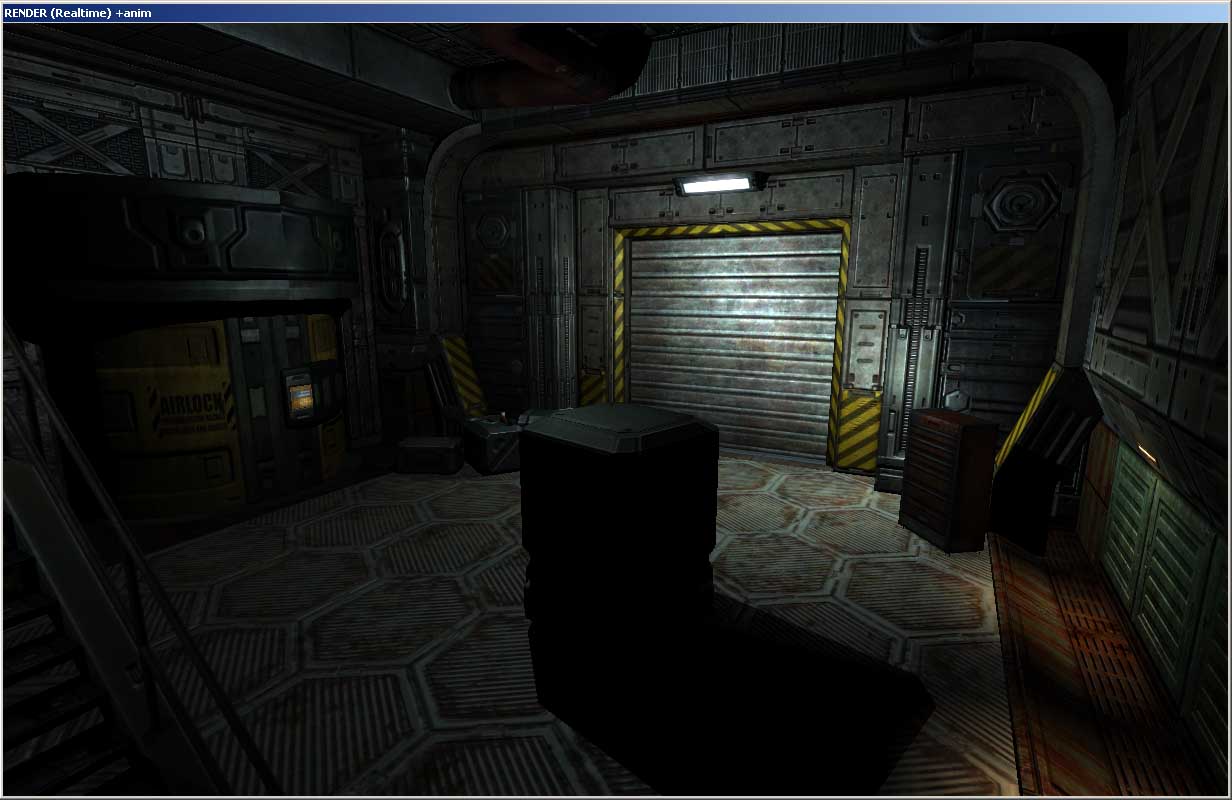
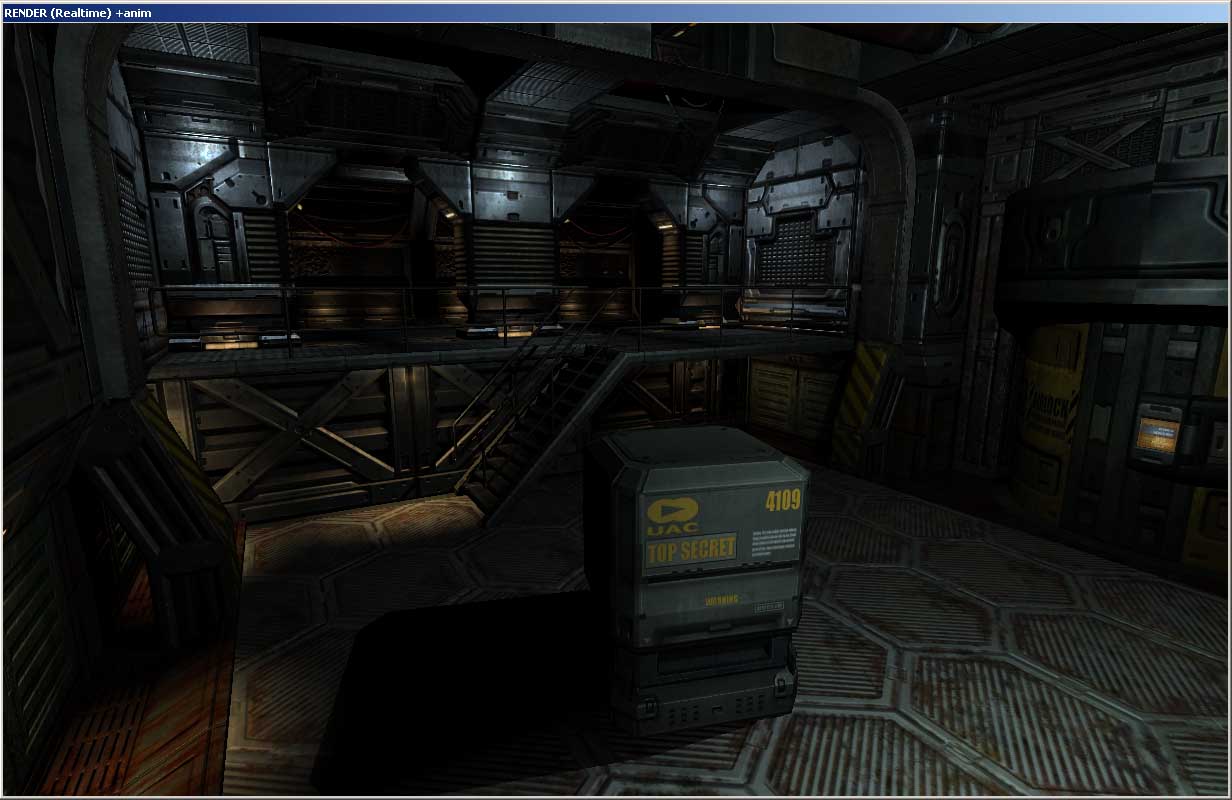
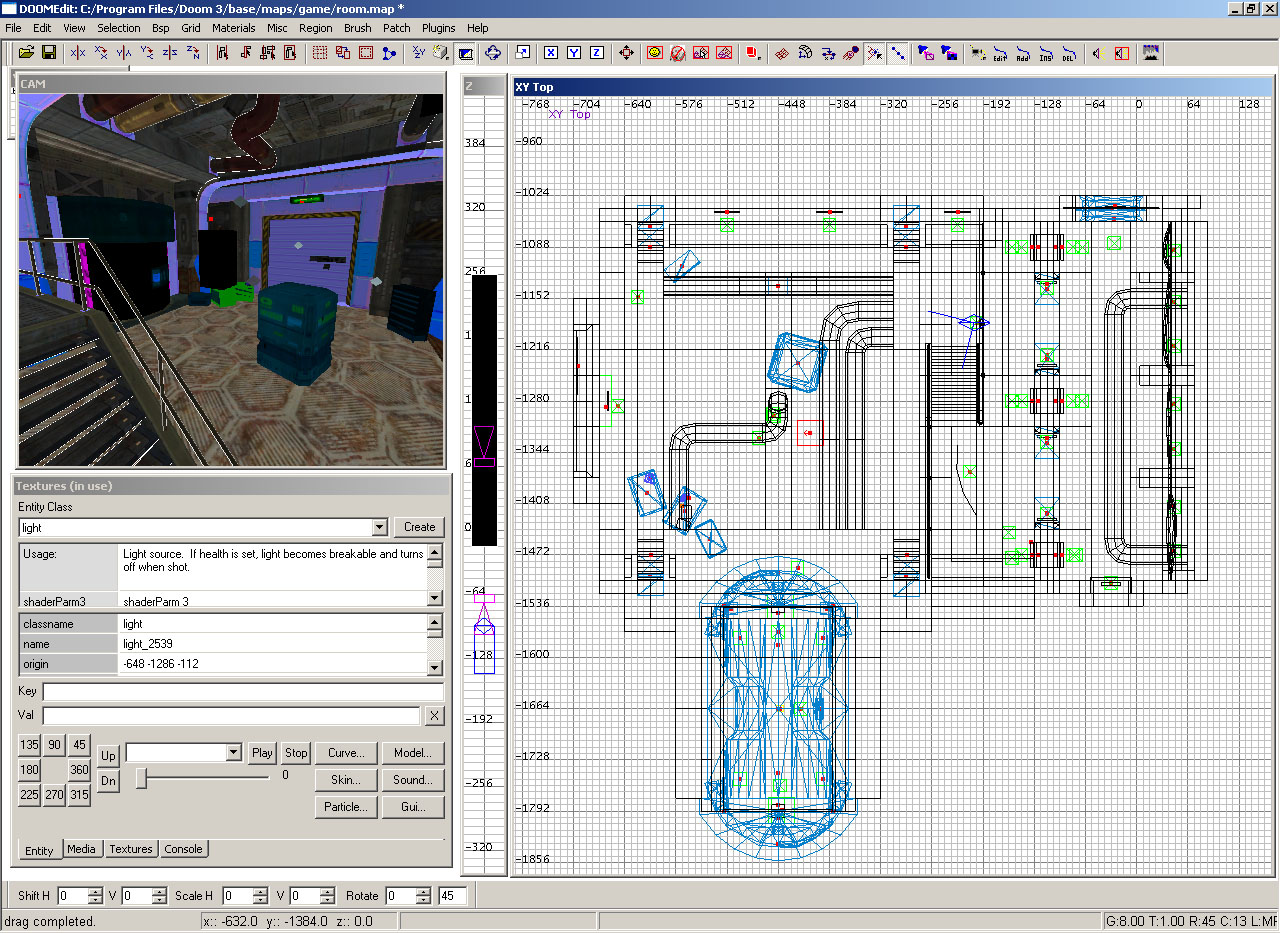
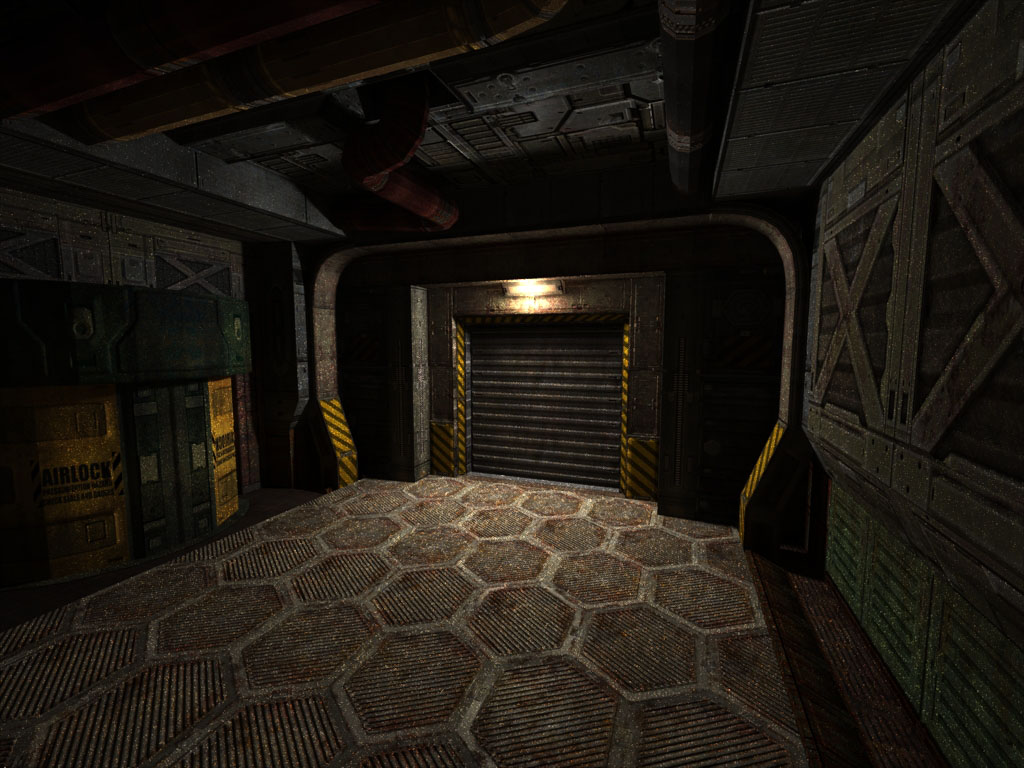
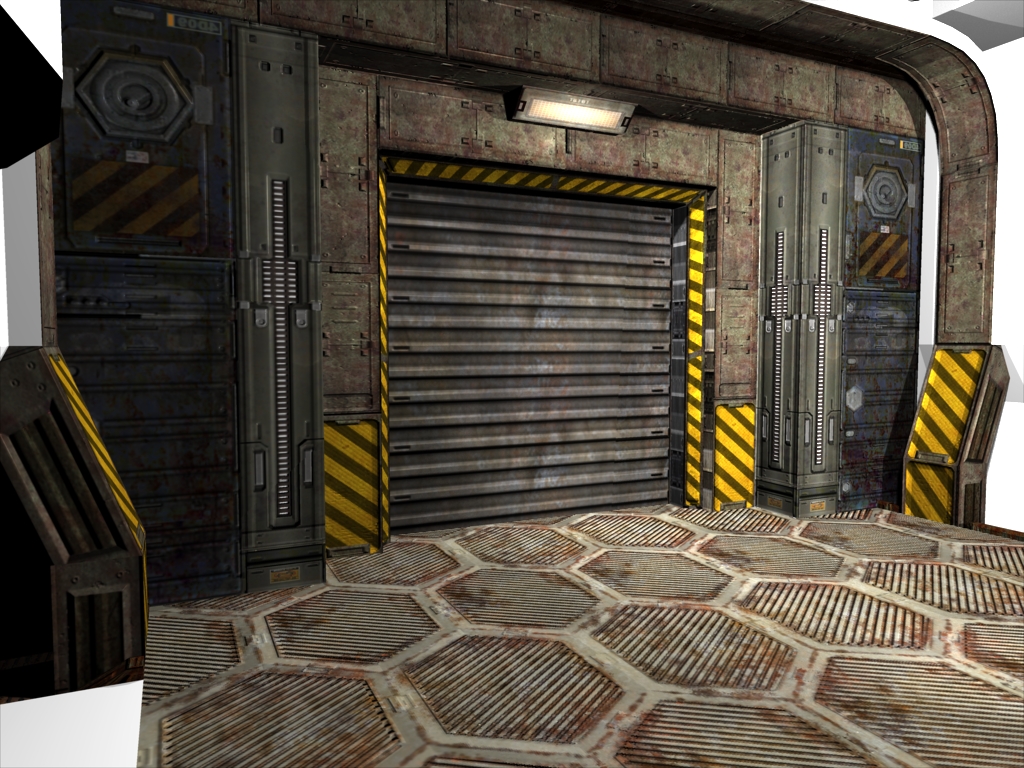
Here are some screen shots from the Doom 3 garage I am translating into A:M. [attachmentid=14660] [attachmentid=14661] [attachmentid=14662] The guys at ID software really know how to make a cold and dingy atmosphere. There are decals that I have not yet placed on the garage floor, and there are also objects in the room that I have not created yet. The aspect of the Doom 3 engine I like the most is that all of those shadows are real time. I could move the light around the room and everything would update their lighting. These screen shots are what I would like to see in A:M real time, but that would take a lot of time to write, and the the A:M team already has enough work to do. This is what the editor looks like if any of you were interested. The project is fairly simple; it just entails a lot of decaling and correct alingments which can be very time consuming. [attachmentid=14663]

-
Okay, here's the render. You can see what I mean by the noise I mentioned eariler today. This is due to final gathering. Total render time was 14 hours! I edited the render in photoshop by using the dust and scratches noise remover; it worked quite well. Total noise reduction post effect time .37 seconds!
-
I've done my own rooms and textures before. This time around I wanted to see what A:M's photon mapping could do to a scene from Doom 3. The Best way to do that was to recreate the garage and apply radiosity to it. The only thing is, this process of recreating the garage is taking a long time. I have already increased my skills of decaling by twenty fold! I will build my own room with my own textures after I see how this turns out. I am rendering a scene with radiosity, and currently on pass number twelve, there are spots everywhere. I will probably not use final gathering for any further renderings because of the noise it creates. I'll post it when it finishes.
-
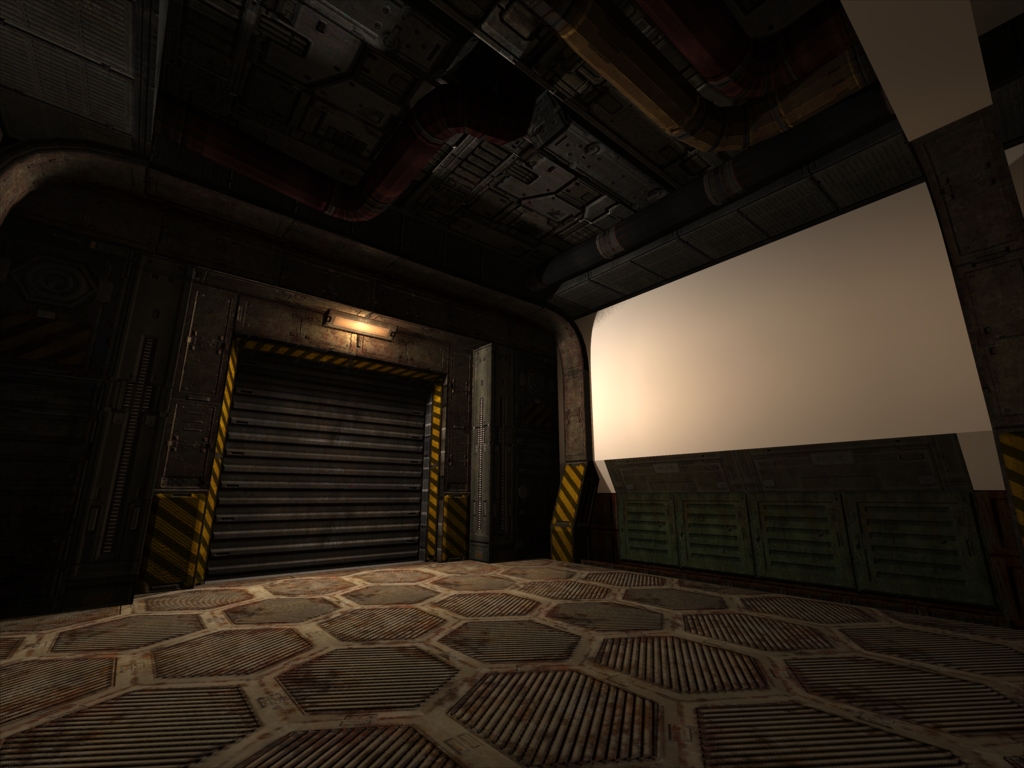
I did some more decaling on the cieling and the walls. I expect that decaling will take about another twenty hours to finish. I'm already up to seventy textures, and around one hundred decals. I like the way that this is turning out. Maybe I'll recreate one of their security guys to sit in the scene, though I do not have much skill in modling a human. Here is what I have so far. I'm going to tackel the giant white wall in the shot next.
-
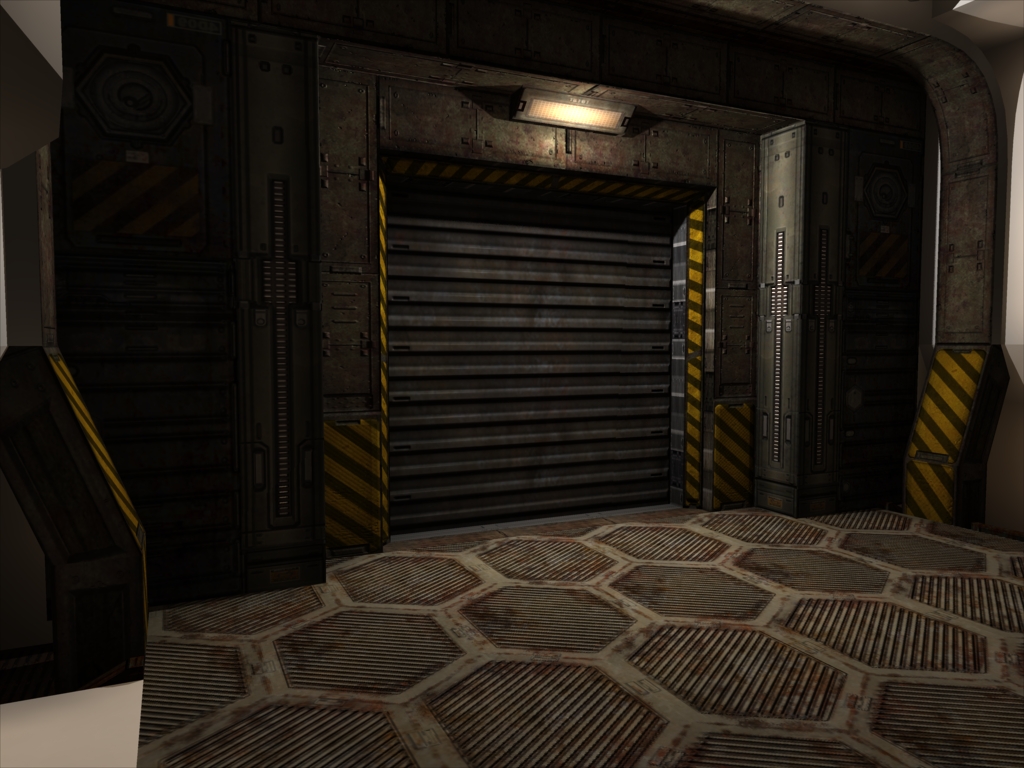
When the texturing is finished you won't be able to tell there are sharp edges on everything. The textures in Doom 3 all of local maps (normal maps) that make the geometry appear as though it were beveled. The main point of this project is to perfectly replicate the garage as possible. That is why I made the pipes have peaked edges.
-
Here's the renders. I'll add more textures today. The radiosity looks a little wiered because I didn't use final gathering.
-
Thanks for the complement Martin. I find peace in knowing that my mind doesn't just drone away at video games all day. The only challange I'm going to face in recreating this garage perfectly is the lights themselves. Doom 3's rendering engine uses square lights (Light falls off at different values in the XY and Z Plan). Some lights have very odd forms to them like a trapizoidal prysm with the center of the light off from the center of the prysm. I'm going to render a radiosity render overnight just to see how it's doing. The decaling is no where from being complete, but because I'm using only one light, the radiosity shouldn't over expose the diffuse color of the model.
-
I didn't have much time to texture any of the patches though I did manage to get a quick render out to see how things were coming. From the render, I know that I need to reverse some normal maps. The hazard strip normal maps are defininatly in reverse.
-

Golden Gate Bridge High Detail model
MattWBradbury replied to MMZ_TimeLord's topic in Work In Progress / Sweatbox
So are you going to add all of the bolts too? The only thing stoping me from making modles super mega ultra huge in scale and patch count is the stability of my computer. -
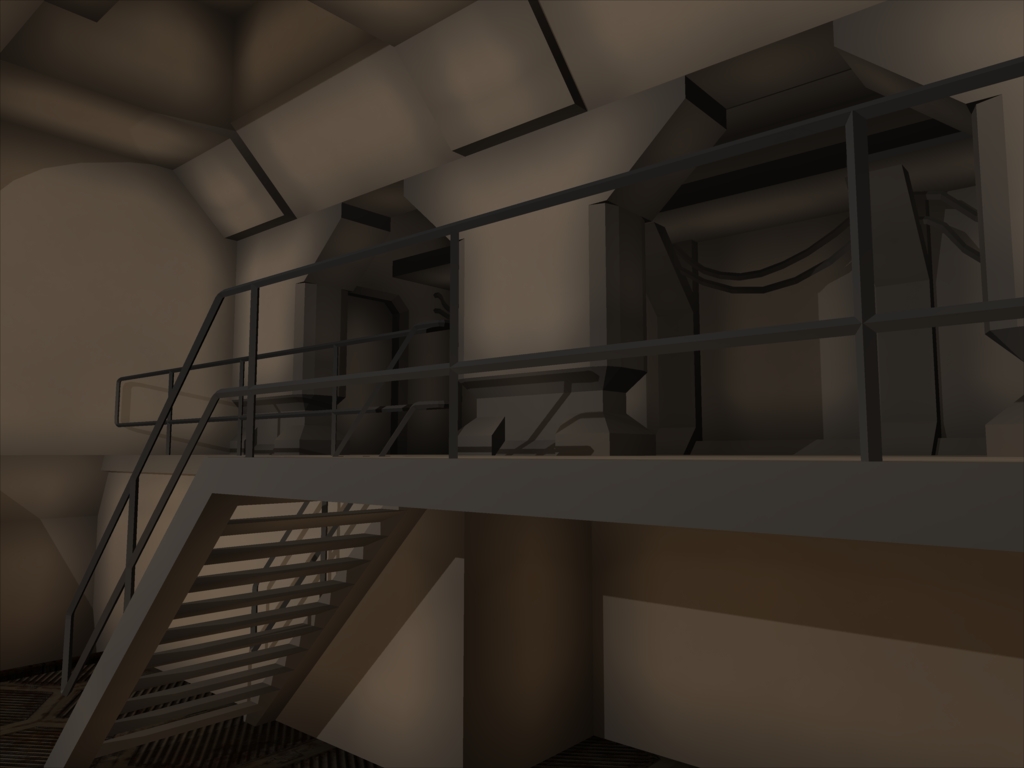
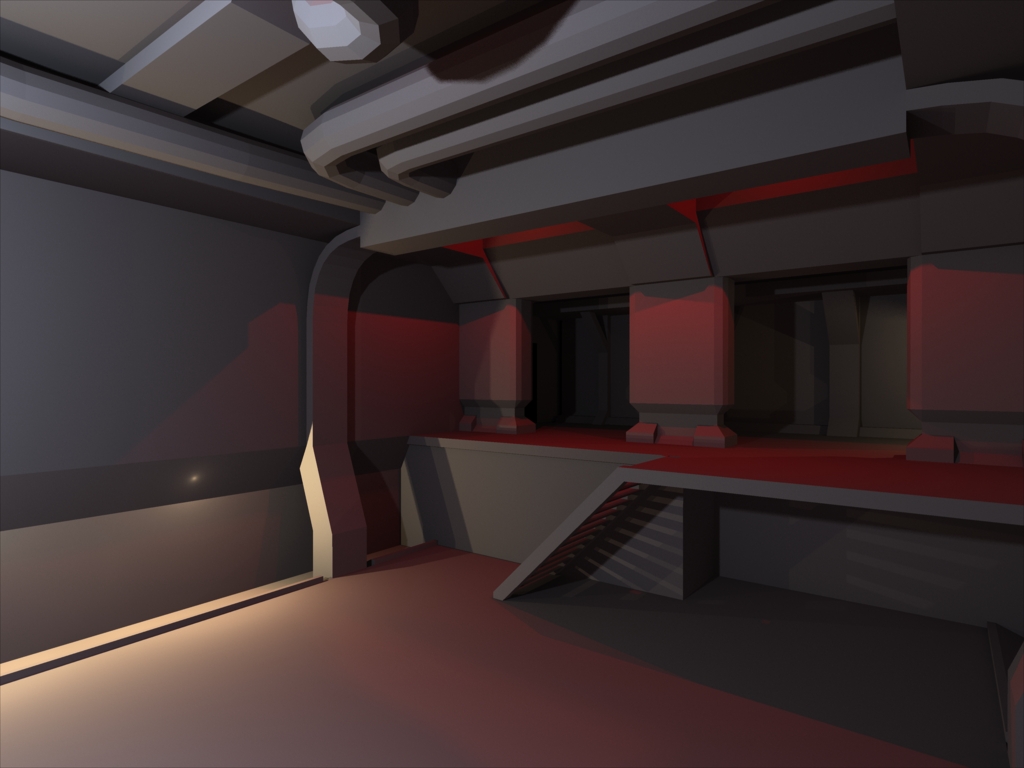
I have always wanted to see what doom 3 would look like if I rendered it with radiosity. The game engine does not have any baking for lighting, so every light is ray traced. I've used the editor to take measurements of the garage I wanted to recreate, and I'm using textures from Doom 3 for all of the surfaces. The entire geometry took me around twelve hours to input into A:M, but the results are already very cool. Here is a render that I did yesterday with photon mapping but with no texturing. [attachmentid=14610] Since the image was rendered, I have added railing, more pipes, wires in the back area, and a few textures. The animation shows the room a bit better. I would have stoped at the matte white model to check radiosity, but I realized that the scene was intensly bright. By adding dark textures to the surfaces, the photons will become darker and radiosity will look more natural. Partially_Textured.mov
-
--
-
This isn't going to involve coconuts is it?
-
v13 alpha three patches two diplacement decals
MattWBradbury replied to johnl3d's topic in Work In Progress / Sweatbox
What in blue-blazes am I looking at here? Is this a planet with rings like Saturn? Looks How long did it take you to render this at that distance? -
Could anyone do a quick Newton Physics test for me? Take the holed cylinder and the long rectangular cube, and put both of them in a choreography, and make the cylinder a dynamic object, and the rectagular cube a static object, then calculate the Newton physics. I have had no luck with trying to get holed-cylinders to calculate correctly. Thanks to anyone who helps. Newton_Model_Test.zip
-
I was experimenting with the Newton Physics in v13 Alpha and found that it is working much better than before. In the attached movie clip you can see several oddly shaped objects falling on top of each other. The lighting is done with Ambient Occlusion and took 33 minutes to render. To set up a sequence like this make any object like a ball and throw it into the choreography. Next you are going to have to set which objects will be used in the simulation. To do this click an object you want to use in the simulation. Go to Plug-in Properties, then Newton Dynamics, and turn Use in Simulation to On. Then you are going to set whether it is a static object or a dynamic object. Do this for every object. Remember that the ground needs to be in the simulation or else everything will fall through it. Once you've got everything into position right click on the Choreography and go to Plug-ins and Simulate Newton Physics. The most important thing to know about Newton Physics is that the default center of gravity is at the origin. If you moved the object away from the origin you'd find that you get some very odd physics when you simulate your sequence. Another thing that you want to do is make sure that your normals are pointed outward so that collision detection doesn't mess up during simulations. Fall.mov
-
Finally Sweeper can be mine!
-
Did you use the displacement foot print plug-in for v13 Alpha to do the foot prints?
-
Are you going to model Jak too? Or how about a jetpack?
-
Let me guess; sweeper doesn't come in the alpha version.
-
If it's going to be a rock slide you could use newton physics to help you get a general idea of how the rocks would fall, or you could just use the physics movements in your animation.