largento
-
Posts
3,827 -
Joined
-
Last visited
-
Days Won
31
Content Type
Profiles
Forums
Events
Everything posted by largento
-

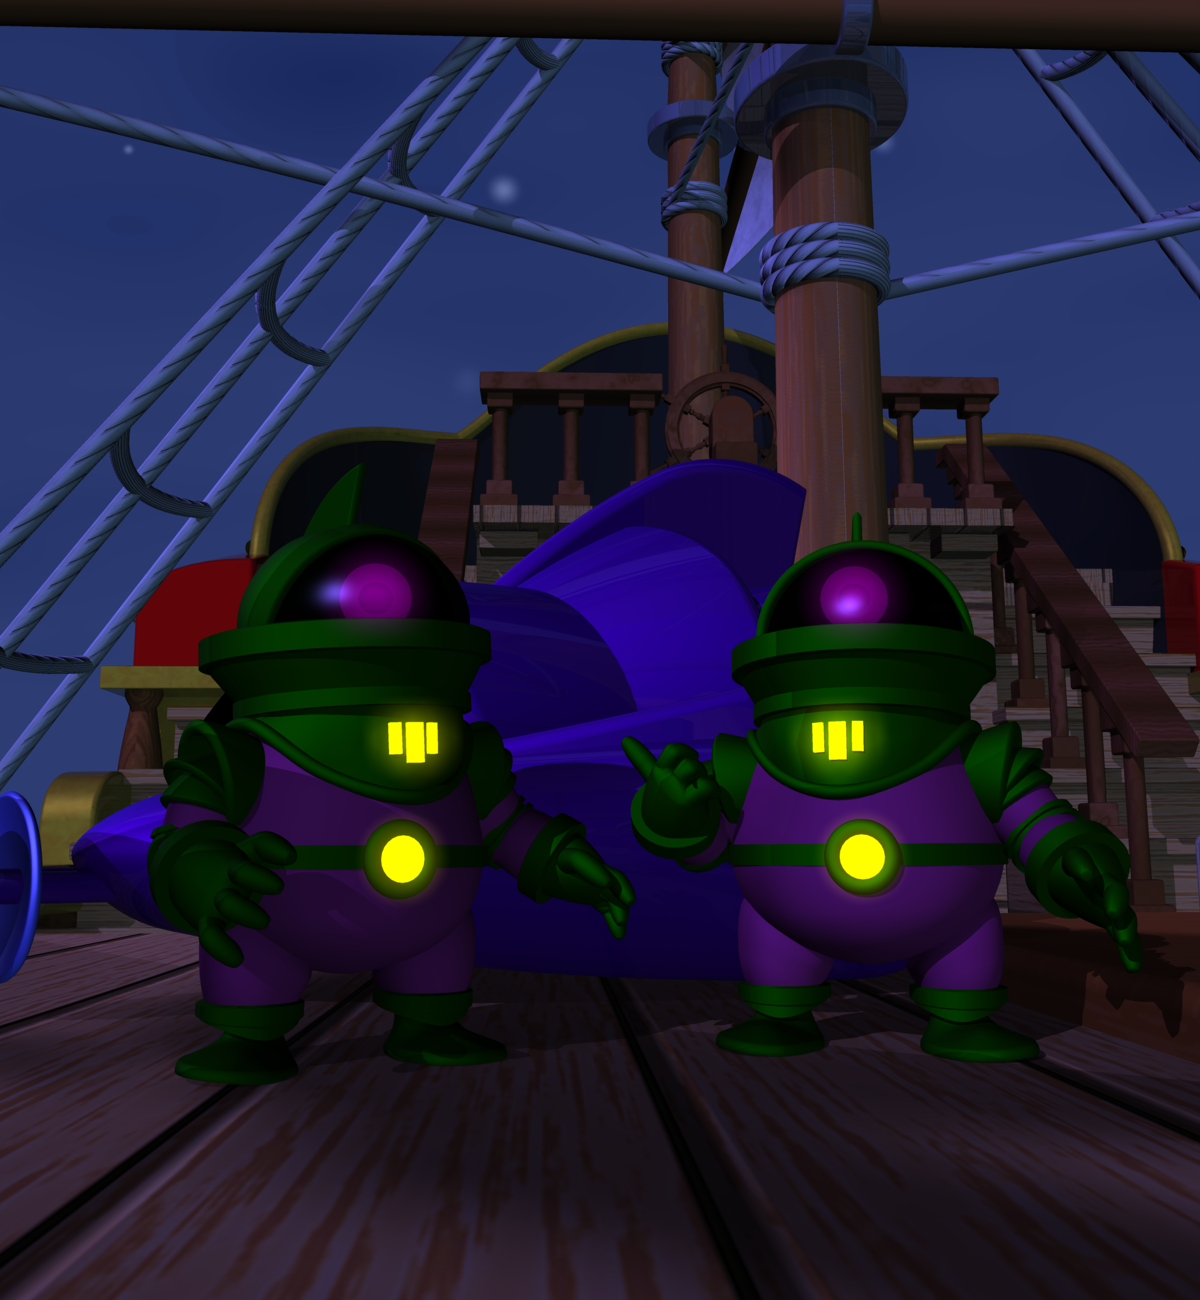
My WIP Mascot entry at the time my computer crashed
largento replied to Eric2575's topic in Work In Progress / Sweatbox
Cool, Eric! -
That was great, guys!
-
Great job! Very clean looking design!
-
For me, it seems like longer sometimes. :-) The 2-year anniversary is for the website. Production actually began at the same time this thread did, at the beginning of September, 2007. Stalled Trek was always a substitute for not having an idea. It allowed me to have at least some focus while I was learning, since I was *very* much a newbie, too. (I only seriously began trying to learn A:M when I upgraded in February of 2007 after briefly messing around with it for a month back in 2004.) However, since it was a parody of an existing property, I kept feeling pressure from the comparison to the real thing ...and there was at least one stinging remark that I wasn't really working on my own thing. That said, I didn't expect that The Wannabe Pirates would become an ongoing thing like this. The idea was to do a quick short film and maybe some sequels. I think it's important to note that I'm not doing the webcomic in place of doing the movie as much as I am making sure the webcomic continues at the cost of not doing the movie. There's an important distinction there. I didn't say to myself, I'll dump the movie because it would be easier to do a webcomic. I was facing the end of the webcomic unless I kept it going and that meant not doing the movie. In some aspects, I think doing the webcomic is harder. For one thing, it's never-ending, which means new characters, sets, props, challenges. It's not like a short film, where you can see an ending coming. And for another, once you begin, there are real deadlines. I'm at the point where I'm always less than a week away from when the strips go up on the site. It's produce or die! :-) Pumping these out, as you say, is an enormous amount of work. But I think the rigors of doing a 5 day-a-week strip are allowing me to continue learning and growing with A:M. I certainly feel like it's given me a tremendous amount of practice with posing characters and as challenges come up, I'm exploring new features of A:M that I hadn't before (fluids, flocking, fog, etc.) By the time I make it to the 5-year anniversary, I should be pretty good at all of this stuff. :-)
-
Holy cow! Thanks, Mark! Now I gotta' lotta' patches to mess with. :-)
-
Thanks, Gene! Mark, I haven't any clue how to make the rope decals work on both sides. The strip is pretty small, so it's not too noticeable, but I'd love to figure out how to make it work...
-
I'm loving using the Technocrane camera rig! It really gives you a sense of control and it's fun to play with the focal depth, too.

-
VERY nice!
-
Myron, I think these are great and could really catch on big! A really cool update on that look!
-
Thanks, Jake! Ken: the way I've been explaining it is like the old DC Comics multiverse. We can call the version of Earth that Flemm is on Earth F and the Earth that Greyhawk is on is Earth G. So, this would be the versions of the Starbucklers that live on Earth F. Presumably there's a realistic version of Flemm on Earth G (if he's managed to survive this long!) So the designs will match Flemm's world. It also gives me some freedom to not stick exactly to what we have in the Greyhawk strip... specifically some of the elements of Greyhawk Island. K'Bor's tusks definitely prevent him from doing too much with his mouth, although it does extend enough to allow for some movement of the corners of his mouth. his "eyebrows" and body language are going to have to carry most of the weight when giving him facial expressions. Glimey is the one that I think will present the most challenge that way. His eyes are up on stalks and his mouth is kind of turtle like. The last of the characters (on the Starbucklers' side) that I need to do is Greyhawk. He presents his own challenge in that both Greyhawk and Flemm were based on McCrary and so look very similar (besides hairstyles and Greyhawk has an electronic eye instead of an eyepatch.) It's not part of the plot that they look alike, so i'm thinking the way to go is to try to make them look different. Although it would be much easier just to use the Flemm model and change the hair. :-) Maybe I should change the plot. :-)
-
Thanks, Nancy! In this case, it's a plugin for Photoshop called Aurora 2.1 from here. It lets you create custom skies (including water) complete with 3D clouds. I found it on sale through another site a year or so back and picked it up. I haven't used it enough to unlock it's full potential, but it has presets you can use as starting places. (This image is actually scrunched up since I just stuck it in the camera at the last minute.)
-
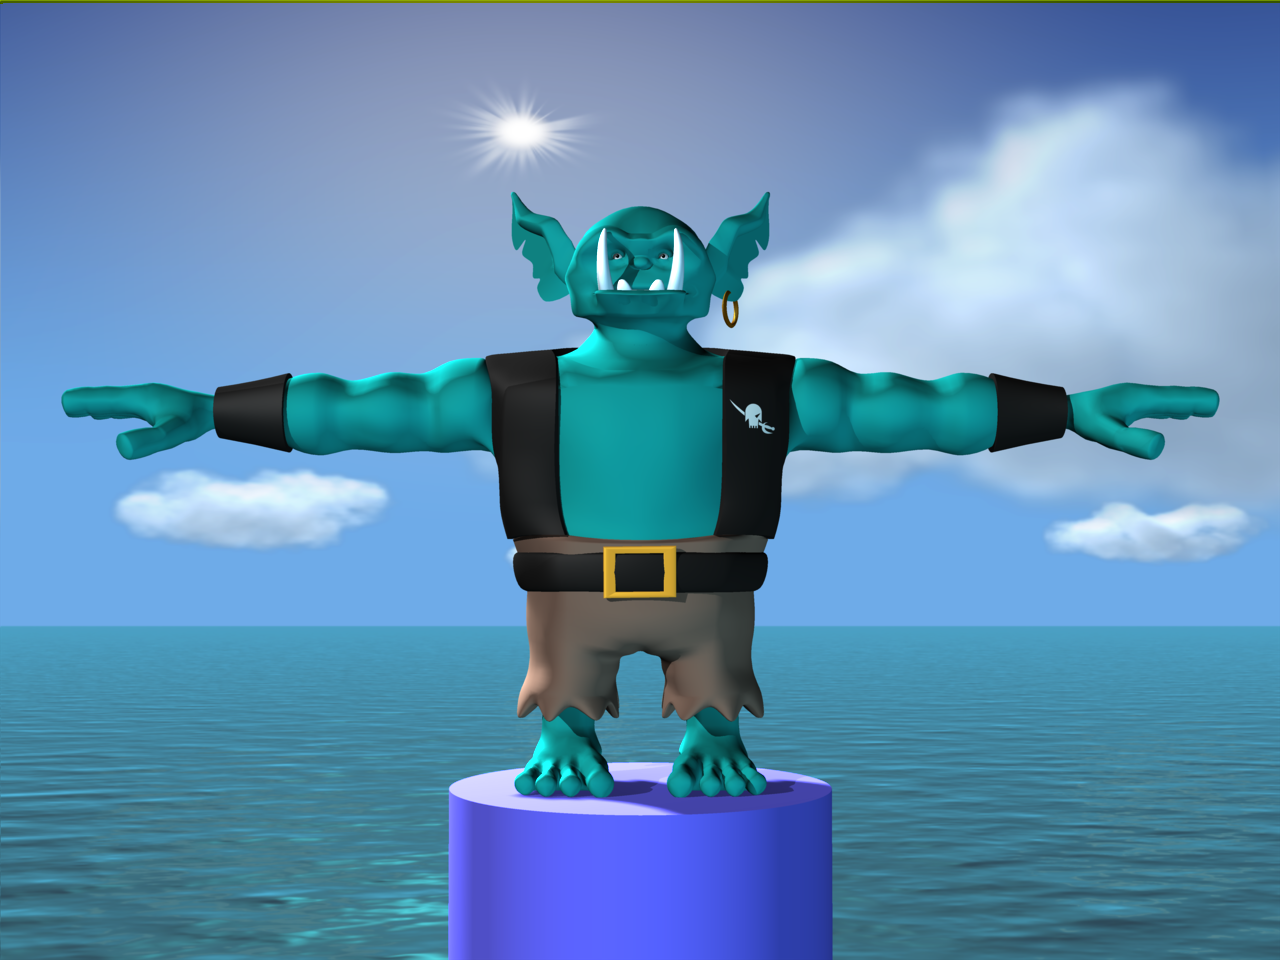
And I keep rolling merrily along... Here's another one of the Starbucklers of the Caribbean characters: K'Bor! K'Bor's a sort of gentle giant character and Greyhawk's protector. Had some trouble figuring out how to do him and ended up working sans rotos and just starting with the eye and working my way out from there. A very different approach than what I normally do. Big thanks to Ken H. I Frankensteined the legs and arms from the Giant Gorilla model Ken did for me.
-
Yeah, it has the same gold material, but since the patches are flat, there's nothing interesting to see. For the final in the strip, I added some roughness to achieve contrast that way.
-
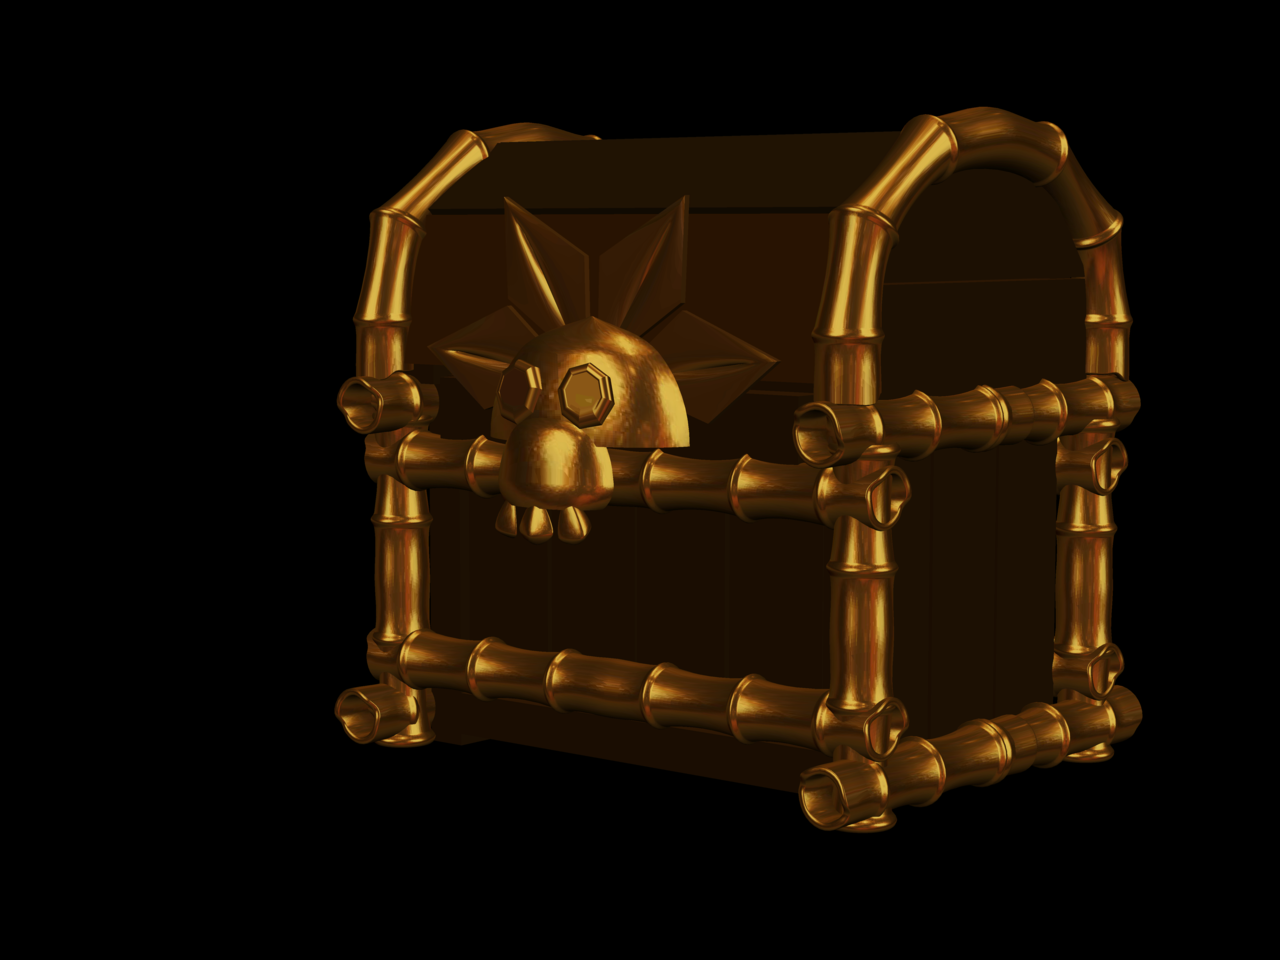
Thanks, Nancy! Here's a quick prop I threw together today for the next couple of strips I'm working on. The idea of this was part of the original animated story McCrary and I worked on. This is the Indescribable Treasure of the Coconut King. Big thanks to the MatCap shader. Really makes the gold look cool.
-
Looking forward to it!
-
Hmm. I don't save Projects, myself. I have places that I save my files, keeping them independent of projects. Opening a choreography or an action, automatically loads the needed files, which works just fine for me. Haven't had a problem with Choreographies forgetting where the files are.
-
Thanks, Ken! You misread the first, it isn't "Have at it," It's "Have at you." "Have at you" is great old Errol Flynn sword-fighting talk. Here's the definition of it from Wiktionary: have at you (dated) an exclamation indicating that one is about to strike the person addressed, typically with a sword or other hand-held weapon. E.g., "Dark and sinister man, have at thee." Barrie, Peter Pan. I actually did write out the dialogue with "and" the first time and then decided it didn't sound right and changed it to "until."
-
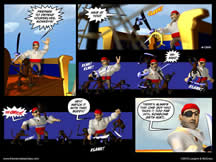
Thanks, Gene! Today's strip is the oversized one with Flemm and the monkeys sword-fighting!
-
Could it be possible that you have an accidentally caused a very large number of patches? (Right-click in the model window and select "Info..." to get the number.) Your symptoms sound like what happens while working on a very complex (ie large patch count) model. It is possible to have multiple CPs in the exact same space caused by holding down the extrude button, for instance.
-
Just a reminder that today is The Wannabe Pirates webcomics' 2nd anniversary! Be sure to read the blogpost on the site and enter to win the poster and graphic novel! And if you're really feeling generous, vote in the link below!
-
Sounds cool to me, Rodney. Thanks, Mark!
-
Thanks, guys! Could be a ninja monkey, Myron ...but if he was really a ninja we wouldn't be able to see him. :-) Ken, Flemm is having the time of his life!
-
Seems fine to me, Rodney. :-) Have you added the Wannabe Tutorials to the tutorials section?
-
Thanks, Animus!