largento
-
Posts
3,827 -
Joined
-
Last visited
-
Days Won
31
Content Type
Profiles
Forums
Events
Everything posted by largento
-
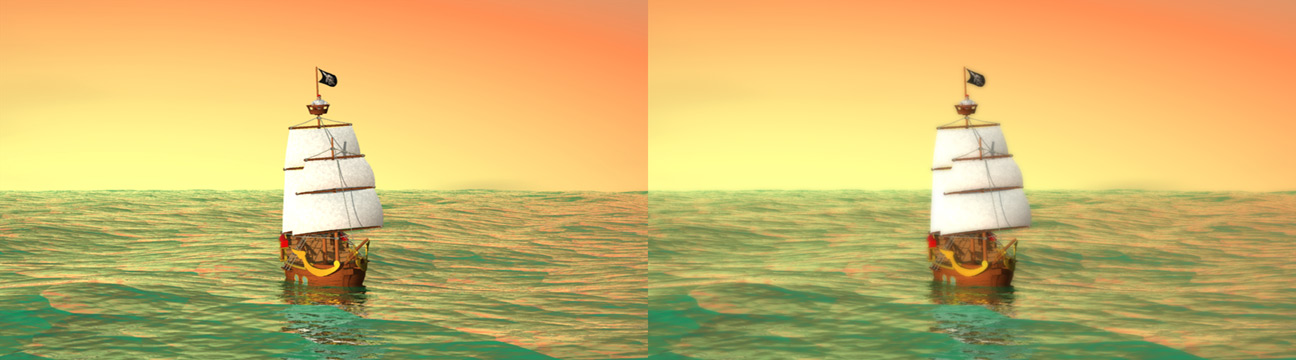
I am having so much fun with this! The Wannabe Pirates comic book! Issue #1 is already available here. I'm working on issue #2 which will come out in August. Here's the cover: I love doing these old-style comic book covers with dialogue on them.

-
I assume the same way wooden boats kept the water out. :-) Awesome as always, Stian.
-
I can commit to doing a segment.
-
And... if we can move fast enough, we could have it done by Halloween!
-
I'm on board with the Monster Audition, too. A monster could be a very simple model made out of simple shapes, so I don't think it would be too tough for even the most novice modeler. I like it. It's got my vote, too.
-

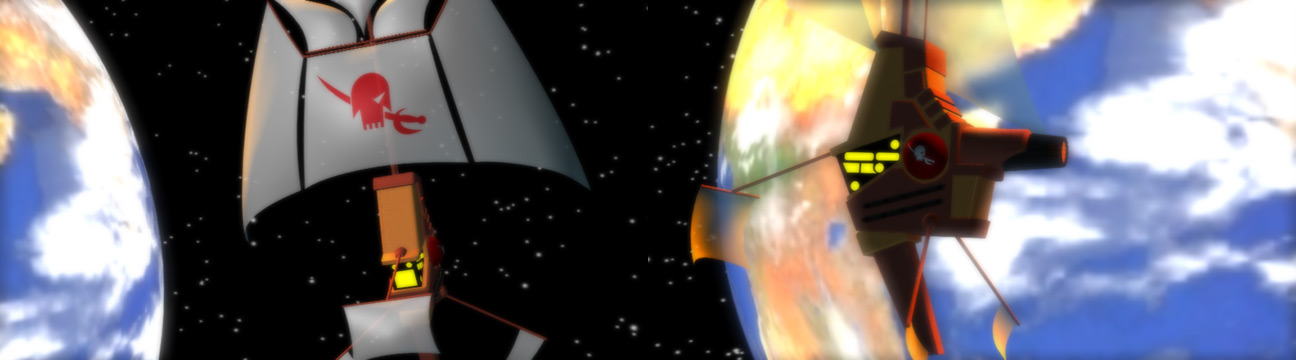
Escape from the Mines of Titan
largento replied to Glob Studios's topic in Work In Progress / Sweatbox
Just a thought: Juumping in a pressure suit (even in an imaginary one) would still have significantly less movement. It's basically a suit filled with air, so bending the joints is difficult. That's why we have that image in our head of the Apollo astronauts almost straight legged when they are walking on the moon. Later suits were designed to bend at the knees specifically so that they could operate the moon rover. :-) Of course, an imaginary suit could have all the movement you like, but part of what makes us think "space suit" is that stiff jointed-ness. -
Thanks, Mark and Gene! Hopefully it won't be too long. Really no way to tell since it's out of my hands now. I ended up having to do another shot to stick between two shots, so I guess I wasn't finished yet. :-) Final tally now is 45 total shots, 25 featuring character animation with 14 of those having lip synching for a total of 4 minutes and 17 seconds!
-
I suffered from it once, too. It was a pain to go through all of my files, deleting the stuff that kept popping up, but I kept at it until I finally got them all.
-
How to export from A:M to a game-engine...
largento replied to Fuchur's topic in A:M Tutorials & Demos
Great tutorial! I actually just spent some time this evening watching several of your tutorials and found all of them informative! Thanks for making them! -
Happy Birthday!
-
I wasn't aware it could be done for the longest time. You just use the patch group tool to select one of the patches, right click on it and select "rotate image." It will rotate the image visible in that patch 90º clockwise. You might have to do it twice, if the image is upside down when you rotate it.
-
Cool, Chris! Nicely done! My first thought was that you could rotate the decals in the offending patches, but then we wouldn't have gotten to see this solution. :-)
-
Thanks, Paul! I am, too! I don't know how long it will take for all of the sound and music to be completed. Hopefully not very long.
-
Crazy go nuts, man! Wow.
-
It's a valiant attempt, but somehow it still looks like clumps of something rather than clouds. The final effect I went with is pretty subtle. Just some cloud shapes moving in the background, but it feels right to me. But most importantly... I'M FINISHED!! :-) (And there was much rejoicing: "yay!") I'm going to wait until all the music and sound is finished before putting it out to the public, though. Tomorrow I get to work on something else! :-)
-
Last batch. :-) I've only got two shots to go. One needs to be animated (I'm putting the punchline back on the exploding chicken gag) and the other is the storm-cloud Final. I feel pretty good about having both of them finished tomorrow. Ready to be done. :-) I skipped ahead to the monkey shots since I was in an assembly line rendering mode.
-
You've done a tremendous amount of work, David! All of it impressive!
-
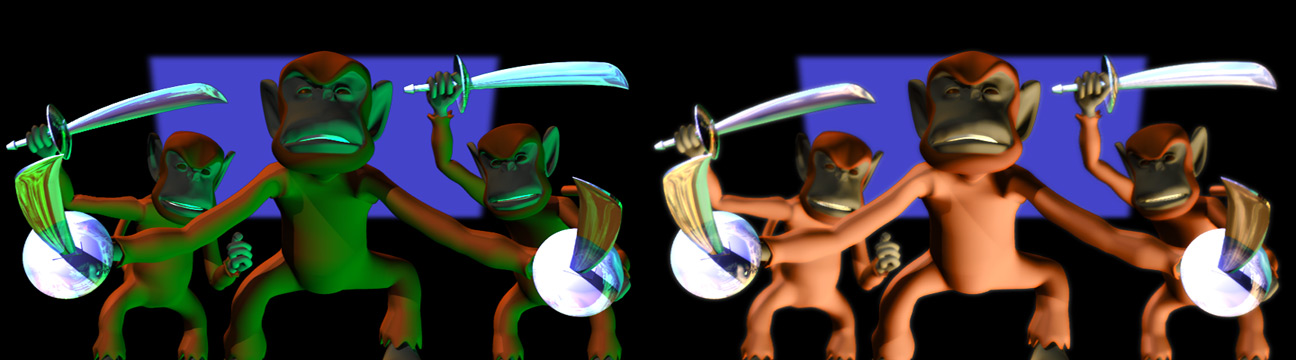
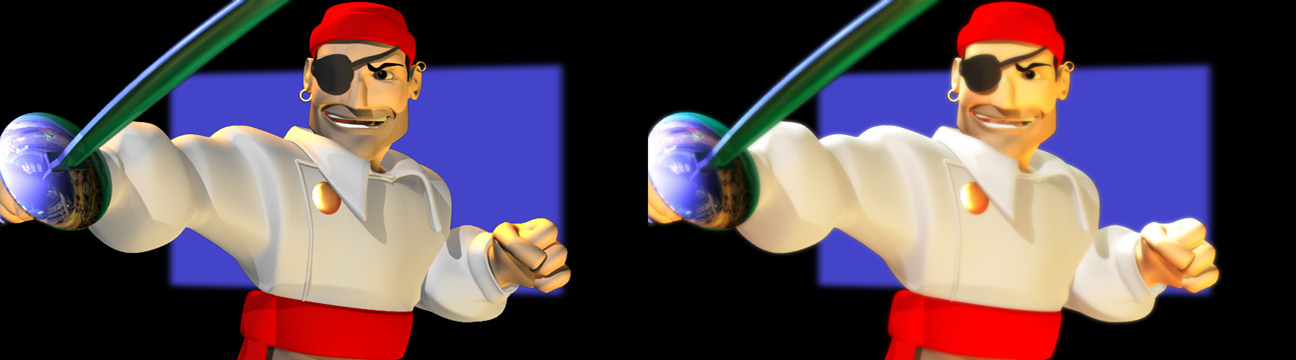
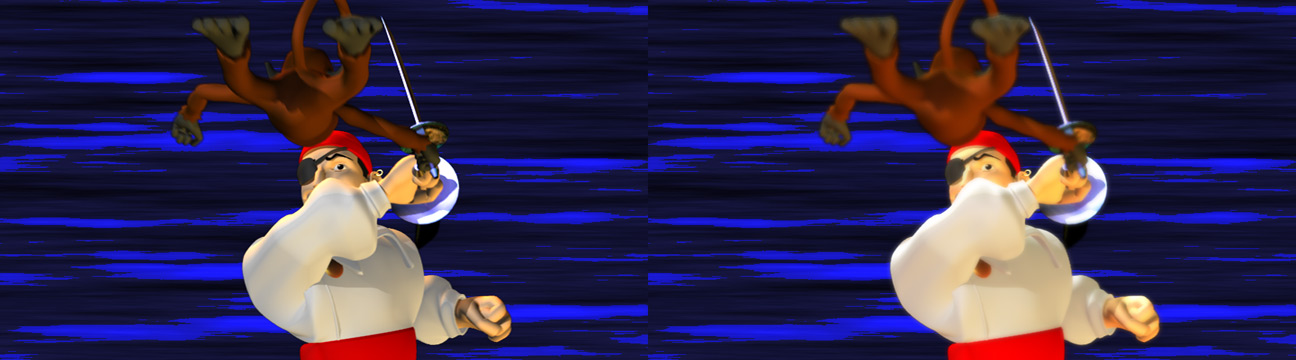
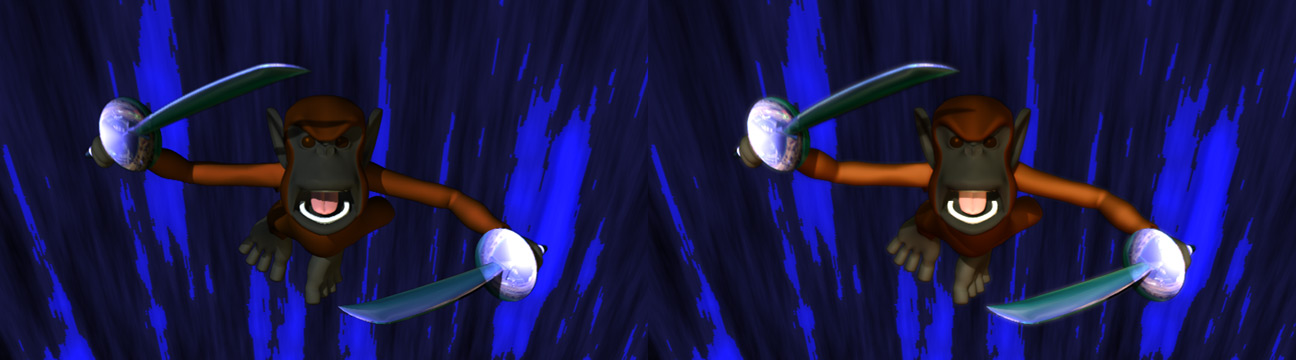
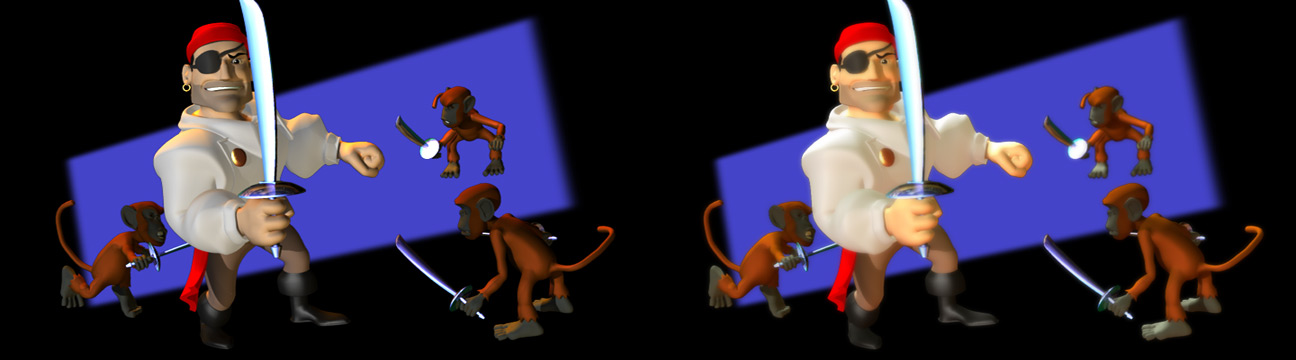
More side-by sides: The wedding shots didn't change too much, just got softer. Same with the bookpan. I didn't save the frames from the original part 2, so both of the second shots are "after." Same with these two shots. Just giving them a soft glow. I decided to completely re-do the starship fly-by. Both of these images are from the new one. I made some pretty big changes to the background on this one and used environment maps to give the metallic stuff more interest.
-
Thanks, Jake! (No offense taken.) :-) I haven't found a reference, Robert, but I can show you the basic idea. Using this Aurora plugin, I'm going to create a background like this: Then I can generate individual clouds like this one: That I can screen over the background. Setting them at different opacity levels and having them move at different speeds, I can simulate a convincing 3D sky in a short amount of time. (I'm working my way shot-thru-shot through the project, so this will be done last.)
-
Thanks, Ken! It may be a low bar, but that's definitely what I'm trying for. :-)
-
Have a great birthday!
-
Thanks, guys! A couple of more shots down! I amped up the color for the characters and made the fog gray. This is my favorite one yet. I re-framed it and most of the look here is in the lighting. That's looking better, Robert. It should be slower to give the clouds scale. My sense of mise en scene would want it moving right-to-left since it's an ominous thing.
-
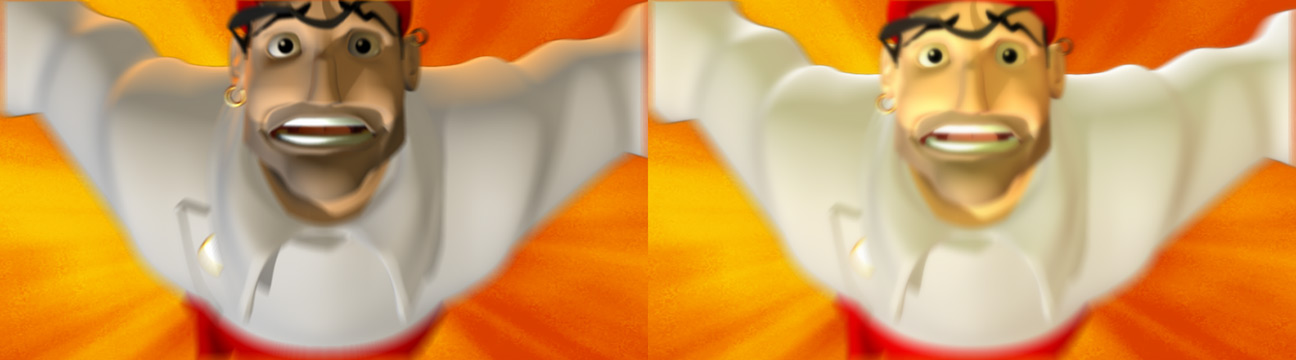
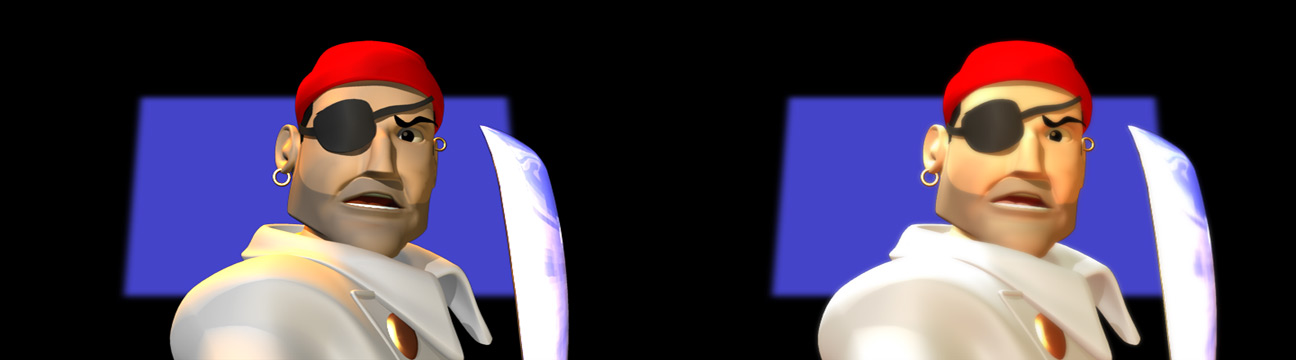
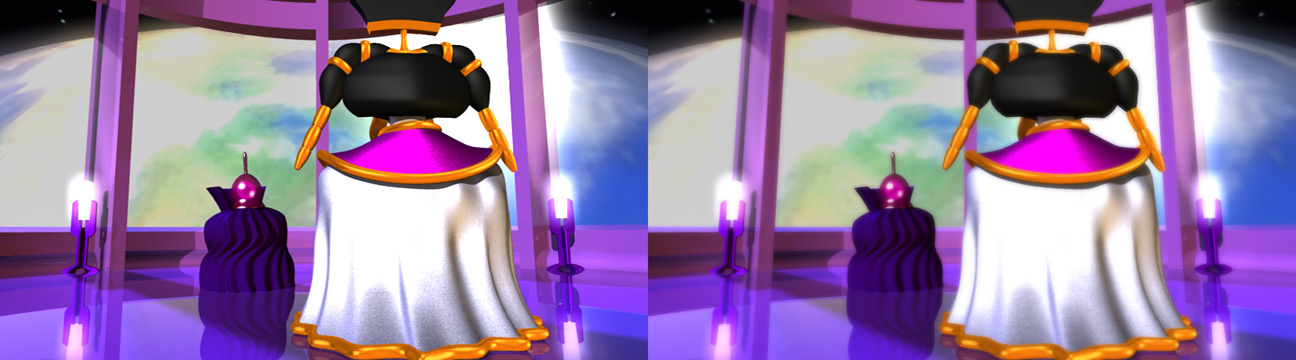
Maybe with some heavy blurring, Robert. The small spherical clouds don't sell it very well. I've been crazily working on going scene-by-scene prepping this for the end. As such, I've also been re-rendering scenes and trying things in Photoshop and After Effects to improve them. Truth be told, I could probably do everything in After Effects, but I've been using Photoshop since '93 and I feel more in control when I experiment with it. Here's some side by sides of the scenes I've finished so far. The left is the original render and the right is the "improved." I realize this is something of a subjective nature. This is a new shot I did. It's part of a transition from the Endeavor Comics logo to the Earth spinning on the alien viewscreen and then backing up and over to a console with the message from Greyhawk coming in. I purposely went darker with this to make it moodier. I also think it focuses your attention more on the monitor. A lot of what I've been doing is thinking about contrast. I really like how much more dramatic the new shot feels. I've also been using a gaussian blur on the topmost layer to give the shots a softer "glow." I think it almost gives an SSS feel to the skin. I split this scene into two shots because I didn't have time for the zoom that I tried. I'm using depth of field now and the contrast on the characters (plus the adjusted lighting) really makes them pop off of the background. Originally, I had stuck with the lighting I used in the comic strip, but felt it needed more color. Same with this shot. I also adjusted the fog to allow the secondary characters to be more visible. I hadn't planned on doing so much re-rendering, but I'm liking how they are coming out and think it will be better for having made the effort.
-
That's certainly nifty, Robert. I'm not sure it would work for a shot like this, though. Maybe composited with other elements? I do like the idea of the sky having some kind of movement, but not so much that it competes with the foreground. My plan is too see if the sky plug-in I'm using ("Aurora") will let me pull out layered 3D clouds with alpha channels. Animating them over the rest of the sky should work to allow for some variation in the movement. I'm thinking more of a horizontal, "dark weather moving in" feel rather than clouds being created.