Tralfaz
-
Posts
899 -
Joined
-
Last visited
-
Days Won
1
Content Type
Profiles
Forums
Events
Everything posted by Tralfaz
-
Thanks Jim. I know what you mean about making the body seem like it has a lot of weight. As for the render, the weird thing is that there are no differences between the movie render and still image render, other than changing the render to .jpg instead of .mov. It is using the default chor light setup. When I get home tonight, I will try creating a new chor and adding the model to it and see if there is a difference. It is always possible that I tweaked something by mistake without realizing it, and that may have an effect on a still image vs. a movie. I kind of need to resolve this, as I prefer to do my final animations as still image sequences, then import them into Vegas where I can than add all of the sound effects, music, etc. along with final tweakings of the different layers. Al
-
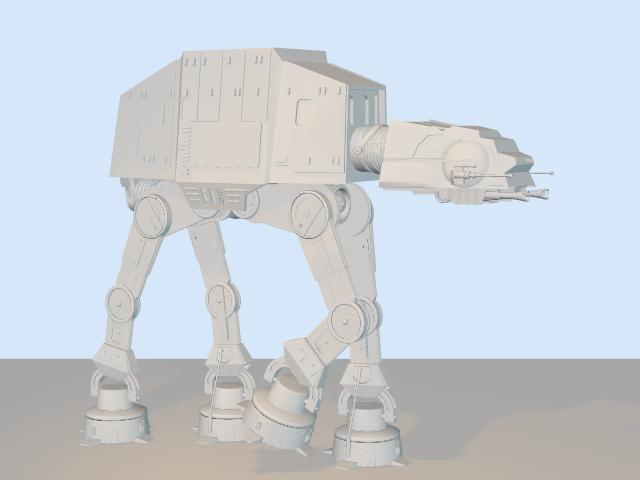
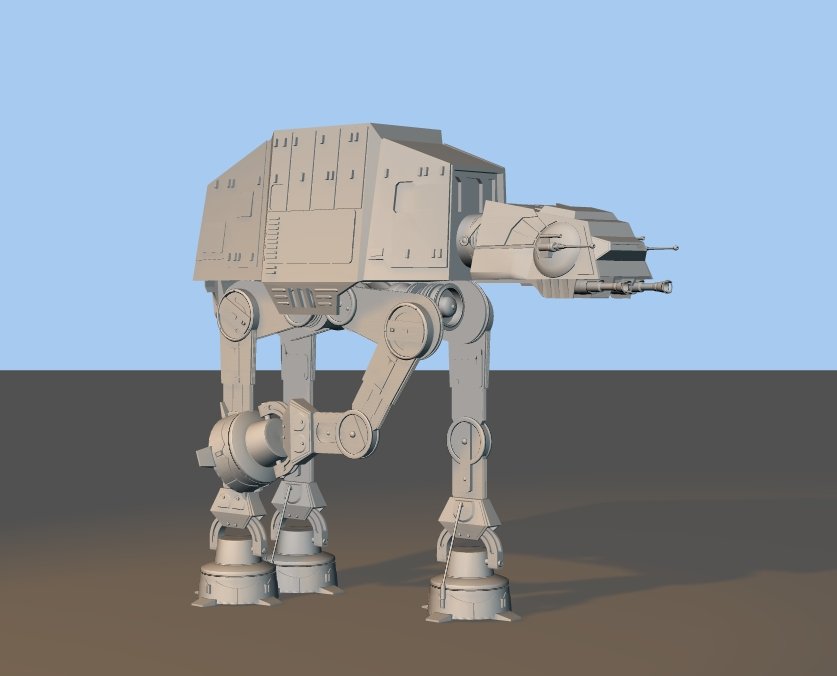
Update: "It's alive!! Alive, I tell you!!" It took a while and a lot of trial and error (mostly error), but here is the basic walk cycle for the AT-AT. Thanks to ars for asking about telescoping bones and robcat for his great answer! The body needs more sway in it, but I was concentrating more on getting the legs moving properly. Have a question that I hope someone can answer. The attached picture is pretty washed out, however when it renders in a .mov format, it is just fine. Any ideas as to what can be causing this? Nuts, I just noticed some unwanted outward bending at the knees. I forgot to put the euler constraints back on after I replaced the bones with robcats solution. C&C always welcome... Al [attachmentid=22479] [attachmentid=22478] at_at.mov

-
D'oh!! Now don't I feel like a horses butt! Thanks very much Scott. Worked like a charm. Al
-
Hi Scott: I tried what you suggested, and you can see by the accompanying screen shot, the pose slider still exists in the Pose Sliders window when I am in Action mode. Al [attachmentid=22470]
-
This is probably staring me right in the face, but can some one please tell me how to remove a pose slider from the Pose window? I have been unable to find any way of doing this, other than manually editting the project (.prj) file. Thanks in advance... Al
-
Hi Keith. Good luck with your operation next week and hope things work out okay for you. Best wishes... Al
-
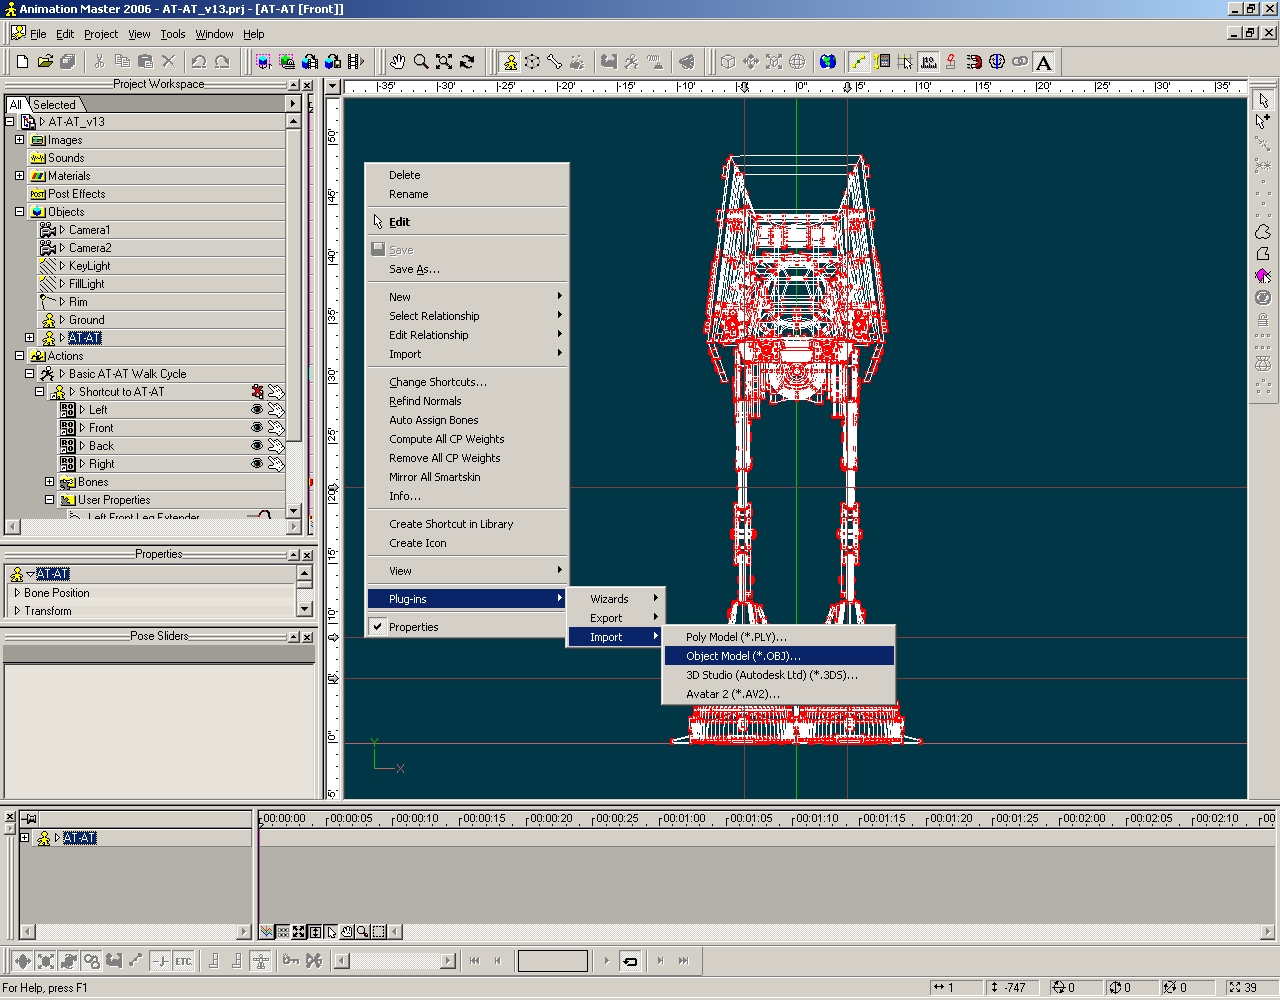
What you want to do, is right click (or whatever the equivalent for a Mac is) in the model window, then select Plug-ins -> Export (or Import if importing) -> Object Model (*.OBJ)... Al [attachmentid=22306]
-
Thanks Satyajit for starting this thread. This is a great opportunity to learn how things are done from concept to completion. I know the TWO project is on the go, but I joined the forum not too long ago and it was well under way. I really like the design of your characters and the way things are laid out in the story boards. Just curious... When you did your story boards, did you sketch them out on paper than scan them into your computer or did you do them all electronically? Al
-
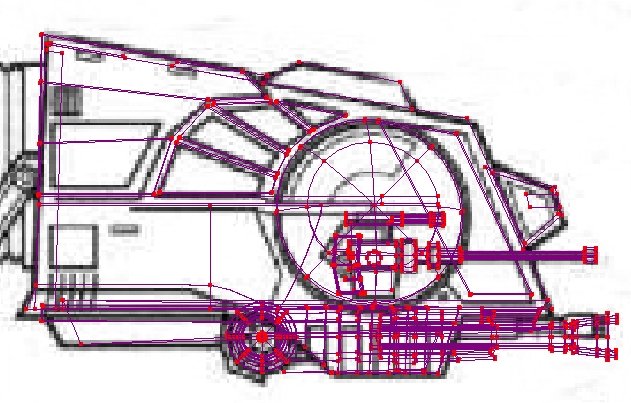
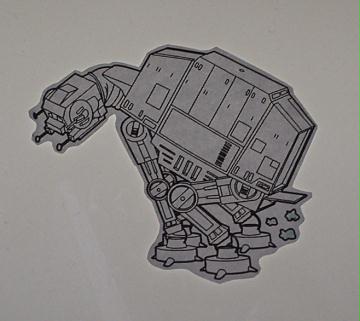
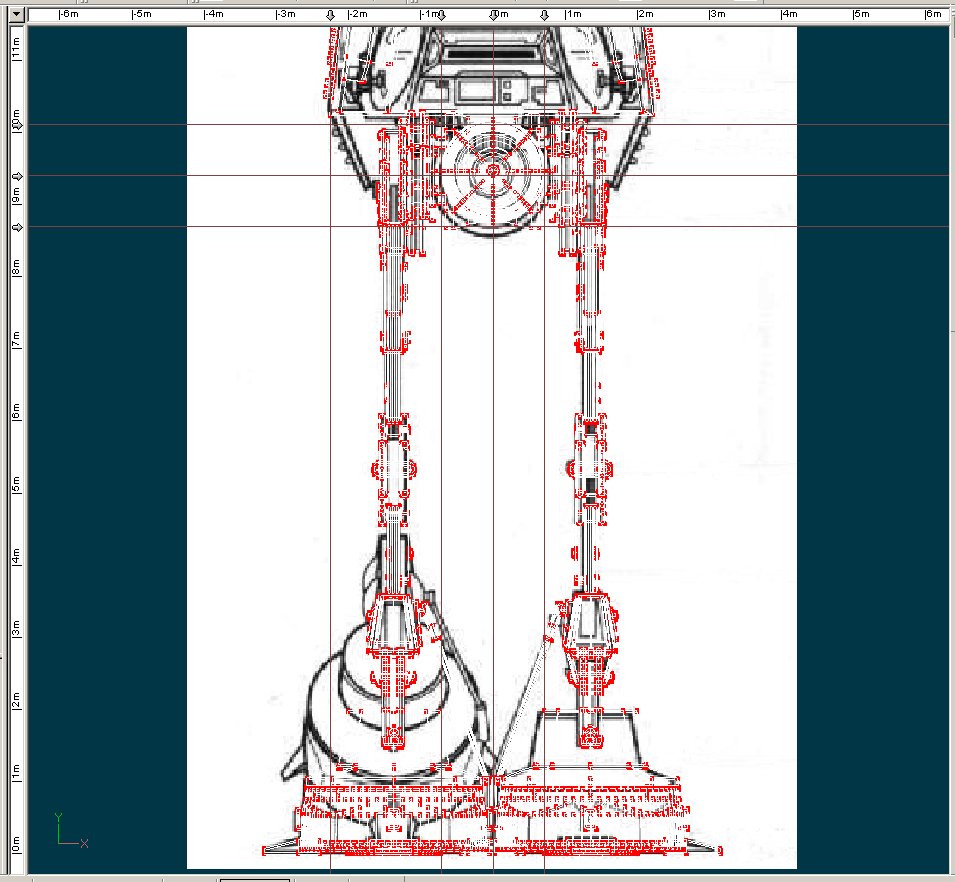
Thanks for the C&C folks. Ken: You are right about more panelling being needed on the head, as well as other parts of the body. Those items are yet to come. Ken and Dark Jedi: I am basing my AT-AT on the blueprints from "Star Wars : The Essential Guide to Vehicles and Vessels". I had trouble with the proportions on the head the first time I built this in Anim8or. I scrapped and rebuilt it a couple of times. Taking a closer look at the blueprints and the model as shown below, I noticed the main guns on the bottom of the head are too big. [attachmentid=22038] Jim: In my little film, I hope to do more than just walk with this guy. Ethan: I am looking forward to texturing the AT-AT. I finally got a Wacom tablet and have been playing around with it a bit. It is going to make creating the textures a whole lot easier than with the mouse. I used the tablet for doing some airbrushing the textures for the P-51 Mustang I built for Exercise 10. I am also kicking around the idea of purchasing Pixosaur's 3D Painter for Animation Master (or maybe for Christmas). And just for fun, when I was originally looking for pictures of the AT-AT on the internet, I found this one and saved it. It still cracks me up when I see it. Reminds me of our dog... [attachmentid=22039] Thanks... Al
-
Great job on the rat Ken! I love the suit you put on the little guy. The first thing that came to mind was seeing him in a song and dance to "Puttin' on the Ritz". Thanks... Al [attachmentid=21962] ritz.mp3
-
Thanks folks. Started playing around with the rigging and have a very basic head and right front leg bone set up. I am doing this while reading "Animation:Master 2002 - A Complete Guide". There are no constraints or anything else yet, just the basic bone hierarchy. Did a quick test animation to see how the rigging works. The animation was not trying to simulate real AT-AT movement, just the bone movement. C & C always welcome... Al [attachmentid=21953] [attachmentid=21951] at_at.mov
-
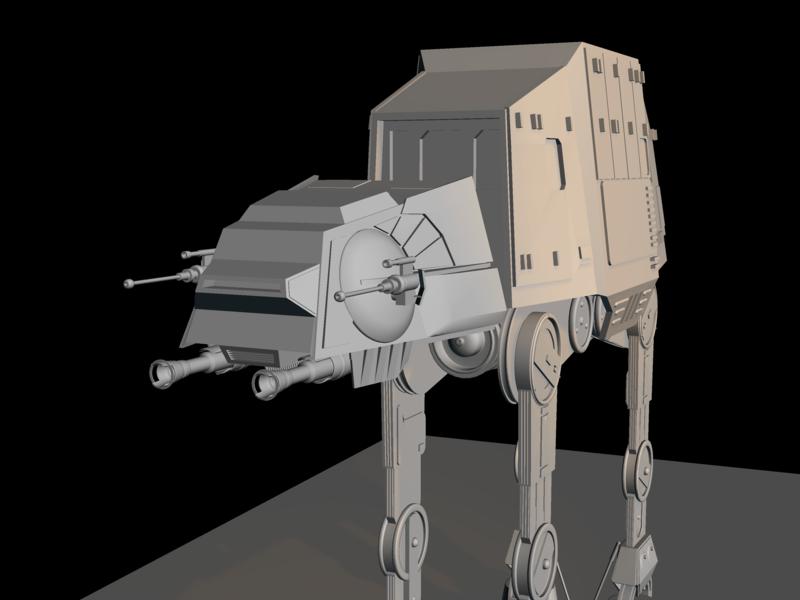
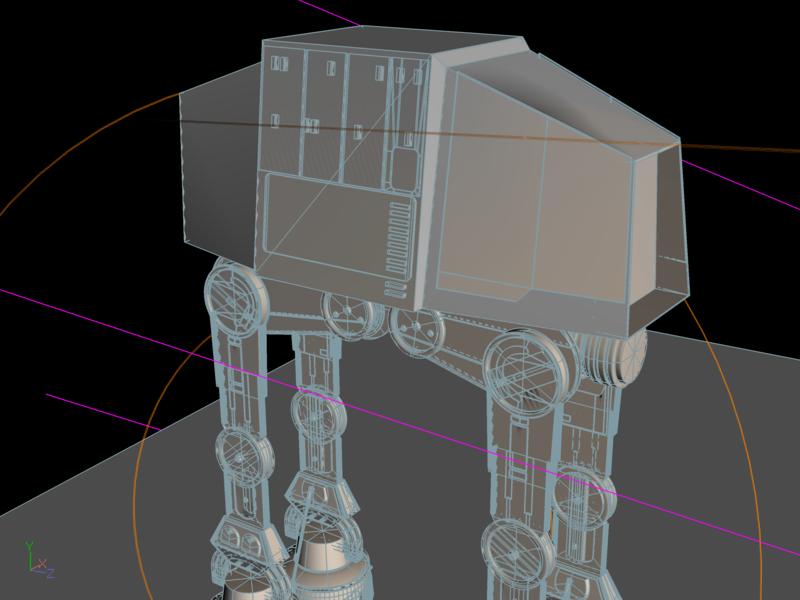
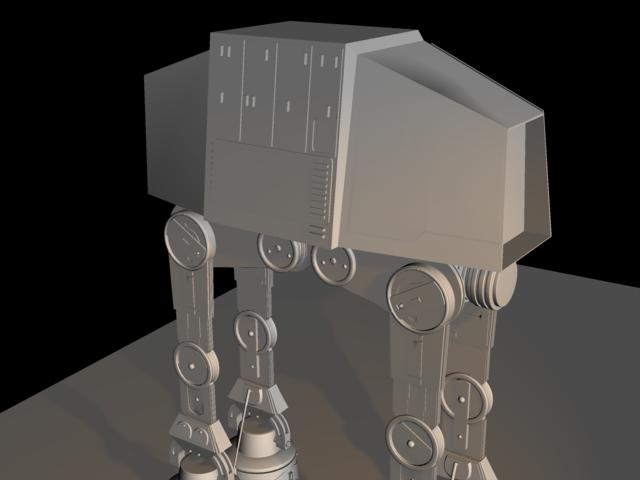
Update: I have pretty much completed the major modelling on the AT-AT. There will still be some little things that will need to be added and tweaked, along with textures and bump maps. I will probably start on the rigging next. C&C always welcome. Thanks... Al [attachmentid=21947]
-
Thanks Jim and William for the information. The reason I am asking about the proxy models is that when it comes time to start animating my AT-AT, I would like to be able to render quick animations to nail down timings. The AT-AT has a lot of detail modelled into it and will also include textures, bump maps, etc. As it is right now, it takes over a minute to render one frame (multi-pass) and it probably isn't going to get any faster by the time I am done. Thanks again... Al
-
Can some one tell me (or point me in the right direction) how to use proxy models in your animations? I believe a proxy model is a low patch/poly version of your more detailed model. I am not sure how you replace the detailed version with the low detailed version and vice versa. Are there any tutorials or documentation on this? I tried searching the forum, but did not really find anything. Thanks in advance... Al
-
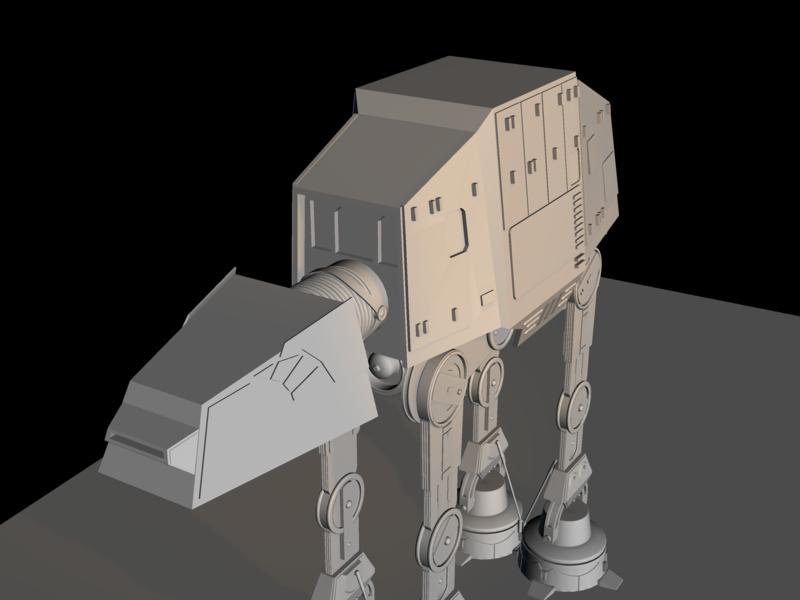
Update: Started working on the front end of the AT-AT. Added side detail to the front body, neck and started modelling the head. Al [attachmentid=21710]
-
WOW, that was a fast reply! I will definitely be texturing the AT-AT for the film I am doing. Once it is modelled, I will move on to rigging it. Picked up the Animation:Master 2002 book which I hope in this area. I have been looking at 3D Painter from Pixosaur, but would like to find out more info on it. Wish they had a demo to download and play around with or an example video like A:M has. Once the model is complete, I will release it to the community and Extras CD/DVD for anyone to use. I did the same thing with the AT-AT created in Anim8or.
-
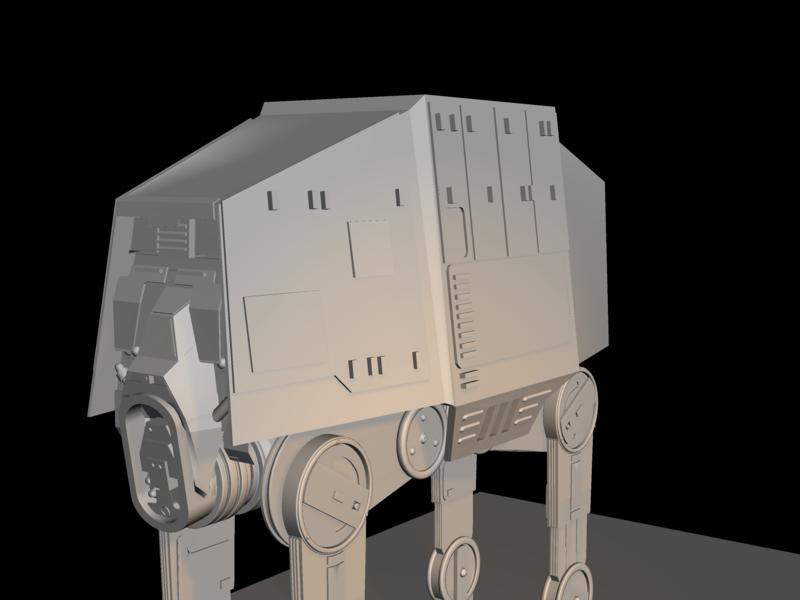
Update: Added some more detail on the sides and back. Some of the pieces added to the back came from my AT-AT done in Anim8or. There was a lot of clean up required on these parts and probably took longer than creating them from scratch! C&C always welcome. Al [attachmentid=21688]
-
I've seen video of animals kneeling down, and even that seems awkward sometimes. I would imagine it would be even worse for a machine. The logistics and mechanics would be pretty amazing, especially filled with troops in its belly! Hope those storm troopers carried Gravol with them!
-
Thanks Ken. The panels are all modelled separately, then placed on the model. When I did this in Anim8or, everything was modelled as one mesh. For instance, the body was one mesh, with all of the panel detail cut and extruded from the mesh. I was learning Anim8or at the time and this led to a slightly messy mesh. Doing things separately and placing them on the model gave me a much cleaner looking mesh. It also lends to re-using bits of added on detail in other places. In hindsight, I could have done this in Anim8or as well. Just didn't know any better. I checked the spacing of the legs and they are pretty close to the blueprints. The AT-AT is not a very practical war machine. When at rest, the legs would have to be offset and never like I have them. The toes would be on top of each other! According to the Star Wars: The Essential Guide To Vehicles And Vessels, the AT-AT would kneel down to allow the troops to embark and disembark from the vehicle. I would love to have seen them try this in the movies... Al [attachmentid=21623] [attachmentid=21624]
-
Update: Finished the basic drive train and started on the body. Oooh boy, this is going to be fun to rig... Better keep doing the exercises! Al [attachmentid=21616]
-
Here I go dating myself... The first computers I used at work were RAIR black boxes that were imported into Canada from England. They cost $15K a pop and came with a 5 MByte Winchester hard drive and 128 KByte RAM. However, you could only use 64K at a time and had to bank switch between the two 64K segments. Color monitors consisted of green and black (hee hee). Then we moved to IBM PCs with a blazing fast 4.77 MHz processor, a whole 512KByte RAM and an endless 10 MByte hard drive. Came with two 5.25" floppy drives as well!! Anyway, back to the topic on hand... Things are look really good Mike. Looks like you are being faithful to your drawings. Keep up the great work. Al
-
Congrats Dhar! Really well done video! Al
-
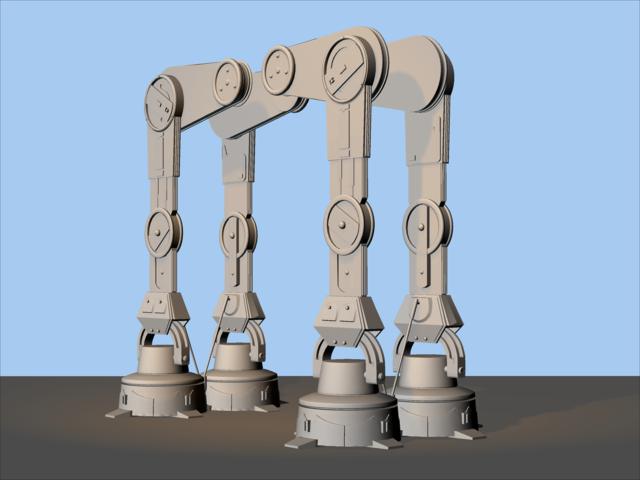
Update: Completed basic modelling of the legs. There are still a few more minor details to add. Will be moving on to the drive motor assembly next. Hmmm, things seem to go a bit faster when you build a model a second time... Al [attachmentid=21552] Edit: Here is a 360 degree rotating view of the legs. [attachmentid=21554] at_at.mov
-
Your dad is a great artist Case and it looks like you are following in his footsteps. Even with out sound Rusty, that was a very informative tutorial. Hope you do more of them. The picture of the space pod reminds me a bit of the ship Mark Whalberg used when he crashed into the Planet Of The Apes (Tim Burton's version). Keep up the good work... Al
-
Thanks for the bump. This is the first I have seen this thread. I am in complete awe of your modelling talents. I really do hope you post some more updates, pictures of models or scenes, perhaps a teaser trailer. Is there a website we can go to to follow the progress of the project? Looking forward to seeing more of this project... Al