DJBREIT
-
Posts
359 -
Joined
-
Last visited
Content Type
Profiles
Forums
Events
Everything posted by DJBREIT
-
Thanks I will give it a try after my render is done.
-
How do you set up a set of image sequences so they loop. I tried it as a decal but there is no option to loop the sequences. Is there any other way of doing this other then copying the images and renaming them in sequences.
-
Electric Locomotive NYC S-2 NYC_S_2.mdl NYC_S_2.prj

-
Meowx That worked. The only pain is you have to set it up ever time you open A:M here is the second engine I am working on. and the GG1
-
This is what I get. If I do a render I do get it in full resolution but you can not work on it that way. I have also tried what Fuchur said but it dose not work.
-
Here you go.
-
When I bring in an image as a rotoscope to use on a model the image comes in at a low resolution So I lose a lot of detail and makes the image useless to work from for smaller details. Is there away to get A:M to show it in full resolution?
-
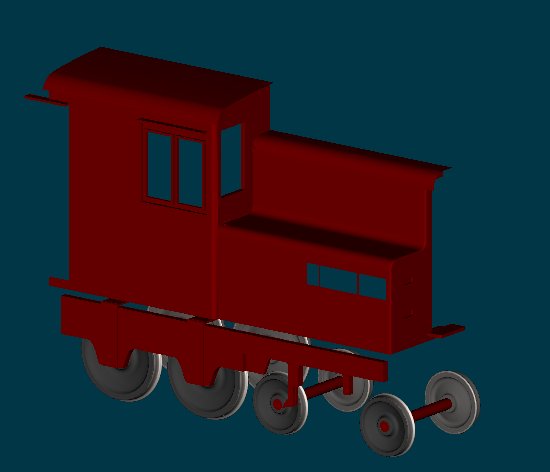
Go ahead.. it would be nice to see some images of it in some sceens shots and/or dressed up. Just to see it in use. The pain with this was after I was half way done with the trucks I rememberd some one had made an undercarige for the trians. So the undercarige came from the A:M cd.
-
I think it is but I'm not to sure.
-
I sort of stombed uppon it just before you posted thanks You just need to return th zero to returm to path control.
-
The ease only allows me to pause it along the path. After it pauses I need to change the rotation of the camera then return it to the paths control. Or do something that will do the same thing.
-
Enforcement. yes that was it.
-
I have the camera constrained to a path. But when it reaches the door I would like to have the camera follow the door as it opens. Then return to the paths direction after the door has opened so it can continue down the path. I have tried something’s but it ether did not work or it screwed up the hole scene. By sending the camera to 0,0,0 at the start of the scene.
-
The five-point patch was added to solve a lot of problems in modeling. I think there is only one spot where a six point patch would be useful but all others can be fix with 3/4/5 patches. Even the 5-point patch has its problem. You run across them as you get into complex model. And learn how to avoid them. Tring to cover all number of cp groups would start to cause the computer to slow down and have some undesirable effects. So to keep it simple they stoped at 5-CP
-
The one exeption is a 5-point patch can be one spline since it has an option to turn it into a patch or leave it as is.
-
If you only use one spline to make three or four CP patch the program wont close it as a patch. This is done so you can make a cylinders or openings.
-
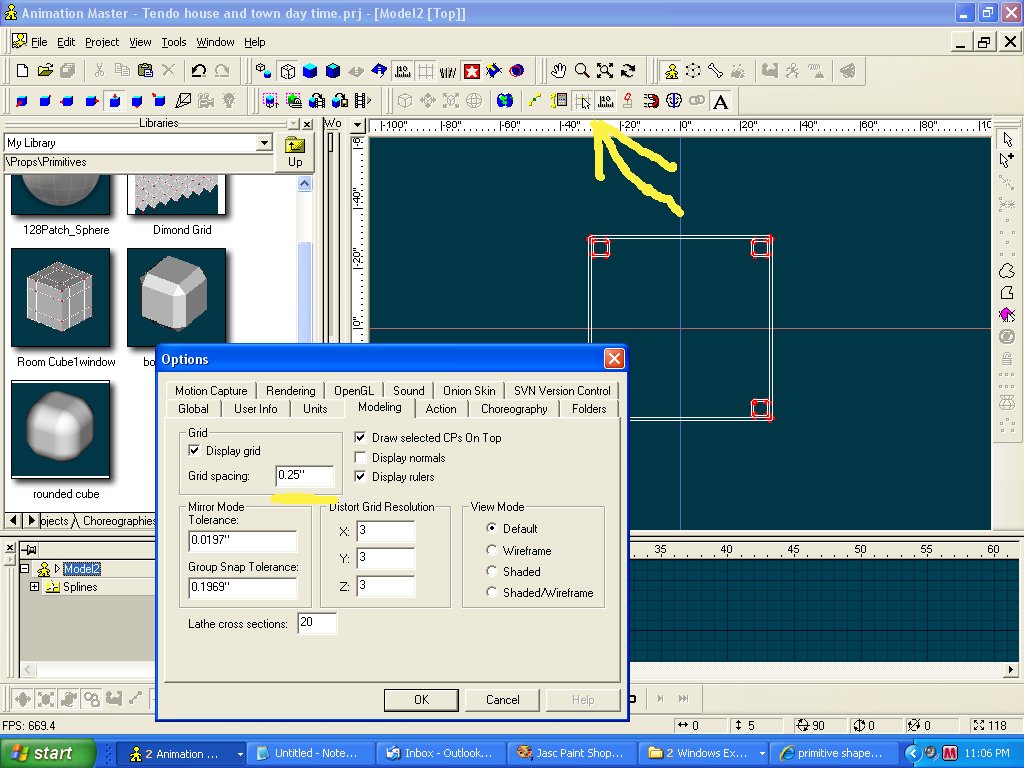
Here is some help. The arrow shows your snap to grid. In tools/option/modeling where the yellow line is where you set your grid. Holding the keys from front view 1=X side to side 2=Y up & down 3=Z front to back "From front view" You can add a spline to a cp with out connecting to the other spline using the shift key. There are some shapes in the library you can use.
-
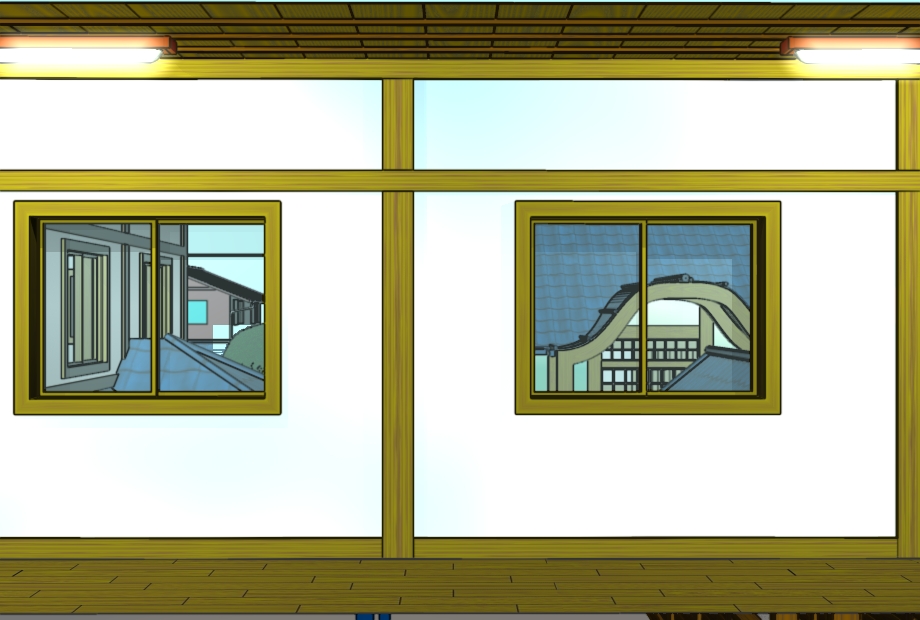
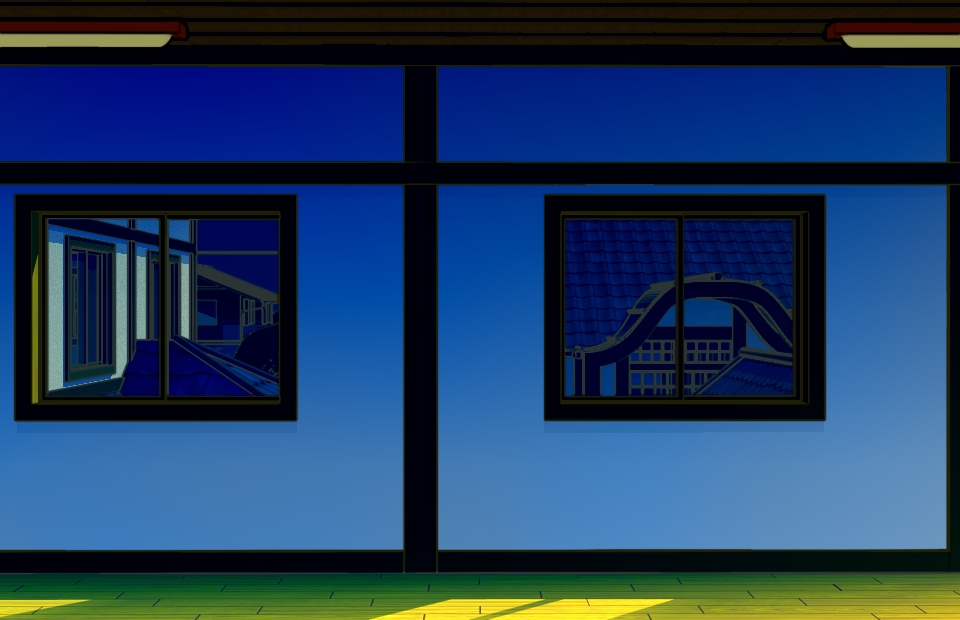
An excellent reason to render with light buffers to EXR format. Then you can just change the lighting in A:M Composite to look like it's night. I think I remember hearing that all lights must have values other than 0,0,0 or 255,255,255 in order to be able to change the colors in AM Composite. I have to keep that in mind. But in this case it may not have help. Since I had the light on and I needed to have it at night with moon light coming throw the windows.
-
Thanks for the info. Sorry for the late response. I had a long scene almost done rendering. Just to find out it needed to be at night time. I found out this seems to be an old problem. To do with the “render lines” and “hair system”. I found if you put a small patch above it, it renders fine.
-
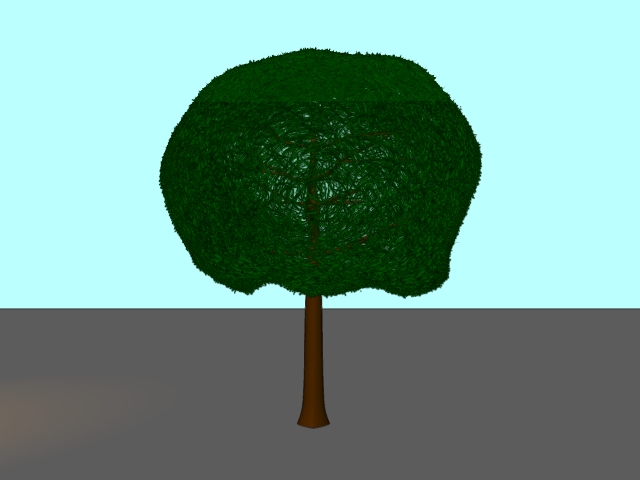
A small problem with hair or leaves in this case. I render the tree and the top comes in lighter then the rest of the tree. How do I fix it? Also I need to render this out as a image/decal with the background as transparency. What would be your approach?
-
Thanks Nancy that was what I was looking for.
-
how do I change the range from time to frame?
-
I was rendering a long set of jpeg. and A:M had a problem. The last frame rendered was 979 I would like to start the render on 980. There is nothing spacial with the animation that I need to worry about I just need to restart it where it left off.
-
It knocked out 28 groups of wood material in one shot. I just wish I had the rest selected. Doing it in note pad will take even longer. I have tried The pivots are stored like this in the Groups. Pivot=xxxx.xxx xxxx.xxx xxxx.xxx But if you have the Translate changed you will not be able to see the pivots in AM (I do have a report on that one) If someone wants to make a plug in that will do the same thing I can help. I was hopping that bug was a hidden command that they forgot to tell us about.