Roger
-
Posts
2,078 -
Joined
-
Last visited
-
Days Won
48
Content Type
Profiles
Forums
Events
Everything posted by Roger
-
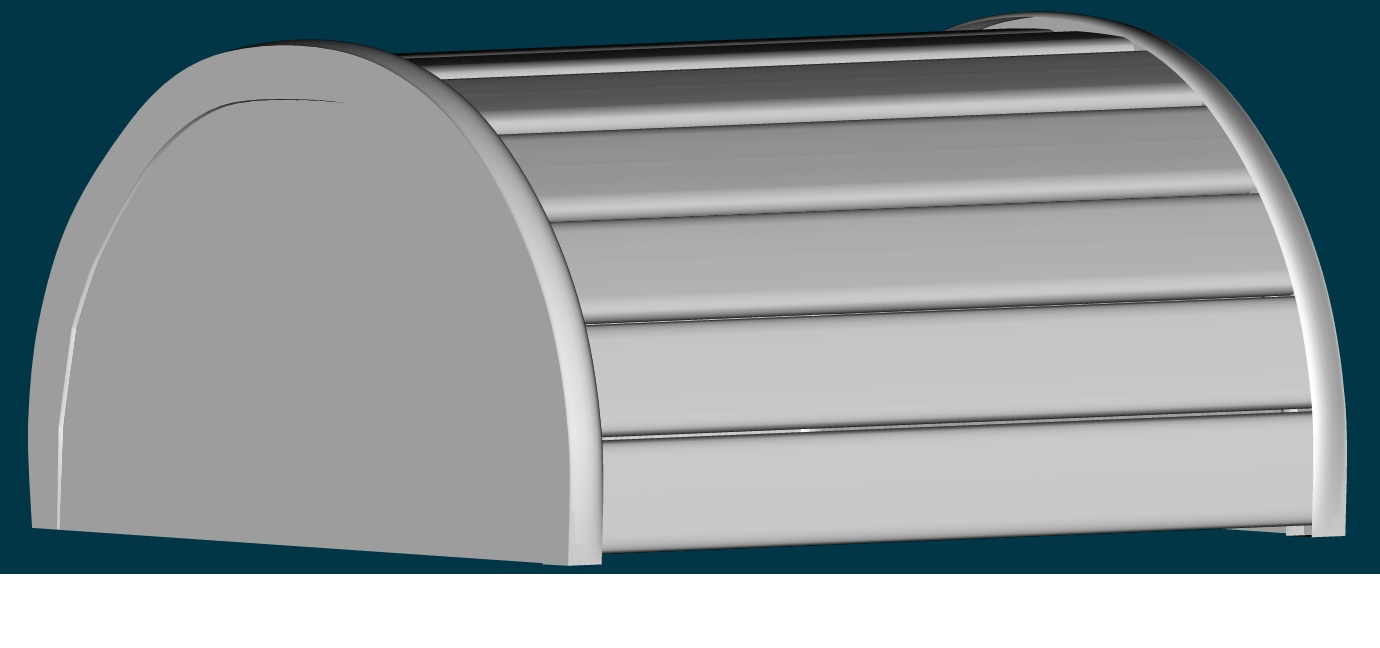
So I fixed the rail going around the outside of the top of the chest, and closed it off. I think it looks much better now.

-
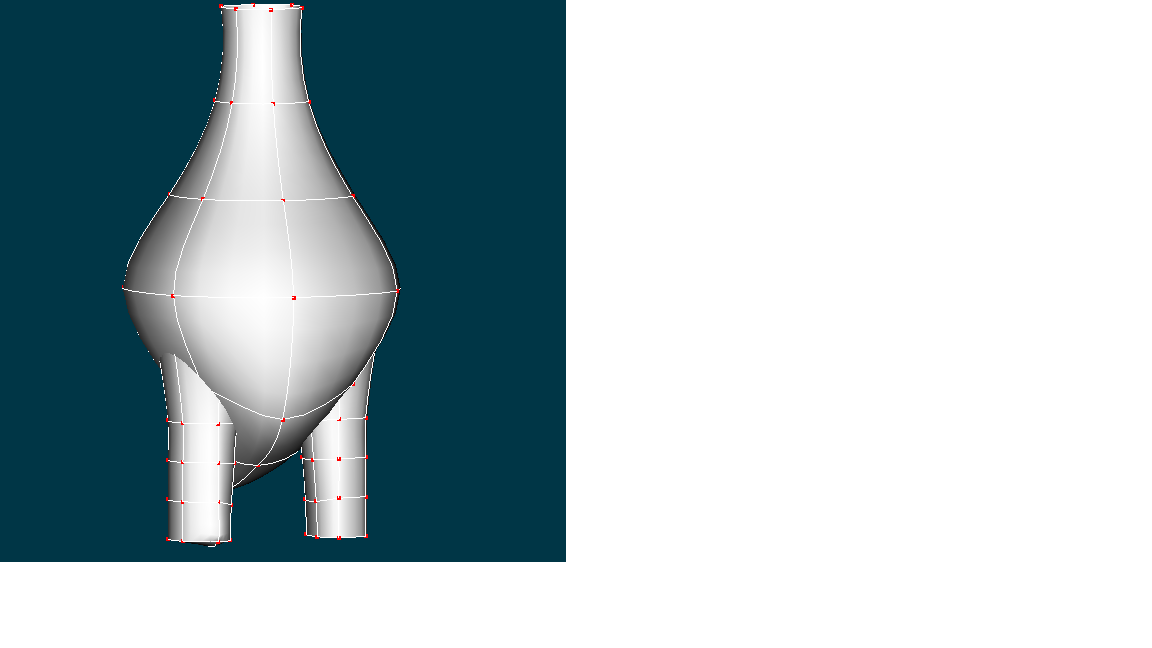
I'm thinking about tweaking the body of my dragon for limited animation. Right now he looks awfully humanoid, the audience is going to expect him to move like a person. If I simplify the character a bit, perhaps I can "cute" him up a bit and also eliminate that expectation of realistic human motion. I am thinking about simple tubes for the arms and legs, sort of how a teddy bear has very simple limbs. Maybe just a suggestion of stubby toes or fingers. Shorter neck, larger head. I have just sort of jammed the legs in there for now until I can figure out how to attach them.
-
Ok, that's odd, I thought I posted it.
-
Yeah, I just wanted to have them in the same modeling window. I just cut and paste the one into the other, seemed like the easiest way to go about doing it. Just wondered if there was a better way.
-
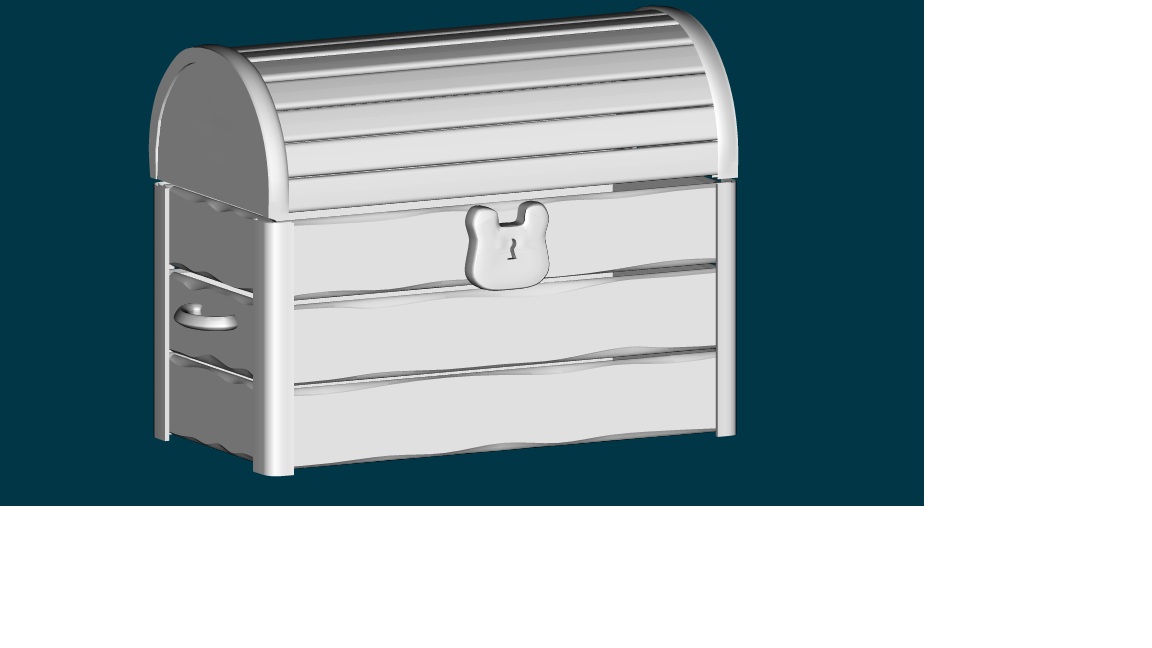
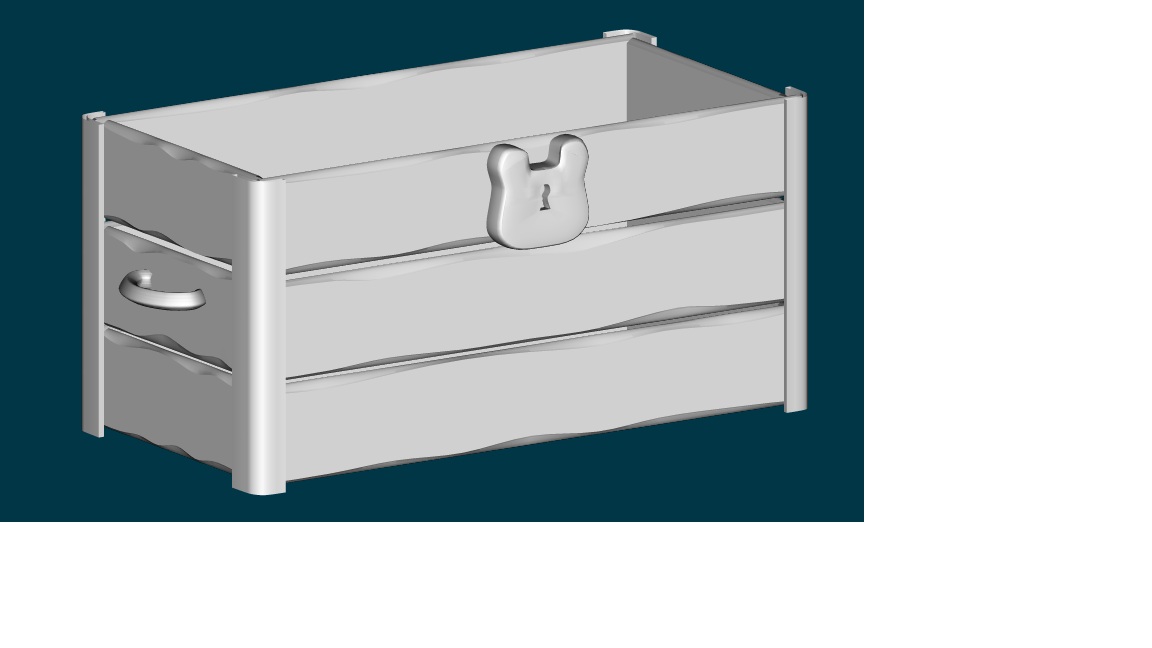
Ok, so here is a nearly completed treasure chest. Some of the things that are bothering me are: the metal banding on the corner doesn't match that going around the planks on the top, I'll need to resize one or the other so it does. I need to come up with some sort of latch for the padlock to hang off of, it looks odd just attached to the chest like that. I need to think about moving the boards closer together so that the cracks aren't quite so wide. Handles are in the wrong position and should maybe be closer to the top? I'm also thinking about redoing the handles. I may need to scale the boards that make up the bottom half, so that there are more and they more closely match the top half in size. Something just looks off about it. And I still need to add rivets on the metal parts. But I think I have maybe one or two more nights of solid work on this and it will be done.
-
I have both the models for my treasure chest in the same project file, they both show up in the PWS. However, they're in separate windows and I'm not sure how to combine them into the same window, other than using cut and paste or exporting a model and then reimporting it into whichever window I choose to be the active one. Is this how it's done or is there something obvious I'm missing?
-
Guess I'm going to have to practice more. That lock Malo did has quite an economical use of splines. I'm not sure I'll be able to approach that level for a while.
-
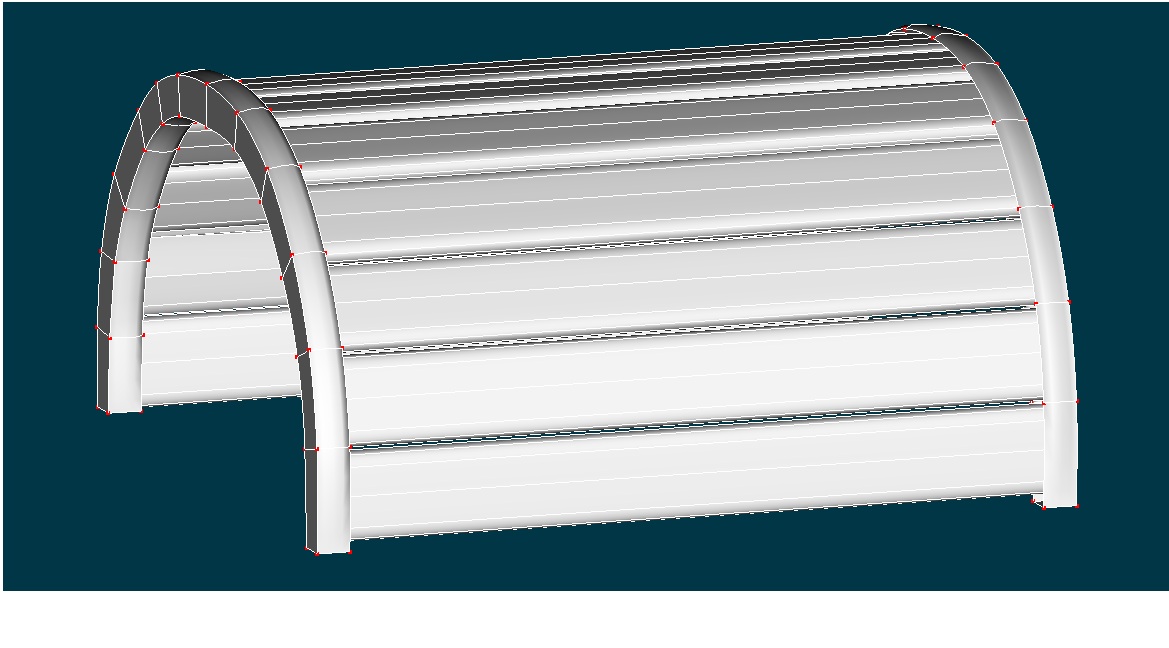
And here it is with the ends capped off. I still need to figure out a way to close off the inside of the metal strapping that goes around the top of the chest, it looks odd with that gap there.
-
I forgot about the PWS. Makes sense. Oh well at least I didn't waste a bunch of time fooling with it and kept modeling, I just shoved it out of the way
-
Why do i see splines sticking out on the side? I'm not sure what that is. It almost looks like that part of the padlock is in wireframe/shaded mode. No clue how that could have happened. Maybe a glitch from the renderer, or something like that? It looked fine when I did it before.
-
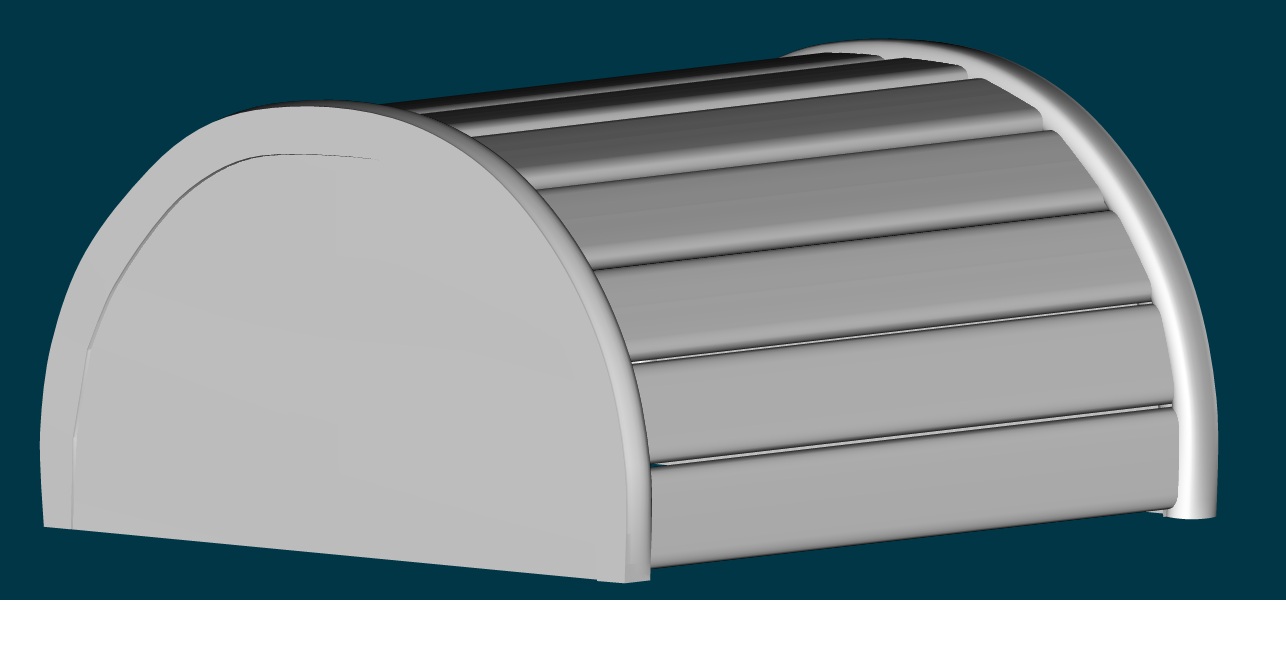
Ok, here is the top of the treasure chest. I may change a few things yet, but so far it is not looking too bad. Still need to model the top half of the lock or latch that will go on the top of the chest, also the end pieces of the chest need to be done. But I feel fairly happy with this so far.
-
I brought a rotoscope in to help me make the side pieces for the top of my treasure chest. Now that I'm done with it, how do I get rid of it? I tried right clicking and deleting, tried hitting the delete button, nothing is working so far.
-
More progress on the treasure chest - it has a padlock now. I need to add some iron strapping on the top and bottom edges, and some rivets on the strapping. I think I might also like to move the boards just a bit closer to each other, the gap is too large for my taste. It probably should be almost unnoticeable. Also need to make a lid for it, not quite sure how I'm going to do that, since if I try individual boards they will need to be much narrower than the existing boards, in order to approximate a curved shape better. And I'll probably need hings for the lid, and some sort of clasp that goes into the lock. Let me know what you think.
-
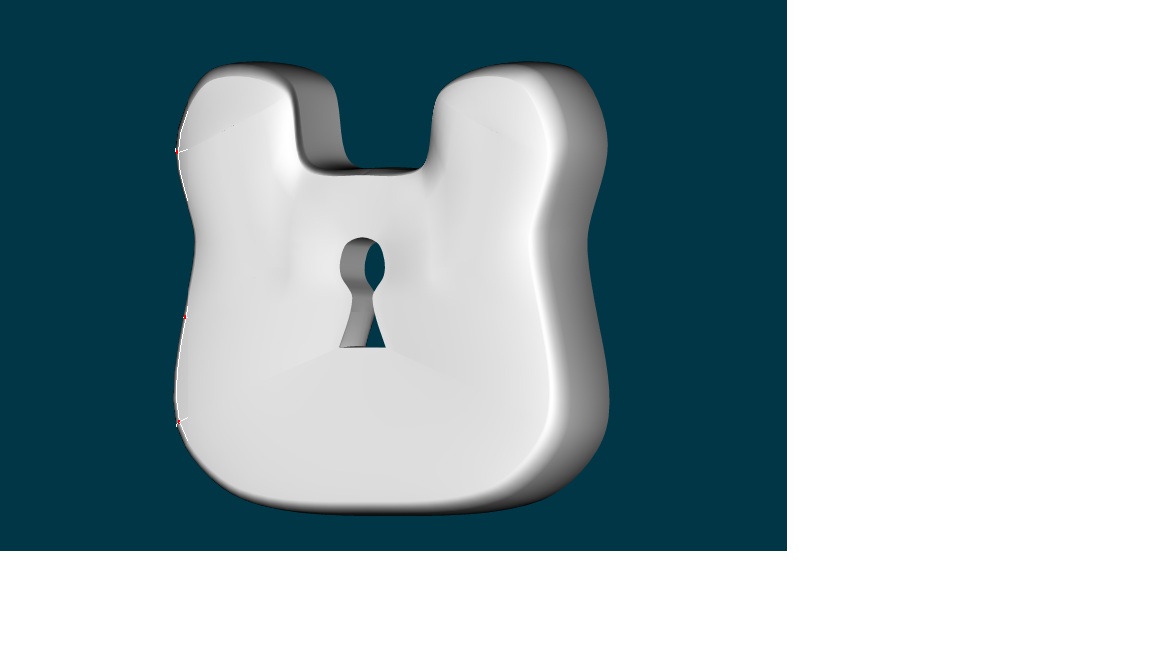
Here's the padlock with the front face closed and most of the artifacts removed:
-
Ok, I've closed off the face. There is some artifacting, but I think once I apply the material it will be less noticeable. I've posted a 2nd pick as well where I've fixed most of the funky looking artifacts. Let me know what you think.
-
That's a good idea, I think I may have figured out how to do the bevel in AM though. What I did was extrude the shape once, then extrude again and scale it inwards. I was watching some AM vid/tute the other night and saw someone do something similar, I think this will help with my beveling problems. I'll use a copy/flip/attach to get the bevel on the other side, after I close the face in. No sense duplicating effort. I'm not sure if this is the best way or textbook way to do this type of bevel, but it seems like it will work.
-
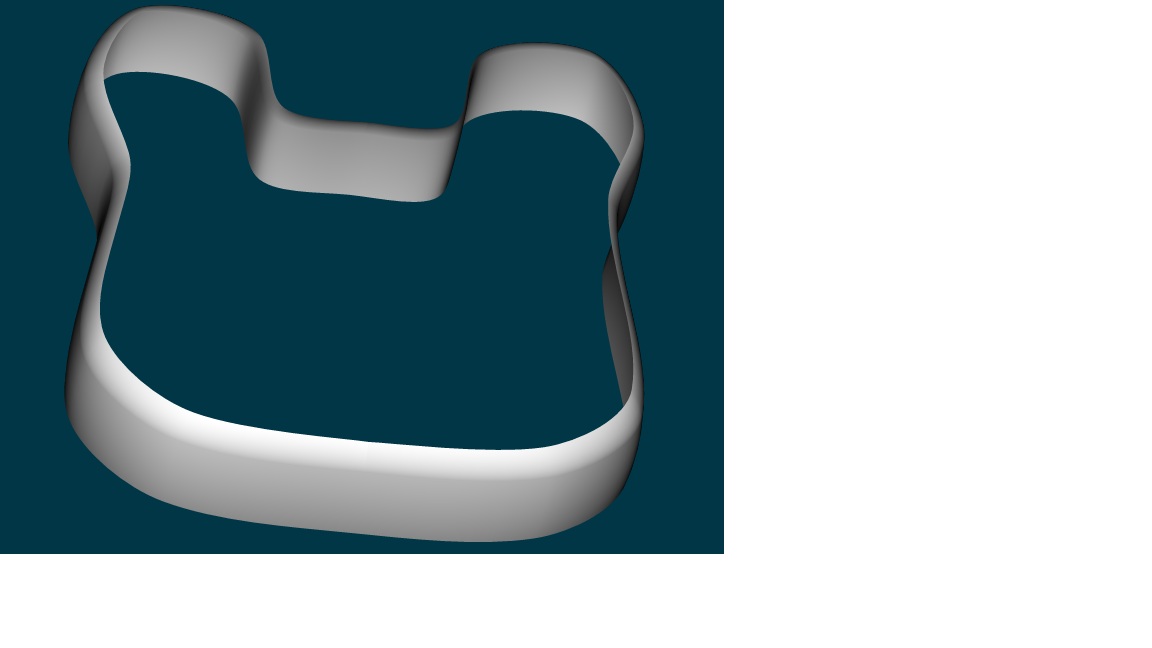
At one point I modeled an old-timey padlock, but now can't find it. So I'm doing another one. Problem is, I can't quite close up front of it so it is a solid surface. The part that is giving me problems is the upper-right. I thought I was going to be able to have a 4 point patch and a 5 pointer, but the 5 point patch actually has six points, so I don't know how I'm going to fix this without creating a buch of extra patches. Also, it just kind of looks odd the way it is right now. I'm not sure that the splines are laid out right. The other thing, now that I've learned about beveling, I really don't have a clue how to bevel something like this. Its fairly simple to build a bevel into something that is a simple lathe or extrude, but this is a bit more complex. Suggestions?
-
Ok, so I've read Homeslice's tutorial (really good btw) and have been doing some more futzing around with Sweeper - is there any way to have the Y axis parallel *except* for the end segments? Basically, I would like the endmost segments to be parallel to the X axis. Also, If I uncheck keep Y axis parallel, I get rotations of the cross sections (without specifying it) but if it is checked I don't get the rotations. That is not making a whole lot of sense to me.
-
Ok, I still can't seem to select individual parts of the swept object. I'll have to see if I can't get the path as close to the final shape as possible.
-
Well I don't know what I was doing wrong but I just deleted that bit and started over. Homeslice - PDF is really good btw.
-
Does a swept object appear as a just one piece to AM? I'm trying to select one of the cross sections that make it up to move it down or rotate it, but I can't. I don't get the yellow selection highlights like I normally do. I've tried Edit > Deselect all but all the CPs are still green. Any ideas what's going on?
-
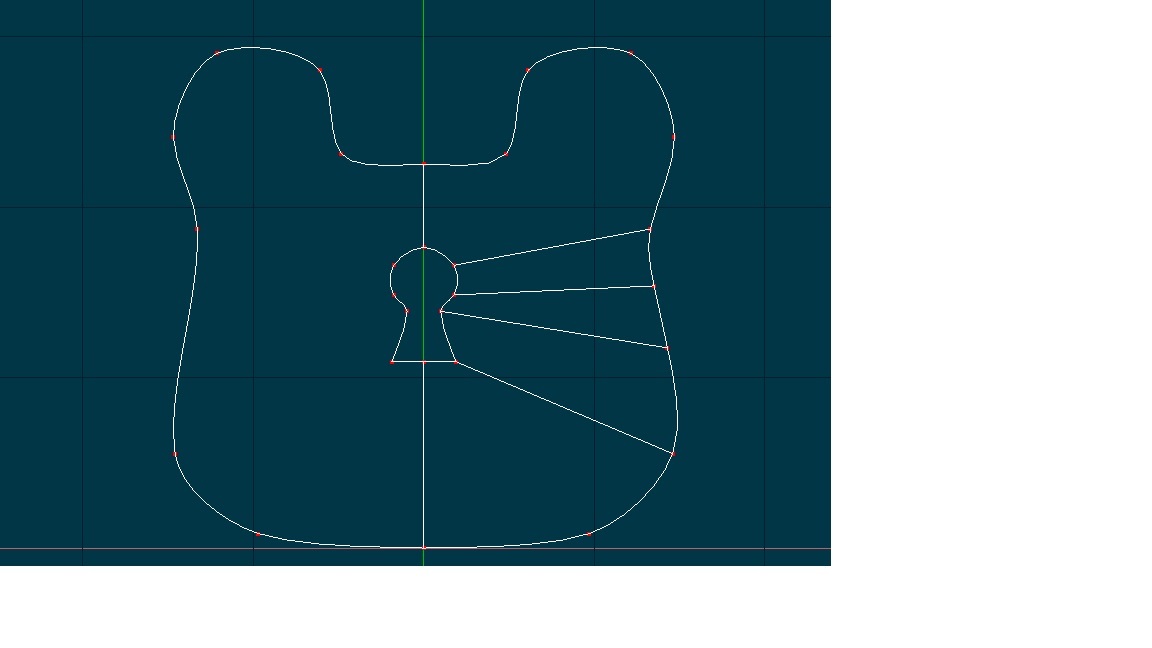
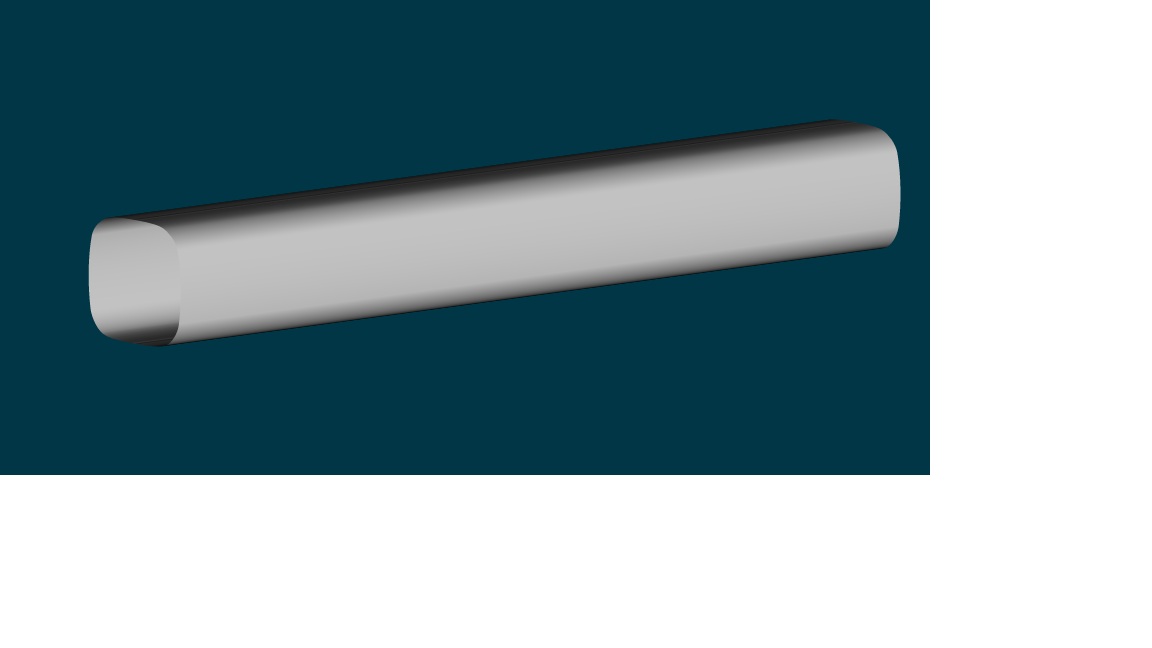
I think I more or less figured out the basics - thank you Nancy. I'll have to check out the tutorials Homeslice posted. Anyway, here is my basic swept shape: I built in some bevels and I'm going to use this as the building block for my handle. I'm going to bend it as needed, hopefully that will work.
-
DOh. You're right - you even said to select the path. Guess I'll try this again...
-
If I go to plugins > wizards, though, I don't see Sweeper listed (which is strange because I could have sworn I saw it there before). Is there some way I could have hidden it, or maybe it is not visible in the view I'm in?
-
If I change the orientation of the cross section to vertical I get something a little more like what I was expecting, but one of the ends is still hosed: