


Eric2575
-
Posts
2,615 -
Joined
-
Last visited
Content Type
Profiles
Forums
Events
Posts posted by Eric2575
-
-
If you guys were going to attempt to model a garden with several hanging plants, ivy, and blooming flowers, what would your preferred method be? Hair maybe?

-
http://www.hash.com/forums/index.php?showt...;hl=tank+treads
http://www.hash.com/forums/index.php?showt...;hl=tank+treads
http://www.patchwork3d.de/html/englisch/wh...eating_tank.htm
http://www.hash.com/forums/index.php?showt...;hl=tank+treads
One of these a gotta help? The main problem that you have is that your tread sections are too long. Either increase the diameter of your driving wheel or decrease the length of your tread sections. This is all assuming you are going to animate the treads. If you are not going to animate them, then just make two circle splines, one inside the other separated by the thickness of your treads. Place these spline rings centered on the front drive wheel. The inner circle should be the same diameter as the drive wheel. The outer circle should be larger by the thickness of the treads. Now lock these rings and use them as a guide to line up the tracks. I believe that might be what Robert was saying.
Show us your trials.
If you are still having trouble, then you might have to give us more specifics.
Hope that helps.
Eric
-
Chris,
your modeling skills are really improving.
Eric
-
Spherical effector with a double gradient? Is there a tutorial for this somewhere or did you think this up yourself? Talk about thinking outside the box, wow!
Eric
-
Depth map? How, what, where, when? How'd you do that?
-
Is that Cap'n Kirk?
-
Happy Birthday Robert.
-
Thanks for the comments everyone. I posted the last image on CGTalk and could use your guys support
-
I agree, amazing. I can barely get goop out of materials and you create artwork with brush strokes! Wow!
Eric
-
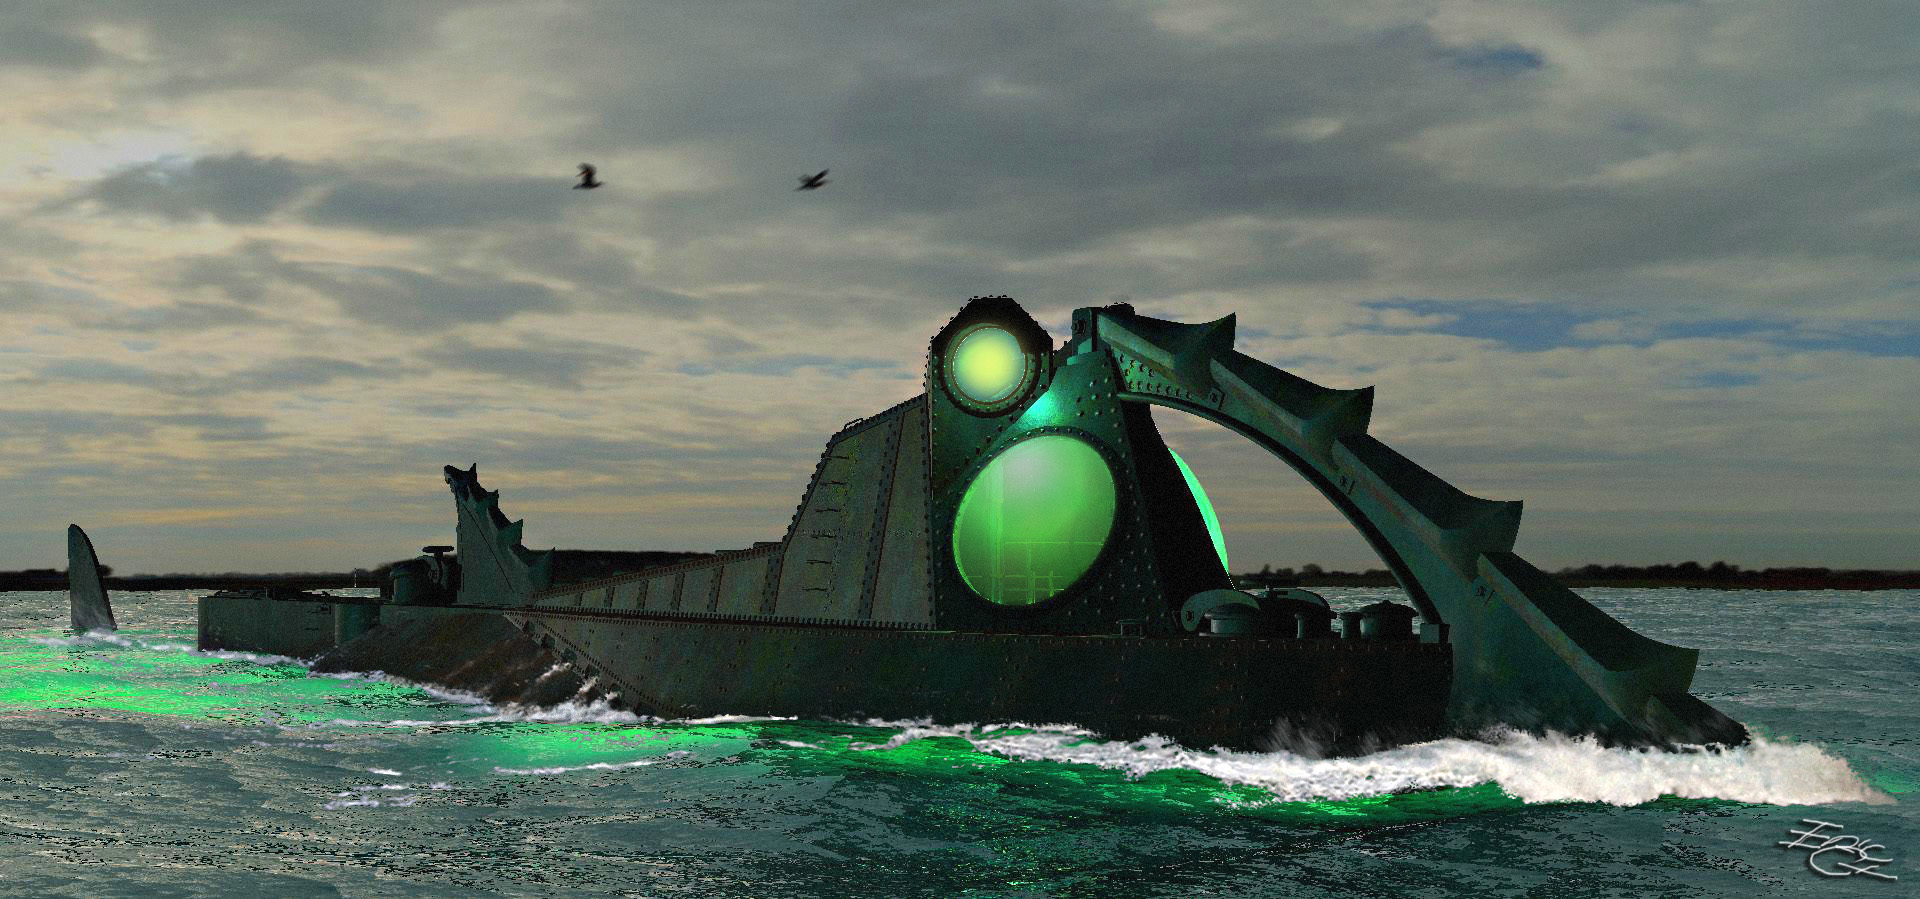
Some PS post work.

-
I've got so many projects going right now...hmmm, I sound like an AM forum member

 that I haven't worked on the Falcon since the last post. Trust me, I've put in too much work to put this one on the shelf. Just learning some new stuff about bones and rigging right now. I'll get back to the Falcon soon.
Eric
-
Maybe they're tiles like the space shuttle? I don't know enough about it

-
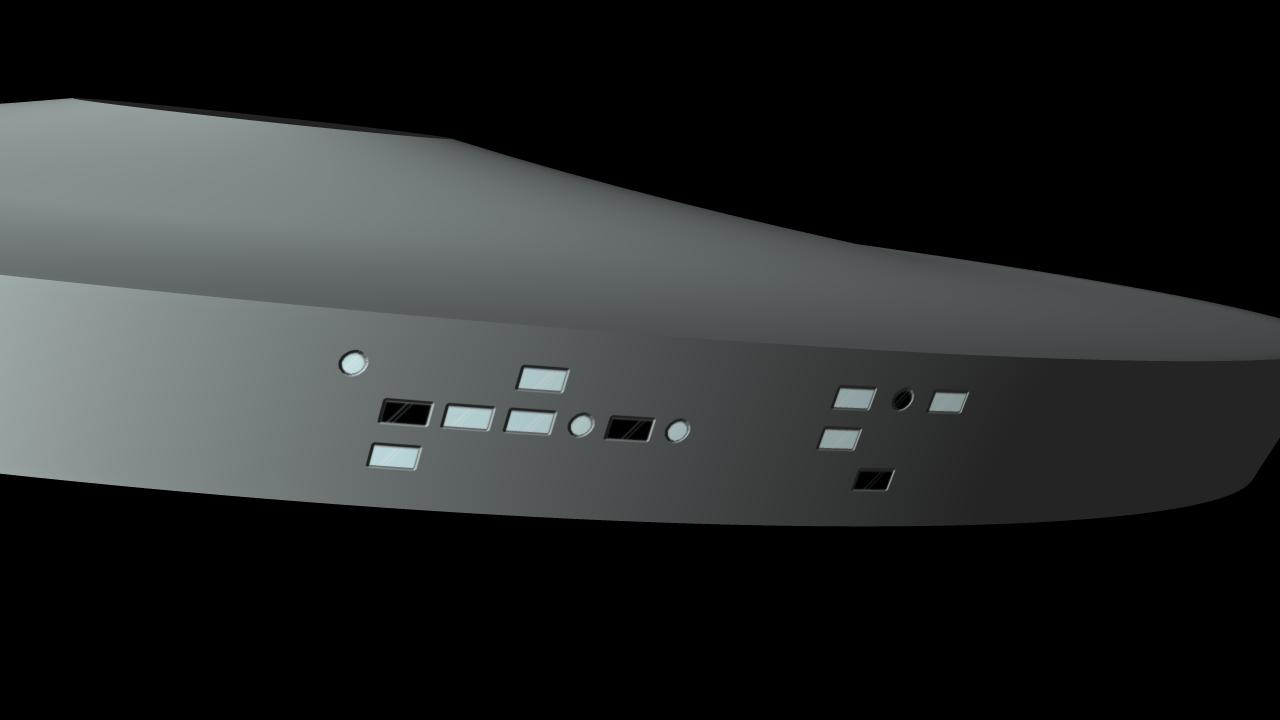
Bryan:
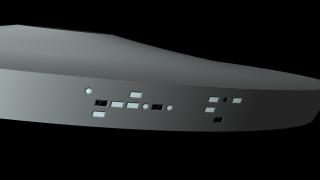
couple of things. Robert mentioned something about 19 levels of fallof on either side of a displacement map in AM leading to some banding. He said EXR will give smoother fallof. Robert, please put it in your own words when you read this. I'll make another window map and use exr as the output. That should hopefully take care of the last artifacts. Another thing: the saucer shape looks out of proportion from that last shot angle. It looks too thick vs diameter? Maybe the perspective, but maybe that;s the way it;s supposed to be? And yes, the displacement maps are turned up too high, not because of distortion, but they (the windows) just look too inset for the scale.
Eric
-
Hmmm, I don't know... Robert, let me give you some advice: people want to get rid of wrinkles, especially women, not add them

Eric
-
No problem, looking forward to more renders

-
Dingo:
I as wondering, are you using your work just for stills or will you be making clips? Reason I'm asking is because of render times with AO. Also, AO is great for simulating an outside lighting environment which you really don't need for outer space and actually don't want since AO lights all around an object. What I'm trying to say is, lighting for outer space is pretty simple to set up since most of the light will come from one major source, such as a sun and then maybe a planet's glow, not really from all around an object. You can get some nice space lighting effects with just a couple of lights and some specular tricks. If you do a search in the AM Stills library (you have to log out from AM forum and log in as a guest) with the search term "Enterprise", you'll find some nice examples of spaceships. Out of these, all of mine were done in V.13t without AO but with displacement maps. Faster render times, looks great, and...you can use displacement maps ♪♫♪♫♫♪♪♫
Hope that helps
Eric
Edit: Could you give us a render with the hull plating turned up a bit, they are so very faint on my monitor.
-
Very impressive and entertaining Gene ♪
Couldn't resist

-
My apologies, I never know what level of experience members have here. I did not mean to sound condescending or aloof when I talked about bump maps. Keep up the good work.
Eric
-
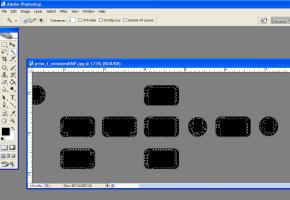
Nancy, you are right about blurring for smoother transitions, but since Dingo wants to have a sharp drop off for the window edges, it is necessary to get a tight smooth transition which blurring doesn't give you. Dingo never had tight lines in the jpg, so that needed to be cleaned up for a crisp displacement map. Here is the Photoshop image of a selection without anti aliasing. It should have selected just the black, not what you see here.
Dingo (don't know your real name) I am coming to the conclusion that on my meager Laptop, AM V.13t, AO, and displacement don't like each other. I have created three different displacement maps and created three different modelsto render with AO, and each one comes out with more grain and artifacts than AO usually produces.
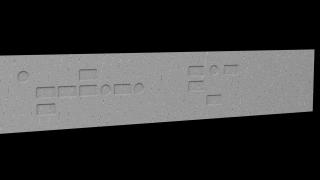
I am going to try another render with the AO in the chor turned up to 45, but I have meager hopes. I am also rendering an AO pass with bump instead of displacement to see if that will work for you in case this is a bug with V.13. Here is the bump version. Depending on how close you get to the model, I think this is your best bet. Any closer and you should build a high detail part of that section anyway
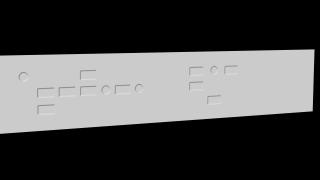
This render is with an additional ambiance and color map.
These are the maps I used: Window_Ambiance_Lights_out.zip Windows TGA2 Bump at 300%, Windows Ambiance Lights out at 44%, Windows Blue color 100%
Hope this helps
Btw, I've been fighting the flu for the last several days, so this is what I can do throughout the day so I don't die of boredom
Eric
-
I seem to remember that I was also having problems with V.13 and displacement maps. If I recall, on my system it had a bit to do with how much memory AM had when rendering. If I didn't open any other programs, AM did fine, but if I opened memory intensive programs, then I would get weird renders. This is happening again. I am rendering now with Firefox open, as well as Photoshop and I get major artifacts when rendering displacement with AO. I'm also on a pretty weak (1.25GB ram) laptop, which is not helping any. Let me shut everything down except AM and see what goes on.
Eric
-
I did some further examination of your decal in PS and found that you have different levels in your black windows causing the blurring. I'll make them solid black and that should take care of the problem.
Edit: Rendering now with full black and saved as TGA
-
Even if you decide not to use it, you might want to try using the Simbiont rust material. It will give you more insight into the way different aspects such as color, bump, and specular work together. What version of AM are you using? It also doesn't look like you applied a proper bump map to your chisel.
Bump maps are supposed to help bring out the material and surface details. Look at your reference picture. You'll notice how sharply defined some of the details of the rust crud are. To quote Webopedia: "Bumps are applied by matching up a series of grayscale pixels with colored pixels on the rendered, colored object. Lighter grayscale pixels create a sense of maximum relief or maximum indentation; darker pixels have less effect."
Although this definition states that grayscale pixels should be matched up with color pixels, that is not always true, especially if you are dealing with grunge and rusty surfaces. I took the liberty of applying a simple desaturated rust map to your blade and adding a very light yellow/red specular color with 43 spec size and 50 spec intensity. As you can see it gave your blade more definition, making it look more 3d. I got the rust color map from CGTextures. It's a great site for free textures. http://www.cgtextures.com
This is the rust color map from cgtextures that I desaturated (took the color information out in an image editing software) and applied to your blade

This is the basic no AO no radiosity 9x render with the bump and specular additions.

I hope this helps explain what I meant about bump maps.
Cheers
Eric
-
I looked at your decal in PS and that looks fine. Then I rendered without AO and like you said, that's fine too. Now I'm rendering using 9x AO. I'll post when it's done. I'm using V.13t
Edit: first 2 passes show a significant amount of roughness - aborted render and checking some other variables
-
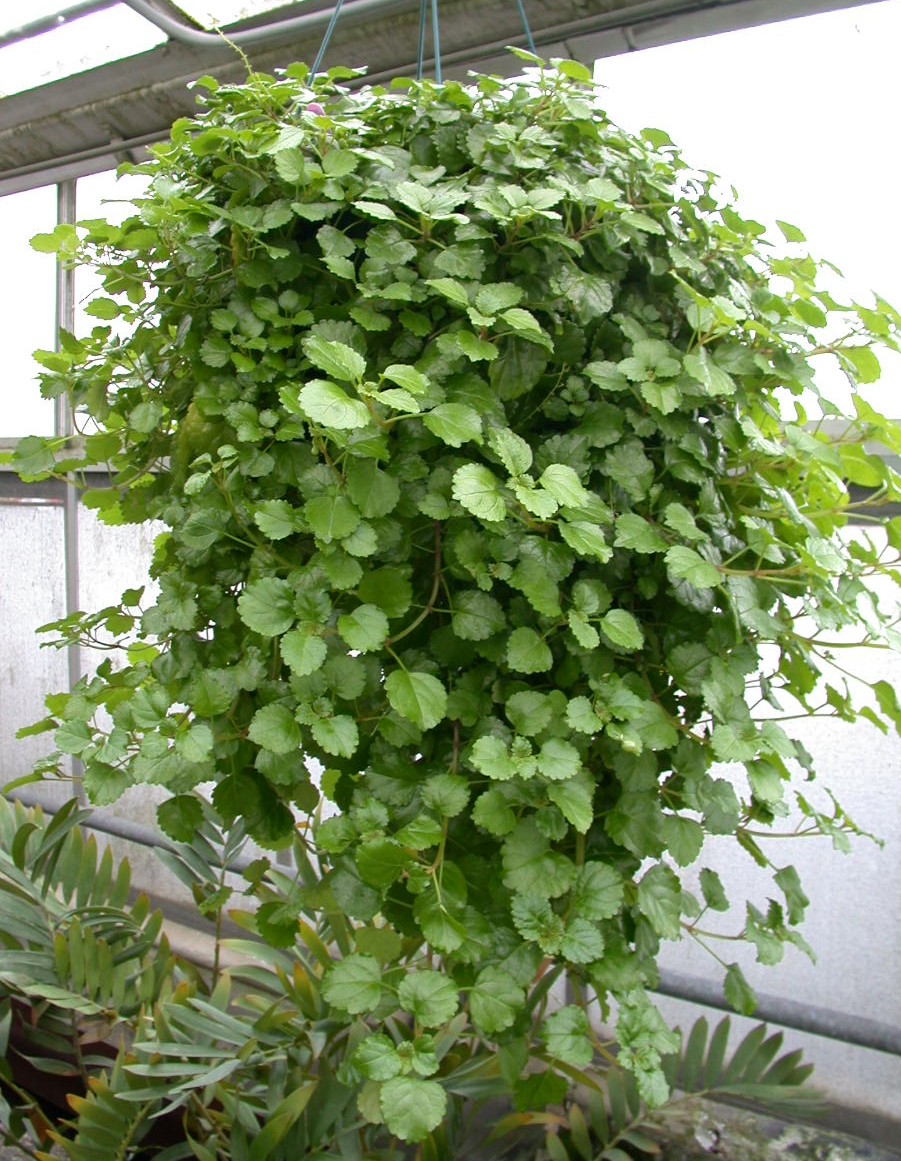


Lots of foilage
in Work In Progress / Sweatbox
Posted
Thank you for the link Nancy. Beautiful tree you got there. "This is the tree - with two emitters but using the same image for both emitters - but each emitter colored by a different decal - mo' noize mo better" Could you expand on that please? It sounds like you have the same image for the shape of both emitters and also another image (decal) for the color? So if there was only one emitter, for simplicity's sake, it would have two images, one for shape and one for color? I must be getting this wrong since I only know of one place to put an image for an emitter? Also, you put an alpha image on the canopy to hide it, yet you also have another decal on it for color? How is that done? Set the alpha to tranparency and the color to, duh, color? Gotta go do some experimetin....