


frosteternal
-
Posts
826 -
Joined
-
Last visited
Content Type
Profiles
Forums
Events
Posts posted by frosteternal
-
-
Slap a cookie-cut map on the surface if you want a hole that you didn't model. Depending on your graphics card, it may display as cut out in real-time too.
If you simply want patches "turned off" so you can model another part better, use groups, and "hide"
I do that all the time.
If you want a permanent solution, delete the points that make the patches valid, or simply and an extra CP here and there with the "y" key (insert)
Other solution, if you just need part "out of the way", model the parts you need to see separately, and move them into place & attach later.
If you post an example of a screen shot showing what you have/want we could help you more effectively.
(Last note, Render-lock is not always an effective preview tool, as it uses the old renderer. Just do a bounded preview with what render settings you intend to use for production.)
-
Very nice. Perhaps just a slow truck backwards with the camera to heighten the empty hopeless & isolated feeling as she is dying(?)
-
Fantastic!
Facebook and the Forums are pretty much my only social networking sites.

-
I have made a decal for my wood floors.
But some of the groups I have add it to come in hazy.
I am using a jpg file.
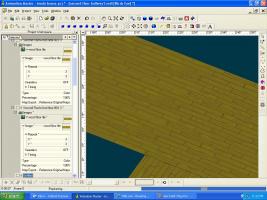
Also add any other tips I may need to know about the decals
Apply it as a stamp, THEN change the repeat. And use TGA, not JPG.
1. Adjust your view so that the whole floor is visible, nothing else.
2. Right Click on the Decal in the Project Workspace, and choose "Start Positioning"
3. Scale it up to cover your whole floor model, then Rightclick, choose "Apply"
4. RightClick, "Stop Positioning"
Now go into the decal instance and adjust the repeating images, etc.
Otherwise, applying the file to a group can make the patch images can go every which way and get wonky.
That is the technical term.
-
Nice one, your splines are all flow-y and stuff now =)
Now maybe Nancy & I won't harass you about spline flow. Well, sometimes.
-
Cool beans. I particularly like the bear destroying the butterflies.
-
thanks so much Jessie
You're very welcome, Kat.
-
Nice page turns, maybe just a bit more "plop" of those snails?
Who is she talking to? Herself? I suppose witches, being solitary would be self-talkers...

OR....can this scene, as it is mostly explanatory, be condensed? Suggested dialogue -
"I need no oracle to tell ME what to do"
"The ancient book of shadows has the spell I need"
(fairy squeaks in protest)
"Yes, this will do quite nicely..."
"If I follow the spell precisely -
I'll finish with rotting entrails,
pinch of newt, a handful of snails!"
"Foulest of humours,
boiling and hissing
form vaporous tendrils,
a ghostly apparition!"
Short, succinct, to the point. And it seems more a chant than a monologue.
This is all coming along so well!
-
I put a deflector on an object, and "cloth" simcloth on her clothes, and the cloth ripples when simulated. How can I make the cloth act more natural?
Increase either the damping or the stiffness. Increase bend damping first.
-
Also, you may have "Brightness" set to "Brighten Facing Hairs."
With Hair, you often must adjust the brightness for your purposes.
And like Nancy hinted, maybe start with a darker green.
Cool tree face model. Looks like you are getting the hang of spline continuity!
-
im making a spaceship and wanted rays of light to come out of the bottom. i made one light that i like. is it possible to copy the bone light to make multiple lights that have the same properties?
If you hold down CTL while dragging it onto the parent bone, it may make a copy like a normal bone would...
-
what is normals?
Every patch has a "front" and a "back."
Normals are vectors that emanate from the front of the patch, pointing from the center outwards. They are used by the software for shading, simulations, etc.
If you turn on normals (SHIFT+1) you will see them represented by pointy lines coming from the patch center. (They are usually visible only ion modeling modes.)
In order for smooth, predictable shading, all normals in a surface should point the same direction. If you right click in the modeling window, you will see a "Refind normals." It can help to run this tools after you have finished some major modeling overhaul. (Twisting points around, stitching, copy/flip, etc.)
If you right click on a group, you will see a "Flip Normals" option. These tools help you make your models less ambiguous for the computer. (Just because you know which side of the patch is the outside doesn't mean the computer does.)
Normals are necessary in computer graphics because surfaces are built of infinitely thin shells. A patch has no thickness, you are either on the front of it, or the back.
(For definitions of terms, this page is invaluable, (if a bit dated) http://www.pixelburg.com/am_glossary/#00index )
-
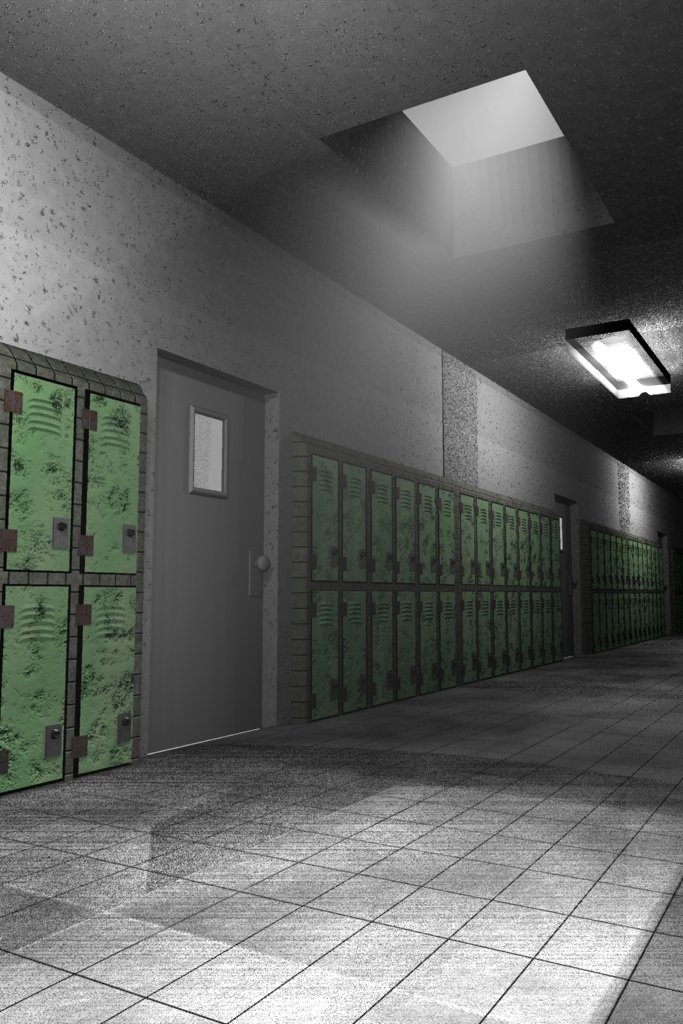
Update. Started the texturing and nearly finished it. I just need to tweek the coloring and lighting now.
Here are two different runs at it.

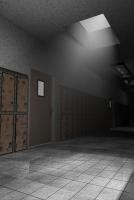
Which one do you think is better?
Photoman
The green lockers are definitely more eye-catching, but the second version is more grim. Which look are you going for?
-
Hi,
in this next part of Elderwood, the Banshee,
I've used the models that Mark rigged, , Eppen, Elfin, Trell, Jam, there was a couple of nice surprises that he added with the bow and arrow,
thanks again Mark.
comments welcome
Wow.
That was gripping. I especially liked the fog effect as the camera dollied through - Kat, this is looking fantastic.
-
My first guess (without looking at the project) would be that your wheel turning action does not extend over the same number of frames as the path action.
Are you using stride length to control action repetition?
Check the turning action, make sure it is set to repeat.
Last idea, are the wheels turning (by some enormous coincidence) 1/8 turn each frame, thus masking the motion in wireframe. (This one is a long shot.)
-
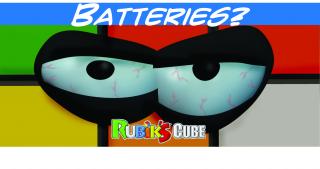
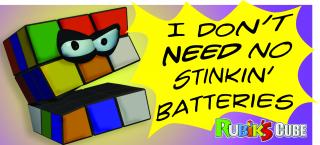
Here's the "Rude Cube" pressed into service for 2 billboard designs.
-
Nice start, what is the song?
-
Okay, final test. Cube character all rigged. The the eyes and mouth are accomplished with distortion boxes. Distortion boxes were the "save-the-day" feature here - allowing for squash-and-stretch (it is subtle but there) regardless of cube orientation. (Which leads me to believe that they would have been the key to a fully functioning rigging of a non-anthropomorphic Rubik's Cube.)
But this guy, nicknamed "Rude Cube" is my take on the new mascot for Rubik's Cube. (For my Advertising Design class, anyhow. He demands "solve me!" at the end of the clip.
Now that I have the base character, I'm prepared for the next four weeks of projects =)
Thanks, Hash!
-
I like him, Jesse!
...
I bought one a few years ago and was really bummed out at the lack of quality. In the old days, the stickers weren't paper, but some sort of vinyl. After just a few minutes of playing with it, the colors started to rub off of the stickers.
Wow - I should address that in an email to the company. I'm interested to know if they've changed it back. My old one (circa 1982) was nigh indestructible...I'd be disappointed if they had cheapened the product.
-
Very cute!
Do something/anything with that default sky and ground plane though.
Yep. Just a test of motion.
-
Okay, here's the eyes added to the model.
-
Hi Jesse....
Nice animation... I noticed that you rotate just one axis.. I already worked in a similar project in 2005 but rotating in the 3 axis, you can check it here
Thanks, I chose to keep it simple because it needed bones as it is going to be "alive" and animated. (Muscle motion will over-complicate things.)
I'm rendering out a test with the eyes right now =)
-
I need to anthropomorphize the Rubik's Cube for a school project.
Here's a motion test. It will have a face.
-
Congrats on your Big Decision. That was what I did when we started on "The Mountain" 3 years ago. (There were other factors as well.)
Best of luck, work hard, and you will be fine!


Can I shut a patch off?
in New Users
Posted
Cookie-cutter map is just a decal type. Ttransparent parts of the image are rendered transparent. Looking back, now that I see what you were modeling, it wasn't the best solution.
Glad you seem to have worked this out!