-
Posts
5,112 -
Joined
-
Last visited
Content Type
Profiles
Forums
Events
Everything posted by Paul Forwood
-
I stripped out all groups except for a bark colour group and the skin/particle emitter. Same story. I then tried your suggestion, Ken, and flipped the normals: No change and, of course, the particles are forced into the body shape, which is not really what I want. I guess I'll have to forget about creating any moody lighting or leave it until sometime in the future.
-
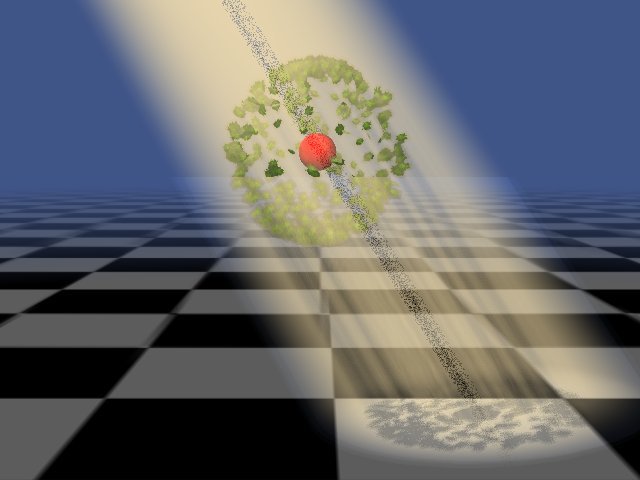
I have no idea what is happening here, in A:M15e: Somehow I managed to get a volumetric light to work with a transparent surface but I get these dark streaks appearing for no apparent reason. There is nothing that could be casting a shadow above the balls. I have tried everything that I can think of to get volumetrics to work with transparent objects in this other project but without success. I'm still getting the white-out. I'm wondering if this might be caused by groups, higher up the tree, which share the same patches as the group that has been set to 100% transparent. I doesn't make sense but I will try stripping out all the groups except for the Transparency group and see if that has any effect.
-
Thanks, Steve and Ken. Particle emitters with very low velocity and emission rates. Sprite's gravitational effect set low, to suit.
-
Way to go! One concern though... has this passed health and safety tests for consumer products? It is just the idea of having lots of people pouring water into the reservoir of the "WaterPixie" when it is suspended above Christmas lights. Perhaps some careful words of guidance would be enough. Anyway, it is great to see you getting your own, A:M visualised, product into the stores. Good luck with sales when it finally hits those shelves.
-
Getting back to Clint for a minute, here is a test in A:M 14c where I tried the skin shader for the first time: Shortlegs_A00B.mov
-
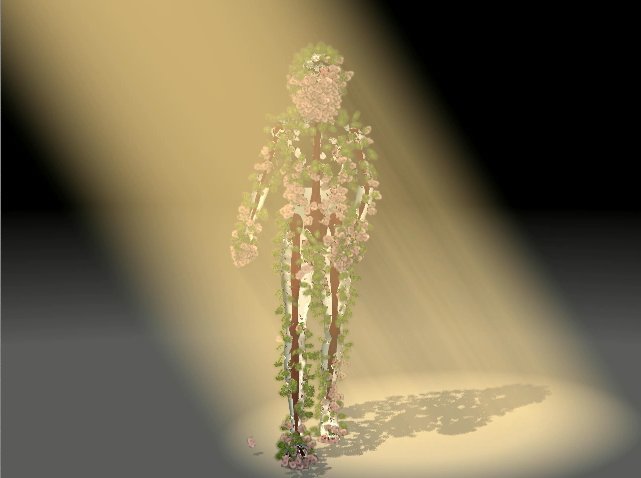
I tried a render with a volumetric light and found that it doesn't play well with this model. One for A:M Reports I guess. Particles, Volumetric light and Fog: Particles and Volumetric light: (movie removed to conserve space) The back faces of the transparent body seem to be reacting with the volumetric light, showing up as visible geometry and acting like a filter on the scene immediately behind.
-
Congratulations, Dusan, on finishing 'Chicory & Coffee' and on winning an award already! I hope it does well on the circuit!
-
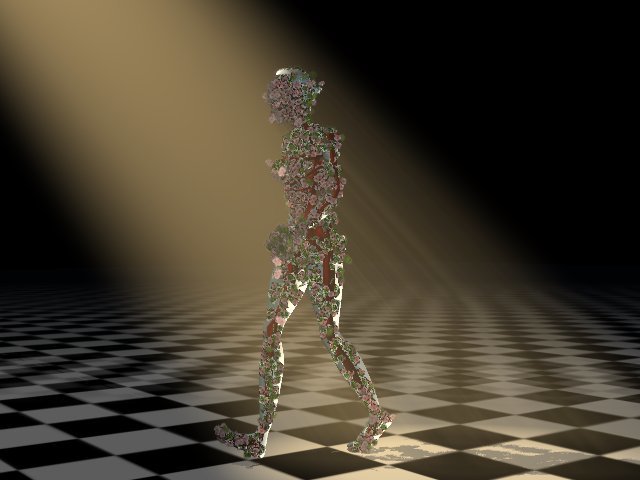
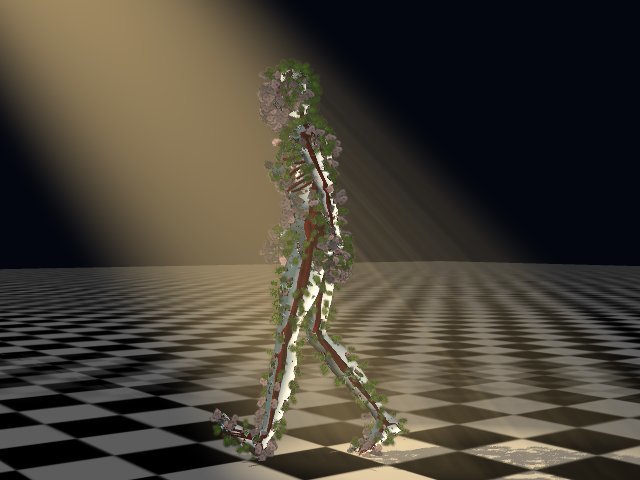
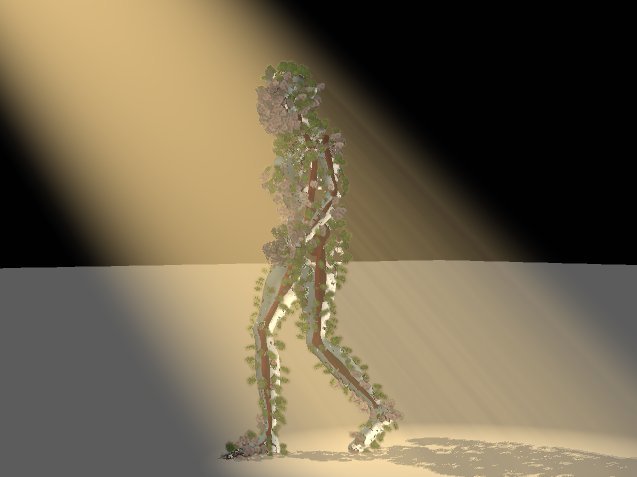
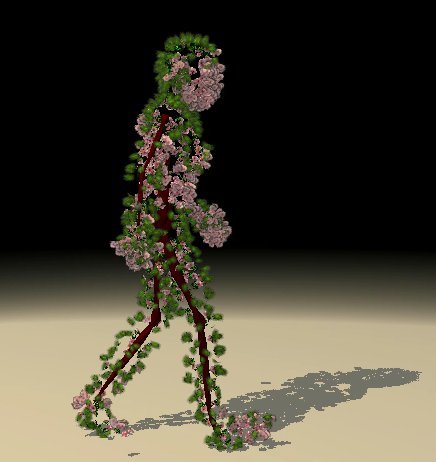
Not sure what you mean, Steve. This is one of my faerie models. The skeleton will be formed by the gnarled and twisted trunk and braches. It will be quite surreal. Thanks! These are just tests, Martin. The story is just outlined at the moment, (just some notes and 16 thumbnail sketches so far), and will not be revealed until I have an animatic at the very least. I'm imagining it as a 20 - 25 minute short but it could end up being much shorter. With the way I jump from project to project it may be a while in coming. Indeed, but not this time. Agreed. The walk can't be finalised until the character's size and weight have been fully established. At the moment she can go either direction. Eventually each character will have motion suited to their physical makeup and their personality. (That's the plan anyway). Yes. Sort of. She is a supporting actress. One of several who will enhance some of the scenes but at the moment she is primarily a test model for a number of effects.
-
-
Well done for the progress that you have made! I would also recommend upgrading before you loose all your hair. A:M 9 was the most unstable version and wasted alot of my time. A:M 14 and 15 are very stable and you will find that you can begin to trust the software again rather than living on the edge of your seat expecting the next major crash.
-
Cool!
-
Eggsquisite! Congratulations on completing your first short. It turned out great.
-
Well done, Robert!
-
Wow! That Adobecards concept is great and whoever put it all together did a splendid job! I think the construction of the bridge and castle was done with paths. Lots of path constraints, planning and patience.
-
Steve, you know what the Magic Circle would say about that! Johnl3d, you can never retire! We all need you for inspiration. Keep tinkering! Thanks, Stian! Robert, I may throw together a 50 ft flower man, just for you, but this effect has inspired me to try something else. Oh dear. Yet another project... I've taken those other two movies down and replaced them with this slightly better version, which includes sound: Kick_comp_A00a_12fps_7.mov
-
A little update on my particle experiments: (Removed these two examples and posted a slightly better version in my next post)
-
They look terrific, Mark!
-
Thanks, guys. This is just a little spriticle effect that I put together as an example in another thread: SpriteTest_A00l.mov
-
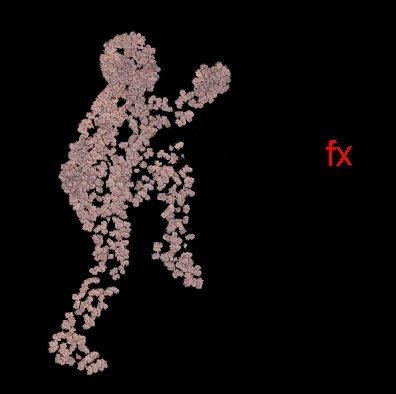
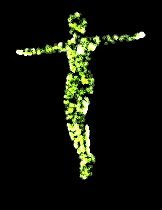
How about something like this: SpriteTest_A00d4.mov I just set the whole body to act as a sprite emitter, made that group 100% transparent, set a preroll long enough to build up the shape of the girl, keyed the emitter's gravity to start effecting the sprites at about 2 seconds into the animation. set the velocity to about 5% With some tinkering you should be able to get a pretty good effect with this method. I tried a fanforce but had little success. Needs more time playing. ------------- Edit: Increased the rate of emissions to 200 for a slightly better defined body and rotated a fan force into location at the point where I wanted the particles to move: There is also an 'explode' plugin out there that might be useful for breaking a model into seperate patches, if you wanted to go that way. SpriteTest_A00d9.mov
-
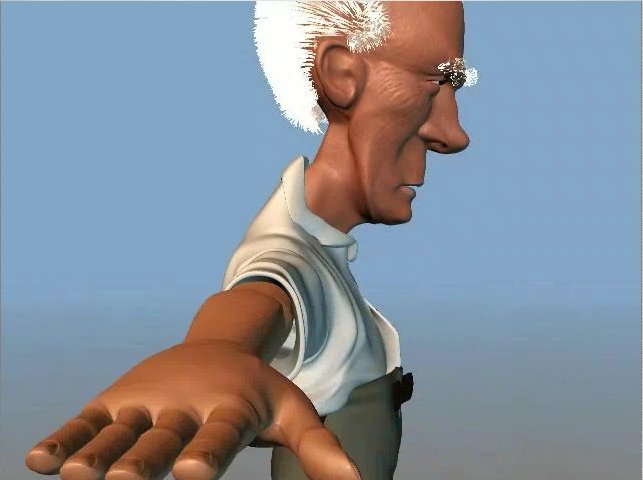
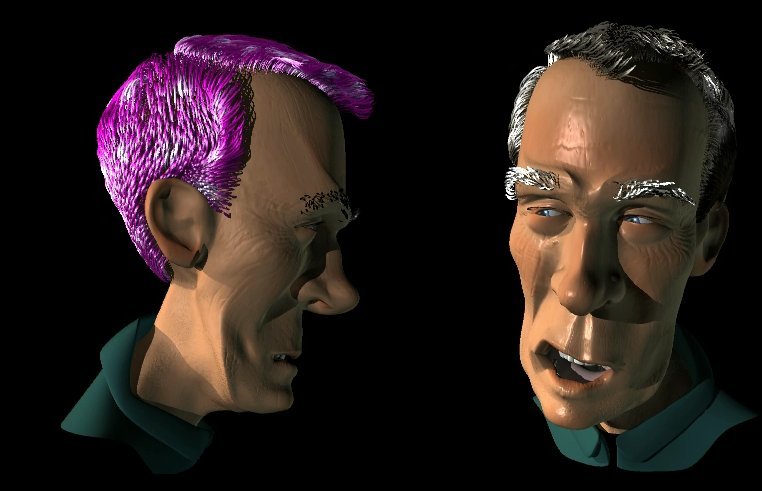
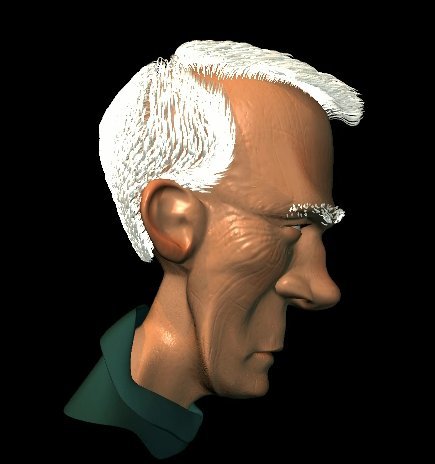
I couldn't get transparency along length to work in A:M 15e, Fuchur. Thanks for the thumbs up. I think that I might be getting somewhere with Muh Hair. Slow but sur.....not too sure. I found Kevin's, (Cosmonaught), description of the Muh Hair properties and realised that I had the secondary highlight wiping out the primary highlight. After some experimenting with MuHair I hope to get closer to finding a flexible workflow for hair. Sometimes I would just like to capture a slightly enhanced version of hair as it appears in the realtime view though. This is muHair after tweaking the speculars a bit. Also reduced the amount of taper in the hair so it is now thinner overall. Increased the number of passes to 5. Somehow I think that really soft fluffy hair with a good range of shades is going to require lots of passes. FaceTest_A00p.mov Oh. Jitter doesn't appear to be working or maybe it requires more passes before it becomes apparent.
-
Agreed. I am trying everything but I'm still not getting soft grey and white hair. Thanks, Shelton. -------------- Edit: (Removed this movie to conserve a little space)
-
I have done a number of test renders with different jitter settings which I will compile for comparison. Still fiddling with the hair and not quite getting what I am looking for yet. I will be adding a map to drive the hair colour. Haven't painted the new textures yet either but have tweaked the model a little: PictureView_A00_pass3_jit30_noskinshader_e.mov
-
Jitter is already at 30%. I'll try turning it up.
-
Transparency, with keys along the length of the hair, doesn't seem to work in A:M15e. Whatever is keyed at 0% affects the whole length. Further keys have no affect. Transparency does offer another mean of softening the hair however but is not ideal and does seem to add considerably to the render time. The hairs already taper from 0.01 to .2 and then back to 0.01. I have just opened this model in A:M 14 and it came through perfectly, even retaining the hair properties. That's cool! ----------------------------------------- Edit: I just noticed that I lost all my constraints when I took my model back into A:M14 from A:M15. Oh well, at least the model came through alright.
-
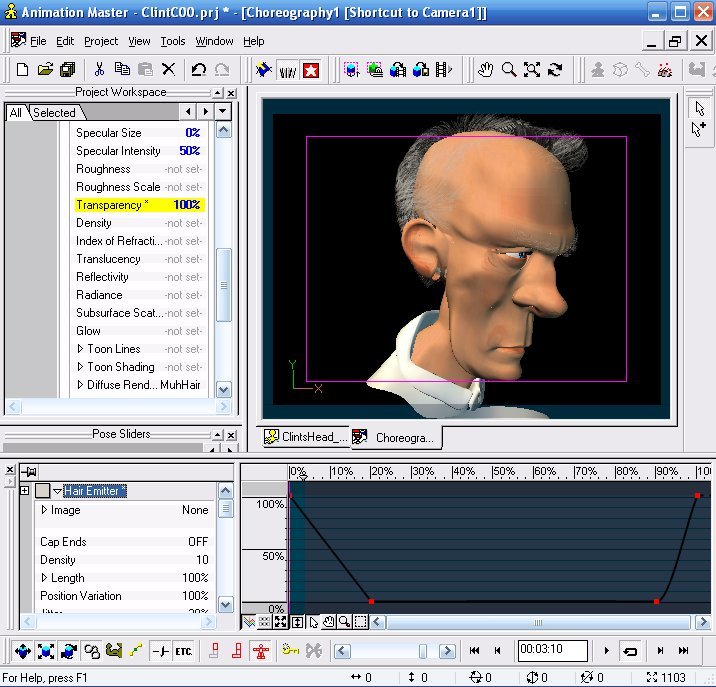
Robert, did you do that in A:M 15? I tried to get hair to start off transparent, fading to 0% transparent at 20% of it's length, holding at 0% until 90% of length and then fading to 50% transparent at 100% of the length, but for some reason it effects the whole length. Rendering produced images without hair though it was visible as semi-transparent in the realtime display, as you can see below. After several attempts I gave up and reset the transparency channel back to "not set" but the hair retained it's semi-transparent state, even after rebooting. --------------- Edit: I found that I had to remove the key frames from the timeline (for the transparency channel) before A:M would accept "not set".


