Pitcher
-
Posts
99 -
Joined
-
Last visited
-
Days Won
5
Content Type
Profiles
Forums
Events
Everything posted by Pitcher
-
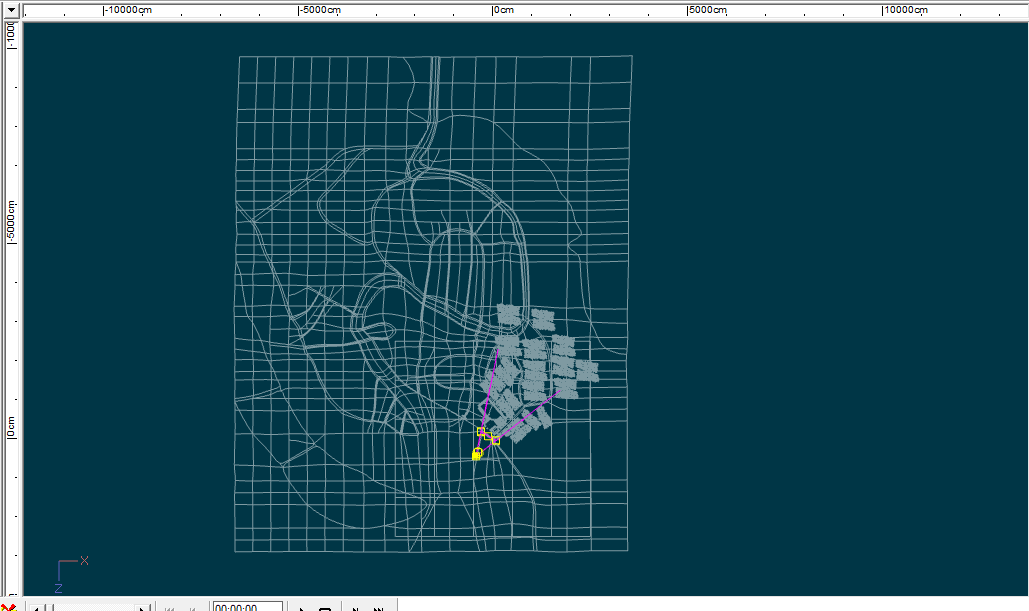
Here is a picture of the water plane. It is a group called Water in my Land and Canals model. I'm not sure what you mean by RMB. My image is in the Decal folder. I think I figured out what you were directing. I am now waiting for it to render so I can see how it worked. I'm not sure if I put enough repeats or too many. It's still rendering, but I can see it now. My grid is so uneven that the seamless water texture is extremely different in the small canal than it is in the Grand Canal. This won't work as an even distribution.

-
Thanks. I'll look forward to it. This is a real treat for me to learn how to jazz up my pictures.
-
I guess my level is needing to know what button to press, what number to put in as a setting, and in what order. I am much better at figuring out what is going on after I see what the process is or if someone explains what the computer is trying to do. I have learned about computers by operating them for about 25 or 30 years. I haven't taken classes in computers, except for short in-service classes on how to operate certain applications.
-
Wildsided, you have nothing to be sorry about. I just don't have nearly enough background to understand what is probably simple for a lot of people. My level of training is that I'm mainly self-taught, except for the many times, I have been totally stumped and had to call for help from Rodney, robcat2075, fuchur, Fae Alba, and many others who commented on questions I raised. I think I probably need to sit down and go through a bunch of tutorials. The only thing about that is that I forget what I learned unless I apply it almost immediately to one of my own projects. Thanks for trying to help me. It sounds like you have a great method, and I really liked your example.
-
When I tried the decal, I had the type set to color. I did not understand exactly what he was suggesting with the decal. I went on Google and downloaded a free seamless water texture. I made it into a targa and put it in my decals folder. I then made a material, the way he showed in the illustration. I wasn't sure how the decal was supposed to function, because he said that I did not need to tile it. I tried several different ways to follow the directions, but I think he must believe I know more than I do. Then, I abandoned the materials idea and created a giant decal from the seamless water texture and basically tiled it over the water. That didn't work so well either. Then, I gave up on the water texture and just changed to a darker color and added reflectivity. About all I know to do with decals is regular application or you and Rodney have shown me before how to paint a map on a window so that it looks like words are written on a clear window and one of you showed me how to make window frames from a white decal and make a bump map. I haven't used those in several years, so I'm very rusty with all of that. I don't know very much at all about texturing anything, although that seems to be important. I mainly know a lot of the lessons from the little book that comes with the program, and I have read most of Animation:Master A Complete Guide by David Rogers, although it's been so long ago, I don't remember much of it, without looking it up and rereading. That's where I am right now.
-
I agree. I never could figure out how to get the material to work.
-
I decided to try one more thing. I picked a darker blue and added just a little reflectivity.
-
Thanks! I'll give this a try! I went to the images and downloaded a free seamless water texture. I made it into a targa and copied it into decals. I highlighted water in my model of land and water. I created the material like you show above. First, I thought since you said you didn't tile it yourself that I didn't need to click apply for the decal. That didn't work. Now, I have placed the decal over the water that I isolated by selecting the water and hiding the rest. I will be surprised if this works. I really don't understand how to connect the material and the water. I tried my best to do the material thing. There's something I'm not understanding, because I never got it to come even close. Then I tried using seamless water texture and making a very large decal in Photoshop. I have tried many sizes, but it doesn't look very good either. I attaching my most recent effort. Water seems to be beyond me right now.
-
Thanks, Wildsided! I appreciate your suggestions, but I don't quite understand them. I'm assuming that you are suggesting that I find images of water texture as a first step. Then the part about applying it to the water as a bitmap plus material is confusing to me. The parts about playing around with the level of transparency of the water group/model and reflectivity and white specular I might can figure out.
-
Not at this time. I really don't know much to do with water, but color it blue.
-
Thanks. I'll have to think about the fly by. I'm not sure how it looks from every angle.
-
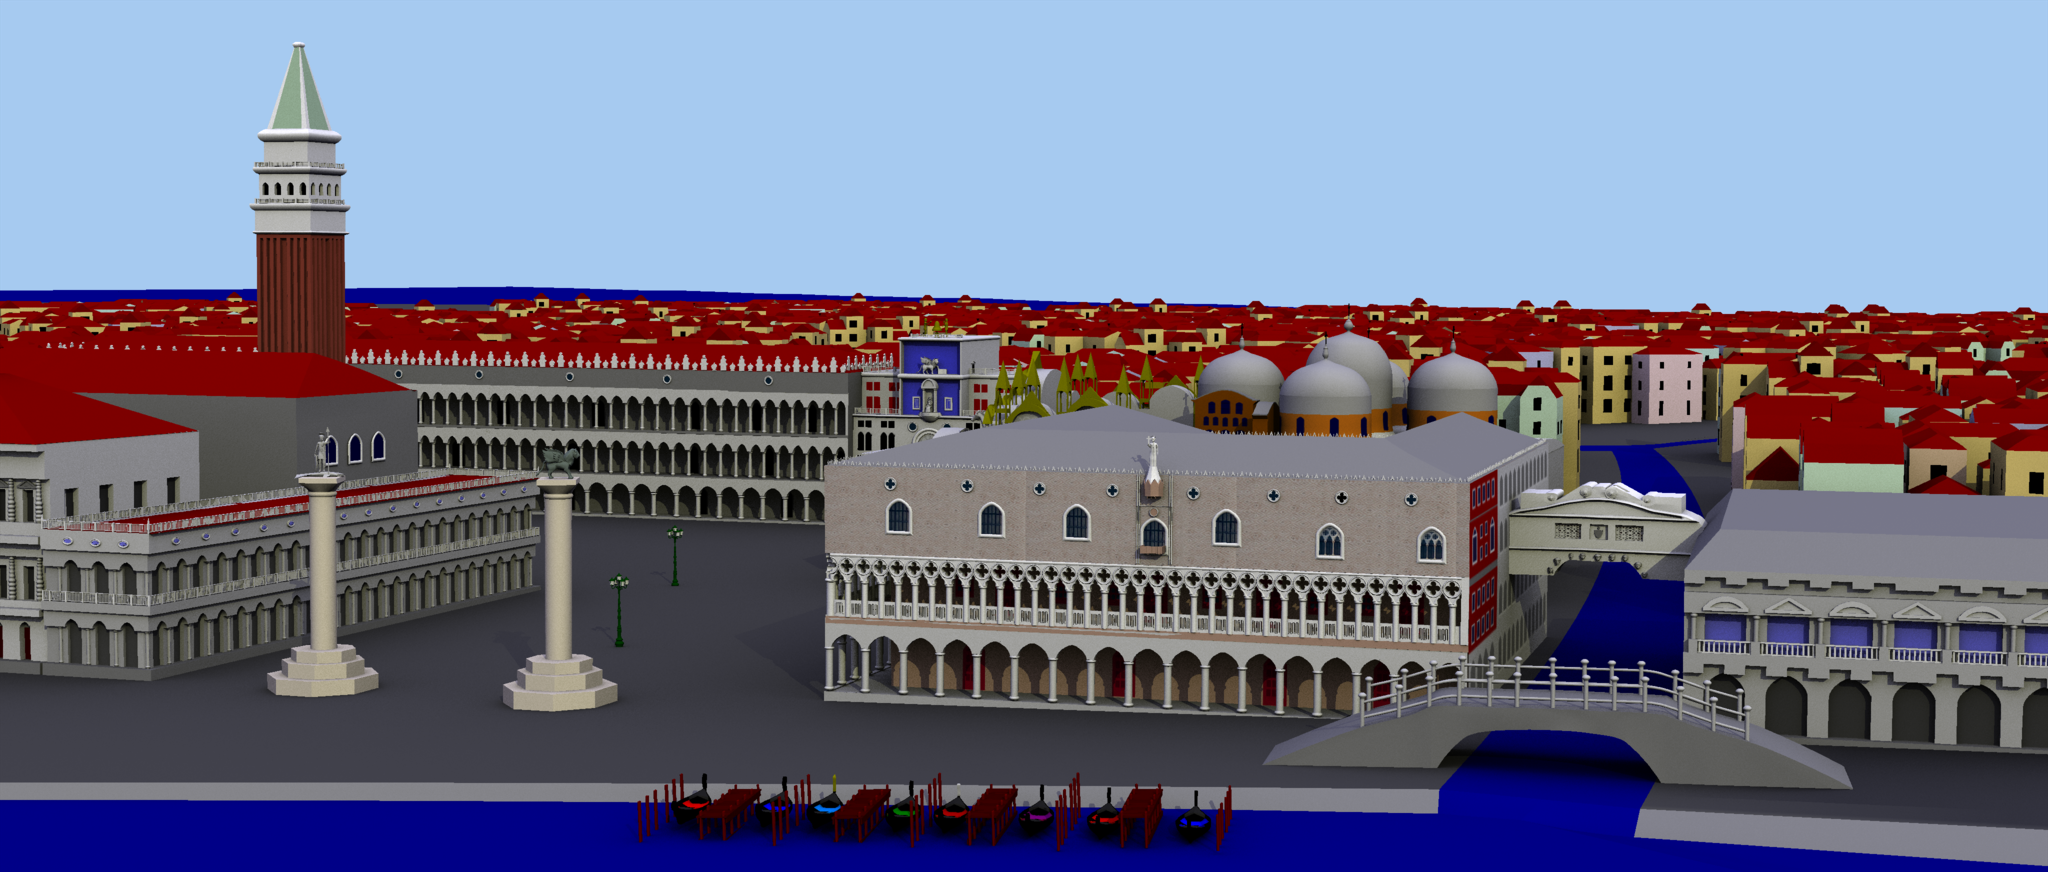
Venice is one of my favorite Italian cities. I hope you do visit there and see the glass blowers and take a nice gondola ride through the canals in the late afternoon and wander around St. Mark's Square. I found all of that very interesting and relaxing. Thank you very much for your suggestions and the information you provided on how to make the program dance and sing.
-
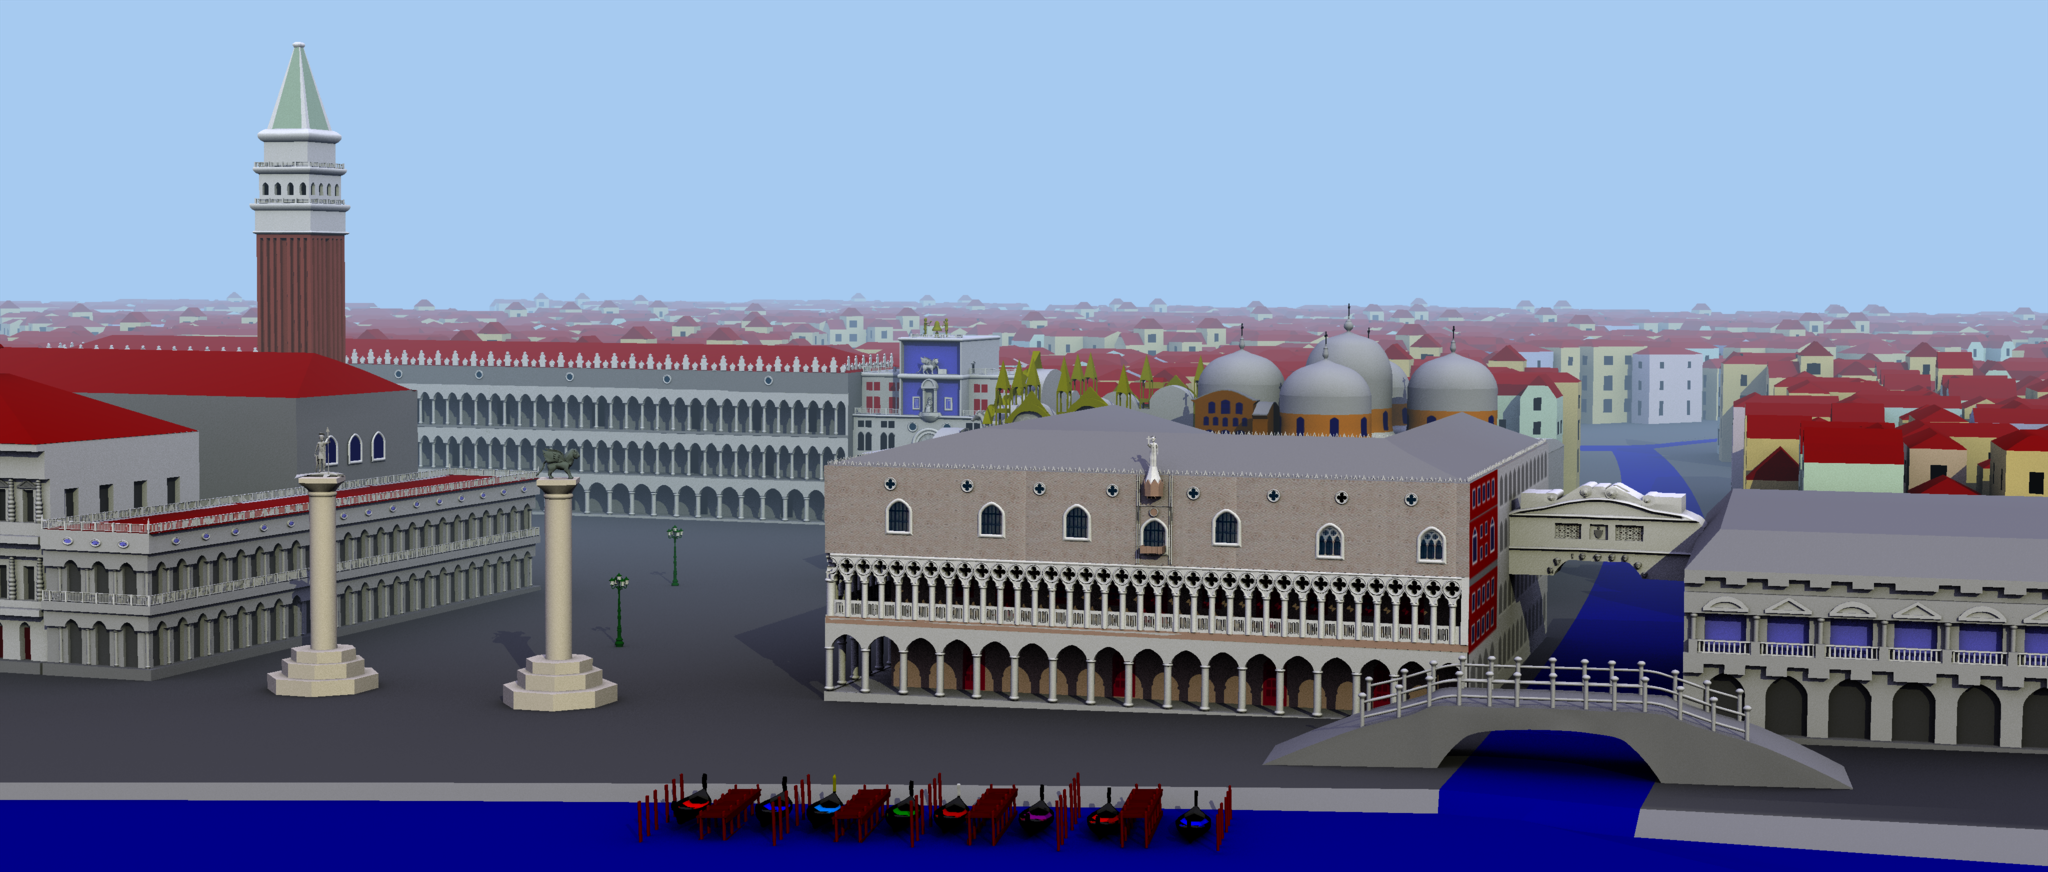
Thanks for the explanation and the example of a sky dome. I have always taken the sky pretty much for granted. I'll have to reconsider the many more possibilities available. The render below has the sky dome.
-
Here it is. I probably needed to remove the shadow setting before rendering the fog, but the fog seems to be working this time.
-
I like the shadows and sunlight, and I appreciate knowing how to get that effect. I'll probably be able to use that in many of my future projects. Thank you for showing me this. The essential part of my model goes from 0 to -4000 cm on Z. My entire model goes from 0 to -10000 on Z. Before I began, I made the land and canal part of the model. It is basically a simplified 3-D map of Venice. When I started, I wasn't sure exactly what I might include. Then I put the buildings, etc. on the map. The camera at this time is sitting at X: -433.587, Y: 180, Z: 440.889.
-
Here it is.
-
You are right (of course). I thought that shadows were on, because I could see shadows under the bridges, but now there are more shadows.
-
Here it is with the Key Light. I gave it the intensity and color that I previously gave the Spotlight.
-
I'm not sure what you're calling "sun". I only know of 3 lights: the key light, the spotlight, and the fill light. For Sun, I turned on the spotlight and gave it the slightly yellow color and the 45% intensity. I thought it would be the one to use, because it is more focused than the key light. Is there something else called "sun"?
-
Here is with the sunlight setting. I also grounded the bridge.
-
Here is the first view with the Y tweak.
-
Thanks, itsjustme! I need to tweak the y on a few items. I see some shadow under them. It does give it a different look. Nice to know about these controls. Thanks again.
-
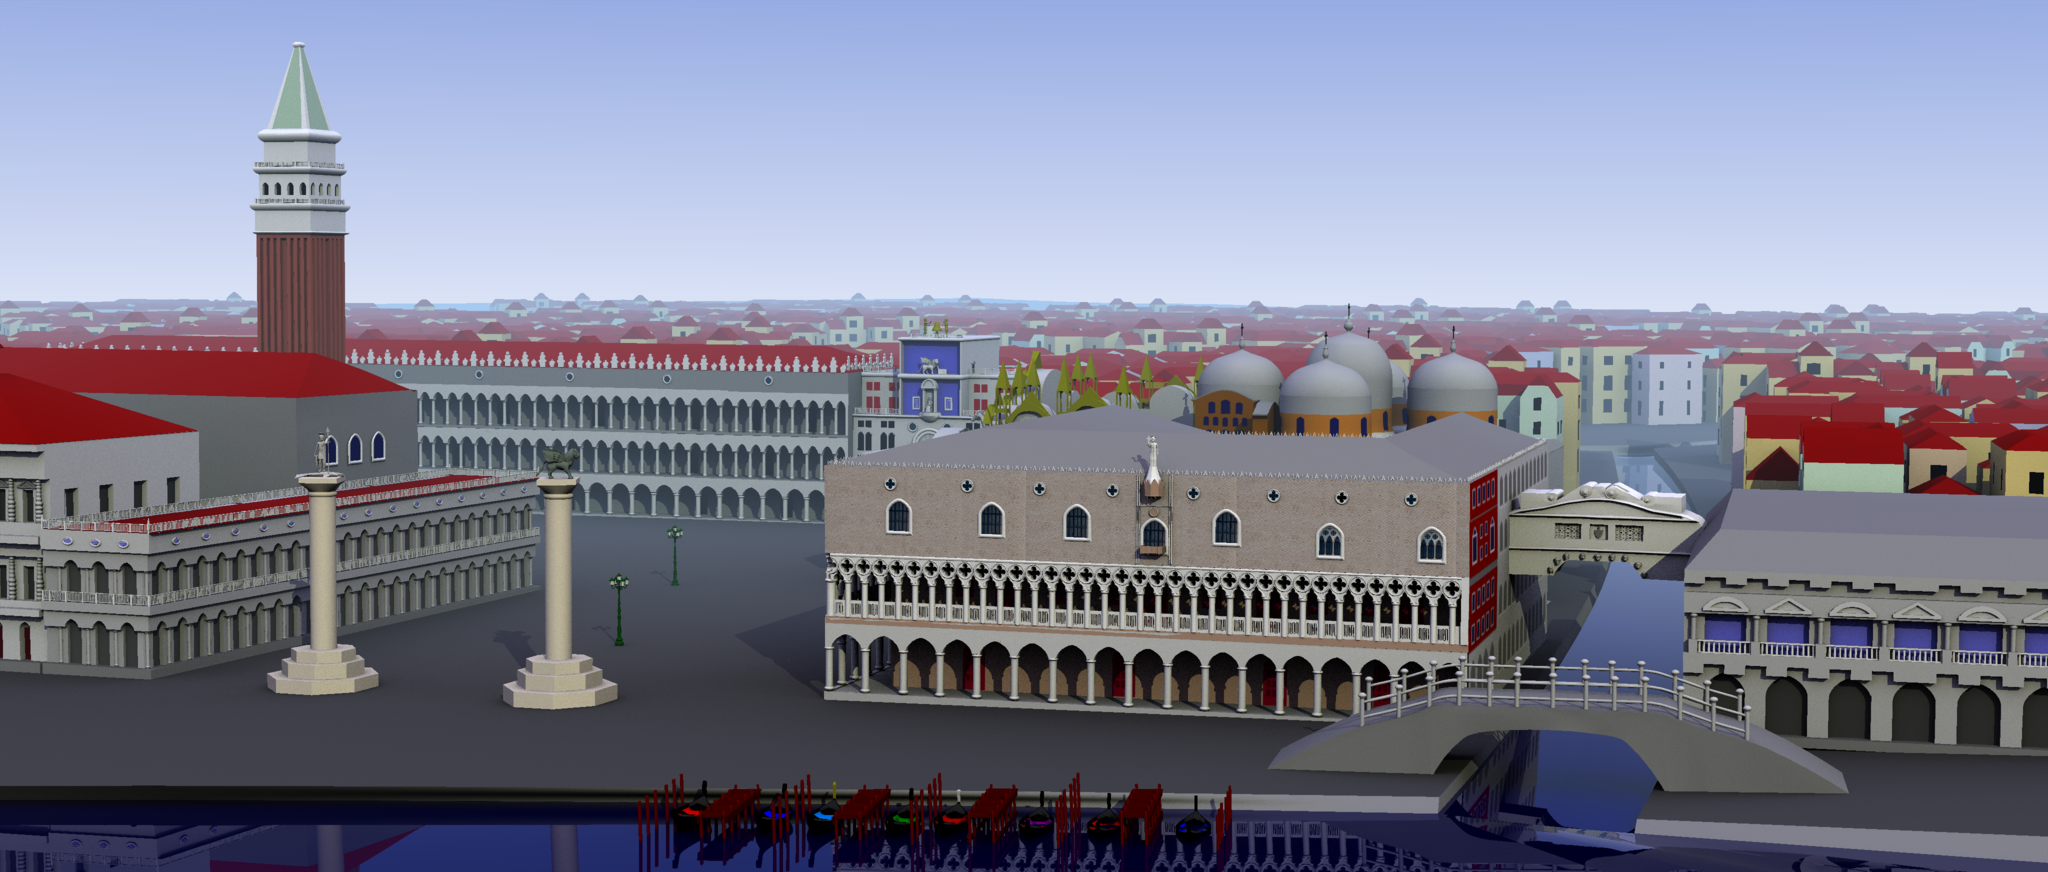
Here is a render with AO--No Fog.
-
The fog looks pretty thick. These are the settings you gave. I was going to try to set the occlusion to 2%, but it wouldn't go lower than 10%. I'm not sure what to do to make the fog thinner.
-
I'll have to figure out how to do an AO render and fog. I'm not really sure what an AO render is. I noticed that I also left out the three tall poles in front of the Basilica (and I will have to add about 16 statues to the Basilica and another 10 or 15 statues to the building across from the Doge's Palace. St. Mary's Basilica would also be nice as we look across the Grand Canal from in front of the Doge's Palace). I guess one thing I should also mention is that I haven't done the necessary historical research on this, but the time of the story is the late 1500's. That's why I have so much gold leaf on St. Mark's. There is an old painting of a procession of priests in front of St. Mark's, and it has gold leaf on parts that no longer have that. (See attachment. I noticed that the location of the Campanile is incorrect in the picture.) I guess it will look like a mix of old and modern. When I look at what I have, I see many details that I've omitted, because I have pushed the patch number pretty high, and I don't want to get into the situation I was in when I had a quarter million patches in my model of New London in The Great Pastrami Safari. As I said before, I also need to bring in my pigs and add about 40 or 50 or more Venetians to populate the area. Anyway, I don't know if this will ever get to the level I desire, but you see my progress so far.