Leaderboard


Popular Content
Showing content with the highest reputation since 03/26/2024 in Posts
-
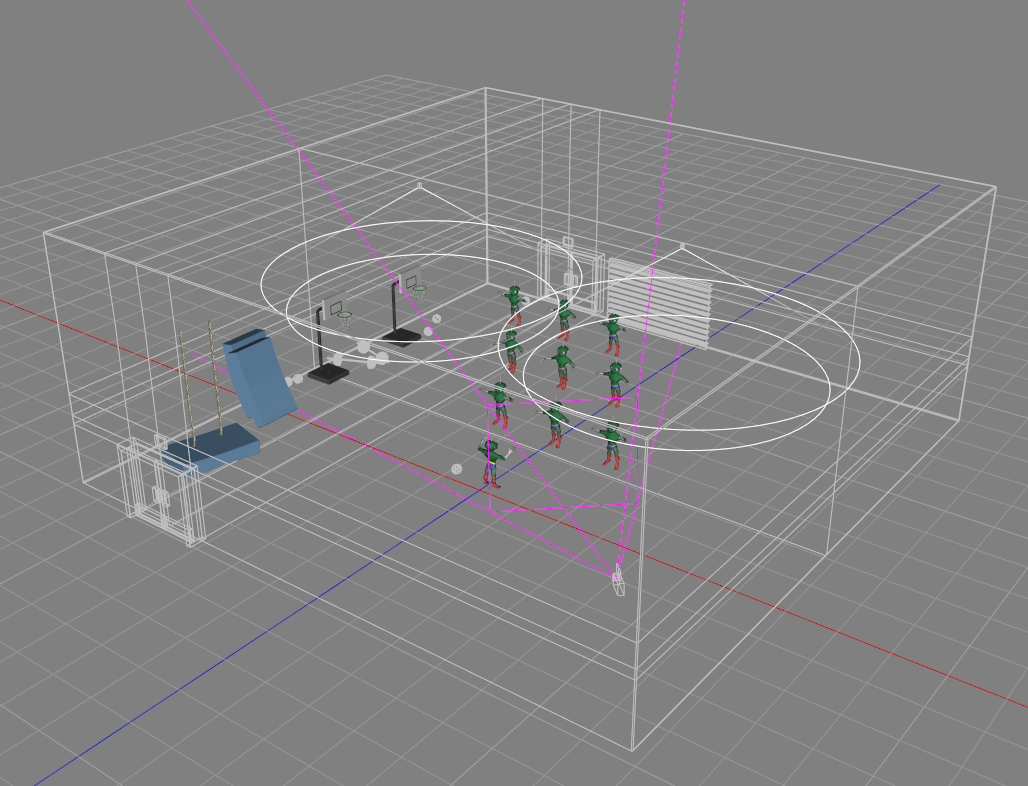
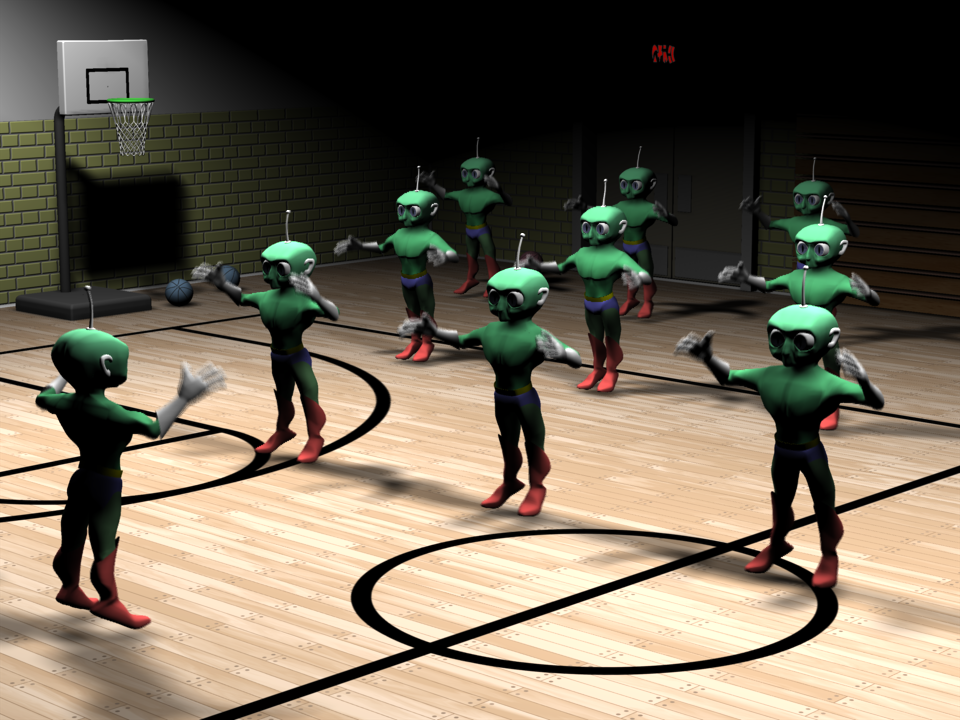
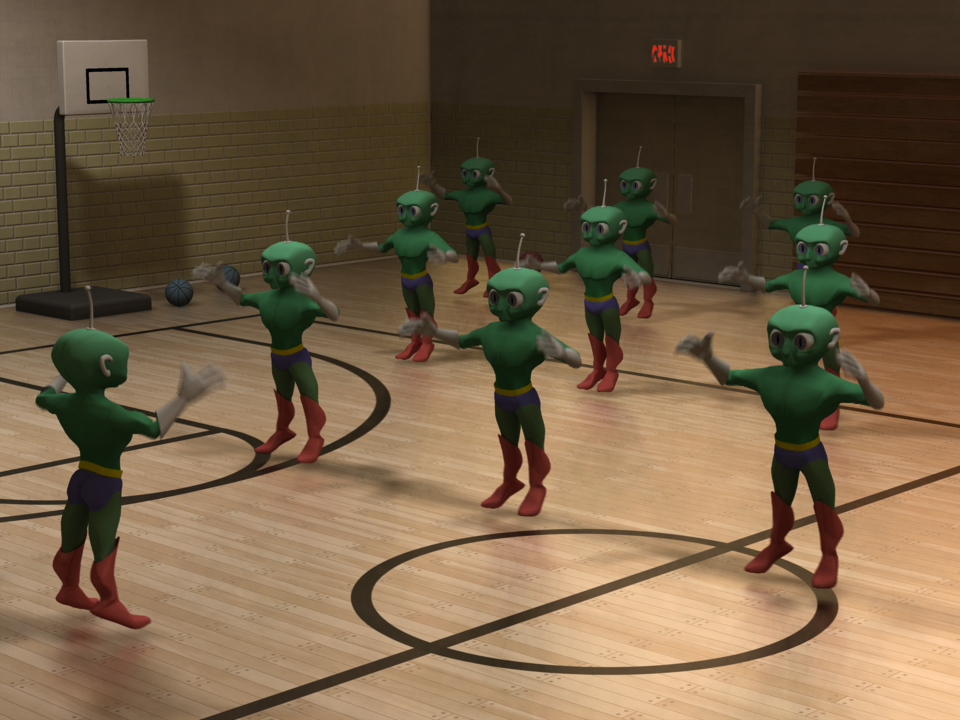
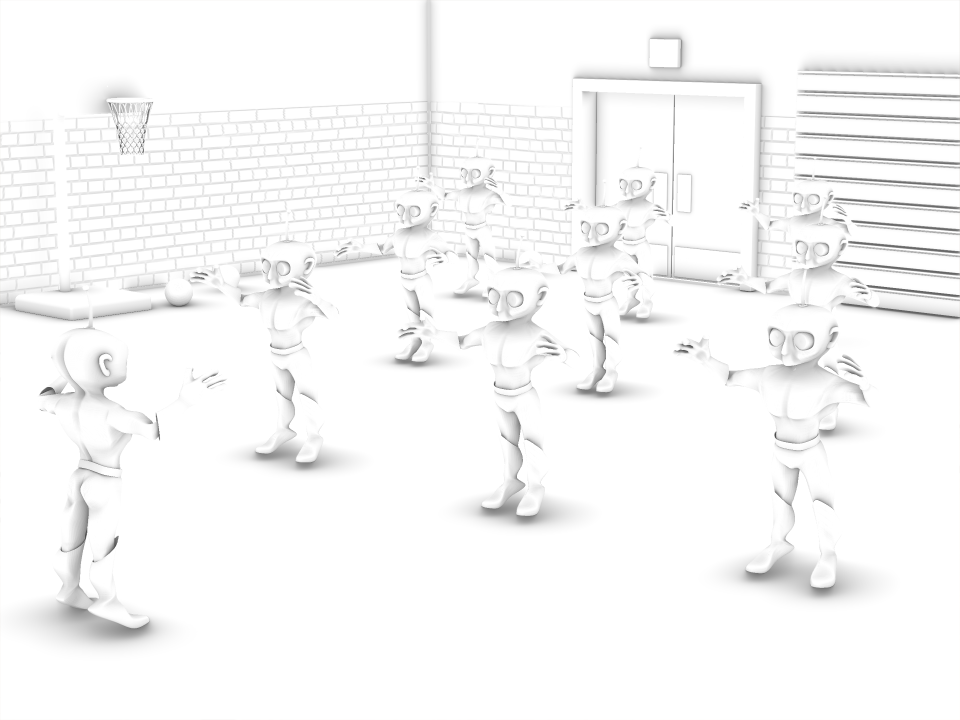
Here is another modern render of one of my old Animation Showdown animations. I added a school gymnasium set and rendered with radiosity. A birdseye view of the chor looks like this. The set is a completely enclosed box with two kleig lights in the ceiling... A conventional render with those two lights gets this... That is very severe. If I were going to use conventional lighting I would need add a number of fill lights in strategic places. Here is a radiosity render. The shadow areas are no longer pitch black and there is visible detail even where the lights do not directly shine. Overall, however, it is too dark for my taste. Increasing the Intensity of the lights so that the charcters were well illuminated caused the brightest spots on the floor to become overbright and clip. Instead I applied a gamma correction to the radiosity render. I''m liking this much better... Unfortunately, the shadowing that was indistinct in the raw render is now ever weaker. To give that some more bite i rendered a pass with ScreenSpace Ambient Occlusion (SSAO)... ... and composited that by "multiplying" it with the Radiosity. I did that in After Effects but an A:M "composite Project" can do the same operation. This PNG alternates "before" and "after"... SSAO has no anti-aliasing so I had to render those at 3x3 times the normal resolution to make smooth versions suitable for compositing. When A:M introduced Radiosity our computers weren't ready for it. Each render took so long that animation was unthinkable. But now with a modern CPU and NetRender it is within reach. My 640x480 test renders for this scene took only about 3 minutes per frame. After i got my settings decided and cranked up the quality, the full-frame final renders took only about 20 minutes each. Get started with Radiosity with Yves Poissant's Cornell Box Tutorial Learn more at Yves Poissant's Radiosity/Photon Mapping Pages

 1 point
 -
crash.prj
 1 point
 -
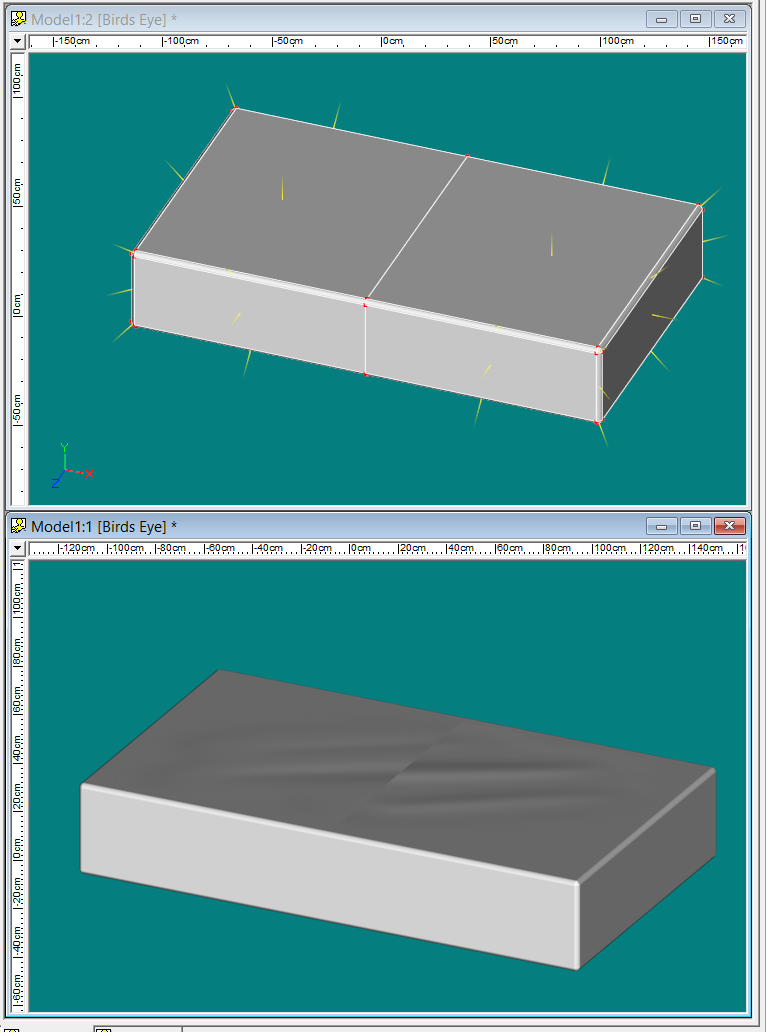
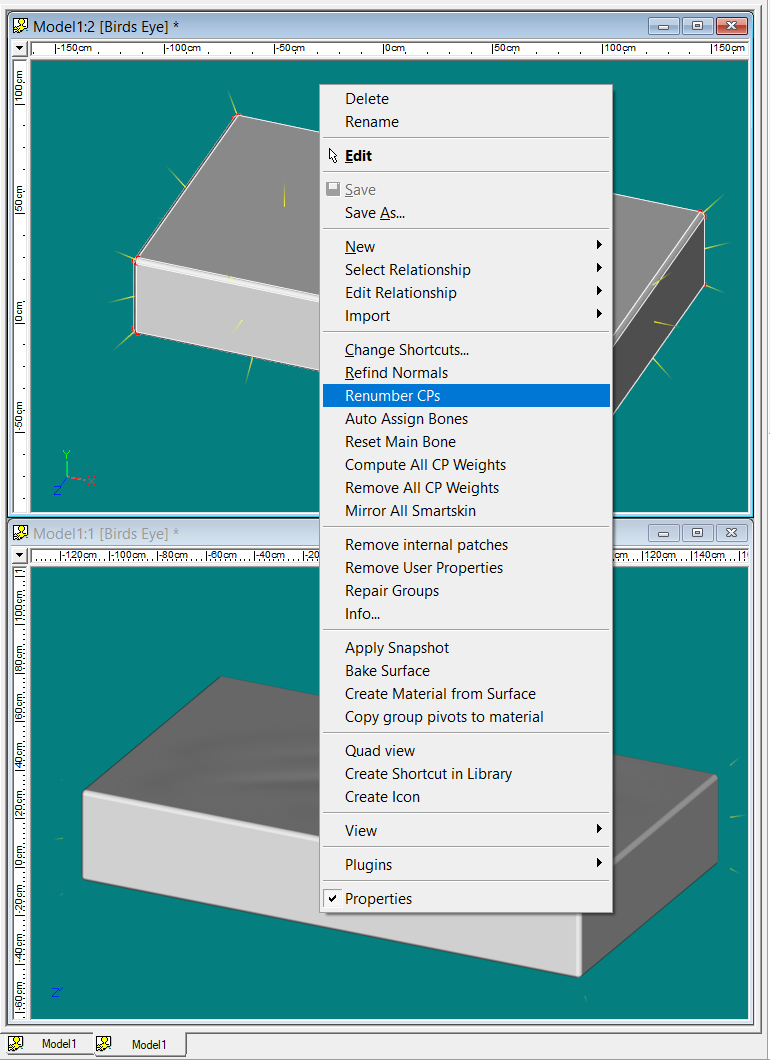
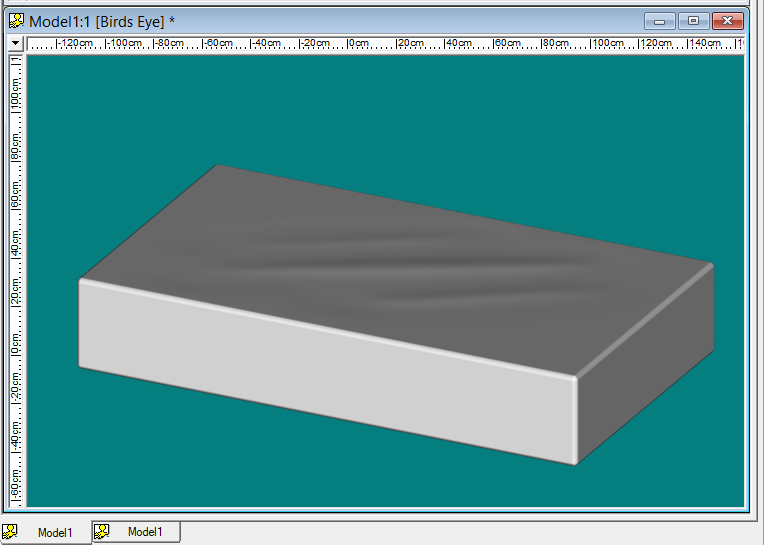
I put a bump map on this model to simulate some wrinkles on the top, but although both top patches have their normals facing out, one patch shows the inverse bump result of the other... Just to try it, I did RMB>Renumber CPs... That fixed it! Don't know why, don't know how, but that did fix it.
 1 point
 -
so I have to say... that's not a kilt... it's a skirt. I true kilt is about 2 fingers ABOVE the knee.. Somewhere I had an Incredible Hulk model wearing a kilt and tossing a caber.. sadly lost to the great hard drive crash of '01!1 point
-
One of the problems I've run into importing my A:M models into Blender is that most of my models have very limited geometry. I can add a subdivision modifier, which does smooth out the parts and pieces, but it also reduces them in size, so I end up with a model that no longer looks like it did in A:M. Today, I watched this youtube video... A subdivision modifier that keeps the model's volume! And suddenly, an old friend appeared, looking not a day older (or skinnier!) I'm busy with the latest Stalled Trek, so I can't really go off on a deep dive right now, but if you've run into this problem, this appears to be a solution!
 1 point
 -
A modern render of my 20-years-ago Showdown entry, now with lighted dance floor!1 point
-
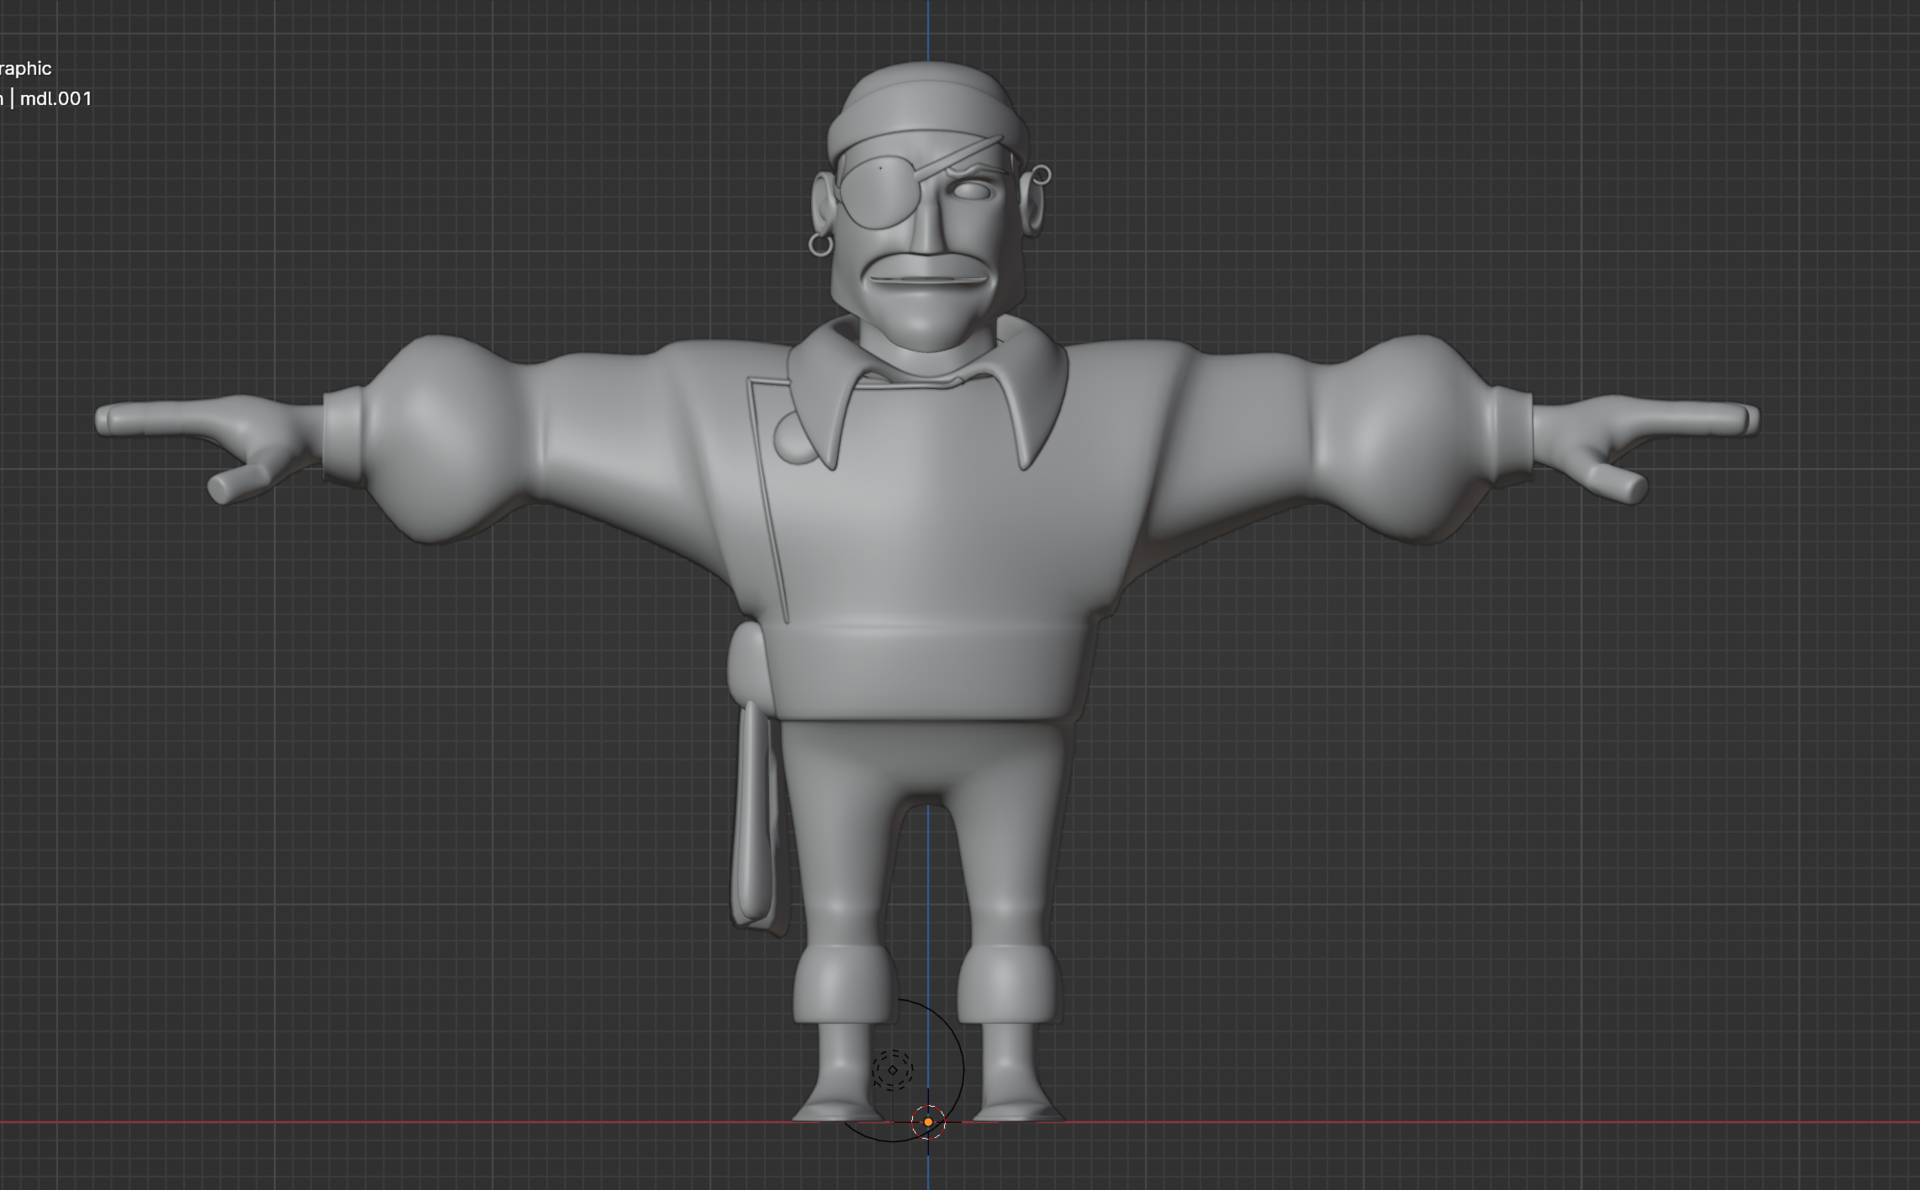
Look at this fabulously flexible result of rigging a face with the Transfer_AW plugin. Steve @Shelton modeled this great character (right) and then we pulled out a lo-res version (left) with just enough splines to cover the essential landmarks of the face. We rigged and CP-weighted that with some minimal bones for the jaw and lip corners and then used Transfer_AW to interpolate that lo-res rig to the hi-res mesh. It would need some further fine-tuning but this is a huge time saver for rigging a face. TAW Hans.mp41 point
-
A modern render of this Showdown entry, now with lighting, atmosphere and sound...1 point
-
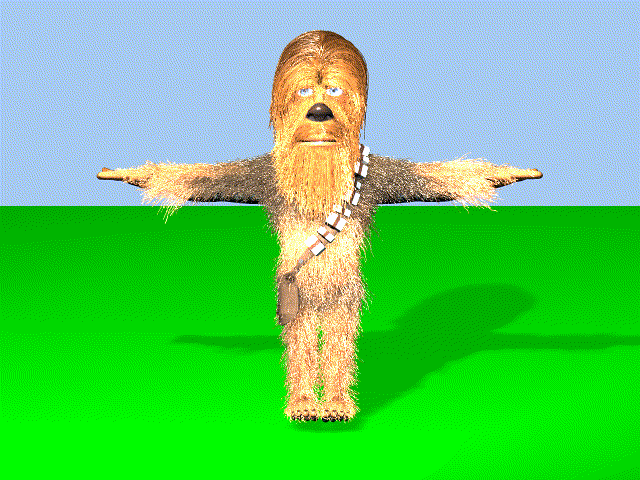
Incase you thiink the wookie was too hairy....same model with Material chamge and decals whathappen.prj
 1 point
 -
You can see his :blood" flow insideguy.prj
 1 point