-
Posts
2,068 -
Joined
-
Last visited
-
Days Won
46
Content Type
Profiles
Forums
Events
Everything posted by Roger
-

Have attached arm and hand, let me know what you think...
Roger replied to Roger's topic in Work In Progress / Sweatbox
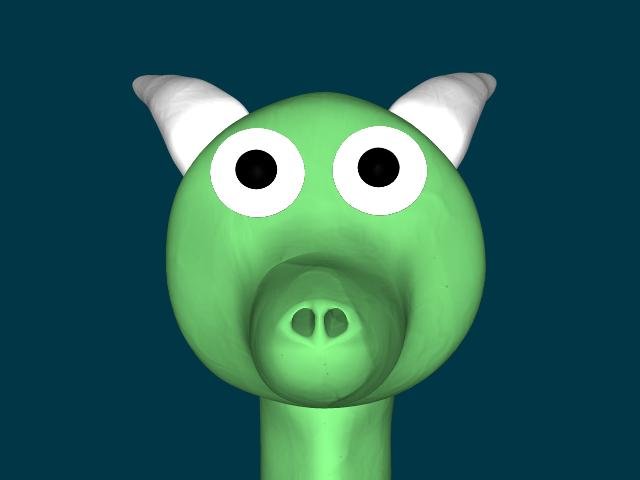
OK I've got some nostrils now, let me know what you think. I had modelled an interior for the mouth, but unfortunately, it seemed to have screwed up part of the muzzle so I am going to try again. As far as the eyes go, do you think I made the right call to put them in actual sockets? I am not sure how I am going to make proper lids for them, though. I don't know that I like how these look, he looks constantly suprised. I was going for a sort of Wallace and Grommit look, but I seem to have missed the mark. Let me know what you think of the modified snout. [attachmentid=19221] -

Have attached arm and hand, let me know what you think...
Roger replied to Roger's topic in Work In Progress / Sweatbox
Hey there... I've decided to take a break from rigging and go back to finish up some of the modelling tasks I was putting off. While nice, setup machine is not as "automagical" as I thought it would be, and rather than frustrate myself needlessly right now I am going to finish the modelling stuff and maybe do some of the rigging tutorials in conjunction with Setup Machine so that I will be able to use it better. I thought that the dragon, while ok, needed to have an actual modelled mouth with nostrils and a tooth or 2, and rather than having floating eyes I'm going to build sockets with actual eyeballs and lids. While I'm at it, I will fix the horns. Once I fix these things, I'll post something here, I think he'll end up looking a lot better. Hopefully I will have an animation test to post soon. I wish I didn't have so much other work to do, I still need 4 environments, 2 other characters, and a few misc. props. I think it would be a miracle if I got this done in 3 months, let alone 3 weeks ( I set an arbitrary date of 6 weeks a while back just to see how much I could get done----not actually have a finished product). So, as I tick a few of my milestones off my list I will post them in here. Thanks to everyone that has offered suggestions, aid, etc. Roger -

Have attached arm and hand, let me know what you think...
Roger replied to Roger's topic in Work In Progress / Sweatbox
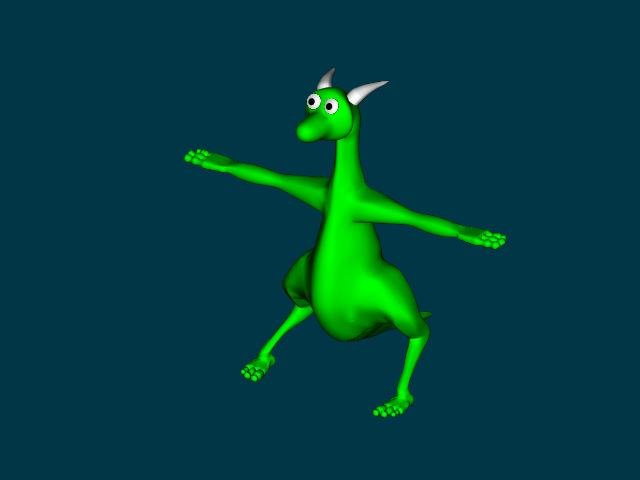
OK.. Here's another shot with the legs fixed..... I moved them in just a bit. Not sure if I really want to screw with the chest, I tried it once and couldn't do it without messing it up. He's pretty close to what I want though, in terms of concept to finished model. Maybe after I have some food I will be a little braver and try to go back and fix the chest a bit. [attachmentid=19168] -

Have attached arm and hand, let me know what you think...
Roger replied to Roger's topic in Work In Progress / Sweatbox
Ok... Added horns and eyes, but they're just kinda floating now. I am not sure I can get the horns right without starting over and just extruding them from holes in the head. (I don't think that I can attach them this way without it being a HUGE pita) I agree about moving the legs in just a touch...doesn't look quite right. And I think I will widen the chest just a bit. But I think I will save a backup and experiment on that so I don't fark up my model. I want to do quick test after I get him rigged up.....I'm thinking 30 seconds dancing to Brass Monkey by the Beasty Boys.....lol [attachmentid=19167] -

Have attached arm and hand, let me know what you think...
Roger replied to Roger's topic in Work In Progress / Sweatbox
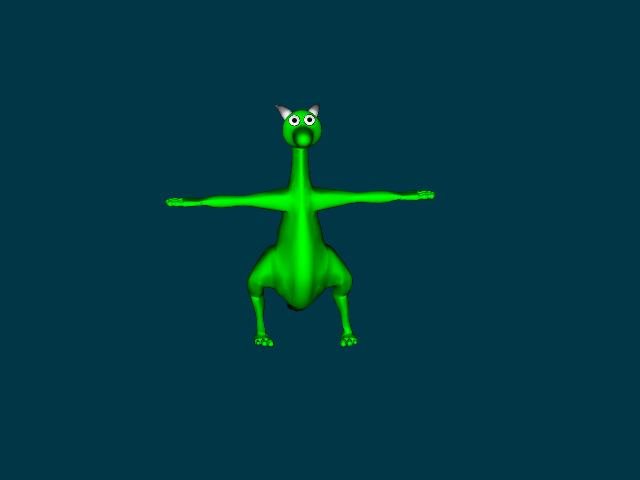
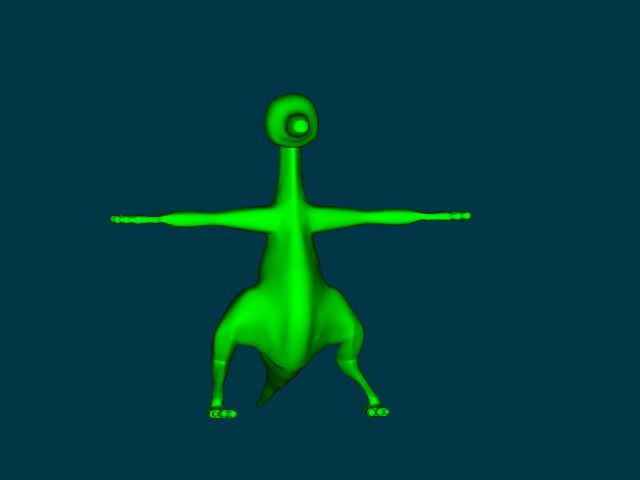
Ok.... I haven't posted an update in a bit, but I was working on ironing out some of the kinks yet with this thing. I have a fully modelled body w/ hands and feet properly attached, it looks pretty decent for a first attempt at a proper unibody model. I am working on attaching the head right now, currently its just sorta "stuck" there. Its times like this I really wish AM had some kind of boolean weld feature, but oh well. All I have to do after that is stick his eyes on, and some horns. Fortunately I will have Setup Machine to aid in rigging, so that shouldn't be too horrible. I hope to have some a really short 30 second animation or something that I can post soon. This model looks really close to my sketches, but I am bothered a little by the chest......seems a touch too narrow. Maybe I should widen it? I am also thinking of putting some decals on....but am not sure if I should put anything else on him....he is not getting wings (he's a flightless dragon) So....what do you think?[attachmentid=19164] -
Grass looks good but a touch sparse. I found that when I was experimenting with it I had to bump the density to like 500% before it looked the way I wanted it to look.
-
I have to say, this is a sharp-ass car. Looks really slick. The top view looks awesome, but that hood still looks funky from the side. I think that if this was a production car you would have problems with wind resistance, as others mentioned earlier. If you modified the hood so that it flowed, or was a monolithic curve sorta....(does that make sense?) I'd buy one....if I had a gazillion dollars for the custom fabrication. Look up the thread of the guy that is doing the Mercury model. I bet this car would look awesome with a more Mercury type hood. Keep the chrome grills, just curve it instead of leaving it flat like that.
-

Have attached arm and hand, let me know what you think...
Roger replied to Roger's topic in Work In Progress / Sweatbox
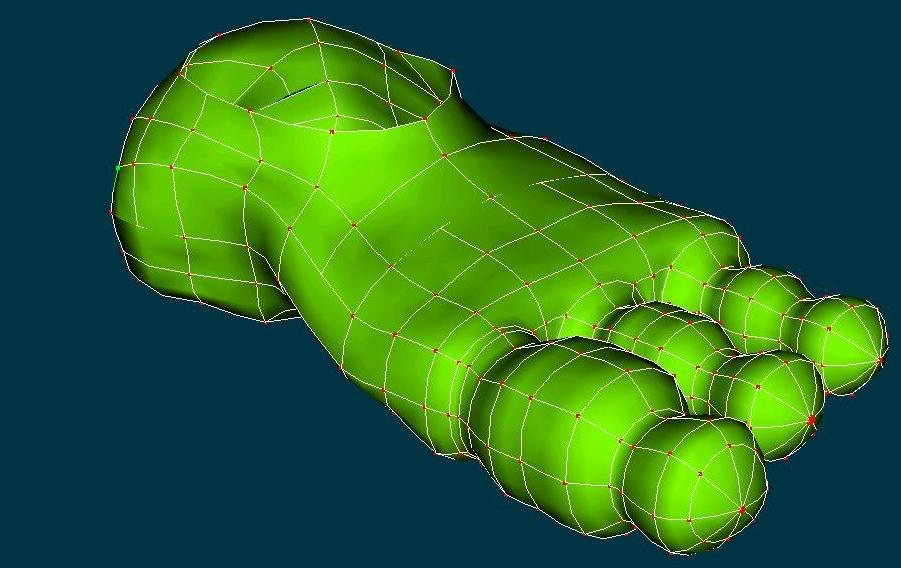
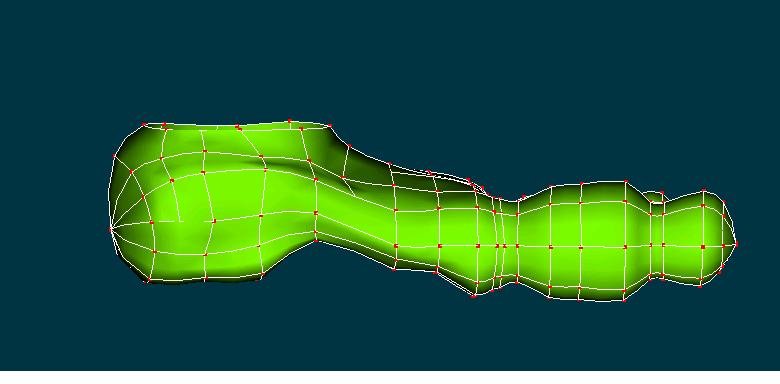
Ok, I have attached the foot, so now I have the foot attached to the leg and the hand attached to the arm. One problem.......I've got the foot attached so that the big toe is on the outside instead of on the inside, so I think I am going to have to go back and detach it, then mirror it and reattach so that when I do a copy/flip/attach it comes out looking right instead of arse-backwords. doh. -

Have attached arm and hand, let me know what you think...
Roger replied to Roger's topic in Work In Progress / Sweatbox
-

Have attached arm and hand, let me know what you think...
Roger replied to Roger's topic in Work In Progress / Sweatbox
I will post a wireframe as soon as I fix some of the issues I am having with creasing. Its looking better, the very back of the heel is going to look a little odd since it has a bunch of splines all converging at one point where I closed off a hole, but I am not too worried about that spot since I really don't think its going to be visible most of the time. I am anxious to get the whole model put together and start rigging it so I can see what its going to look like and maybe start doing some animation tests. Roger -

Have attached arm and hand, let me know what you think...
Roger replied to Roger's topic in Work In Progress / Sweatbox
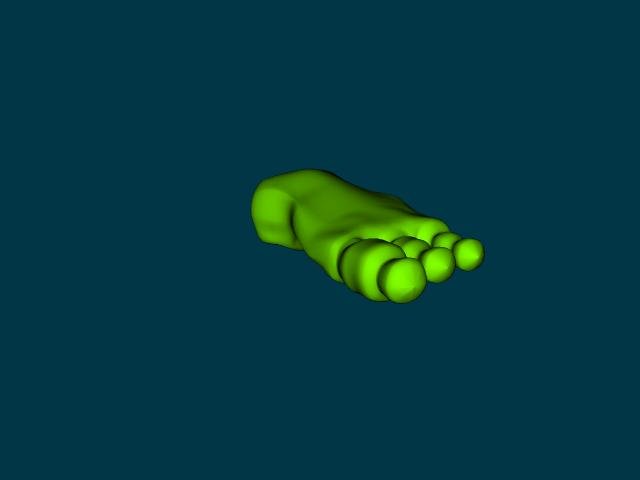
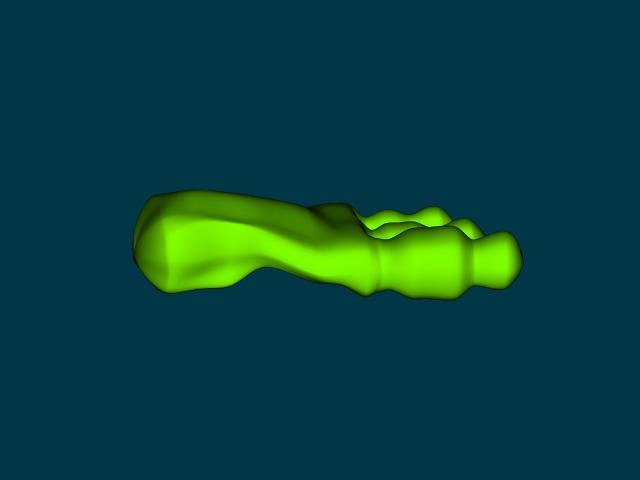
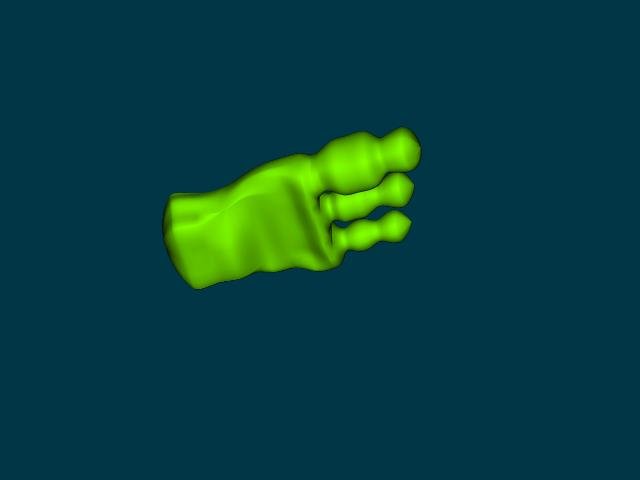
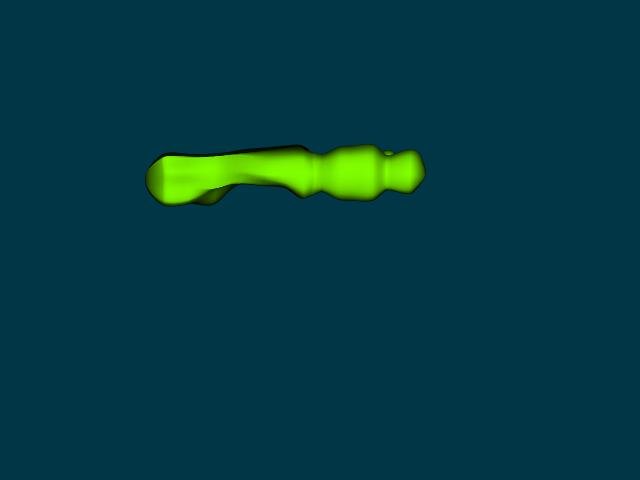
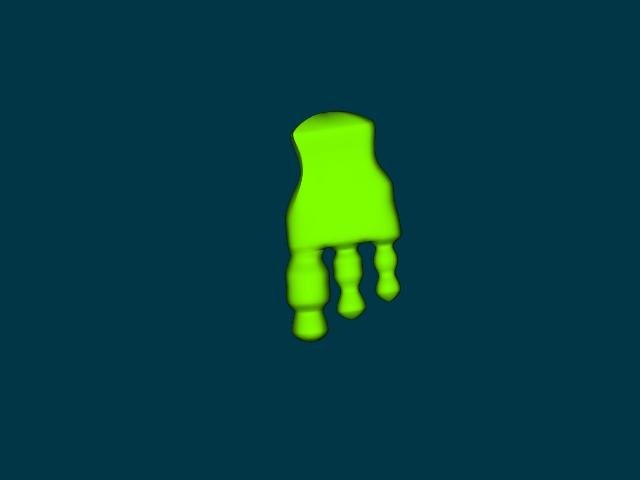
Ok..... I took a break from modelling for several days because I had some home repairs/ maintenance that needed tending to. Anyway, I have tweaked the foot.....I made the arch a little more pronounced, and fixed the top so that it slopes up more. I also tweaked the ball and heel of the foot, so that they would look better. I may add claws to the toes. Any suggestions on making claws? I'm thinking just lathing a cone shape. The only other thing that I am noticing that still needs fixing maybe is moving the other toes down so the bottoms match with where the bottom of the big toe hits. Otherwise, it will look kind of wierd if I leave it the way that it is now. If anyone has any comments/criticisms to make, feel free. Thanks Roger[attachmentid=18855][attachmentid=18856] -

Have attached arm and hand, let me know what you think...
Roger replied to Roger's topic in Work In Progress / Sweatbox
This is why, at the risk of being a PITA, I start new threads of I am wanting to know about a new model for the same project. I figure few people are going to go into the thread and find this all the way at the end. Does anybody have any crits or advice to offer on the foot? I'll wait another day or so before I post it as its own thread, I'm really not sure what forum etiquette is in re: to that. later Roger -

Have attached arm and hand, let me know what you think...
Roger replied to Roger's topic in Work In Progress / Sweatbox
Ok, update on the dragon project. Rather than start a new thread, I just decided to post stuff about the foot in this one. In the future I guess I am going to have to give my threads names which are a little more all-encompassing. Anyway, here it is: [attachmentid=18567][attachmentid=18568][attachmentid=18569] My thoughts are that the ball of the foot is a little funky and that I will need to tweak it, but otherwise it looks ok to me. Rather than start over from scratch modelling a foot I just took that hand that I had made and modified that, it doesn't look too bad. Hopefully tonight I will also get some work done on the head, attaching the eyes and the horns and whatnot and sticking it on his neck. I haven't decided whether I want to have an animatable mouth or if I am just happy with a snout for now. let me know what you think. Roger -

Fixed dragon, just needs head, feet and tail
Roger replied to Roger's topic in Work In Progress / Sweatbox
Its one of the darktree simbionts. They are now included in v13, but I downloaded these a while back. They have several varieties of shaders available for free download....about 4 or 5 dozen, I think. They sell a product that allows you to create your own packaged shaders for lightwave, am, 3ds, maya, etc. Roger -

Fixed dragon, just needs head, feet and tail
Roger replied to Roger's topic in Work In Progress / Sweatbox
I guess this didn't merit creating a new thread, I'll keep future posts to the original thread since it gets bumped to the top of the list anyway. Sorry for the confusion. -

Fixed dragon, just needs head, feet and tail
Roger replied to Roger's topic in Work In Progress / Sweatbox
er.... feel free to let me know what you think Roger -
Ok.... Those of you that were following the other thread, I thought I would post the results of all my spline tweaking. after I had fixed the arm, I had noticed that the leg was jacked up too, so I fixed that. There's still a *tiny* glitch at the back of the leg, but the clay shader mostly hides it. I have attached a couple screenshots, I think you will agree that it looks much much better. Roger [attachmentid=18517][attachmentid=18518][attachmentid=18523]
-

Have attached arm and hand, let me know what you think...
Roger replied to Roger's topic in Work In Progress / Sweatbox
Couldn't sleep. Got up, looked at the model..... I realized that what I had been doing to get those peaked points is that I was holding down shift while connecting the control point.....doh.... anyway I am doing a test render now and I will probably have to go break a bunch of patches and reattach them but I think that that is what was keeping it from looking smooth. thanks for jogging the memory. Roger booyah. that's what did the trick. I am too tired to screw with this now, but I will hit the offending splines tomorrow and post a good clear shot. Thanks again. Roger -

Have attached arm and hand, let me know what you think...
Roger replied to Roger's topic in Work In Progress / Sweatbox
Here's the thing, though, I've tried selecting those bastiches and hitting the O key and nothing happens.........they stay peaked looking. Soooooo I am not sure what is up with that. Any clues what I could be doing wrong? Roger -

Have attached arm and hand, let me know what you think...
Roger replied to Roger's topic in Work In Progress / Sweatbox
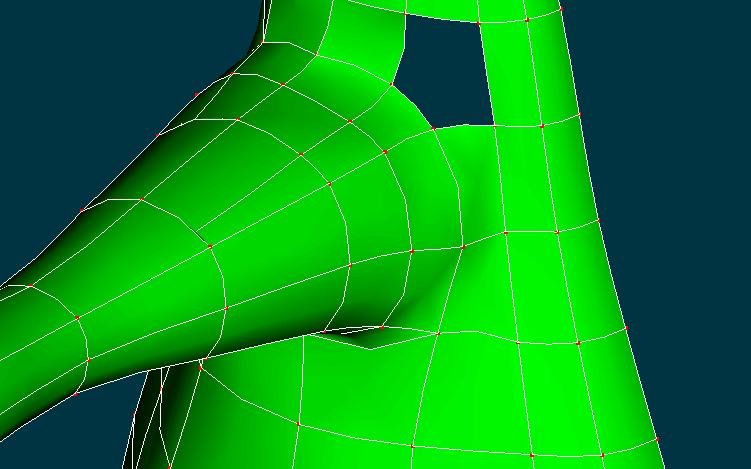
Scott, I could try the extrude from a new ring thing, but my new geometry doesn't look anywhere near as bad as the old. I don't have multiple splines going into the same point anymore. It still looks a touch funky because I haven't tweaked/adjusted all the cp's yet but its a million times better than what it was. All patches are quad with I think the exception of 2 5 pointers, and all splines are continuous. I'm not quite sure why there would be any residual funkiness, it looks good to me. I can post a wireframe image, with the rest of the arm hidden (so only the socket is visible) but I think you would agree that its better. I need to go to the gym again, but I will try to post a wireframe later tonight. thanks again everyone for your suggestions and help, it looks much better. I will have to wait and see how it animates, but I think it will be ok. Roger ok I lied here is the wireframe: [attachmentid=18485] and there are actually 4 5pt patches, but you will see that the existing patches are all kosher etc. There may be a few minor tweaks I can do but I think this is about the limits of my patience. I am eager to start doing some other things..... -

Have attached arm and hand, let me know what you think...
Roger replied to Roger's topic in Work In Progress / Sweatbox
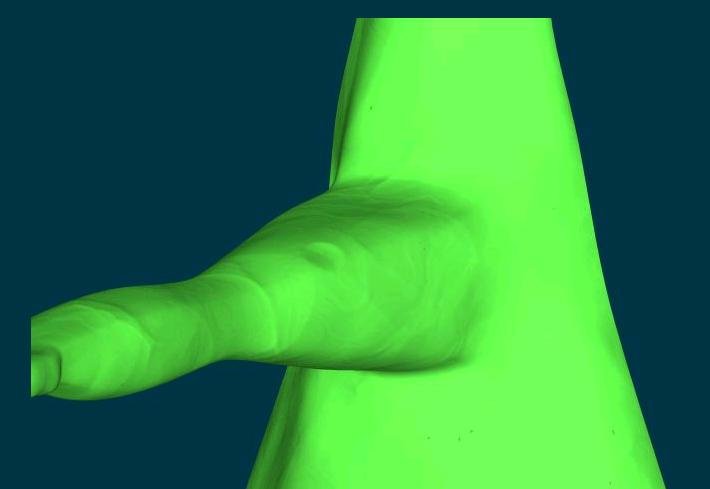
No, it wasn't a bug.......I didn't know there was a "make five pt patch" button. So, once I corrected some things and learned how to use that.........things started to look a lot better. I don't think I got things perfect, but I do think that the current screenshot I have looks much better. The clay shader I have hides some of the goofy artifacts that are visible in a plain render. Anyway, let me know if this is an improvement. There is one little bit on the front side of the arm that could stand to be tweaked, and I think the underarm is a touch funky (not really a concern--I don't plain on having it visible much) but it looks scads better. Eric2575 thanks again for your assistance. [attachmentid=18476] and another: [attachmentid=18477] BTW I spent the last 4 hours working on this damn arm, I am about ready to go have a beer or blow some stuff up in Quake 4. I think you gentlemen will agree though that that is substantially improved from the other day. LOL -

Have attached arm and hand, let me know what you think...
Roger replied to Roger's topic in Work In Progress / Sweatbox
That was exactly the kind of answer I was hoping NOT to hear...... Anyway I am using v12.od -

Have attached arm and hand, let me know what you think...
Roger replied to Roger's topic in Work In Progress / Sweatbox
Ok, Here is a wider shot with more of the patches visible. I can assure you there are no hooks in the armpit area, and all the patches down there are 4 pointers. I tried selecting the holes of the 5 pt patch, deselecting and reselecting but I must be doing something wrong because it stays open. First I select them, hit the lock button, and then deselect them. Then I reselect them. Nada. Roger[attachmentid=18468] -

Have attached arm and hand, let me know what you think...
Roger replied to Roger's topic in Work In Progress / Sweatbox
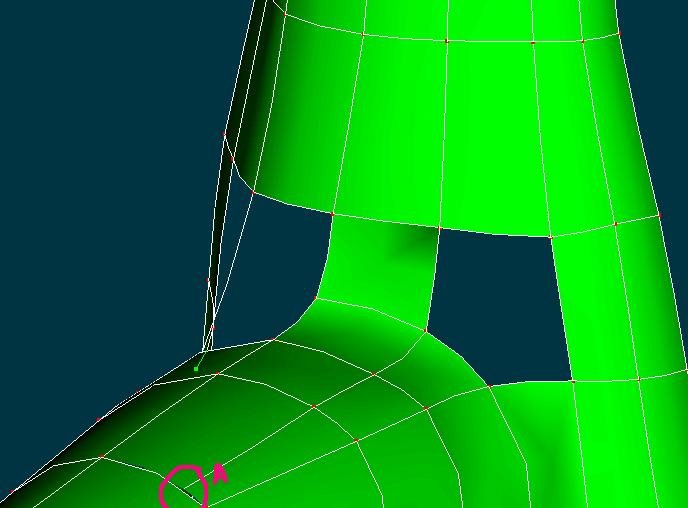
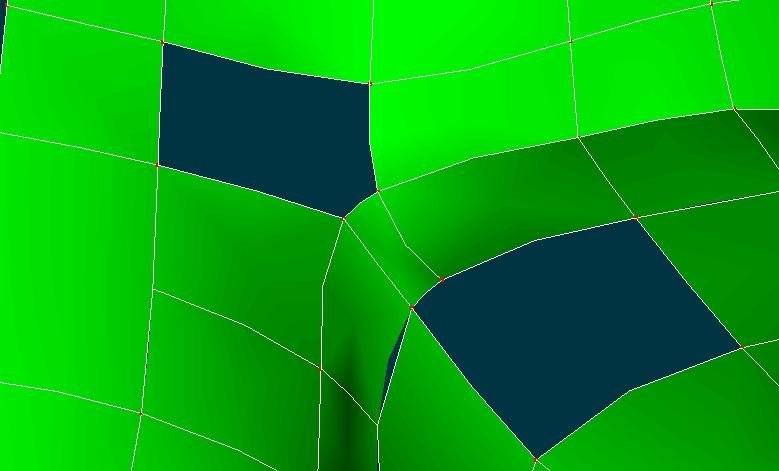
How about this then? Ignore the geometry on the left......I detached some points and haven't fixed it yet. I extended that one spline clear down to point A.........and that 5 point patch STILL won't close. There are no other hooks near that patch, so I don't know whats going on. Do you have an idea what may be keeping it from closing?[attachmentid=18466] -

Have attached arm and hand, let me know what you think...
Roger replied to Roger's topic in Work In Progress / Sweatbox
Ok, I am battling with this thing again today. I know what constitutes a valid four point patch, and I think I'm getting the hang of using continuous splines, and I know why 3 point patches are bad..... However, I have what I believe to be valid 5 point patches here, and I am not sure why they are not closing off. Anyone have any ideas? Thanks in advance Roger[attachmentid=18464]


