-
Posts
155 -
Joined
-
Last visited
Content Type
Profiles
Forums
Events
Everything posted by AMAR
-
-
-
Zaryin its looking better only comment if your going for human (old school) proportions for your model he should be at least 7 1/2 heads tall. If you're aiming for the hero/or ideal body type their are 8 1/2 head tall(today's standard). And the exagerated sometimes anime style would be 9 1/2 head tall. You said you're going for the more realistic human body proportions so i'd even use myself as a model and using a ruler or tape styled meaursing device to make my proportions accurate using my rulers and drawing and scale down rotoscope of the proportion you desire. But the character looks good I think now you fix the proportions and the character few texture maps we be second in detail.......
-
nice model! aew you going for the old school spiderman or the Todd McFarlane's Spiderman. Because his body looks great but the comic and the movie version has some of his features exaggerated in joint area and for some reason for which i personally don't like the always put extra emphasis on the Head an Eyes distorting on enlarging it a bit. But I think your hash model will be great for animation. Maybe one day soon next year one of my characters can do a team up with yours i go about a good fourty or fifty models maybe 20 completely model and another 100 not modeled.....
-
Part 2 setup up your textures 1. i would first analyze my resources and if this is very important to you purchase a mag or go to the library(free) :D and then play around with the filters and my notation of what works and either save it as a state in photoshop or create an action while doing it to record a freak accident that ends up looking the way you would like it to be. 2. next futher analyzation (grulling - ohhhh the humanity) - i at this point now what filters help me it my tasks if your goals aren't achieved by filters in majority alone , which more than likely the would not be. Find some web tutes that come close to what you're trying to achive in HASH. Ingnore the application you're goal is successfull texture creation. 3. Now it time to break out the pen tablet now every digital artists should have one but just in case you don't u can get by by using mosly feathered brushes with a variance of fades set on them. 4. you'll create texured brushes from drawing, scanning or a combination that make include filters. *Hint - when doing sking i generaly create a variance of noise brushes to simulate the randomness skin has regardless of the creature - human or animal. In part create a noise is simple and has many, many uses. 5. To create one u open a new document 100x100 pixels or 200x200 pixels should be fine(note if youre brushes are going to be used for hi-rez tex maps creation u might want to generate larger brushes). Draw out elipical marquee and fill it with black then run any of the filters that add noise - a popular one is the ADD NOISE then run the Gassian blur to soften the edges now if you want harder edges for a harder brush then leave it i generally add a blur or u can run it through other filters to generate some all together new texture. 6. Once done select the brush creation either by loading the transparent layer or making a marquee selection the using photshop go to the define brush option under the edit menu if you're using photoshop 7. Now in this document u can generate all types of brushes for your textures and save them inside this photoshop file. (*Note this document should be grayscale and any dark areas of you're brush are the areas that will show and the gray areas will feather.) 7.Now it is time to generate you're textures - advice take your time don't rush you'll learn more along the way - process of elimination. Another thing as you make some thing you like test it in hash to see what it looks like. and u may even what to create a duplicate file to have backup copies i always save backups just in case of programs errors. Also make one of the files have a choreograpy setup with a nice bulb light setup - probaly just convert the three default lights into bulbs lights and add any other fill or ambient lights (lits with no specular or shadows lights used as fill lights for lits that bounces in multiple direction to hit corner or the scence not seen) 8. Now that all i can give to u for help without providing some sort of online demo via a website ......... Here's one i did get a chance to use it but his approach is pretty standard but very detailed. I take a very similiar approach to a my results. Check out this in depth photoshop layer tutorial ....again ignore the 3d application focus on the photoshop that's the key! Enjoy :D [url="http://www.3dm-mc.com/tutorials/maya/texturing/"]http://www.3dm-mc.com/tutorials/maya/texturing/[/url]
-
Dear mad is correct in say that u can make a bump map from previously created color layers. but this is my apprach: 1. use really good rotos or generate them myself. 2. use reference materials - stock photos, scanned images, internet, etc. 3. once i know what i'm modeling and how is going to look from reference materails or my own generated references i can create an more accurate model. 4. next generate model - finish it it's entirely 5. then setup your flatten poses by create cp groups and naming them accordingly 6. next aggin a new poses for the flatten items head front, head back, torso front, torso back, waist & legs font, waist & legs back, shoes each side view and repeat this process for the hands, additional items like nails faacial hair or hair plaits 7. once finished i'll organized them in a folder probaly called "Flats" or "Flatten" 8. then i'll go into the "edit relationship mode" and choose the shift + z to zoom the extends of the window and the either "print screen" (PC) or Shift+apple+3(MAC) to make screen copies of your flatten cps' - Repeat individually and as your doinf this make sure your going to Photoshop, Painter, Paint Shop Pro, PhotoPaint or even illustrator and pastin them into their own layer - Crtl(N) (pc) apple +n (mac)(new document) Ctrl+v(pc) apple+v(mac) Paste command- 9. once competed all of your image should be the same size - what i do from here is eliminate all the arbitrary stuff and then save out each screen copy as there associate to what they are head front = headfront.tga and then go back into HASH and apply them and the should appear in with very little adjustment. Once all the decal have been applied then you can go back to your photoshop file and either work with the one fille with everything or do this. 10. I would choose to select the layer in photshop - mainly and created duplicate states and rename the files according head.psd, torso.psd, hair.psd etc.etc. or just save the file(for other programs) as a new file (renaming it). Then delete layers not pertaining to it. 11. Now you Photshop file will work and u can work at your leisure creating your texture maps because you've applied the intially decal and at anytime u make a change or want to upadte it just resave the file as for instance headfront.tga now edited i resave it as headfront.tga thus overiding it and the file will automatically update in the hash document. Part 1 - fininshed now the decaling ohhhh this is the fun part. :lol:
-
thanks Zaryin :D You'd do that with the uveditor in hash by reslecting the points that needs to be stiched and go to your flattened posed and reapply the texture (reposition it if need be). Then right click on that decal in the decal menu and go to edit and you'll get a display that allows to move around the points to fit the model . This process may also require you mapping part of the back of the head on to the front. when i finished with his head i'll create a link with the how later this month on my site or the 1st of the year at the latest.
-
-
-
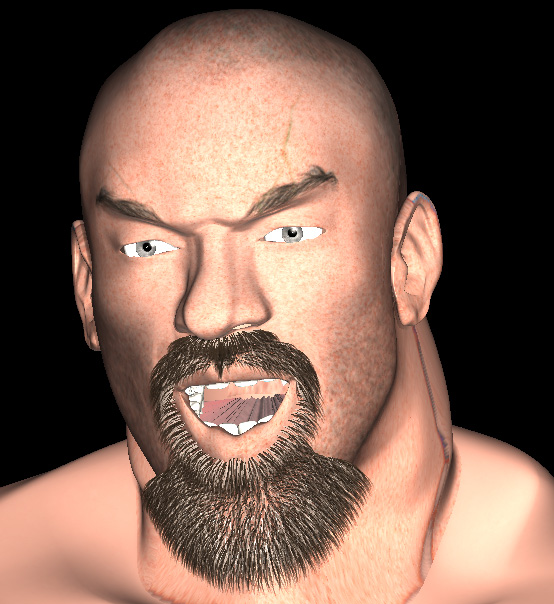
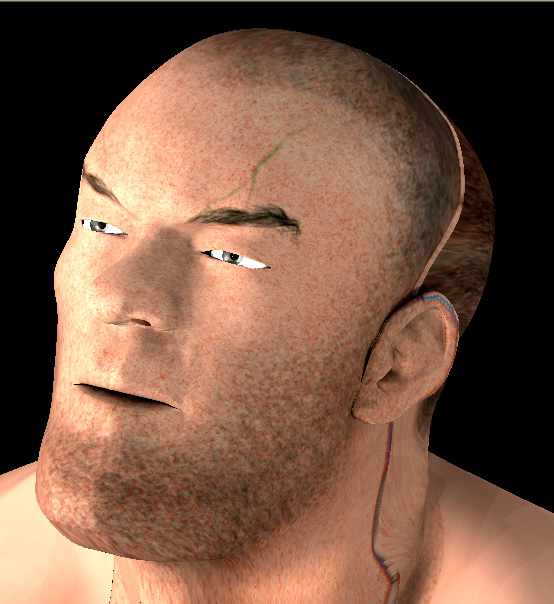
here's one of my models i've decided to texture i think his textures are coming along fine but i need some insight right now on what some other things to add at this point. I'm about to create the remaining diffuse and bump amp for this face and stich his front and back of his head together sometime tonight or tomorrow.
-
yes Zaryin, he does but i have the hair material turned off unitl i finish all the tex maps. and smartkinning. I post a shot this weekend with the goatee for you.
-
-
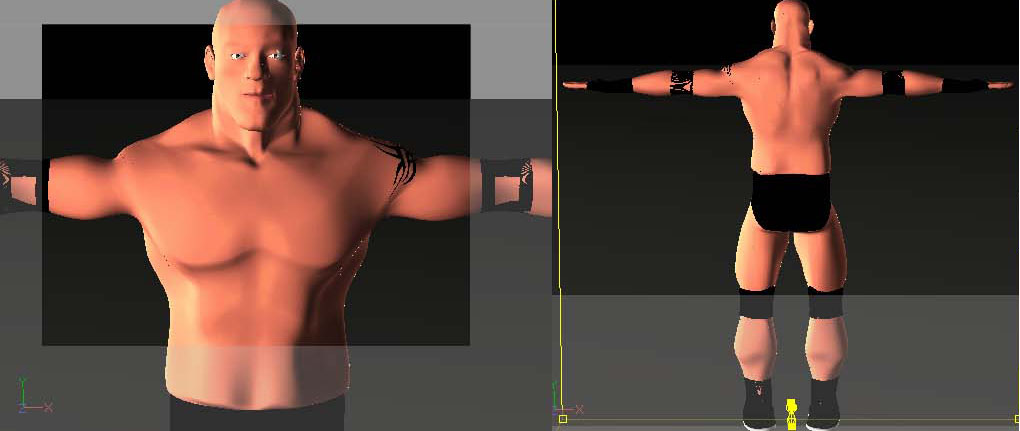
here's some other screenshots.
-
Thanks for those who viewed it earlier and i found the song i need the quality isn't the best ..it will work for now anyway. This repost is because Iwould like for those of whom views if u have anything - or + please comment on the likeness I haven't applied all the maps still and i'm current finishing his smartskin. But for now i'd like to know your opinions about the model
-
I hope i'm posting this in the correct area this is still one of many WIP"s (works in progress)
-
I'm trying to creating a video game style intro using some of my favorite wrestlers. For the fans of goldberg that frequent this site please if you or if anyone knows where can I can get a sound byte of his intro?
-
Thanks for the comment I do usually do work with the in/out magnitude, and the bias i think it's because i tend to model so fast that spending alot of time on the detail isn't necessary because it usually a pretty good representation of what i'm creating. My cars probaly need more time spent for realism and accuracy.
-
Ohhhhh the humanity!!!!!!!!! Hard week at school you're maybe having test fright!!!!!!!!!! No! No! it's a good job anyone that finishes something that quickly give every other hasher hope that him or her can finish anything in a relative amount of time if we focus on finishing it. (keyword FOCUS)
-
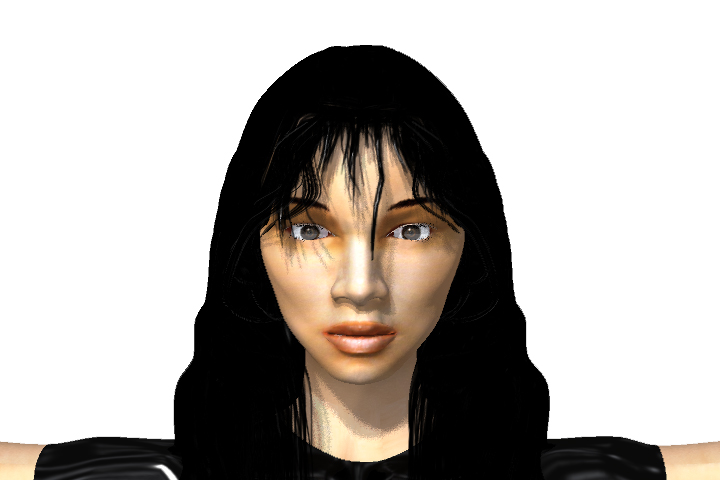
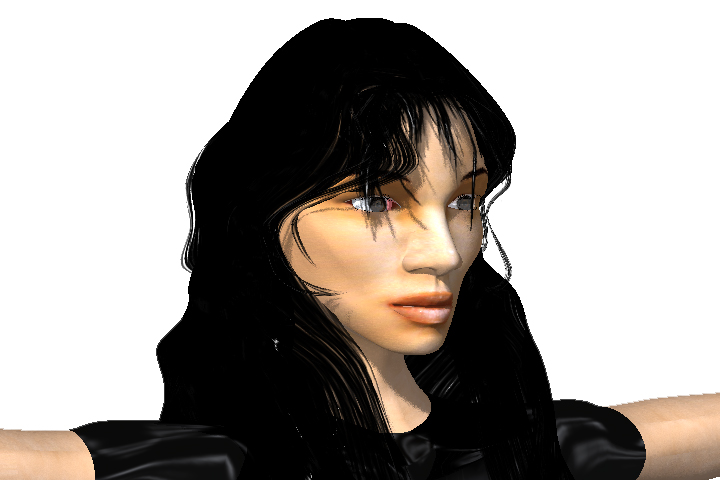
Thanks Grubber. hopefully sometime throughout the holidays i'll finish her i'm currently trying to finish a thousand other things ........... well almost a thousand ...... matbe a hundred. but i'll post another update sometime this week maybe friday? Ok mike i know sometimes i type but don't check everthing
-
-
-
here's the last one i spoke and i think i have two more but the same pattern is occurring. Why i dont know model looks ok but just not right ............. help please? anyone any suggestions?
-
thanks Darklimit you do great work but do you have any suggestion for the car lumpiness? I tried to used the porcelian material it worked but it seems that most people when they model unless there using a very detail mesh don't create separate objects and they model the car a one piece...........


