cribbidaj
-
Posts
317 -
Joined
-
Last visited
-
Days Won
4
Content Type
Profiles
Forums
Events
Everything posted by cribbidaj
-
to the left of those. hover over them and they have names. BTW, have you watched my keyframing options vid inthetuts link in my sig? It covers that stuff. I have not watched those tuts yet - will check 'em out! Thanks for all the info.
-
I've used the 'model' key - I don't know where the 'translate, scale, rotate, other etc' keys are. The choices I have are 'model, branch, bone'. '
-
okay - I was able to upload the action as a zip now. the other 2 files are not zipped. strut_keyframe13.act.zip walters_walk_cycle.prj AMv13_2008_Rig_Thom_2.mdl
-
After zipping it, I still receive an "upload failed. You are not permitted to upload this type of file." Before zipping it, the .act file is only 24k
-
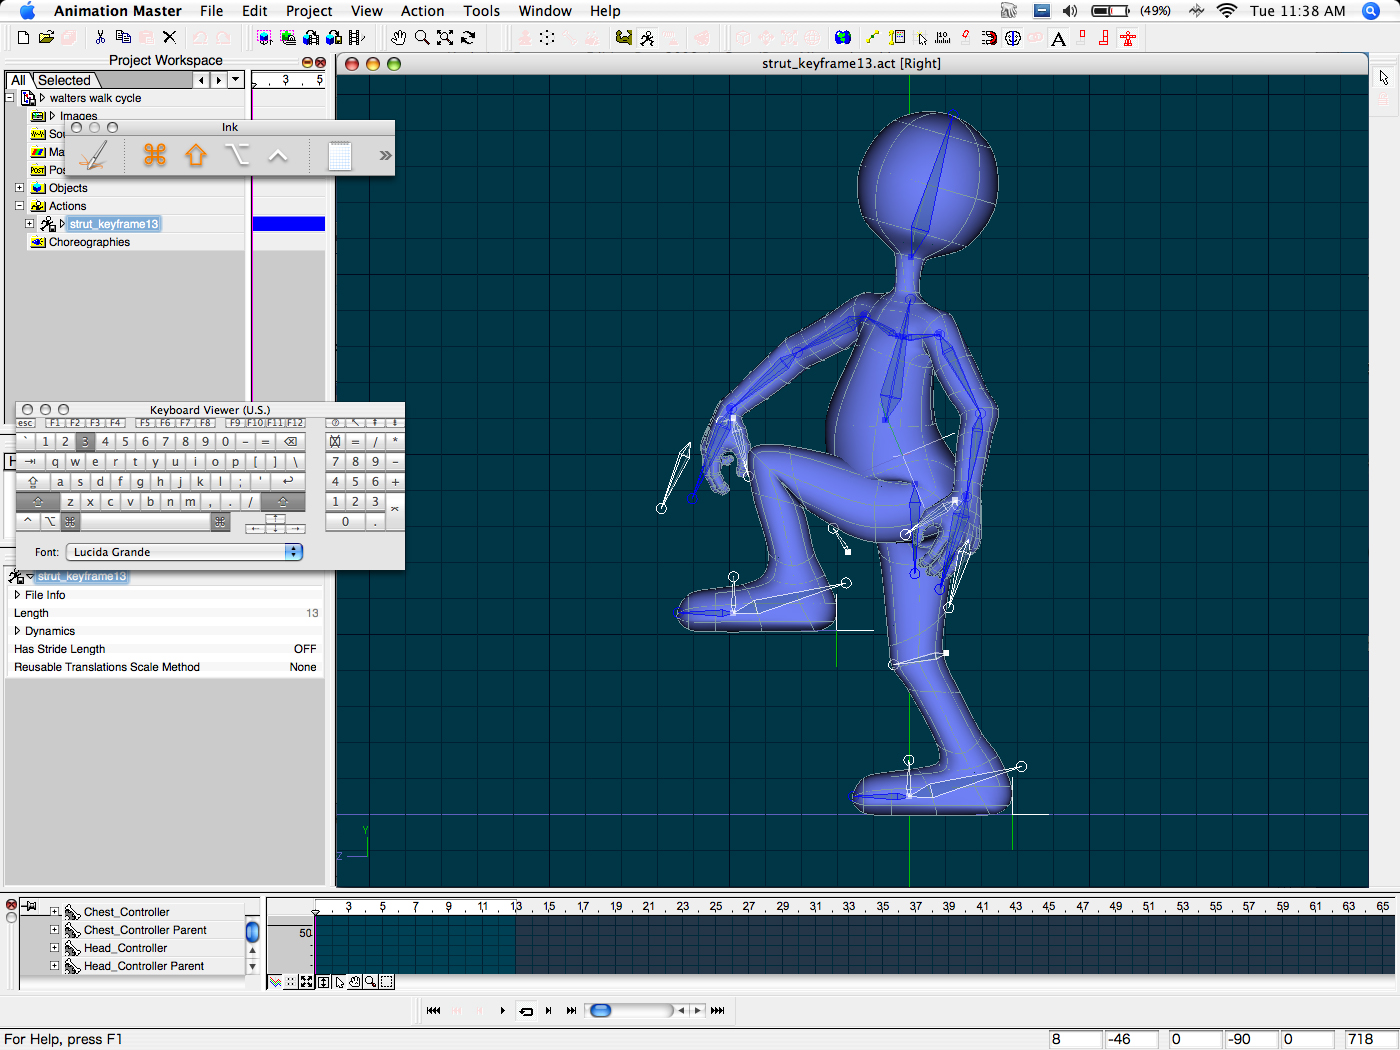
argggh - can't upload the action file! attached are screen grabs of frame 1 and frame 13 - the latter being the mirror paste of the former. I've tried changing the 'mirror mode' option in the 'modeling options' menu - from .05 tolerance to .15 - to no avail

-
where do I change the 'paste mirrored tolerance'?
-
I'm using the v.13 2008 rig and am getting confusing results in an action when trying to copy/paste mirrored keyframes to create a walk cycle. Running latest version of A:M on Mac 10.4.11. I've tried everything I can think of, including pasting every bone singularly instead of using the bone tree or model tabs. The body control and chest control nulls create body distortions. Any idea what I'm running into and why?
-
LOL! Yeah, Orson Welles . . . I didn't place his voice though it did sound familiar . . . not a good sign since I just watched John Huston's adaptation of "Moby Dick" with Welles as the preacher!
-
Thanks Robcat - Man, what you've done with body language and a great character voice is amazing! It really does work with simple mouth movements! I'm not at the level of animating the caricatured body that I need to be but am working on it. The link to that video helps, if only to see how well it can be accomplished in the right hands with limited mouth movement. Thanks for the input and advice. I have Jason Osipia's book but haven't looked at it in awhile. The character he uses that graces the cover is classic and I'm assuming the lighting effects on the face (relative transparancy around the ears, etc.) are accomplished with subsurface scattering. That's another topic I haven't learned yet. Back to it!
-
While making an original character speak, I have tried creating a separate pose for each phoneme, but find that in an action the frames between one mouth pose to the next are unmanageable. My solution so far has been to create poses for phrases, each phoneme pose set at, say, increments of 5% in a percentage pose. Is there a less tedious approach that allows you to use a set of phoneme poses and animate between them smoothly?
-
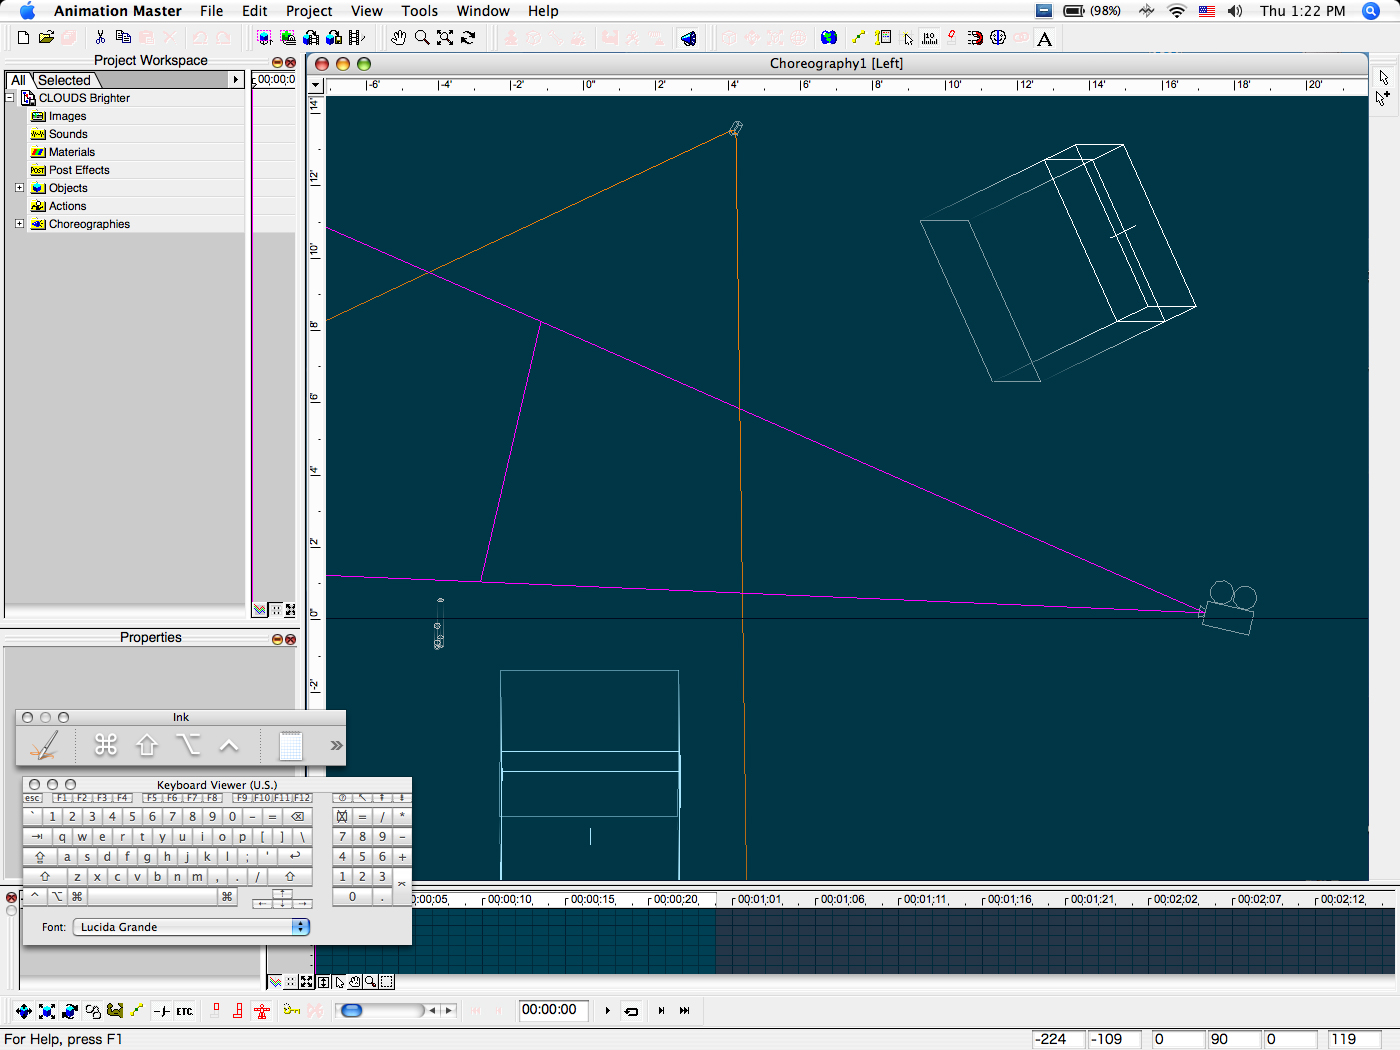
I've been messing with the 'steam' volumetric effect in a choreography and last night saved the attached project with all the settings working as I intended. When I opened the project after restarting this morning, the settings on both the steam effects and the camera were wacky. What happened? I'm using A:M v.13t in Mac OS 10.4.8. CLOUDS_Brighter.prj
-
I found the great rolling cloud effect 'entity' has created for T.W.O. and downloaded his 'best clouds project' from those forums. I've dragged the emitter from his project onto my face model and have played with the settings a bit, but my face model is transparent in the choreography when the emitter does it's thing, though I've looked at the transparency settings of my model and the materials and can't find an explanation for this. I'm hoping he or someone else can offer advice on how to use his emitter to stay relatively in one place, evoke the facial strucure of the model, and roll slowly. Thanks.
-
Thanks for all the help and ideas . . . lots to ponder!
-
That's beautiful - however, it still looks like a face appearing within a cloud (of swirling dust or fire in this case), as an apparition. I'm wanting to get the face to be comprised of the cloud substance. Particles may still hold the answer, but it seems like what I want to do requires manipulation of control points and splines within an action. I want the facial 'skin' to be bumpy and billowy, AND flowing. It seems I will probably end up doing this point by point - I started this thread to see if anyone knew how to quickly manipulate my initial "bubble-wrap" model into a curved model typing numbers into the properties. Thanks for the ideas.
-
Yeah, in Firefox the right-click just opens an options for download the link as an html file. In Safari, I'm able to right-click download linked file, but it downloads the model as a text file. I think I'm aware of your concept though, but I eventually want to have the cloud "texture" rolling and billowing through the face, which I think would look better with attached splines, though it may work with seperate spheres. Hard to tell til I get into it.
-
Clicking on the link to download your model opens a new tab in my Firefox browser instead of a download dialog box. I'm using Mac OSX - is there a preference I have set wrong?
-
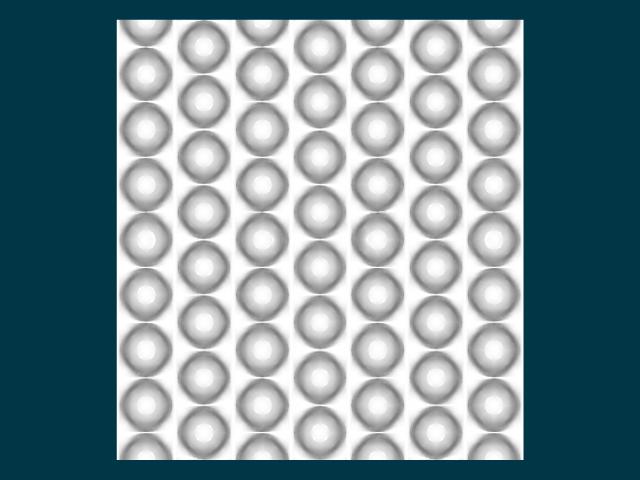
I'm am trying to create a cloud that resembles a cartoonish human face. I've attached a model with a sort of 'bubble-wrap' look and would like to know if there is a way to quickly give a nice a rounded shape to the whole model to which I can then manipulate points to define facial characteristics. I'm open to all suggestions, included starting from scratch with another approach to accomplish the same thing. Thanks. Clouds.mdl
-
here's a site that has a printable list: http://www.angelfire.com/mo3/pengwin/3dtut1.html
-
Oh, man - I live in Nashville but hadn't checked this forum in time to see this invitation. My loss. Hope it was a good meeting and that the opportunity arises again. -Chris
-
Will - I sent you an email a few days ago regarding this, and have sent two previous emails over the course of the last month. I'm sure this is only one of the many items on your agenda, so this is not a complaint, only a concern that my emails are not getting through the pipeline. When you can, send me the correct film submission info at either citykids3@aol.com or christop.walters@comcast.net. Thanks, Chris
-
I've tried this link several times. After entering my film information and checking the agreement checkbox, each time I click on the "SUBMIT" button I'm directed to the same page with the version number and image thumbnail fields blank. Entering and rechecking all the corrected information yields the same results. Any ideas? -Chris
-
[With CP weighting, I'll need to do the geometry bones (since they actually have CPs attached to them), but can I (should I) do the smartskinning with the control bones?] I only do smartskinning on the geometry bones, not control bones. I am far from being the expert on this, but I don't think smartskinning works on bones to which cps are not directly attached. As far as the hip/leg connection situation, I know exactly what you're running into, especially when creating sitting poses. I'm sure someone more knowledgeable than me could recommend intermediate bones (fan bones) to alleviate the problem, but I just solve it the best I can with smartskinning. There is a good tutorial on rigging troublesome joints in Computer Arts Magazine: http://www.computerarts.co.uk/tutorials/3d..._complex_joints Cheers!
-
Very cool! - great, smooth looking model and a humorous 'Kirk' pose. Smartskinning is another aspect of A:M which seems daunting but is relatively straightforward once you understand the process. I'll mention a few tips which I learned (am still learning) along the way. I apologize if I mention things you already have a handle on or seem obvious. 1) learn and experiment with CP weighting before and during smartskinning 2) make sure all Left Side cps and Left Side bones are exact mirrors of their Right Side counterparts (that is, if you want a symmetrically aligned model - your Captain model looks pretty much symmetrical). If anything differs from one side to the other, time-saving tasks such as 'mirror all smartskin' will not work on the mis-aligned bones. 3)When naming bones, follow exact naming conventions from 1 side to the next - Right Calf & Left Calf, not R calf and Lt calf. I know this seems obvious, but an idiot like me can make this kind of mistake very easily.
-
Largento - I've spent the last few months making headway into creating my own rigs using tutorials from a variety of sources. First of all, rigging is a daunting task and there are plenty of people more qualified than I am to give you advice. However, I have had some success getting simple but effective results using tutorials from this link: http://demented3d.com/tutorial/toontutoria...ging/basic.html Somehow, these basic rigging tutorials clicked with me and I've been able to use and modify them for my needs pretty quickly. -Chris
-

scale bones and poses to match cp scaling
cribbidaj replied to cribbidaj's topic in Work In Progress / Sweatbox
As a follow up - creating a new "scale" pose provided the best solution in this case. Though scaling the root bone while holding the 'control' key did indeed scale both the bones and the cps together (info which is new to me - thank you), the 'relationships' that I created before behaved oddly.