Glob Studios
-
Posts
67 -
Joined
-
Last visited
Content Type
Profiles
Forums
Events
Everything posted by Glob Studios
-

Escape from the Mines of Titan
Glob Studios replied to Glob Studios's topic in Work In Progress / Sweatbox
OK, I'm starting to do the suiting up section in detail. My idea is that the heads of the real band members will be composited into the suits. This is my first motion test, which has lots of stuff wrong. The motion is jerky and not quite in sync with the head, the hands need to move more, the real head needs to be darker and more saturated, etc. But I thought I'd share it anyway. TestHead3.mov -Vance -
Very nice! I particularly was impressed by the shape of the engine cowl. The shape registers as "yes, it's real" (not some animator's approximation) on my brain. -Vance
-
There is a known issue with Kaspersky getting a false positive (detecting a problem where there isn't one) on many legitimate programs with exactly this error. You can read about it here. I don't get the error, but I use different malware-detection software. -Vance
-
It seems a little complicated to do a true Rear Window. I would be fine with Rear Window-ish, which is each person just doing the camera inside the room. But I guess we could ask that each person doing a vignette be given a set with a transparent window and a camera pointed at it, which the person could create a room set behind. It seems like this might be more work for the person preparing the set, and might cause some problems making all the pans work correctly. But it would provide some additional opportunities for animation. I guess the real gating factor is whether someone wants to do the extra work involved in preparing the true Rear Window set, making it available to the participants and stitching together the pieces. -Vance
-
The transition demo looks good! From there, you could continue to zoom into the black window until it fills the frame, and as this happens, cross-fade (when editing) into the contributor scene. As far as a room set goes, it might help people to focus on the animation part if we provide a standard set. But with this way of framing the transitions, people would not necessarily have to use it as they did with bus stop. Or they could change the paint and furnishings on the standard set. I'm liking this! -Vance
-
Some very solid work here! But I did have a couple of technical quibbles that you can feel free to ignore. I work with audio interfaces a lot, and these are items that jumped out at me. The cannon connector pins are flat at their ends. All the cannon connectors I've seen have pins with a rounded dome at the end. The cannon connectors are a male, but inputs (which would normally be put on this end) are female cannon connectors. Outputs are sometimes male cannon connectors, but the outputs would normally be on the back side. The 1/4" phone plug holes seem too small in relation to the rest of the device. They seem out of proportion to the cannon connectors (which may be a hair too large), and to the knobs. That said, it looks great and 98% of people would never notice these things. Good luck! -Vance
-
Yes. this turns the normal Windows "give a boost to the window with focus" behavior off and on. (You get to it through Control Panel's System tool -> Advanced System Settings -> Advanced tab -> Performance Settings -> Advanced tab.) I tried changing it to background, and ran the test again, with a browser window having focus, and being actively used. I noticed no reduction in responsiveness at all, as I tried a variety of browser operations. It did the 16 frames in 15:28, slightly faster than any of my previous times. I think I'll leave it that way. -Vance
-
I could go for rear window. I'm looking forward to trying to participate this time around. -Vance
-
OK, I've got some benchmarks. The Intel i7 processor @ 3.4 GHz doing the Three Teapots benchmark (v005) in V16a NetRender takes 3:16 to do the render, while V15j+ takes 5:07, 56% longer. V16 really is significantly faster. But the Three Teapot benchmark is just set up to render one frame. I ran some tests using NetRender with four NetRender messengers running on the system, with the number of frames for Three Teapot extended to 16, so each process needed to render 4 frames. I first ran it keeping the Render Server window having focus. This took 15:31. Next I did the same test, but put the focus on the render slave window that was going to finish last. It took 15:34, very little difference. Finally, I minimized the NetRender windows and gave focus to a browser window. This time it took 15:51, which is about 2% longer. -Vance
-
I've been playing with this, and it appears that downgrading the priority is entirely unnecessary on my machine, at least for the projects I've been rendering (the most serious takes about 60 seconds per frame). As I type this, I have four NetRender slaves hard at work on the machine, and I cannot detect any change in the responsiveness of the system. Windows, unlike Unix-based systems (like the Mac), has traditionally given a priority boost to the program whose window has focus. Perhaps that's what's responsible for the lack of impact. I'm experimenting with seeing whether and how much having this boost (or giving it to a different program) affects render times, and whether it is better to give the render server or a render slave focus. No definitive results yet. -Vance
-
Clever! The ripples and the motion really make the water convincing. -Vance
-
That is really wonderful! What did you use for the water? A material or something more involved? -Vance
-
Escape from the Mines of Titan
Glob Studios replied to Glob Studios's topic in Work In Progress / Sweatbox
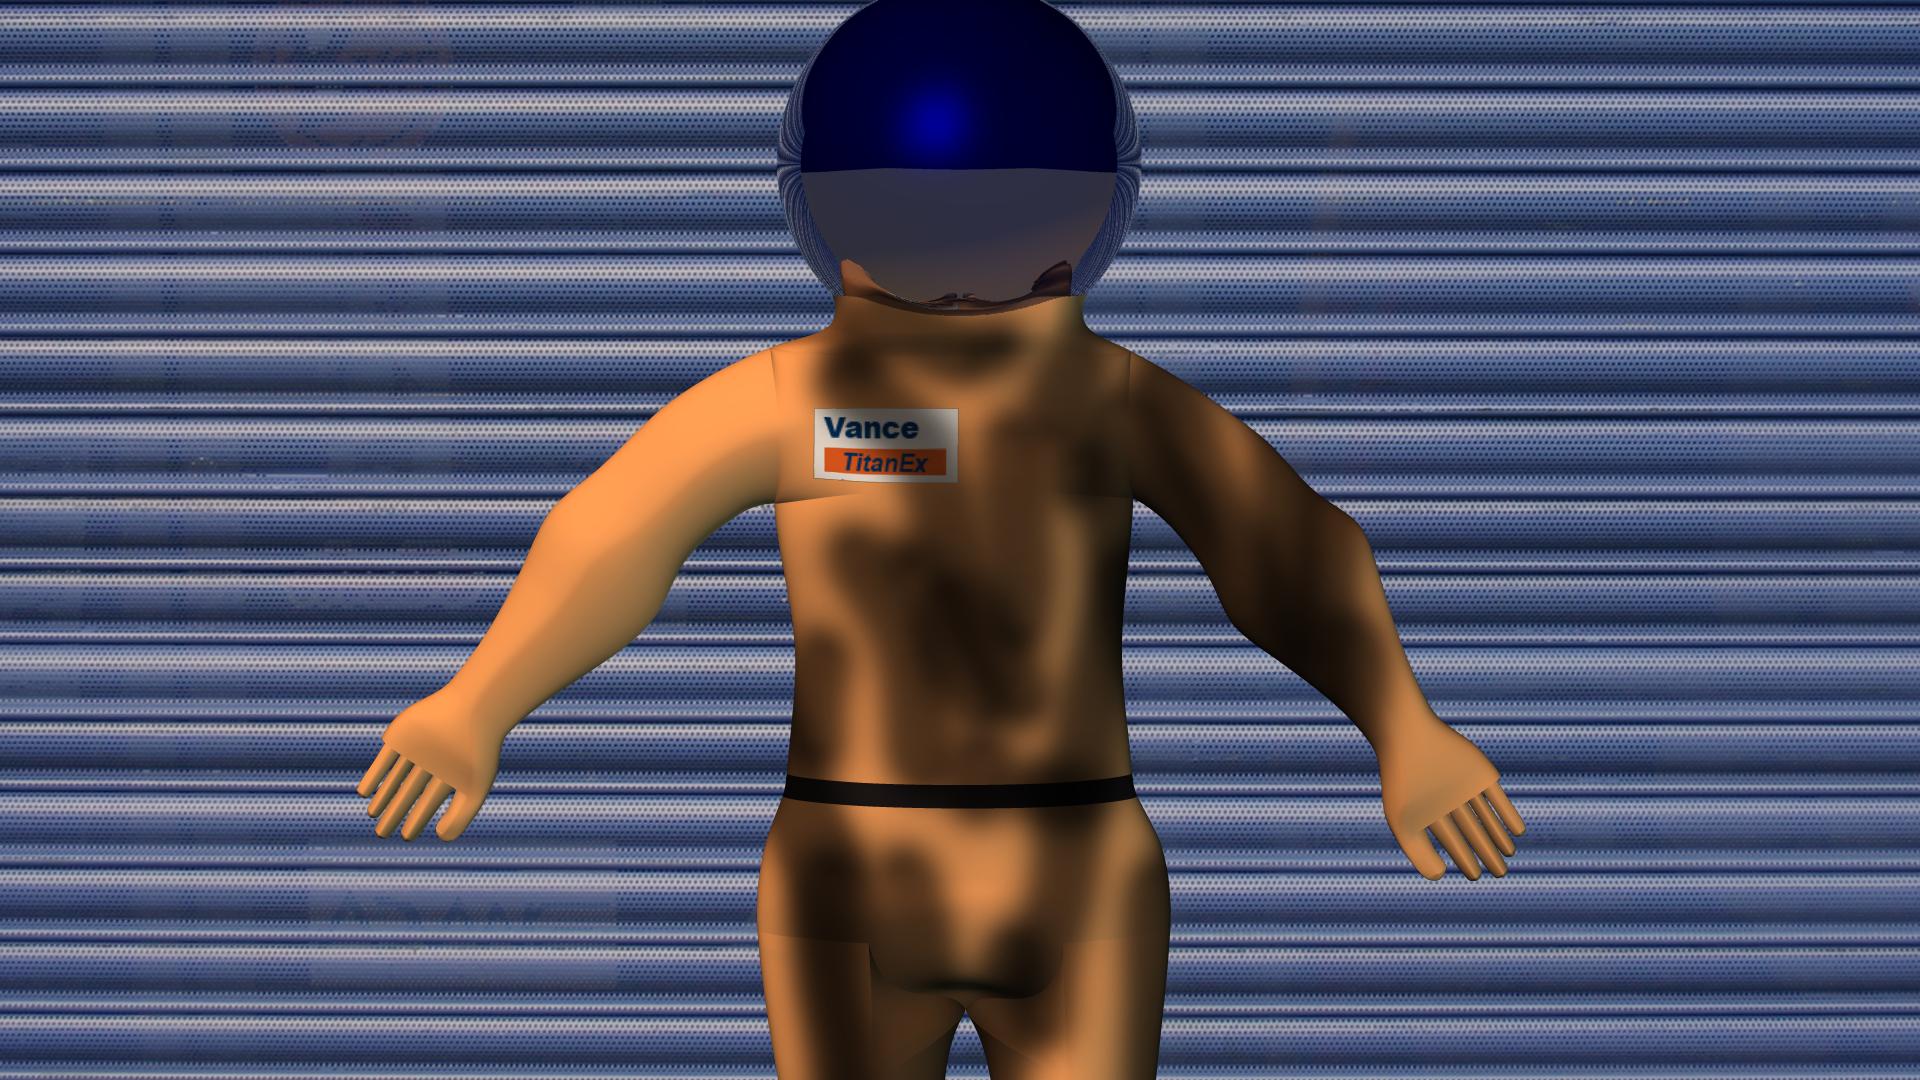
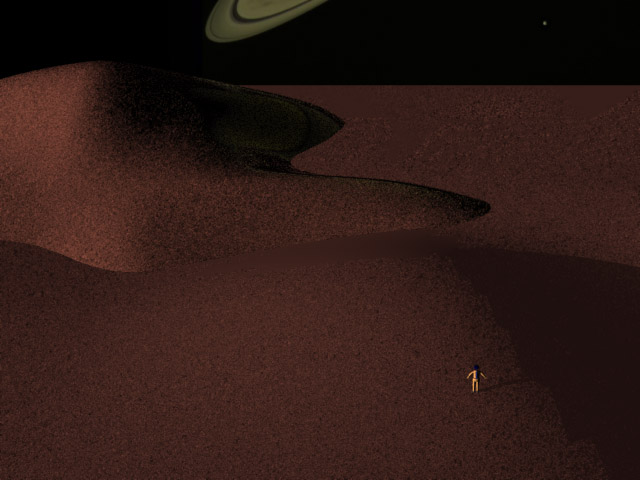
I have made some updates to the jump motion. Thanks, your comments have been invaluable in getting it looking good! I will post video of a revised jump soon, but I'm still working on it. I have some other stuff ready to show now. I've been working on an opening establishing shot that zooms toward Titan. Here's my first test. Jupiter and Titan look pretty good, but the spacecraft probably still needs some work. Also, there is no starfield behind it yet. This does achieve better accuracy in that Titan's orbit is pretty close to the plane of the rings, so the rings being close to edge-on is correct. (Astronomy buffs will be pleased, but no one else will notice.) Anyway, you can see it here in true 720p: Titan Opening Test #1 Make sure to open to full-screen to see the detail (Vimeo is much better quality than YouTube). Also, I've begun working on a "getting into the suits" shot. Here's an early still. It needs a lot of work, and I need to redo the smudges on the suit to look more realistic, but it shows where I'm going. I'm planning to composite in video of the band's heads poking out of the suits and then have the helmets cover them. Here it is: As always, I'd love to hear any comments or suggestions. -Vance
-
Escape from the Mines of Titan
Glob Studios replied to Glob Studios's topic in Work In Progress / Sweatbox
These are good suggestions as well. The frog jump from the other discussion made some useful points. I'm going to try a full hold at the bottom. I'm sliding him for a few frames now but his feet move, so he seems reasonably rooted. I'll see if an actual hold looks better. And, yes, the real pressure suits do obscure movement, but I think on that one issue, I'll choose to be unrealistic. Thanks again to everyone for all the energy, encouragement and solid advice. It really helps. I'll post as soon as I make further progress. -Vance -
Escape from the Mines of Titan
Glob Studios replied to Glob Studios's topic in Work In Progress / Sweatbox
Thanks for the great feedback, guys. Those are good suggestions, and I'm in the process of implementing them. -Vance -
I'm doing a short video for my band. I've been working on animating a guy in a space suit doing low-gravity jumping. I've rigged him with a simple rig based on Barry Zundel's, which he described in his A:M 2005 training video. The space suit is a lot simpler than a human body, because you would expect it to crumple in ways human skin will not, so there is not as much cosmetic bone work. Also, movement is somewhat restricted. Anyway, at the moment I'm trying to get the movement as natural as I can. You can see the action at the link below. I've been working on getting followthrough and overlapping action happening. I'd love to hear your views on what I've done so far, and if there are other things in that regard I should be doing. Also, I have not done any actual squash and stretch, and I'd be glad to hear your views on whether and how much I should add, given I'm going for a realistic look. You can see it in 720p, which is clearer. If you want to see what it looks like in a scene, here it is: Anyway, I'd be grateful for any feedback you might have. -Vance
-
When using all four cores, use the Windows Task Manager to set the "priority" of one NetRender node to "below normal" so the windows interface can still grab enough CPU time when you need to do something like move or open a window. That's a good hint to know. Thanks! -Vance
-
You should be able to render up to four at once. What does it say when you do "About" in Netrender? It does say 4, which is great because I have 4 cores! I had read somewhere (I think it was an old forum post, but it might have been the Hash site) that they just let you do 2, and had assumed it was correct (they may have changed their minds since then). Assuming the numbers stay the same for simultaneous running of 4 NetRender processes, V16 should render a project in 18% of the time, or 5.5 times faster than a single process V15.0j+ system. For me, this is huge! -Vance
-
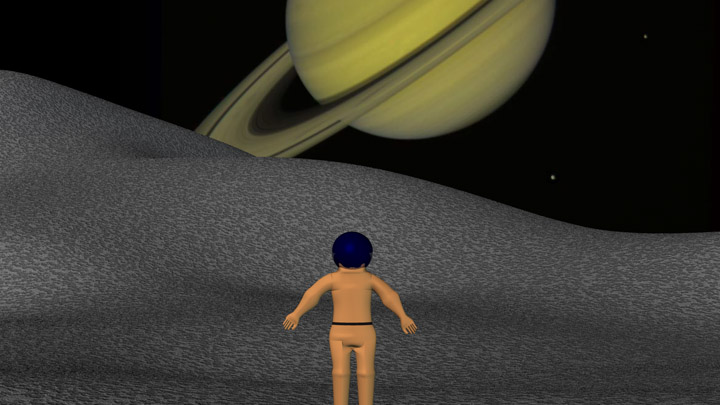
I just purchased V16. In the forums there were several accounts about how it is significantly faster, and I have to admit I was a bit skeptical that it would be faster, even on something simple and straightforward. But it turns out, it is. I rendered one frame of a project I am working on using the Final preset in the 1080 HD format on a snazzy machine with an Intel i7 quad core 3.4GHz processor. I rendered on 15.0j+, 16.0a 32-bit and 16.0a 64-bit. Rendering a single frame does not do any overt parallel processing, but with V16 you can use NetRender to do 2 different frames at once, so in a real project you would likely get something like double the improvement I'm describing here. My scene is a planet with a simple spaceman on it. The ground is a couple of simple colored sheets with roughness and a small amount of reflectivity. There is one sun, and a sky backdrop image showing Saturn. Here's what the numbers look like: Version Seconds Improvement 15.0+j 168 - 16.0 32-bit 129 23% 16.0 64-bit 121 28% The results were almost identical. I did notice one small difference. I have a small amount of reflectivity on the planet's surface, and a dark area reflects the backdrop image of Saturn, which is yellow colored. (The Saturn image is out of the frame.) The V16 images, which appeared to be identical, show a slightly higher amount of yellow reflection than the V15. Here's the V15 version: And here's the V16 64-bit version: Other than that they look the same. By dialing back the reflectivity, I'm sure I can get the same look, but to get it identical, you may have to make an adjustment. Rendering two frames at once using V16 NetRender, I can render a project in 36% (a little over 1/3) of the time it takes with V15. If I can do three at once (two with NetRender and one with the A:M program), I can render the project in 24% (less than 1/4) of the time. This is a big win. -Vance
-
I like the idea of doing a video of singing. But it sounds like it would be a lot of work for someone to place all the characters and render the final scene with all the characters, plus different versions, plugins, etc. might cause issues. So here's one alternative. There's the Playing For Change guy who travels all over the world and records different people playing and/or singing the same song, and mixes it all together and does a video that switches between them. We could do something similar. People who would rather not grapple with lip-syncing could show a character playing an instrument or dancing. Anyway, you can see the Playing For Change video at this link: -Vance
-
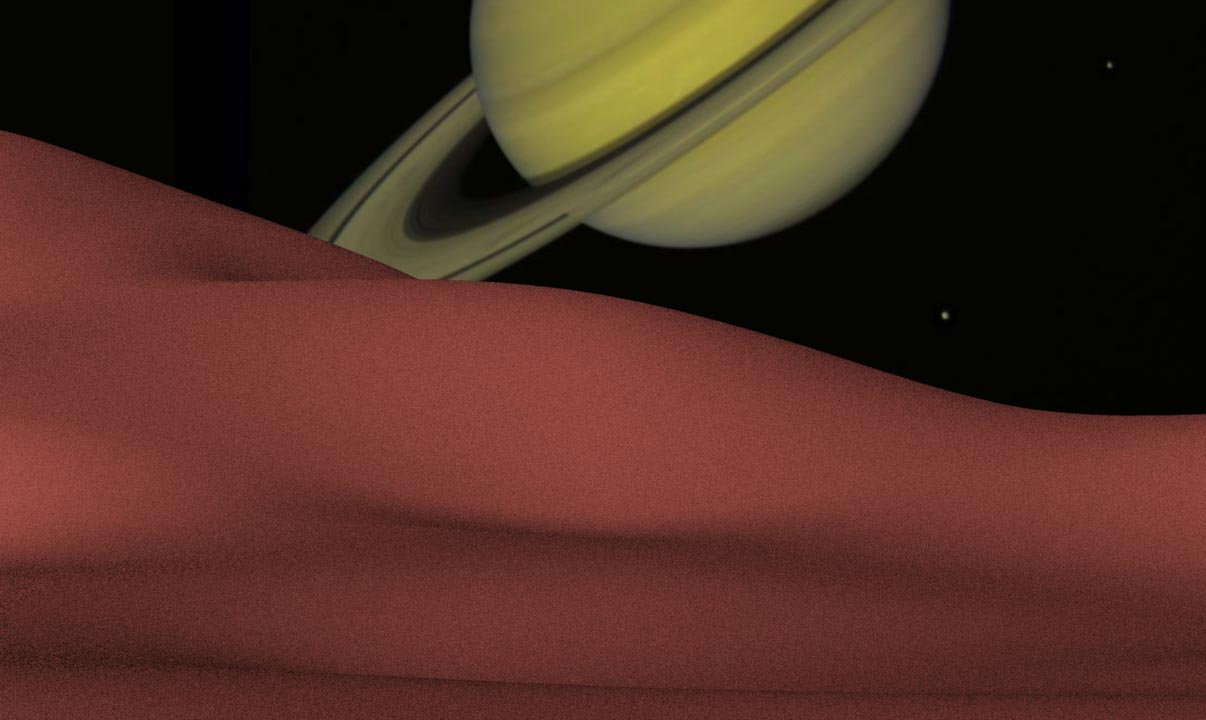
I want to thank everyone for their kindness in giving me lots of good suggestions. I've tried most of them, and thought I'd share my results with you. First I tried just applying the photo texture shared above. It didn't quite give the look I was going for. Next I tried the Darktree Lunar texture. This worked OK, but when I tried to scale the texture up much larger (100000%), A:M (15.0j) crashed. When I do the entire moon, it looks like this might be a good one to try. Next I tried the displacement map shared above. When I scaled it up, I ran into some issues with the resolution not being fine enough. I thought if I added some roughness, it might pass, so these are what I got when I tried that: This was also going to make animating walks, etc. difficult because the height of the displacement doesn't show up in the choreography. I finally went back to tuning just geometry and roughness, and got something I think I will go with, after a bit more tuning. Anyway, thanks again for all the suggestions! -Vance
-
Thanks for this! The Pluto bump map (which is actually Ganymede) may be exactly what I am looking for. -Vance
-
Rob and John, thanks so much! This is a big help. I'll give it a try and post my results.
-
Nice! Some close up and some further away will be needed. I'd welcome ideas about either. What did you do to create the material in your picture?
-
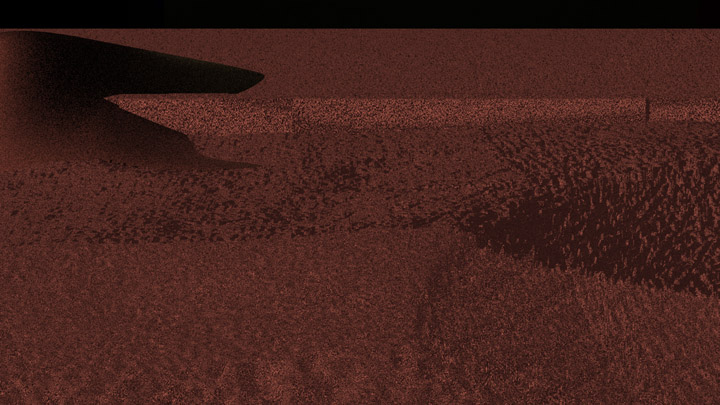
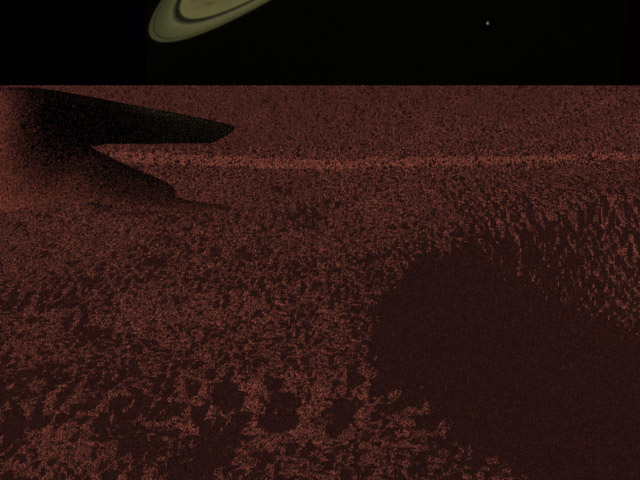
I'm working on a music video for my band. The instrumental tune is called Escape from the Mines of Titan, and that pretty much spells out the plot. I just started work, and quickly put together a scene. I just created a surface, added some hills and valleys, and put on some color and roughness that gives it a sandy look. (Saturn behind it is an actual NASA photo.) The real Titan has a landscape more like that of the moon, but I would be OK with keeping it sandy. I'd love to hear any tips or suggestions you guys have about improving the look of Titan (maybe a material or image texture?) It's not bad for the small amount of time I've spent on it so far, but it can be improved. Thanks!