


zandoriastudios
-
Posts
3,868 -
Joined
-
Last visited
-
Days Won
1
Content Type
Profiles
Forums
Events
Posts posted by zandoriastudios
-
-
We were all playing with something fairly simple: "Pick up an axe, and throw it." Bonus points for "getting hit in the head with an axe"
-
I understand what you were wanting to do with your sets. If it is only a NetRender issue, then maybe you could devise a plan for rendering with several instances of A:M instead?
Whether you build sets using Action Objects or build them as Choreographies, you are only dealing with shortcuts to the different models (chairs, etc), so that is inline with your philosophy of only making it once. You can turn off whatever objects you don't want to render or work with at any time.
What I think that you guys should do is to storyboard your actual short--Then use those storyboards to plan the choreographies for each shot--you will easily see that some elements can be simple background layers (whether done inside AM or in After Effects), and you don't have to have a complete 3D world. Just layout each shot and save out that Choreography with the shot number....
-
Try blue painters tape on the build plate.
-
That's an impressive cast of characters!
-
Ooh--that looks good!
-
Besides switching views, I also use + and - to step through frames
-
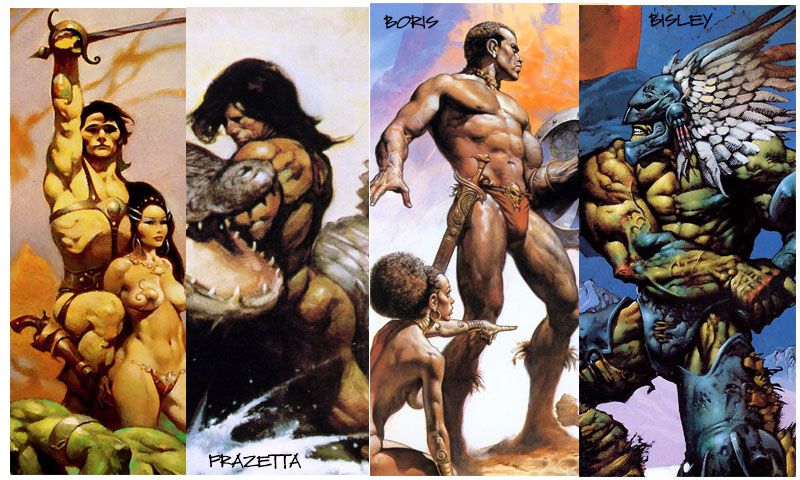
On the look, I am wanting to get towards a "chiaroscuro" with strong blacks and a single light source, to get closer to a "Frazetta" look. I wrote about it in this post: https://zandoria.wordpress.com/2014/03/18/stylizing-the-look/
I've got a pretty good "oooh" shape when I go to 100% narrow, and adjust the lips Up/Down--look at 1st frame (in fact, it is better to scrub this rather than play as an animation).
When you look at the default mouth shape on the TAR model, you wouldn't think that you could get that in a pose! But most A:M models have enough spline rings to model any shape you could want. My mistake ( and I think most people who start out modeling instead of animating) is to not take those poses far enough! In fact, I'm sure a more experienced animator would say to push them even farther to be able to hit more exaggerated shapes!
I don't want to have separate models, if i don't need to... I did for the Ninja leader, since I had to have a removable head! And I will for my crocodiles (since I will be chopping some limbs off, I think), So I understand How to.
-
I needed to go back and update TAR with some better facial poses, so that he could carry on a conversation! I opted for a
- Wide/Narrow mouth shape
- Up/Down Lip shape for upper and lower lid
- using Jaw bone instead of Open/Close pose (because I could get more control)
- tweaked the Brow Up/down to give more range
- tweaked Brow Squeeze to give a little more range
This test is just running through some poses to see how they work--but It looks like he is talking or something

I also played with adding some global illumination and ambient occlusion to the "look"...
-
I just watched your demo reel, and i think that you will be very happy with what you can do with Animation:Master! Welcome to the forum!
-
I say keep what you have been using--I did a search for it and it was at the top of the list! So rather than re-name anything, just refresh the look, or or something.
-
Really good talk! Thanks for the link--it is giving me a LOT to think about....
-
Mack,
Your work is really appreciated-- I don't think the perfect rig has been invented, yet. But each new rig takes us a little closer!
-
The blood in the water will probably be sprites. I know I will have to render the shot twice (above and below water) and change the lighting,fog,etc....
Nice render!
-
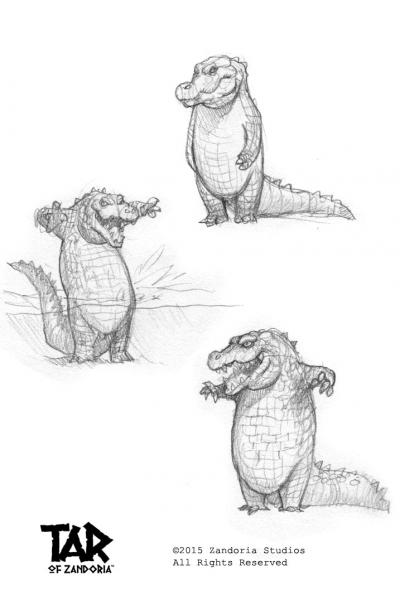
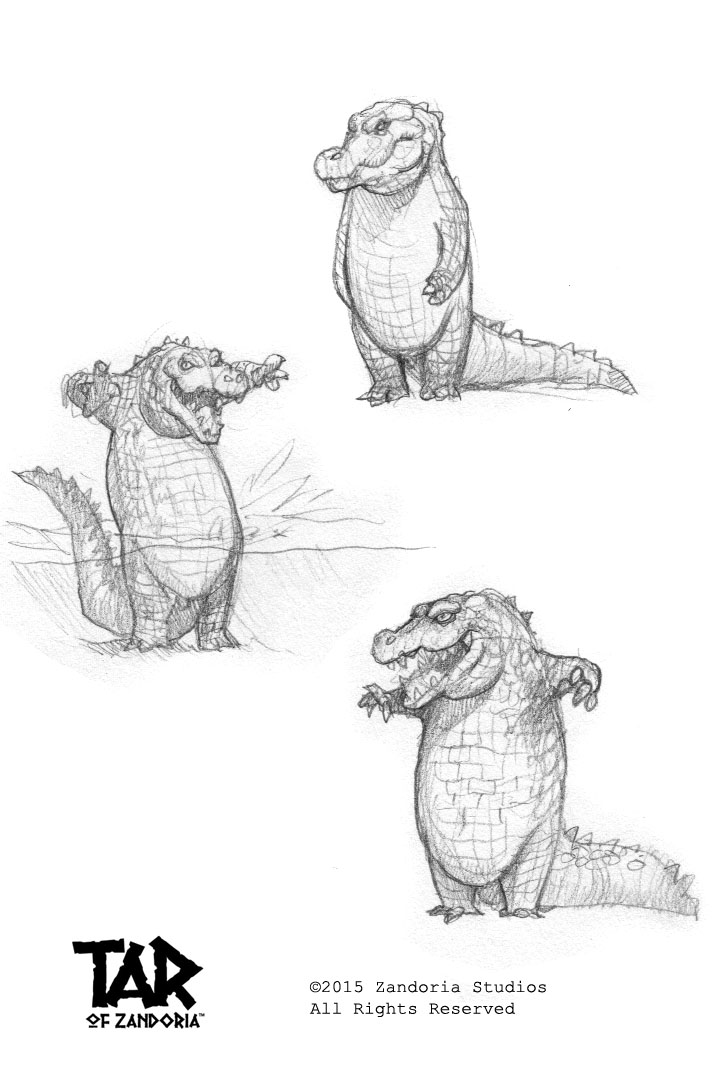
OK here is some concept art and synopsis for the next episode of TAR of Zandoria
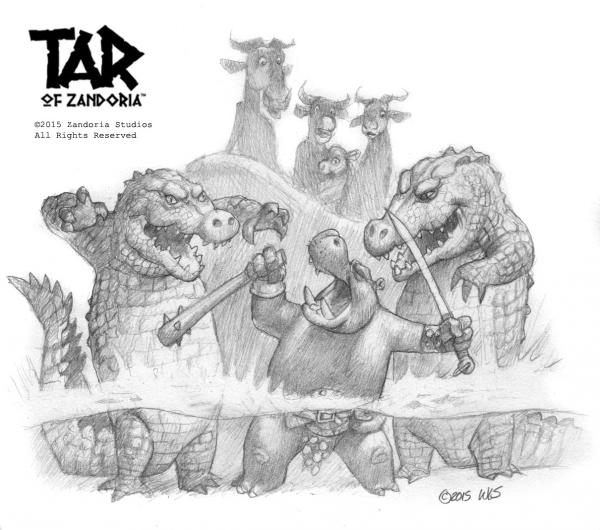
THE CROSSING
A group of wildebeests are on the side of the river. A boat is there. The leader of the group hands TAR a bag of coins, as the wildebeests all climb into the boat.
TAR wades across the river, pulling the boat with one hand. The wildebeests look nervously about. There is an "aquarium" style shot, so that we can see above the surface of the river and below it at the same time.
Crocodile warriors rise up out of the water around TAR. One of them plucks a momma wildebeest out of the boat, while TAR is fighting with two others on the other side. The wildebeest passengers are in a panic.
TAR kills the two crocs that he is fighting. All the Splashing and thrashing about ends and the water becomes murky with blood. The passengers are still looking about, agitated and afraid.
TAR hauls the boat onto the shore of the opposite bank of the river,and the wildebeests scramble out.
The wildebeest leader is angry. Waving his hands around, points at the water, the boat, and the orphaned child (who is crying for his momma). TAR looks back at the water and realizes that one of the passengers is missing.
He reaches into his pouch and takes out one coin. He shrugs his shoulders and give the refund to the wildebeest. TAR returns to the boat, collecting his gear, while the wildebeest travelers walk off, continuing on their way.
END
-
I imagine that the discovery of controlled matter/antimatter reaction, which underpins their technology (warp drive, photon torpedoes
, replicators, transporters) is what would create the astronomical surplus that the writer describes.
When you have almost unlimited energy, and can convert that energy directly into finished goods (replicator), then you have no scarcity--or manufacturing economy!
Interesting article. Like StarTrek it makes me think about how things are NOW rather than how they might be in the future. We are pretty stuck on having a "job" to pay for our living...or a small business... In some countries the citizens get a payment that is a division of the resources produced and exported--oil, for example. I think Alaska also pays something like that to its citizens.
-
Rodney,
The most important thing is calibrating the printer. The first layer is the most important--you want it to smoosh (but not too scrape). If it looks like a tube, then it will probably peel up...
Getting everything just right is the most frustrating thing.... See if you can run different programs to run your printer. I've had a great experience using a program called MatterControl to run my printrbot. You can get it free at MatterHackers.com (they also sell most filament).
If you can manually input G-Code in your software, after you are sure the bed is level, you Cade manually set the Z offset to tweak how close your first layer prints:
M212 Z0 is default. If you need to be closer, change the Z increment in .2 mm steps. For example:
M212 Z-.2
M500 [saves the change you just made]
M501 [pings the home positions, to confirm what you just did]
Test print, rinse and repeat until you have perfect. I use a 1cm test cube....
-
I have the HP 8600 --great printer,scanner,fax. I only replaced the cartridges after a whole year!
-
I think I could go back and adjust the axe rotation--the weight of the axe head should be where the rotation is centered. I should have put a null there and constrained to that. Or just keyframed it better--the head should continue the downward arc more and the handle should flip over it.
On the Eye Targets, you could put them at the root. Or (I do this) just keep fixing the position, LOL
-
Here is a test that I did with the "Saucy Rig"--Mack Chappelle rigged this Hyena with it. (Thanks Mack!) The only problem that I had was that I constrained the Axe to the IK controller for the hand, but when animating the the controller didn't stay with the hand. So I had to manually position the axe to stay in the grip of the hand (which was a pain). The finger controllers are not as easy to use as TSM, but worked as designed.
It took a lot of fiddling to position the torso, using the controller and the chest bone....
-
Nice walk--look at the hip bone where you are bouncing. It looks like the bounce is from the foot not reaching its IK target
-
Hey, does that mean I get the bonus points for 'GET HIT IN THE HEAD WITH AN AXE!'?
You should get extra ponus points for HIT IN THE FACE WITH AN AXE!!
-
Rodney--I LOVE it!
-
OK--lets start with: PICK UP AND THROW AN AXE.
Bonus points for combining with: GET HIT IN THE HEAD WITH AN AXE!
Should be a great exercise in animating enforcement percentage for 'translate to' constraint, along with the motion, weight, timing
-
Martin the Seer, with his cloak made of patches.... Wandering the plains of Africa.... C'mon, ya got to know this character!

Let's talk about Polygons
in Open Forum
Posted
A workflow from ZBrush to A:M:
https://zandoria.wordpress.com/2013/12/24/642/
This works with textures too--so if you UV map in ZBrush and create Displacements and normal maps, you can use them in the decals in A:M