


Odog2020
-
Posts
345 -
Joined
-
Last visited
Content Type
Profiles
Forums
Events
Posts posted by Odog2020
-
-
Wow, when I first opened the file, I thought that it was real footage of traffic, until the vehicles got closer to the camera.
You said that you interviewed the driver of the blue truck, and he didn't know which way he spun, but did he know how fast he was going? Thought that might help in determining how much the truck actually spun.
I noticed that in the clips, the truck was hit, what looked like on the driver side door. I think that if the truck was hit closer to the front, it would cause it to spin less, as opposed to being hit somewhere towards the back half of the truck which would cause the truck to spin more. Also, if the driver of the blue truck turned to the right, the angle of the rig hitting the truck would increase the spin as well.
There are so many variables, maybe unknown to you, because you said the driver was not sure. But for not having all the information, the recreation looks fantastic. I hope that my comments can help you in determining the amount of spin in the vehicle. Again, the footage looks amazing.
James
-
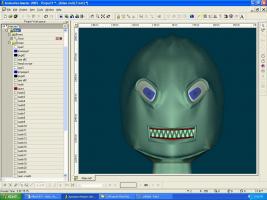
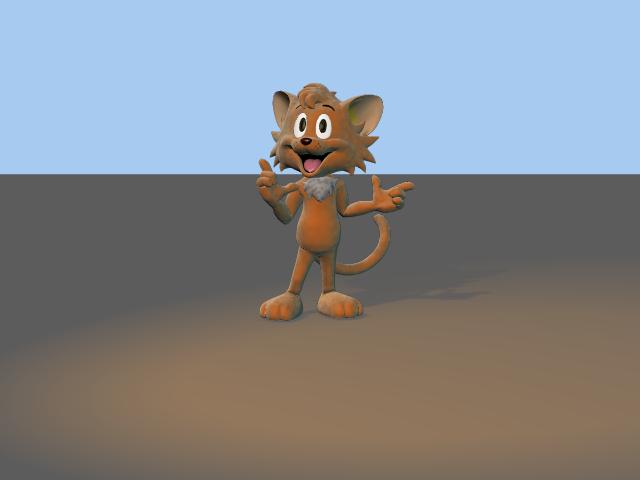
Yeah, the eyes are nice, very realistic, but she looks a little cross eyed. All in all she is a good looking model. James
-
Name: James Owens
Exercises Completed: 3
Date Completed: 10/12/2005
Instructor:
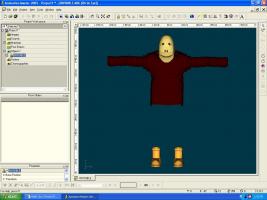
[attachmentid=10073]
-
The reason I want to put it here is because I made a mask, and wanted to put round wholes in the front. But I couldn't figure out how to do that. If you have any suggestions it would be appreciated. I will add the wire frame when I get home today, so you can have a better idea of what I am talking about. Thanks again James
Please clarify - you want to put holes in the UFO, some kind of mask, or ??
i wanted to put perfect holes in the mask on the post right above yours. I couldn't figure out how to make the circle, and then attach it without it distorting. Any help would be great. thanks
-
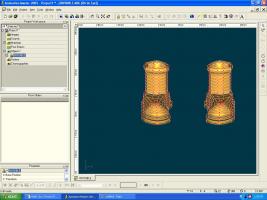
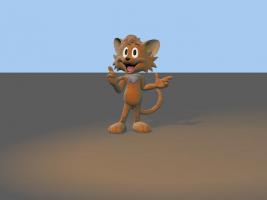
Okay, so my boots look different then I thought in my mind. However, here is the picture of them. James
[attachmentid=10067]
-
Haikalle, I think that Arkaos is trying to show different texture between the head and mouth, but that is just my view. I really like the cloths, but the boots look a little funny on the inside. I have a pair of boots that I created for my Invisible masked character, if you would like to see them, just let me know. Anyways, I would like to get to the level of making the characters smooth like that. Anyways, good work. James
-
if you do the TAO A:M you'll be able to finish that off quickly and start on Bootcamps long before I get through the stuck door!
First, thanks for the vote of confidence. I know that I have to simplify the stuff, but I get so upset when trying to create new models, that I forget that simpler is better. I think I am trying to hard to make something look perfect. My boy trey, 2d artist, told me just to take it one step at a time, but I refuse to listen, and am trying to leap from the first stone to the last.
Next, I don't know about getting through the stuck door, because I tried that when I first got the program, and I can tell you that it looked like the 5 second delay video recordings. Anyways, maybe the classes i am about to take will give me more self control when working with the program. Thanks again. James
Okay, so I found my other model, my first one, so here it is. It has to many CP's as well.
[attachmentid=10066]
-
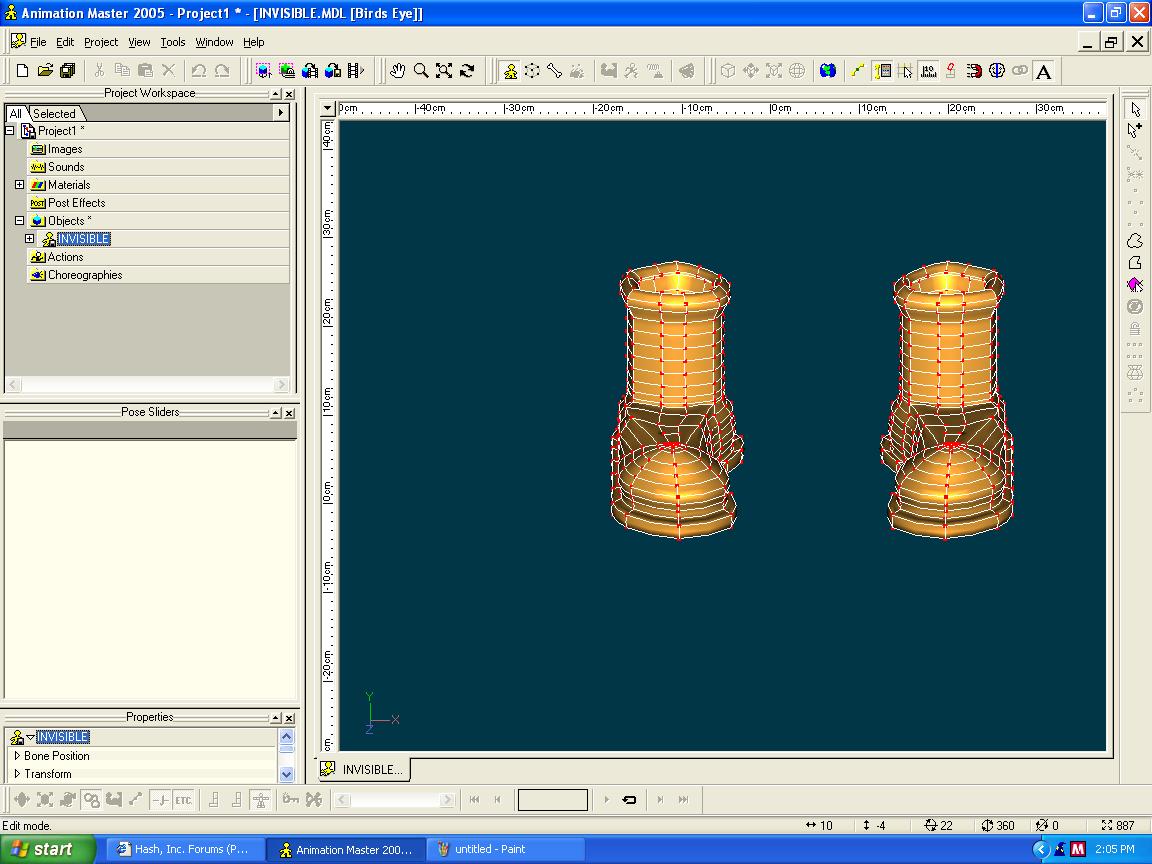
Small note:
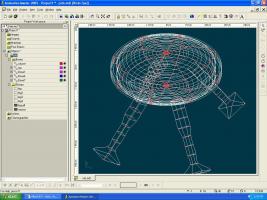
On the bottom of your landing gear, you created four three point patches to close the end. This creates the crease and point in the middle. Unless you want that effect, try deleting the center cp and just use the four corner cps to close the bottom. Remeber, you need at least two splines to create a patch. If the four cps on the bottom only have one spline running through them (which I suspect), then you need to delete one section of the spline and add a second spline to close the patch. I attached a pic to try and show how.
Oh yeah, thanks a lot for that tip. I have been trying to figure that trick out since I started messing with this program. I think that I lost my first model creation, but I may still have it on a CD. I will try to get it put on this thread as well.
The reason I want to put it here is because I made a mask, and wanted to put round wholes in the front. But I couldn't figure out how to do that. If you have any suggestions it would be appreciated. I will add the wire frame when I get home today, so you can have a better idea of what I am talking about. Thanks again James
-
Yeah, I still have alot to learn. I have had this program since June of this year, but never did the exercises. I have decided to put off any other projects that I am working on until I get all the exercises completed, and possibly the ABC, but that is not one of my prioritys. Anyways, January starts the 06 semester, and I will be trying for my A.S. in New Media Arts at Kapiolani CC. Thanks for the tip, I will get on trying to use less splines. James

-
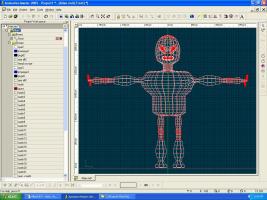
If you are using a PC, just open your model in wireframe mode and hit "PRT SCR" on your keyboard. That will place the current view in memory. Open any paint program such as Photoshop or even just good ol windows paint, crop the image to what you want to show and save as JPG. Once saved, go to WIP forum and show your work. You will need to browse to your JPG under the file attachments heading.
Pretty much the same steps for a MAC I believe, just don't know the keyboard shortcut for screencapture.
Hope I didn't misunderstand and told you nothing new.
I like your foray into animation.
Keep it up.
Hey, thanks for the help, it worked fine. So, here is the rest of my work in progress.
So, of course, feel free to hit me with your harshest words. Thanks
[attachmentid=10047][attachmentid=10048]
[attachmentid=10049][attachmentid=10050]
-
Name: James Owens
Exercises Completed: 2
This exercise: Chorus Line
Date Completed: 10/11/2005
Instructor: AM Manual AND Forum
This is the link to my 2nd exercise.
Exercise 2, on the right side of the page, under my ED VS. Alien file.
-
This is not a short....a short is something with a plot..you stated yourself it doesn't have a point...
however, it is a GREAT way to get to know A:M. This is a great idea for new users...just create random, well rounded animations. you have a use of cycles, cam movement, some editing, some animation, and a pretty good choreography.
Now start digging deeper into the uknown realms of 3D....

Yeah, I know that it had no story line, I was just seeing what i could do with the cho. Anyways, i am trying to figure out how to take a picture of my model in wire frame so i can post it on here. Any suggestions.
thanks james
-
Name: James Owens
Exercises Completed: Exercise 1: You're the Director
Date Completed: 10/11/2005
Instructor: AM Manual AND Forum
[attachmentid=10040]
-
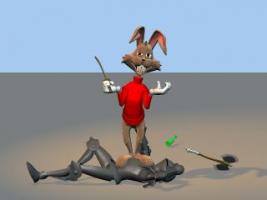
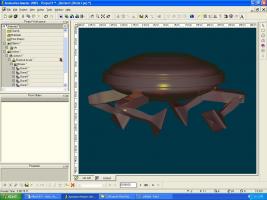
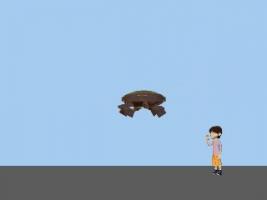
Here is a small picture of my UFO, although plane, it is just my beginning work. As you can tell by my name I am a newbie. I will put my alien model in here when I get to my own computer. The other model is of course Ed.
If you would like to see my first short animation;
[attachmentid=10034]
This is my first short, it makes no sence, but it is a start. In Windows Media Player
-
Man, that looks like the real thing. I spent 4 years jumping out of the c-130 Hercules, c-141, and c-17. Nice work


Fancy restaraunt
in Work In Progress / Sweatbox
Posted
I would have to agree on using more lighting, it looks a little dark inside, but maybe that is because no light can get in the darkly tinted windows. Just kidding, I think it looks great, kind of like Johnny Bravo's head. But I had only one question. Does a structure, that stick out over the base foundation, and is more than twice the size of the bottom half, need supports on the outside? Just thought you could think of added them, I personally think it would give it a stronger and more realistic look. All in all, the project is great, keep up the good work. James