


nf1nk
-
Posts
189 -
Joined
-
Last visited
Content Type
Profiles
Forums
Events
Posts posted by nf1nk
-
-
I would probably pull a softened cone up from under the ground plane as I had a stream of particles flow across its surface. To make the illusion work better I would put the camera in a position that we can't see inside the container that the sand is dumping from
-
Works fine for me too in version 14
-
Its pretty good, but off the top of my head I would say the spokes on the wheels and the wheel thickness suggest iron instead of wood. Also everything is all nice and uniform, your could select individual poles and tweak them 1/2 a degree in a random direction and it would look more hand made.
-
I bet the big slowdown is your choice of textures for the walls. It looks like one of the plug in textures. They all look cool but they slow the renderings to a crawl. Test it by making the walls plain gray and checking the results, I am betting less than an hour
-
Compress the hell out of that and it would show up on those youtube crash compilation videos. It looks good. very real.
One thing I found makes for better smoke is to use at least three emitters with significantly different size particles that add up to the same number of particles that you are using now.
-
The blue around the eye is the eye lid. look at the birds feet, see the lovely shade of blue. This birds skin is blue, lots of birds have blue skin. If you look real close at the eye on your photo you just make out the wrinkles in the birds eyelid.
-
Interesting idea for making something appear fat. Not what I was trying to do but very cool.
-
With splines you don't need quite so many control points. I would say that you could get the same shape with maybe a quarter of the control points. If you are doing a face you may do a lot of CPs to give you more options for rigging but beaks are rigid and adding all of these CPs may slow things down one you have a whole bird attached to it. I am impressed that you were able to keep things so smooth with that many points.
-
Did you try e-mailing him about it? I was thinking about ordering his plugin packs myself...
I tried emailing him a couple of weeks ago, but no response
-
I was looking to buy the conform plug-in for a project that I am working on, but digitalCandle the payment processing company for Marcel, has gone out of business. Has anybody heard form Marcel lately? I checked and he hasn't been here since last feb, and he isn't responding to emails.
Is there any plugin that could give me similar function, or has it been integrated into version 15?
I am sorry if I put this in the wrong forum.
-
You are making good progress, but down in the center of the chest it looks like you might have a couple of fishnet splines that will cause problems later on. Your control point intersections look like the splines are making right angles with themselves rather than being more or less continuous curved lines. If I have time this afternoon I will fire up photoshop and circle the splines in question. You want to fix this before you go to much farther, as it will cause problems with copy flip attach comands.
-
Good thought.
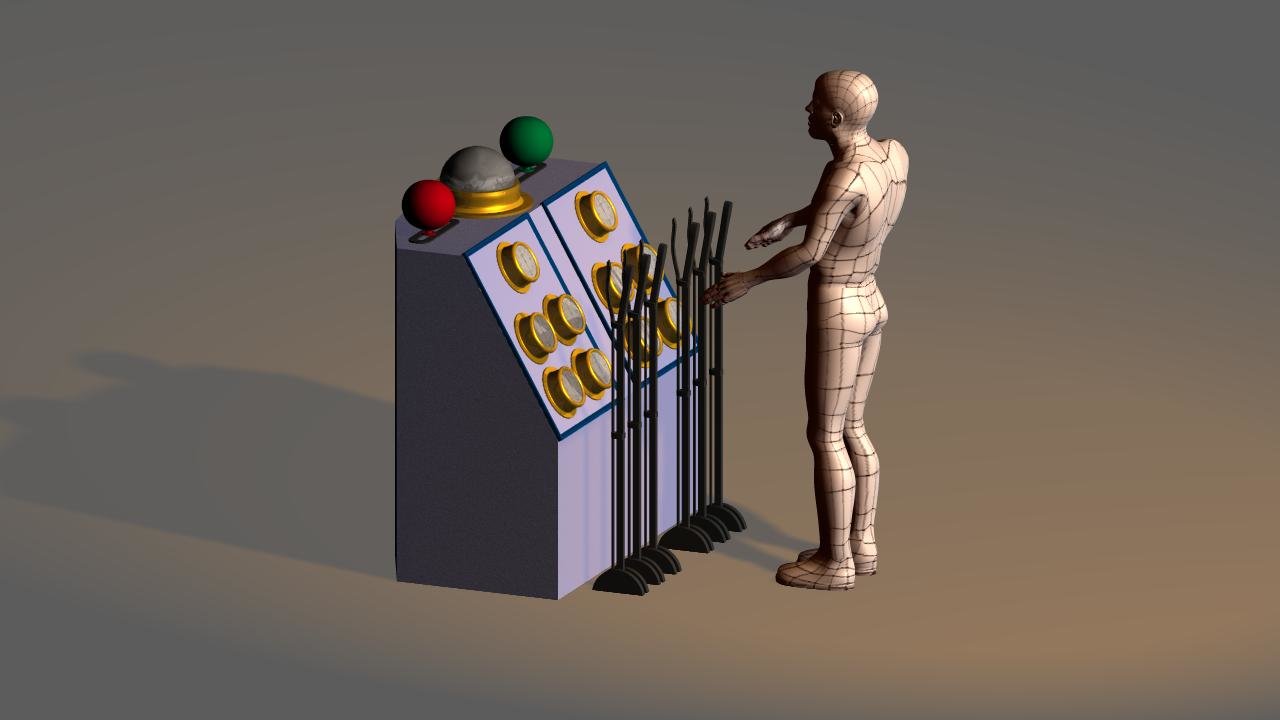
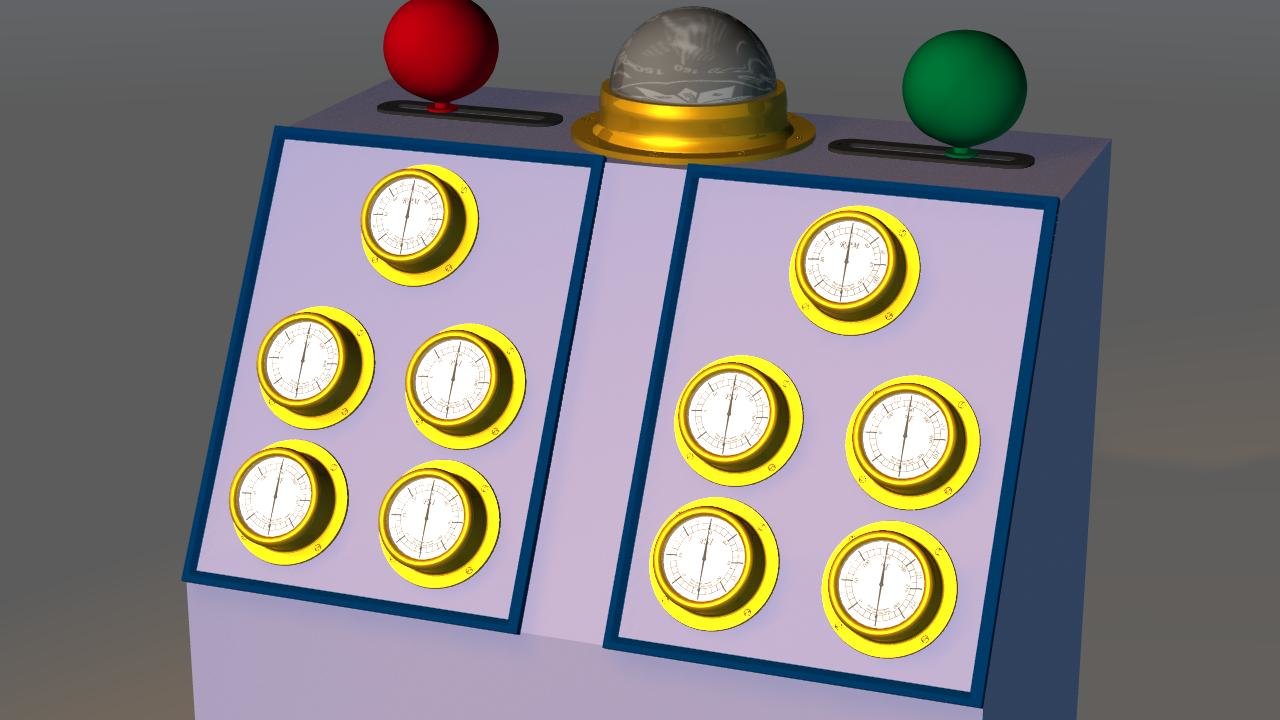
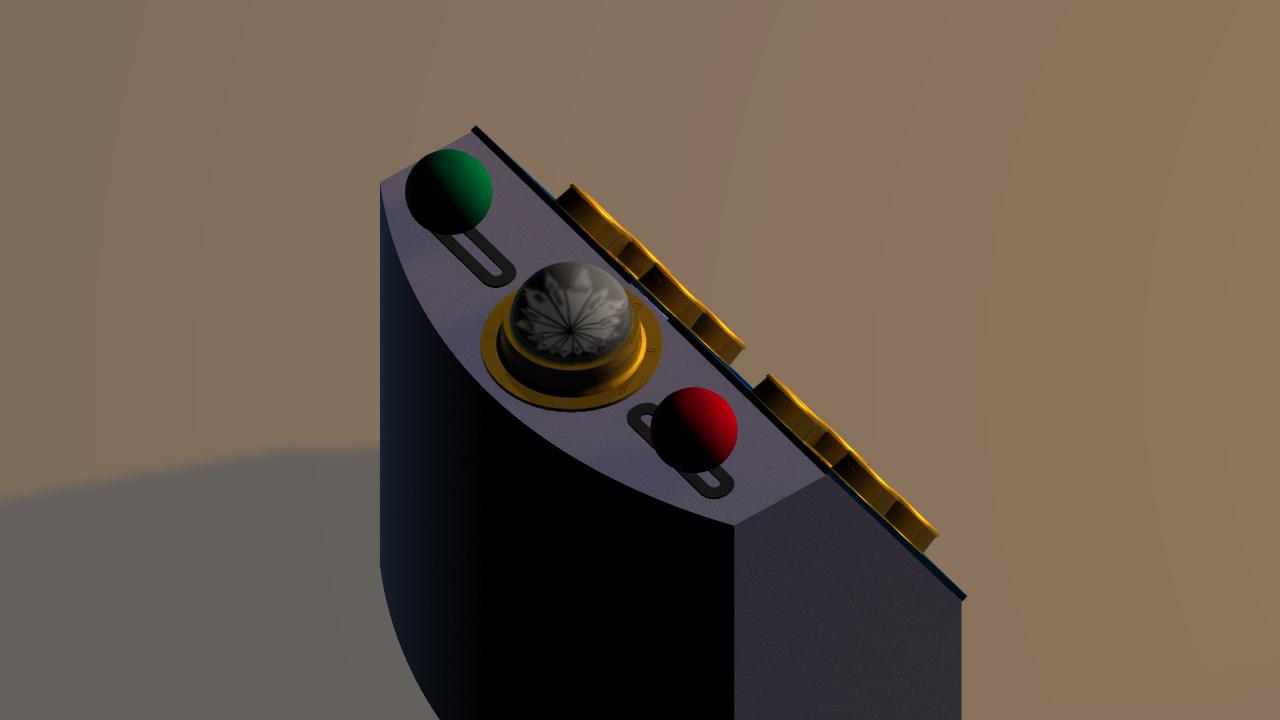
maybe I will need to move the compass down and put the gauges above them on a shelf
I think a redesign is in order.
-
One step at a time, progress is slow
-
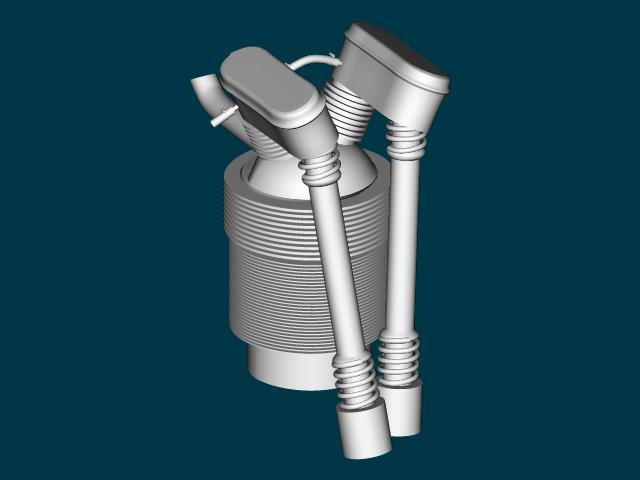
From another angle

-
I a starting my steam punk Short. So using a Top down methodology I am starting with the control panel, working out to the wheel house then to the boiler and engine room, and then throwing a skin on the whole thing.
Here is the gauge panel. the colors are place holders at this point.
-
another thing you can do is to add a turbulence "nozzle". add a force near the the emitter in the same direction as the emitter with some turbulence in it, it should radomize things nicely.
-
[
There are several little "glitches" and bumps. I am not certain what happened, but I am assuming I moved something in the first frame of the action.... or, in the model itself... I'm not too concerned with it right now, but I do want to correct it so that it looks just a wee bit eccentric (imperfect) instead of a definite "bump" (as IRL, the lathe I have, and my skill level in using it, probably wouldn't create perfect surfaces anyway).
one thing that can cause the bump I am seeing at the end of the loop, is where you have your last frame the same as the first frame. If this is the case ending the render one frame early fixes it.
-
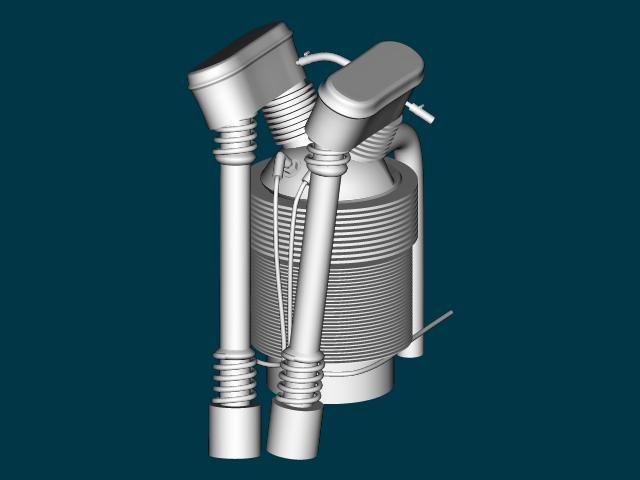
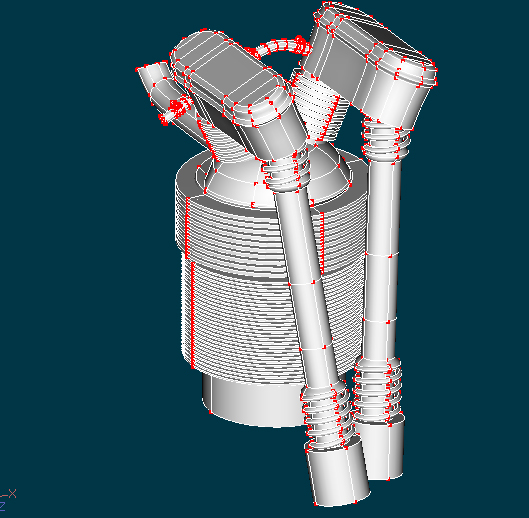
I agree with vern about the wear patterns, but the one thing I noticed, is that the front sling holder is passing through some of the nurbing (cooling fins maybe?) that is something that you can fix during rigging, so I wouldn't stress about it.
-
what is the render time on that BEAUTY
Not as bad as you would expect, it was like 2 or three minutes
-
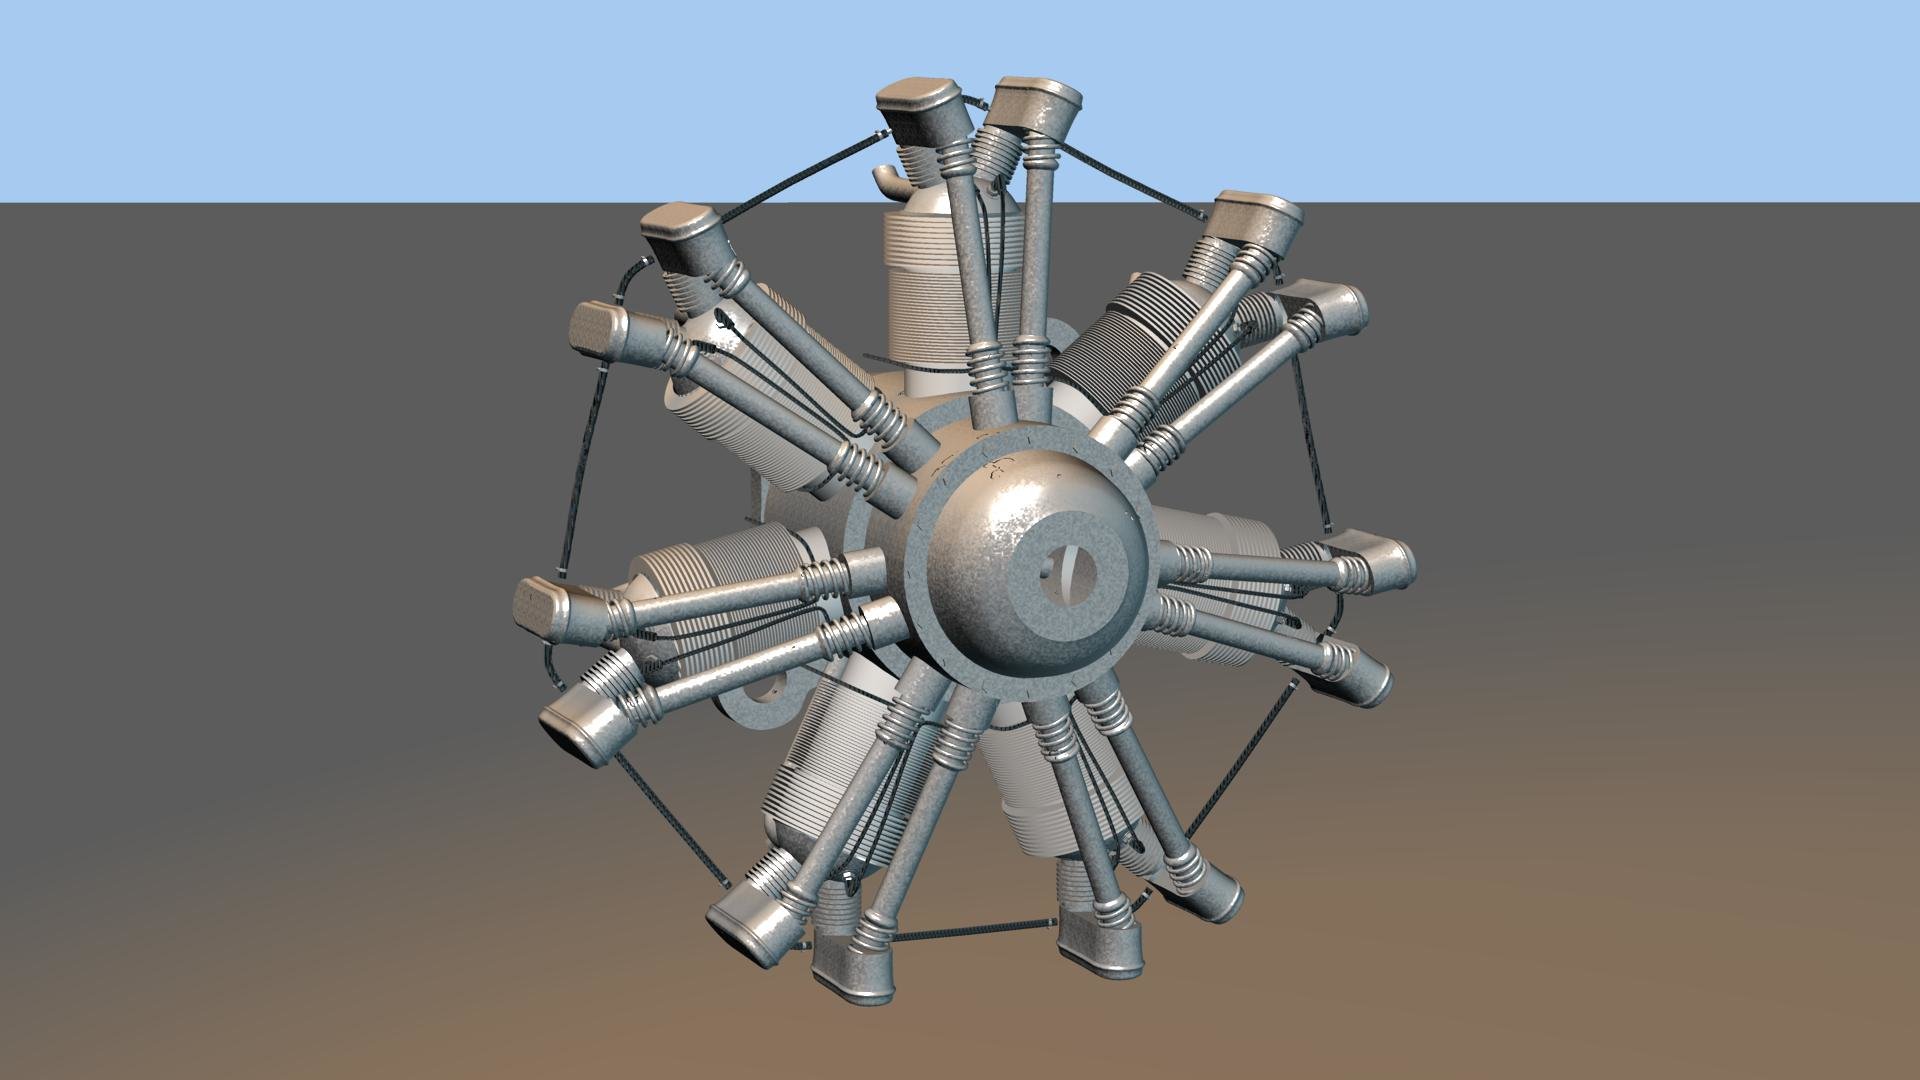
Where the light hits it looks maybe a bit smooth, and the texture is lost. Without knowing anything about it, is this maybe a case for a reflectivity map?
I was thinking about putting in machining marks on that part, but I am unsure whether to just use a bump map, or combine it with a reflective map. Many of the parts are machined from billet Aluminum so they should have a pretty smooth finish. Once I do that I would love to figure out a way to dirty it up and make it look used.
-
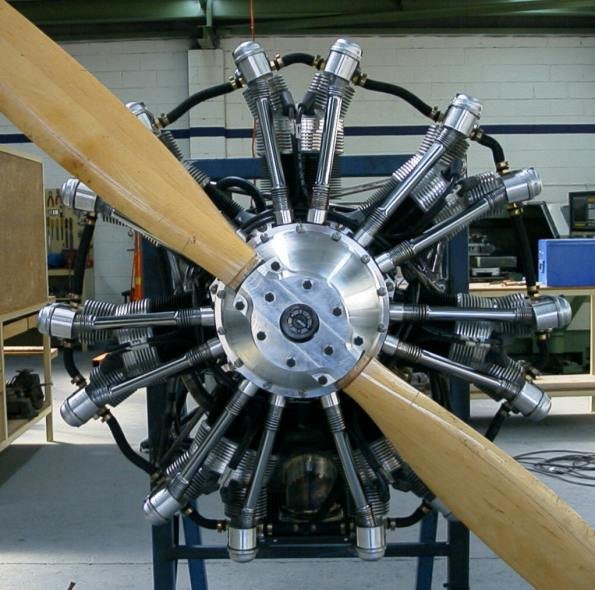
Now with a color render, with some reflective properties. I haven't decided what to do with this thing, I thought I might put it on a maintenance stand next to a work bench. or put it on the front of some simple WWI fighter.
-
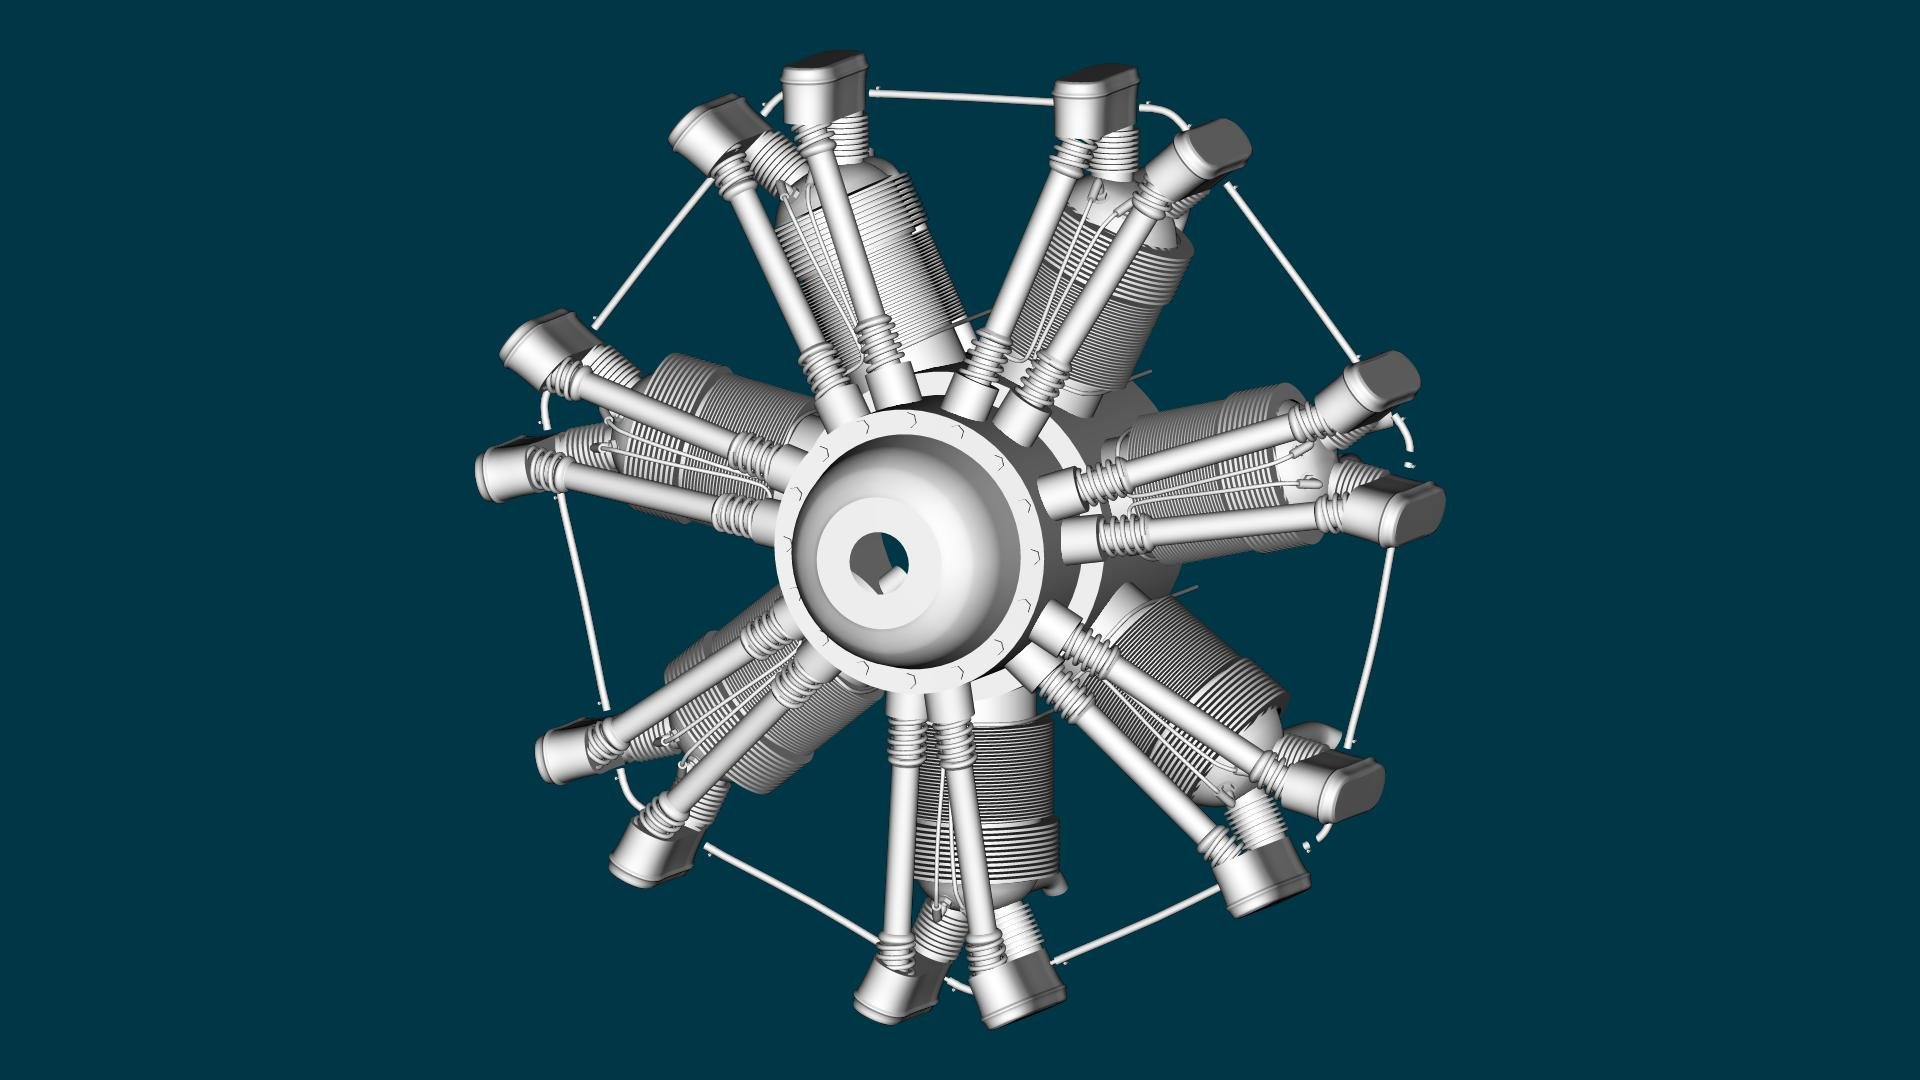
Now in 7 cylinder glory, and just for fun the "o"
-
At 2193 now with dual sparkplugs
-
down to 1988 patches
and it doesn't look much different


Suspension with steering constraint set up
in Work In Progress / Sweatbox
Posted
too be fair the link is 4 years old