Simon Edmondson
-
Posts
2,579 -
Joined
-
Last visited
-
Days Won
19
Content Type
Profiles
Forums
Events
Everything posted by Simon Edmondson
-
Robert Thank you for your reply.I did have the earlier version carefully saved but, I then made the mistake of working all the CP weights then not saving that separately before adjusting the rig. The scale problem seems OK but I've done something to the nulls controlling the right index finger which causes it to twist but not sure what it is. Going to come back to it later to see if I can find out what it is. regards simon
-
Have been working on the cpweights and other glitches for the past few days. when I noticed a rig problem ( entirely of my own making ) then tried to correct it without have to reinstall the whole rig. During that I inadvertently caused some bones to scale and, when I use the nulls to setup the finger poses I get some very odd results. Is it possible to readjust the values without having to reinstall the rig from scratch ? simon 2008 rig in V17 working in OSX10.68
-
Robert, David Thank you for your replies. Some of those Yoga poses are very strange indeed. If you put them on a demo reel or animation they would not be credible... Make Human seems to come with the modified T pose so I'll give that another go. Suspect the problem is that, as usual, I jumped iinto it before it was fully ready to go and then tried to modify it along the way when the problems became apparent. Think what I should try to do is develop a movement sequence that puts the model through a wide range of positions then use that to test any new models against later on ? regards simon
-
Gerald, Robert Thank you for your replies. I think my problems arise from my cp weighting and will have to bit the bullet and do it all again. It wasn't apparent when using toon render with flat colours but it becomes very evident when using shadow with fall off. sadly regards simon
-
Been a bit distracted recently by other work but, trying to get back into finishing Ska Lake properly. One of the things it was intended to do was to test the models. And it has definitely done that ! The young Boy ( Charlie) was adapted from a Make Human file and, it came with the pose of the arms down at the sides. All the models I've made in the past have used a T pose for the rig installation so it was something new to me. That pose seemed to complicate the installation of the 2008 rig but that may just have been my error. Now trying to re rig the model and wondered if there were any views as to the best setup pose to use ? T pose, arms at side or something altogether different ? simon
-

Resolved Curious problem in V17g?
Simon Edmondson replied to Simon Edmondson's topic in Animation:Master
May have found the cause, Operator Error. Retried the multiple option and, this time it worked. I may not have saved properly before relaunching the project. Apologies . simon -
Resolved Curious problem in V17g?
Simon Edmondson replied to Simon Edmondson's topic in Animation:Master
Robert Thank you for your reply. In the past ( other versions of AM ) I've had trouble with the program crashing if, after doing a "save animation as" the frames were fremoved from the PWS. So I got into the habit of saving before render, then reloading the project after saving out the animation. That was what I tried to do with this problem. But, on reloading, the names had gone from the shortcuts in the chor. Thought it must have been an error on my part, so redid it. Saved again While that was rendering, thought to setup the next part, using a multiple copy. When that opened up, the names had gone again, even though it was the same project and files going through on the original open project. I let that render go through and have since extended the animation ( its a text scroll). Hoping to get a full render out without any other problems before checking again later today. Will report back on what happens. regards simon -
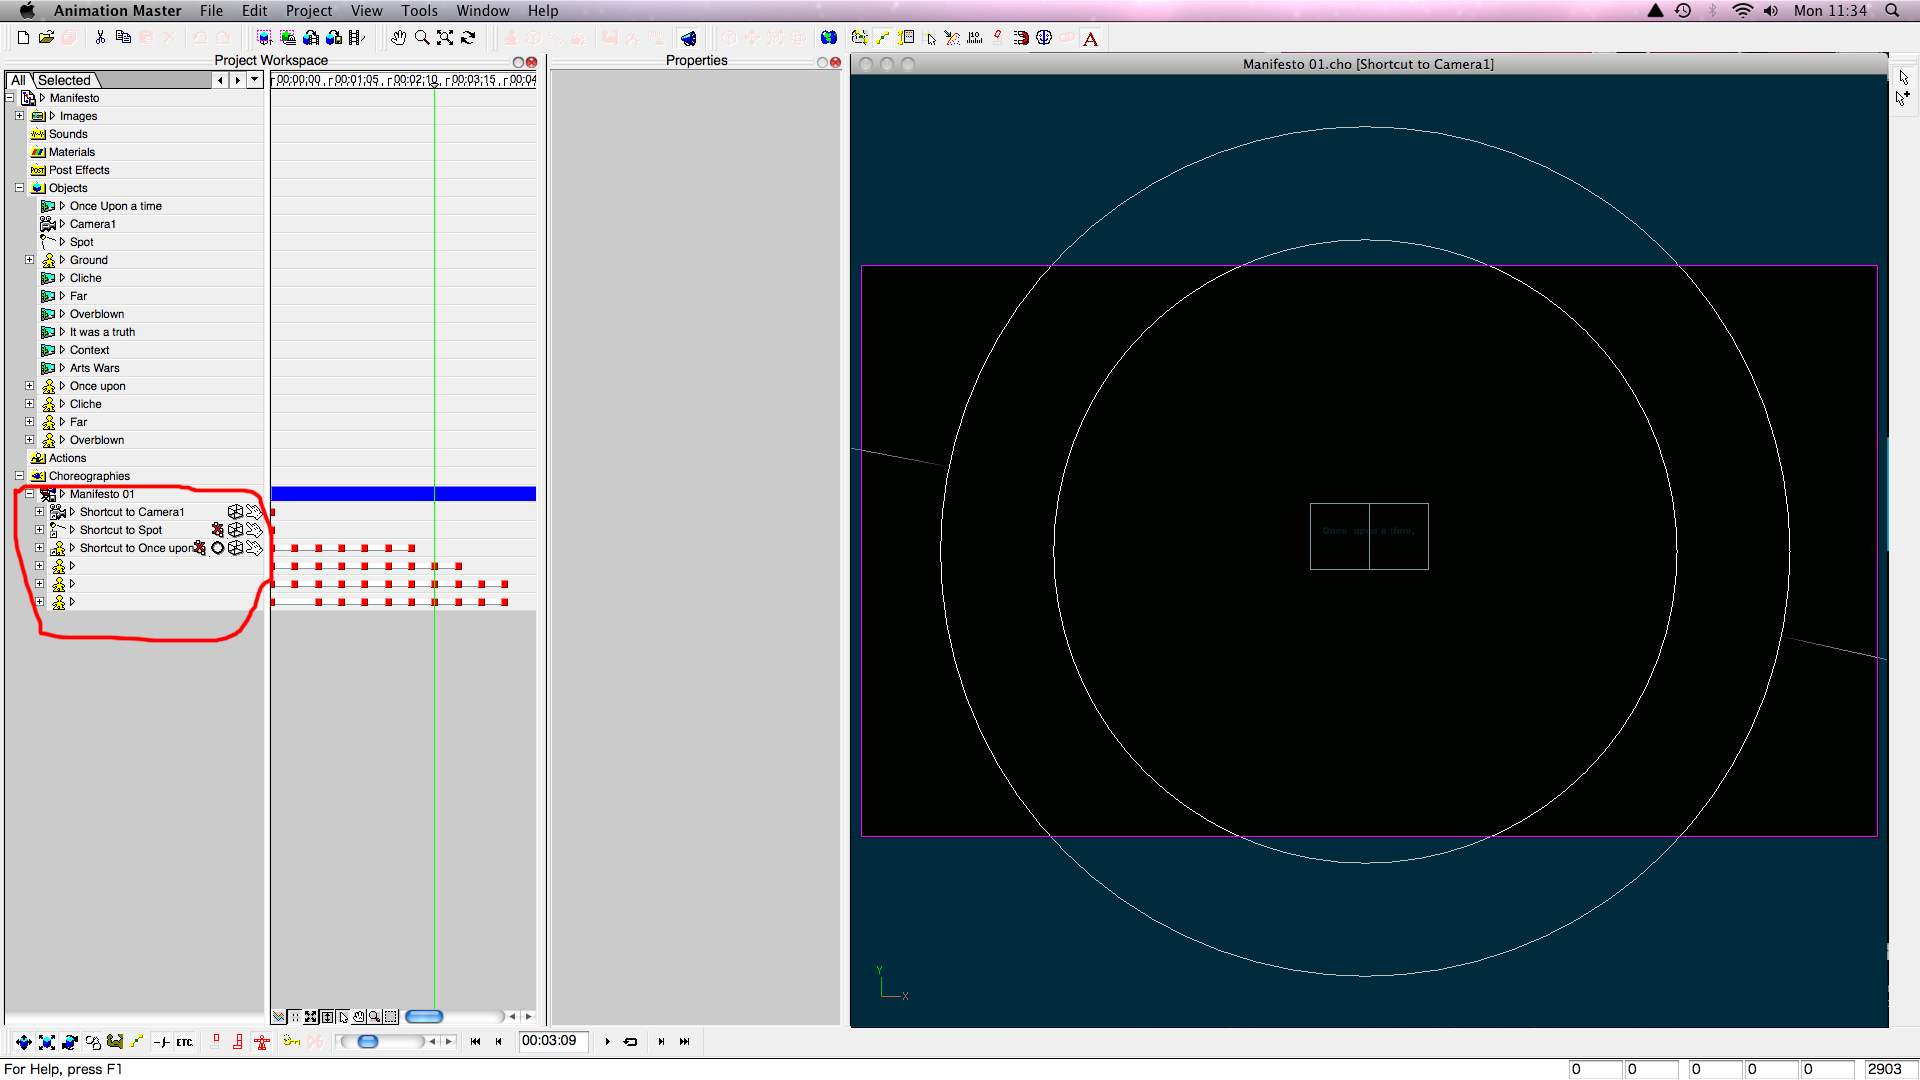
I'm having to prepare something for a course starting in October and have encountered a curious problem in V17G. I set it up last night and left it rendering away. Saved it, "Saved animation as" and reloaded the project. Only to find that the chor had lost the names of the model shortcuts. I redid those and rendered again and, while that was going through thought to use Multiple master to animate the next part of the idea. When the project was loaded into the multiple, the names had disappeared again, even though it was going through on the same machine in saved form ? This is the first, with names in place. This is the second, same project, same chor and models. Notice the names missing. Any suggestions as to cause and how to correct ? simon V17G OSX 10.68 Imac.

-
Mark Thank you for your reply. I am rather embarrassed, not for the first, or last time I suspect. I was just about to delete the question because the answer became apparent. There's no cure for foolishness. I'm working in 17G and, as you say, the numbers are very small and tucked away in the very corners. My excuse is that the file name was visible but, I was expecting the numbers to be in the same place. They are in the opposite corner ! Had looked there earlier but must have scrolled past too quickly. Regards simon
-
A long time ago, in a different thread it was explained how to use Frame burn as a post effect to get the timecode burned in at render time. I should have thought of it before but, I rendered a sequence overnight and now need to go back and correct the errors. Frame Burn would have helped in that. Drat ! So it seemed it might be possible to do in a composite way by putting the renders on a layer and putting Frame Burn on those renders? However, when looking at them the file name is there but not the 00:00:00 time code sequence. The post effect is active, applied in the render settings is there another step I'm missing ? simon
-
Adam Thats a very impressive range of texturing, lighting and rendering styles to be taking up in a few months. Well done. regards simon
-
I would be suspicious of the "hold" interpolation method (or looks like that's what you are using? not sure) on the camera for those offending frames. Try changing it to linear interpolation? The other thing that might be changing, but can't tell from your screen grab, is that the light NULL position might have changed (the one that light is aimed at) Should the curtain be hiding the actors in one frame (camera viewing them from in front of curtain)? and then the camera is viewing them from above in the next? It is hard to tell what you are wanting to happen. Nancy. Thank you for your reply and help. It was Hold used for the camera interpolation but, now I'm redoing it may just completely flatten the curves in the editor if that works. The curtain was a recent addition, following Robert's suggestion in the Ska Lake thread. The idea is that it would make it look slightly more theatrical, as if they were dancing in front of a curtain on a stage. It will shrink in the final section to become the curtain over the bedroom window. I was thinking of using two follow spots, one for each dancer, to add to the theatrical aspect, although the literal minded part of me wonders if that's going too far ! It is changing from in front of the curtain to an above shot, to get a less static feel and make it a little more theatrical ( that word again). All the camera moves have gone now so working on changing it now. regards Simon
-
Problem seems to be solved by deleting the camera and bringing in a new one ( holds breath ), still don't know the cause. Thanks to everyone for their help. Back to work for me. simon
-
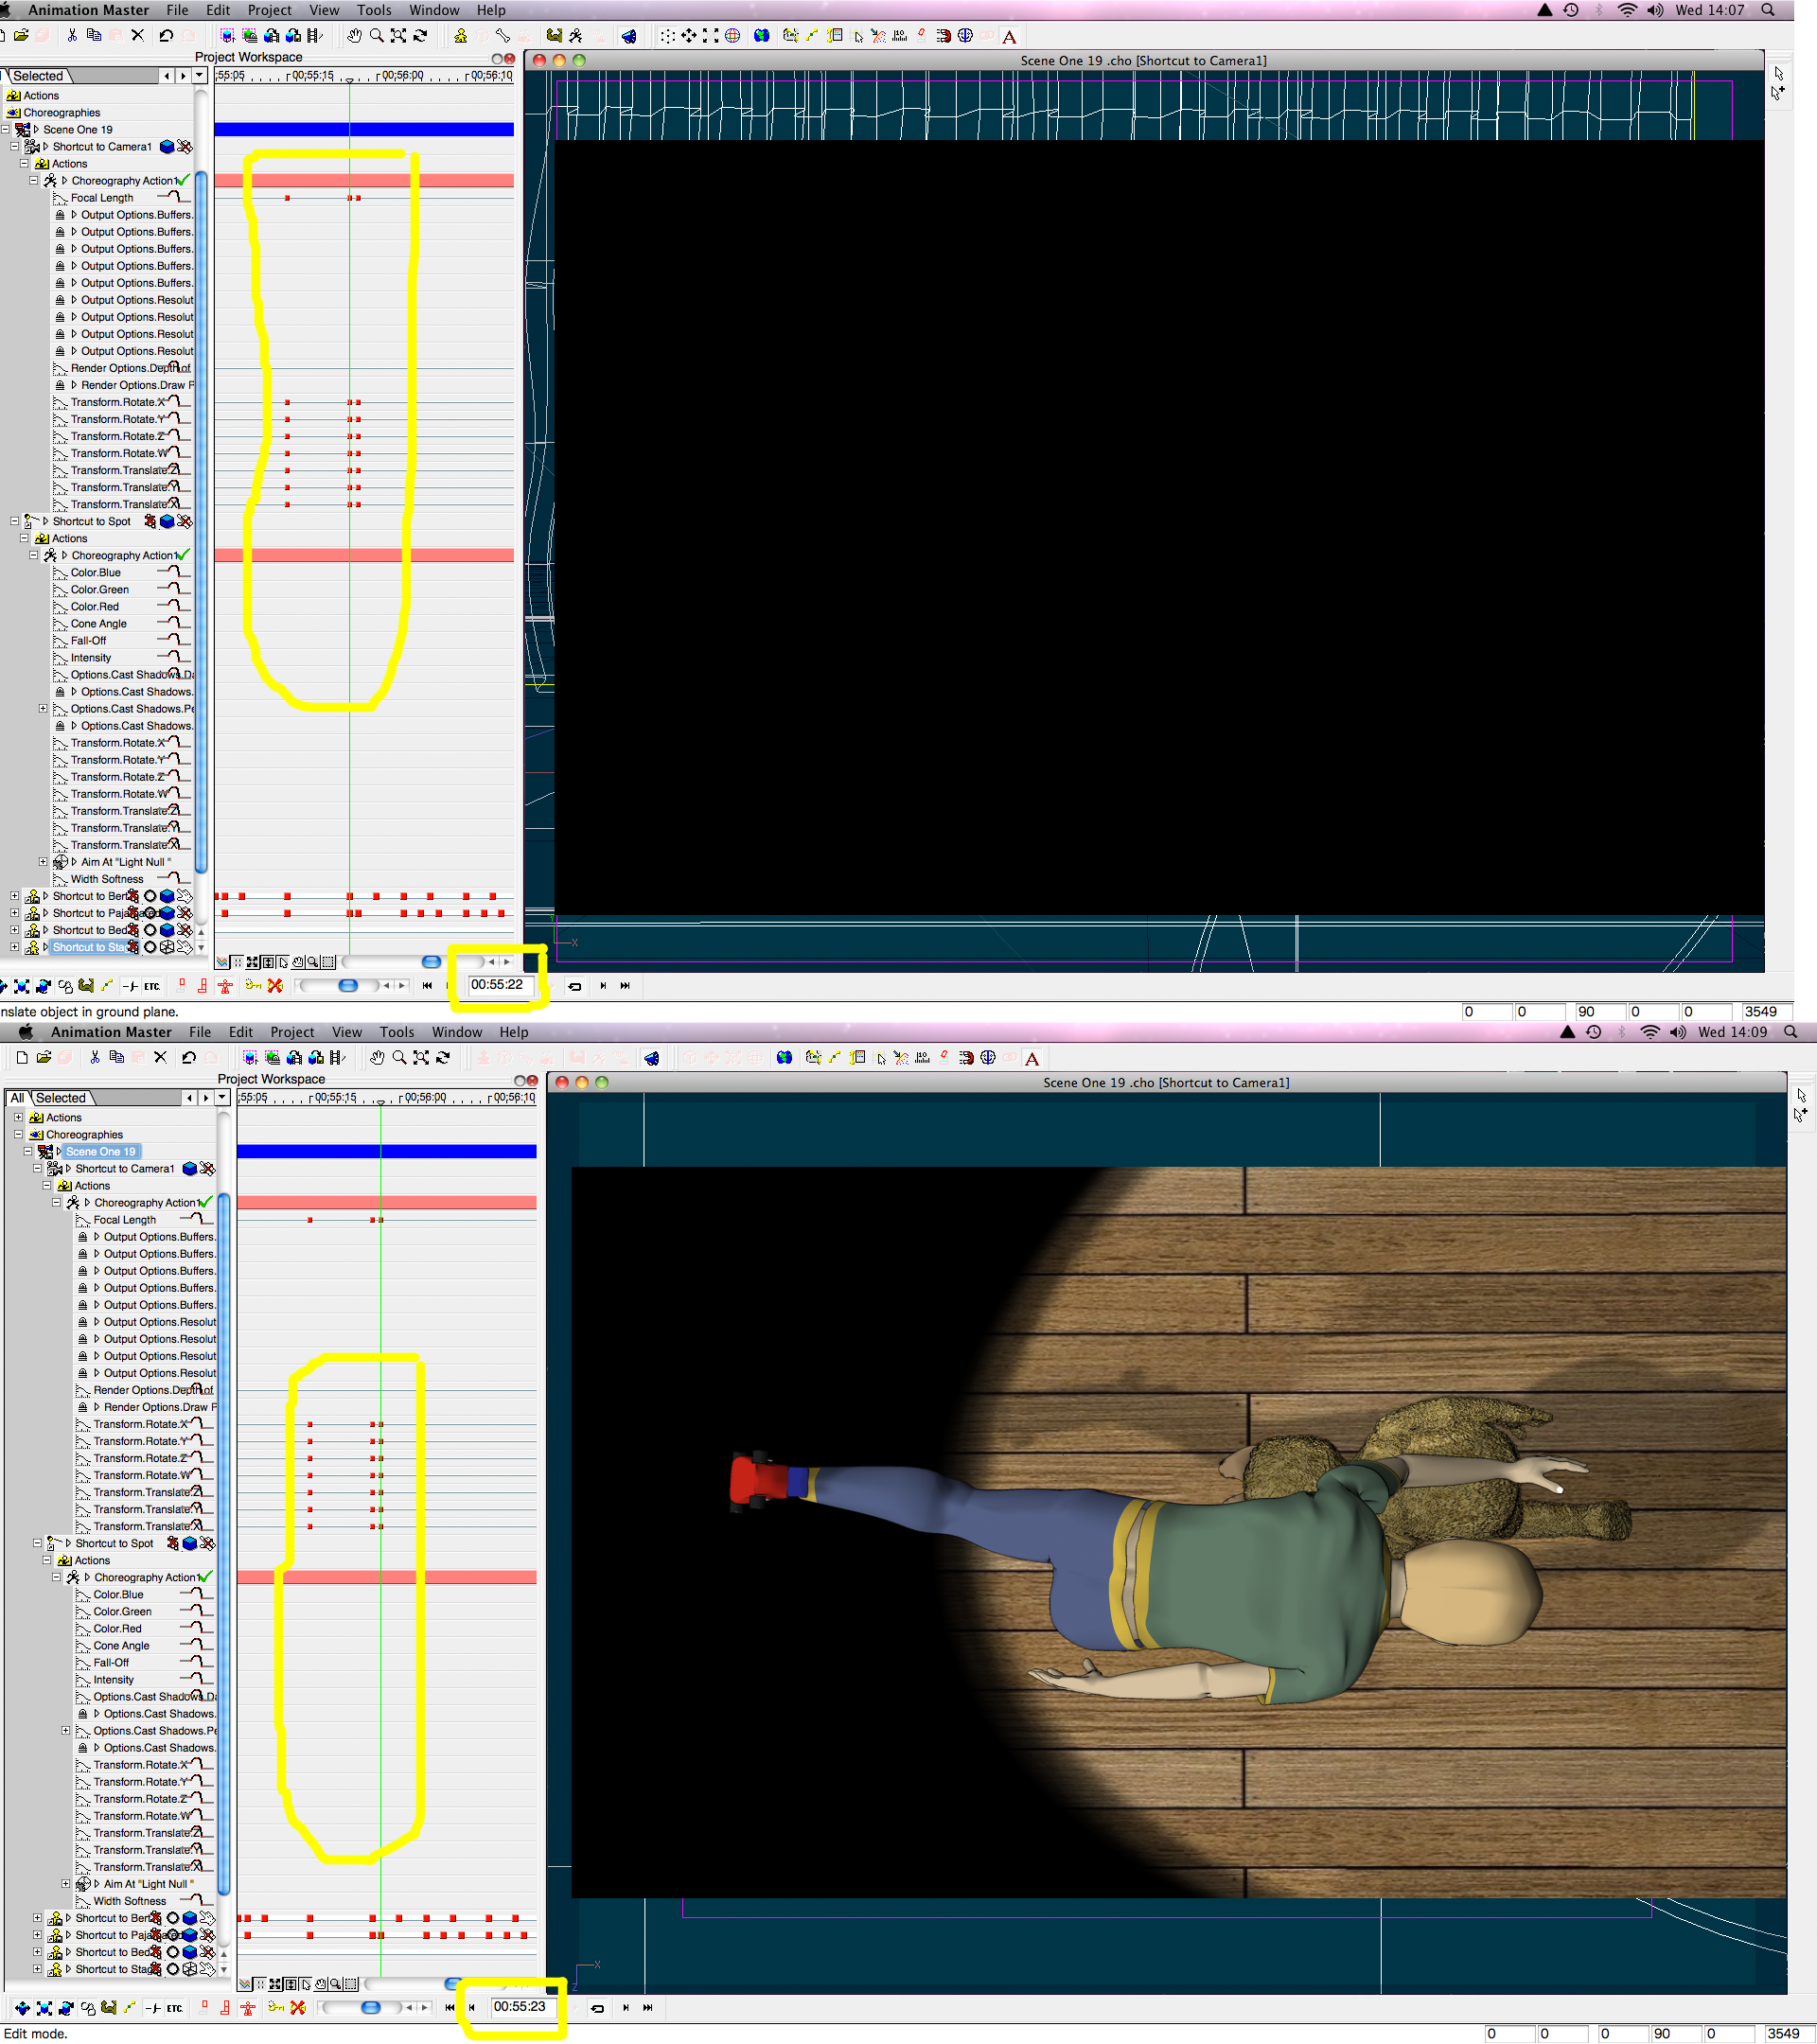
Nancy Thank you for your reply. Here are the two renders on consecutive frames. As you can see in the time line, the only changes are to the camera position. Nothing moves on the spots values. To confirm that. Here is a screengrab of the graphs at the same point for the camera and the spot This is a grab of the blanked frame before render ( if that makes sense ?) I went through the timeline last night and, the 'blanking' seems to occur with alternate changes of camera position. One is ok, the next position 'blanks' until the position changes again. I tried to replicate that on a fresh project using one of the models and a walk cycle but it was OK. I'm going to redo all the camera work this afternoon and see if that helps. regards simon
-
Lloyd. Thank you for your reply. I've thought of doing that but, its taken me approx three months to get this far and I'm 86 seconds in, with addittional scenes before and after. I've saved lots of iterations along the way but it would still mean losing a lot. Still plugging away at it. The annoying thing is it seems to be intermittent but, I'll get it cracked, and will post the answer when I do... regards simon
-
Nancy Thank you for your feedback. I will try to follow up your suggestions today. There is a positional change on the camera, I will check the curves to see if there are any others. regards simon
-
Went away to do something different and started again today. Very strange result. This is frame 03:23 This is the very next frame The only thing I ( think ) thats changed, is the camera angle. All the other settings are the same. I tried to replicate it with a fresh file but, inevitably, its behaving . I will try to see what has cchanged it if it happens again.simon
-
Robert Thank you for your reply. I've tried that, and tried to avoid it using another machine. That was OK until I turned "Toon with fall off" on and at that point it went wonky again and refuses to render the lights or, when it does, it doesn't accept changes in position. I tried replicating it with a more simple project but no joy. I think I'm going to sleep on it, do something different tomorrow and return to it in the evening Hey Ho... regards simon
-
Following Robert's suggestion. Have put in a stage curtain and added some boards ( it is a theatrical performance aterall ! ). The render is only a single pass so the shadows will soften with that. Any critical feedback very welcome simon Opening 2.mov
-
Robert Thank you for your feedback. I will have to think about a pattern for the floor or possibly an outline of the room in the background, h'mmmm Yes they are race cars on his feet, they tie in with the pictures on the wall at the end and his bed covers. The picture above the bed is of my nephew who was the starting point for it all, he's a professional racing driver. His parents gave me a pair of slippers for christmas in the shape of a motorcycle so, as he's supposed to be a race fan, it seemed like a good idea to give him a pair in the shape of cars as its the sort of thing youngsters do and, most importantly, they are easier to animate than bare feet with all those toes ! regards simon
-
Working in V17G under OSX 10.68. Having some very frustrating problems setting up the lighting for the dance sequence. Sometimes the lights aren't rendering and , when they do, changes in position are not reflected in the render. First screen shot shows the render, notice the spot position with the values highlighted. Second screen shot shows no effective change in render but the spots position has been drastically altered. I refreshed the window carefully and advanced and rest the timeline after the change to allow it to take effect. For such a large positional change I was expecting a much bigger change in render Any help gratefully received. simon
-
Spent the day trying to set the lighting for the opening scene, Very frustrating as the constraint kept slipping out of place . Anyway, it seems to be holding now. Here it is with the light acting as a follow spot following Robert's earlier suggestion to that effect. Any Critical feedback very welcome simon Opening.mov
-
Added animation to Charlie and Bert, remade the figure of the granny and changed the animation. The final composition will be 1080, this is VGA ( medium quality ) Any critical feedback welcome. simon S3.mov
-
Robert Thank you. that was the thread I was looking for but couldn't remember the title. regards simon
-
A while ago there was mention of a feature I was unaware of before. Apparently it is possible to generate an intermediate spline ring between two other rings using a single key click? Could somebody kindly refresh my memory as to how to do that ? simon Ps I'm trying to animate a duvet on a bed using muscle mode but don't have enough spline rings on the present model.