


StormedFX
-
Posts
190 -
Joined
-
Last visited
Content Type
Profiles
Forums
Events
Posts posted by StormedFX
-
-
I can get those three to work but not this one for some reason. Have you tried the decal?

-
Hmmmm!!!!
Step-1. I selected all 5 CP that made up 5-point patch.
Step-2. Hit the period key.
Step-3. Hit the period key, but the "Make Five Point Patch" still not active...
Keep wacking the period key till my fingure started bleeding... it still not active.

-
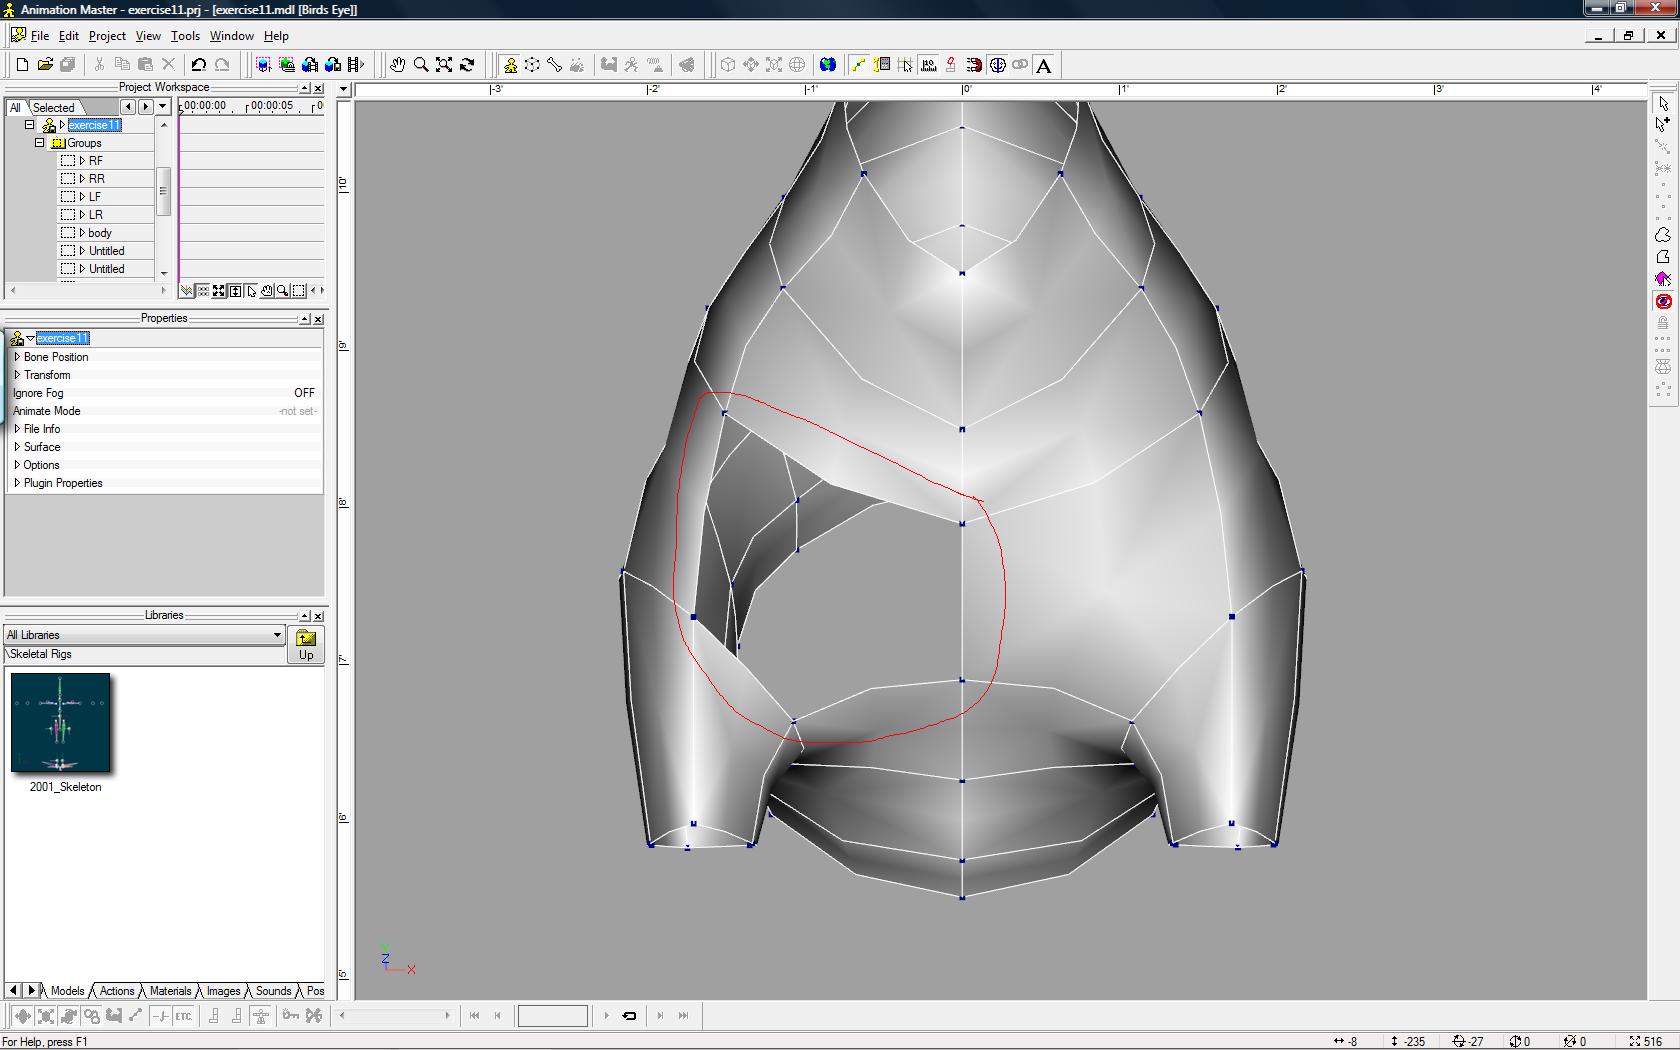
I'm a bit confused - I've lost sight of what the problem is.

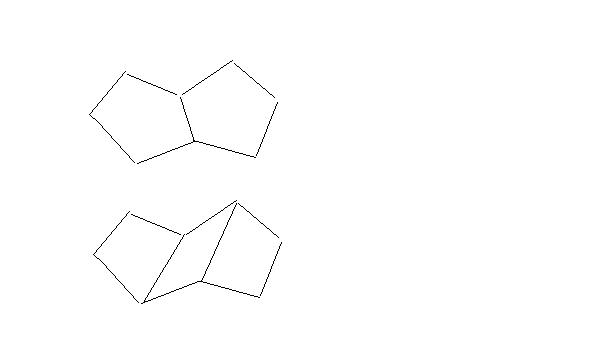
Anyway, looking at your model, the way I think you've 'fixed' it is a no-no.
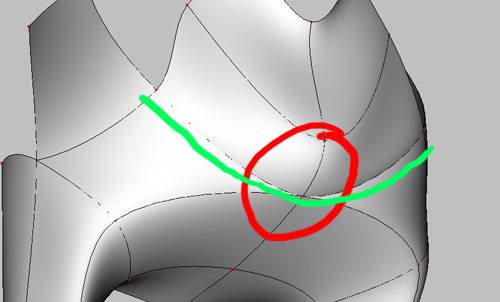
It does not have the 2 crossed splines that you should; it has several splines going into one control point. You can see the marked green spline is unhappy.

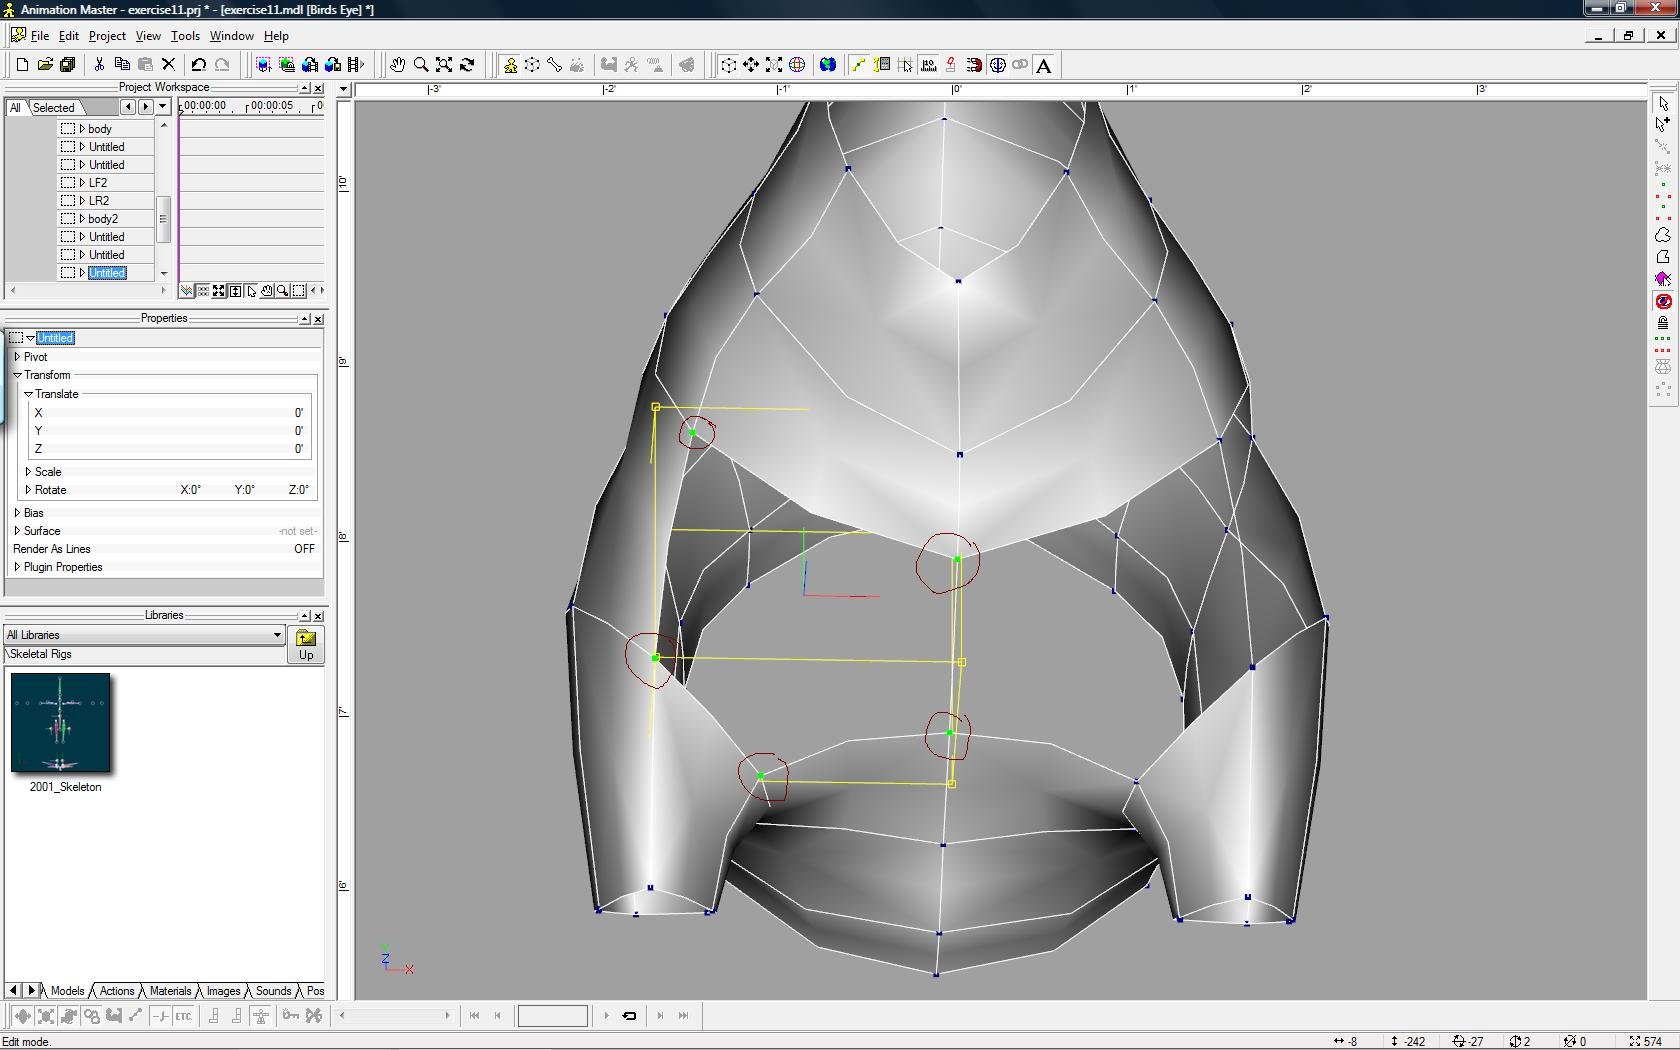
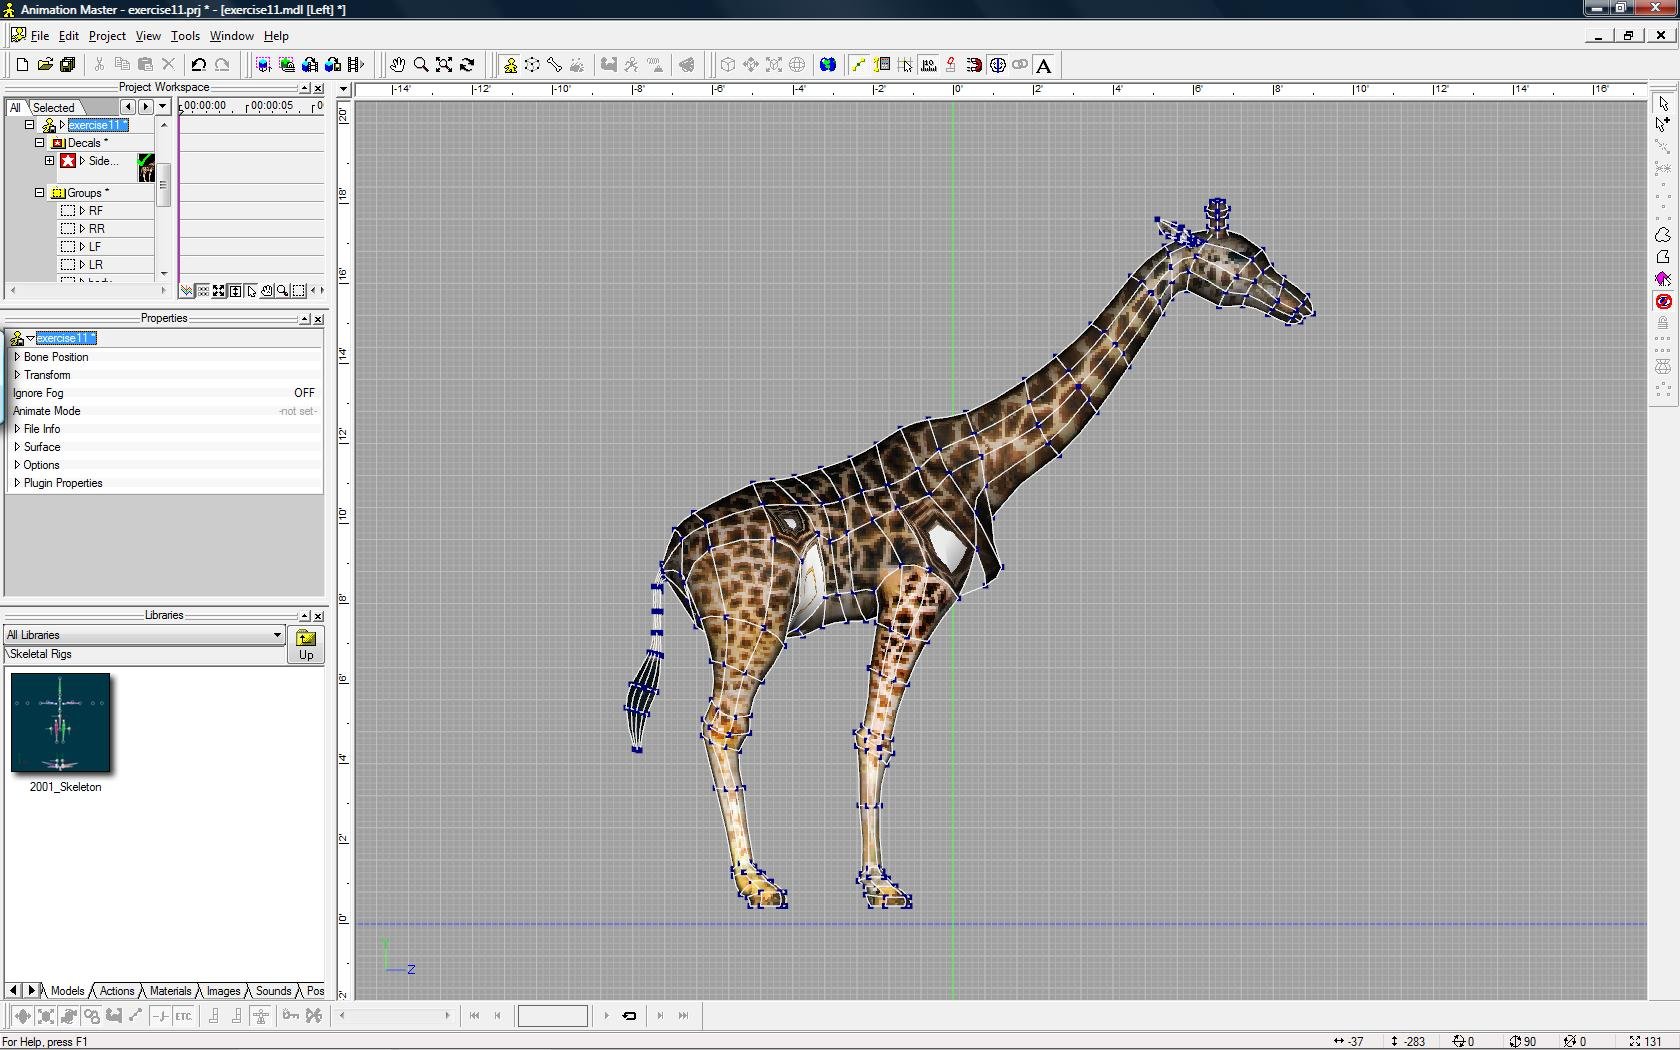
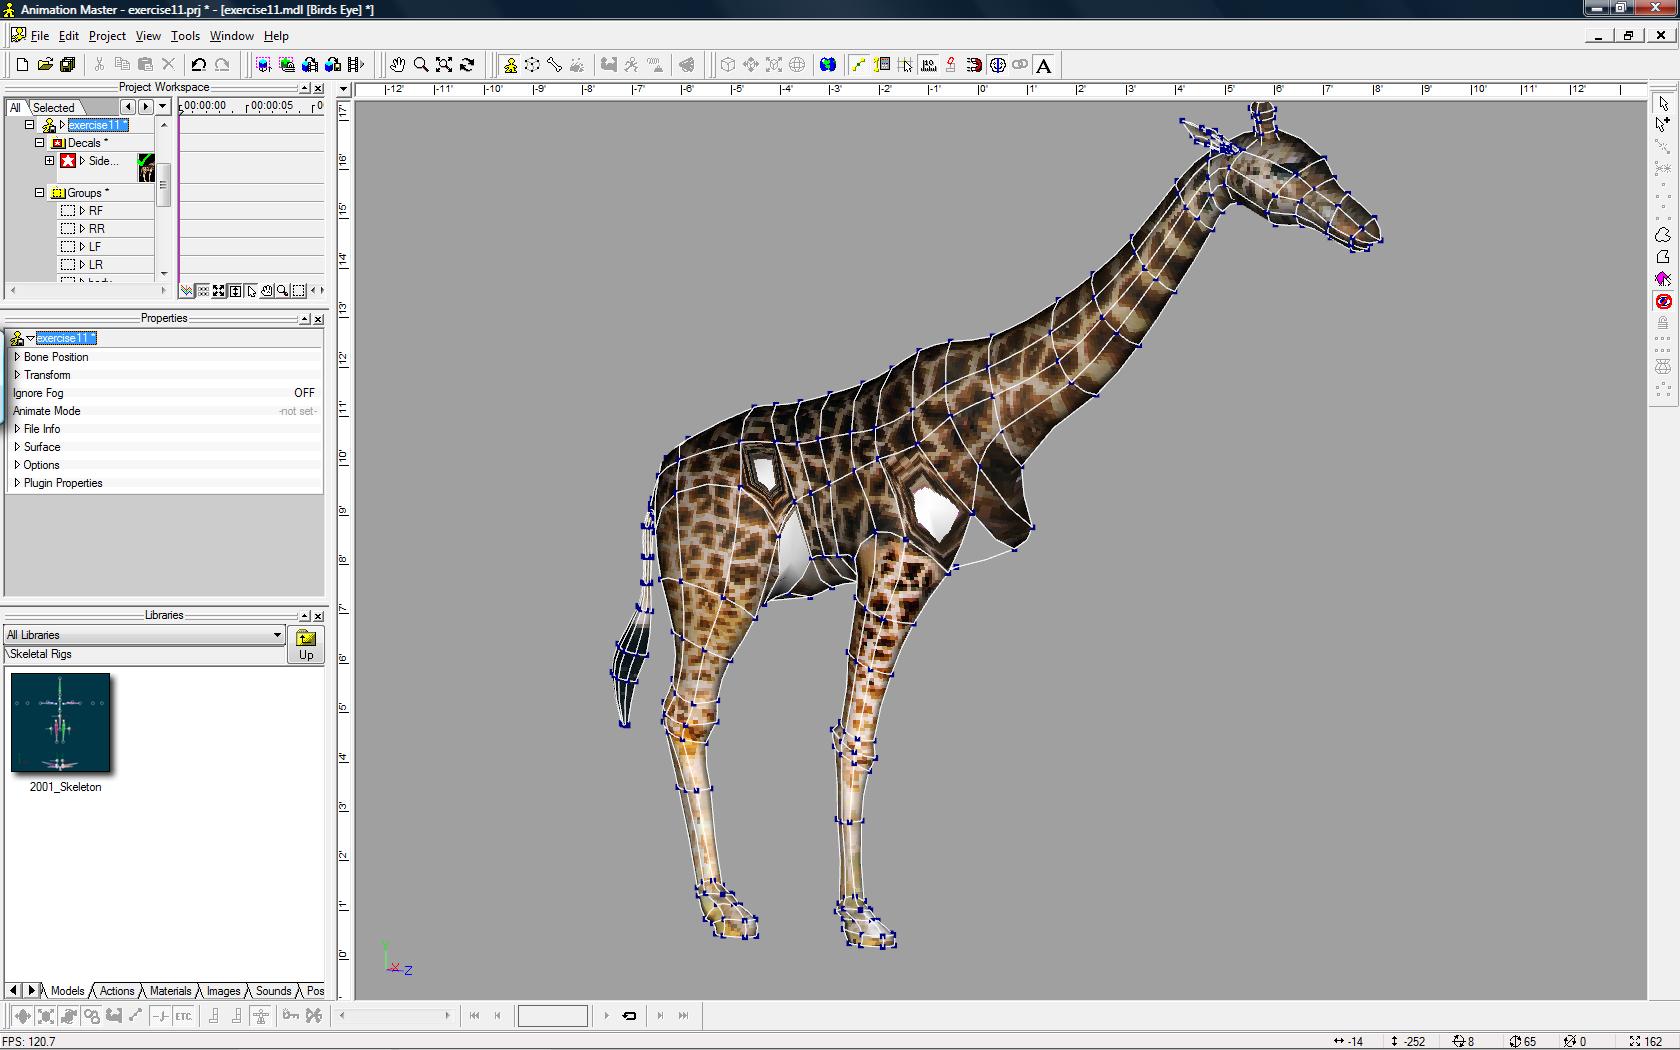
I put the 5-pointers back, and selected the 5 points around one, holding down the Shift key. The 5-point patch tool appeared no problem. I did the same for the second patch, and I had to use the period key twice to get the tool to appear. Note I have hidden the part of the giraffe that I don't need at the moment. The red circle is explained in the third picture here.
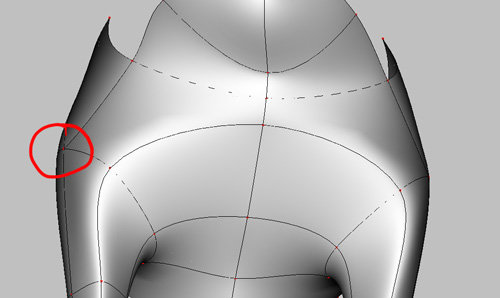
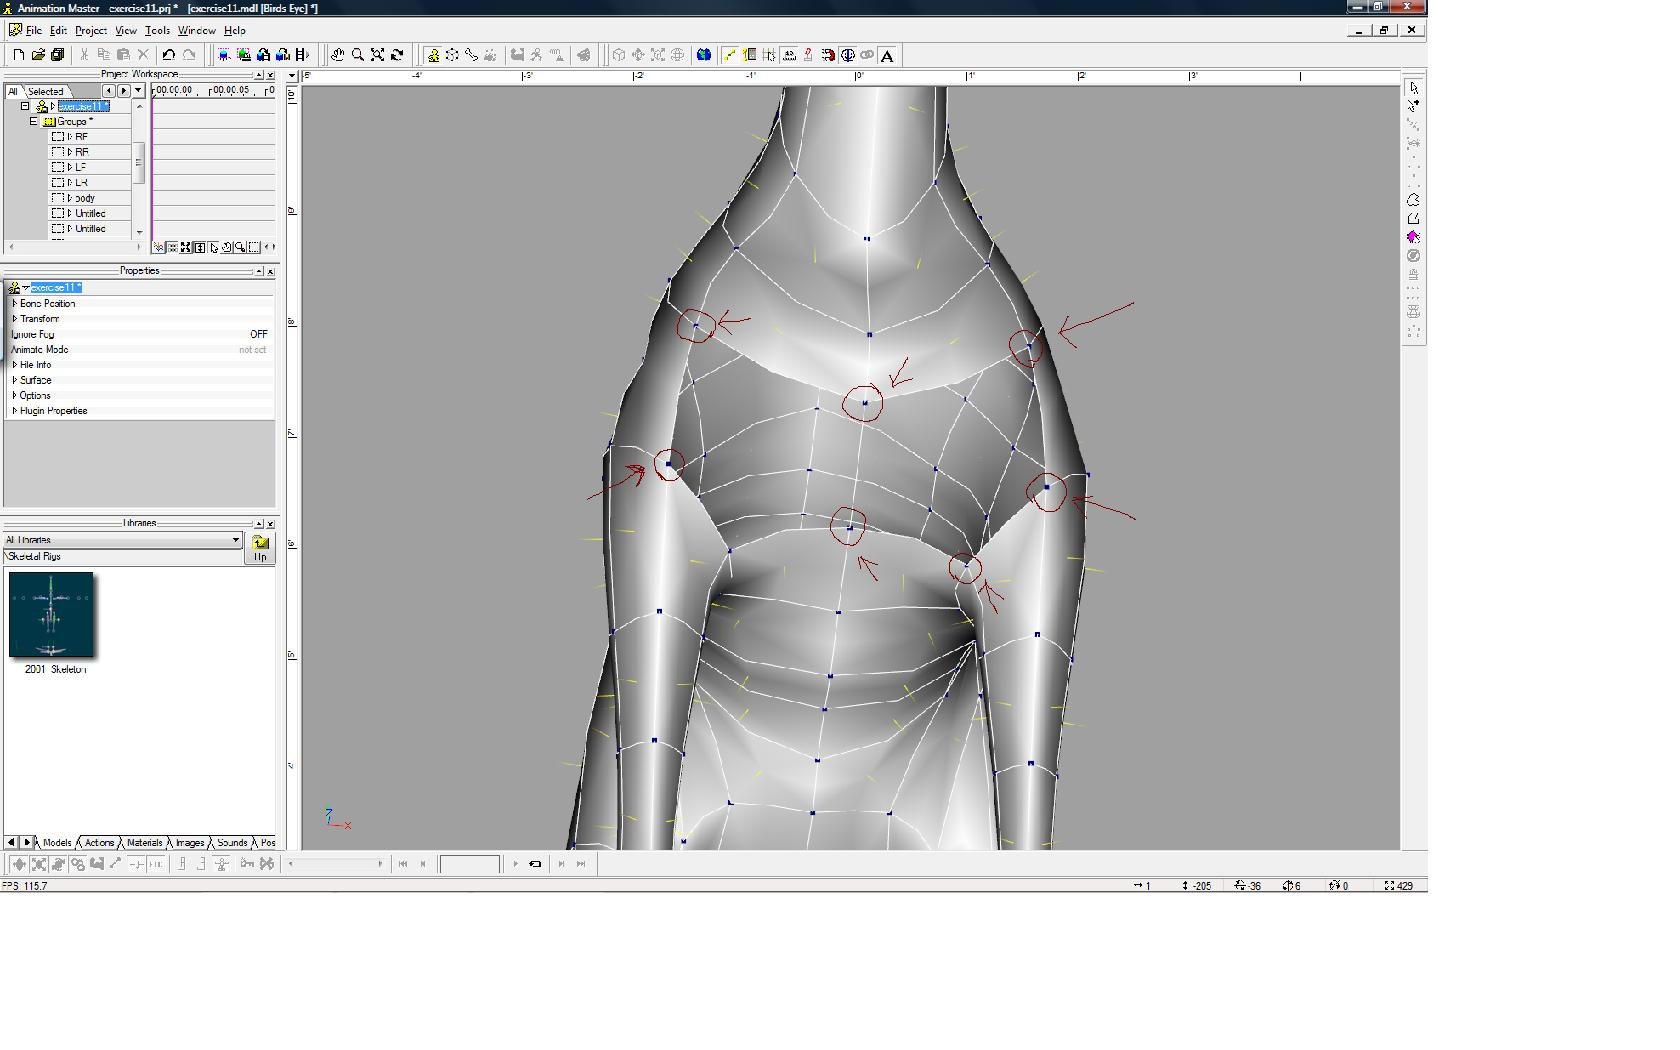
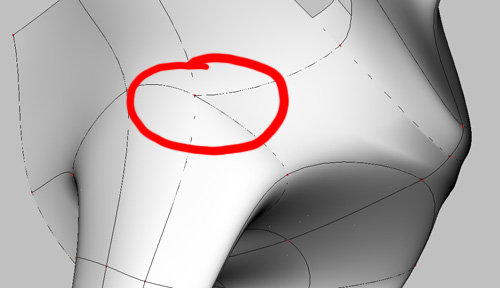
This next picture is also a spline no-no, and will cause distortion. You should only have two splines crossing. You have a third coming in dead-ending. If you are going to make a hook instead, keep it away from 5-pointers.

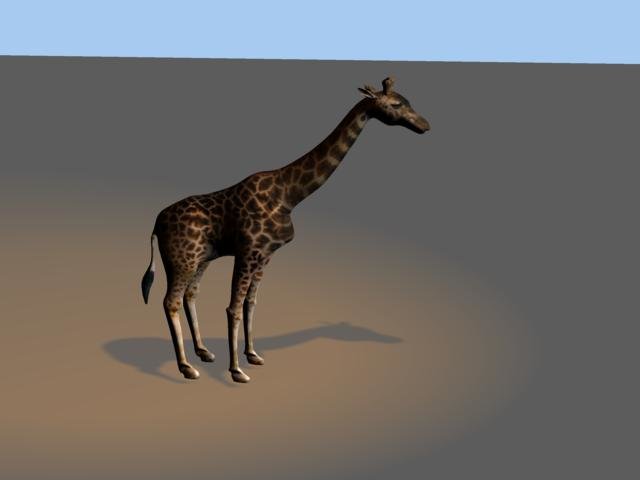
It appears to me that the decal distortions go away on render.
Can you simplify for me what the current problem is?

You have to chage it back to 5-point patch just my picture here.

-
Hey,
Just want to mention that those are great troubleshooting pics.
Newbies take note...that helps a lot!
Question:
Did your reapply the Decal after you reset the normals/5 point patch?
By this I mean Right Clicking / Position / Apply and then delete the former Stamp?
Edit: If reapplying doesn't work you may need to share the model file. I've got 5 Point patches decaling fine in my tests (operating with 15c).
Yes, I did re-appled the decal, and here is the file with my quick fix by turning two 5-point patch to 3-quad. You have to change it back to 5-point patch again.
-
It looks to me like you've got something else going on besides 5 point patch distortion.
I've seen this before but forgotten the specifics.
The white spots appear to be areas where no decals are applied at all.
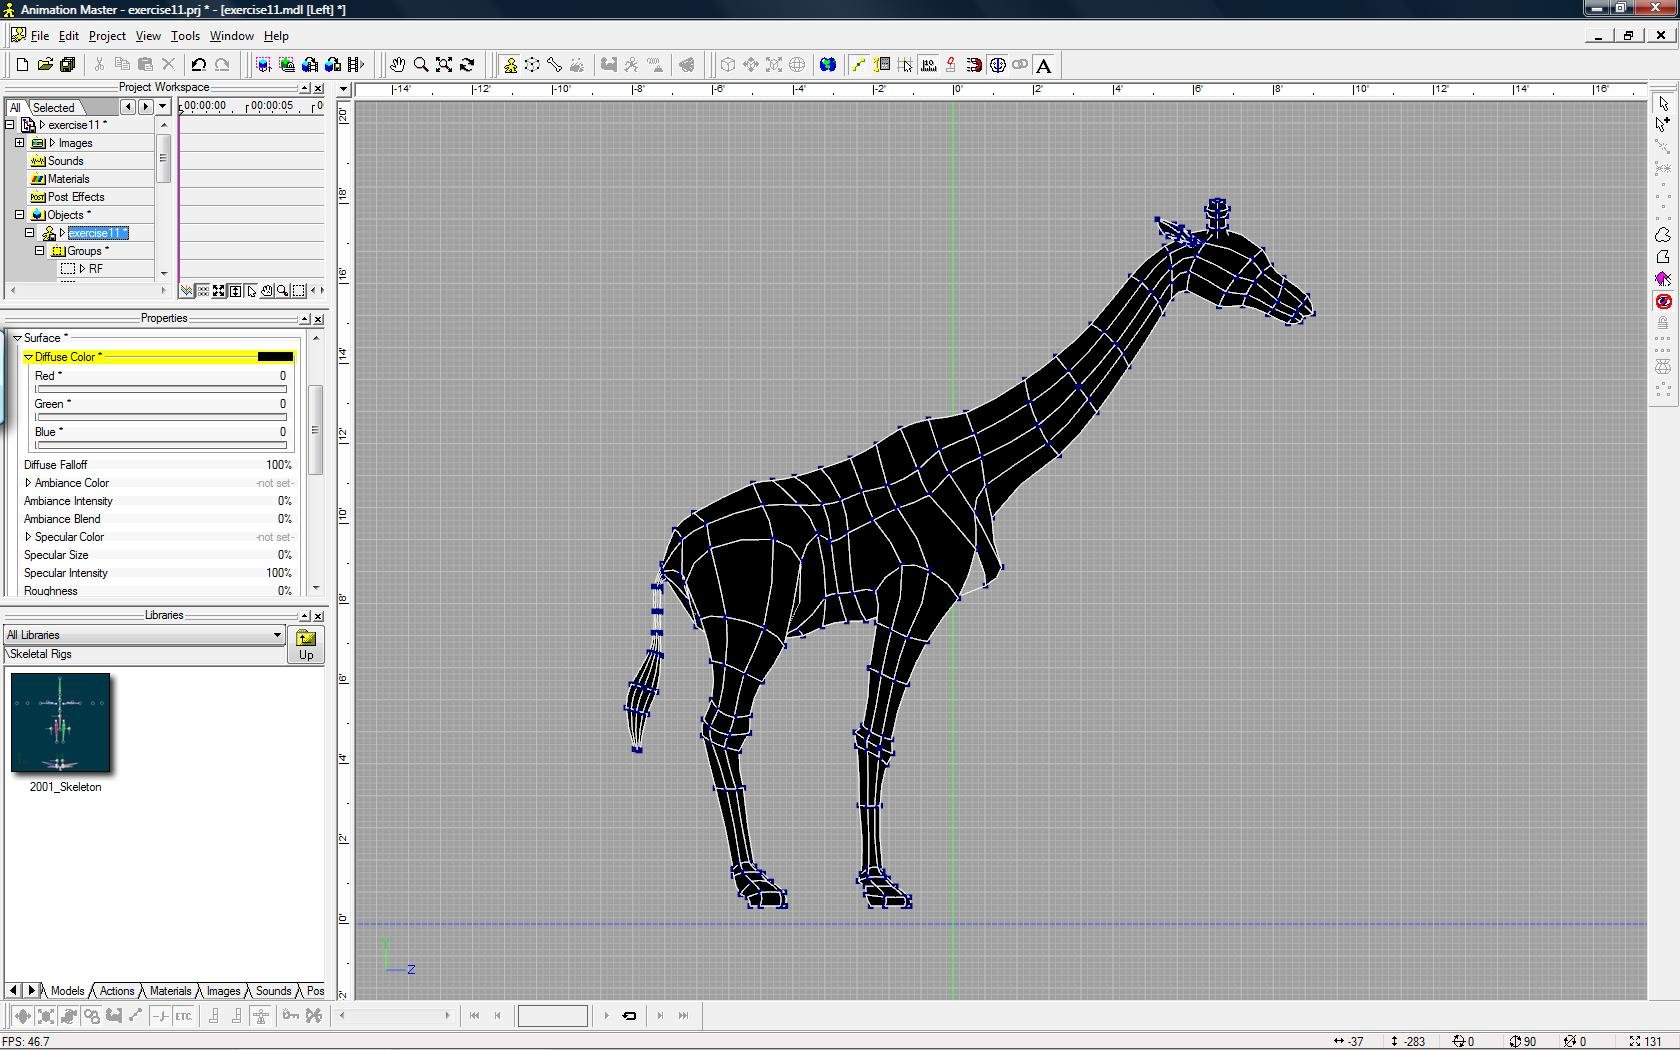
You can test this theory by changing the Surface color of the model itself... say to a red color.
I would guess that in the process of reselecting your 5 point patches you broke the decals connection with the patch.
You'll have to add those CPs/patches back in.
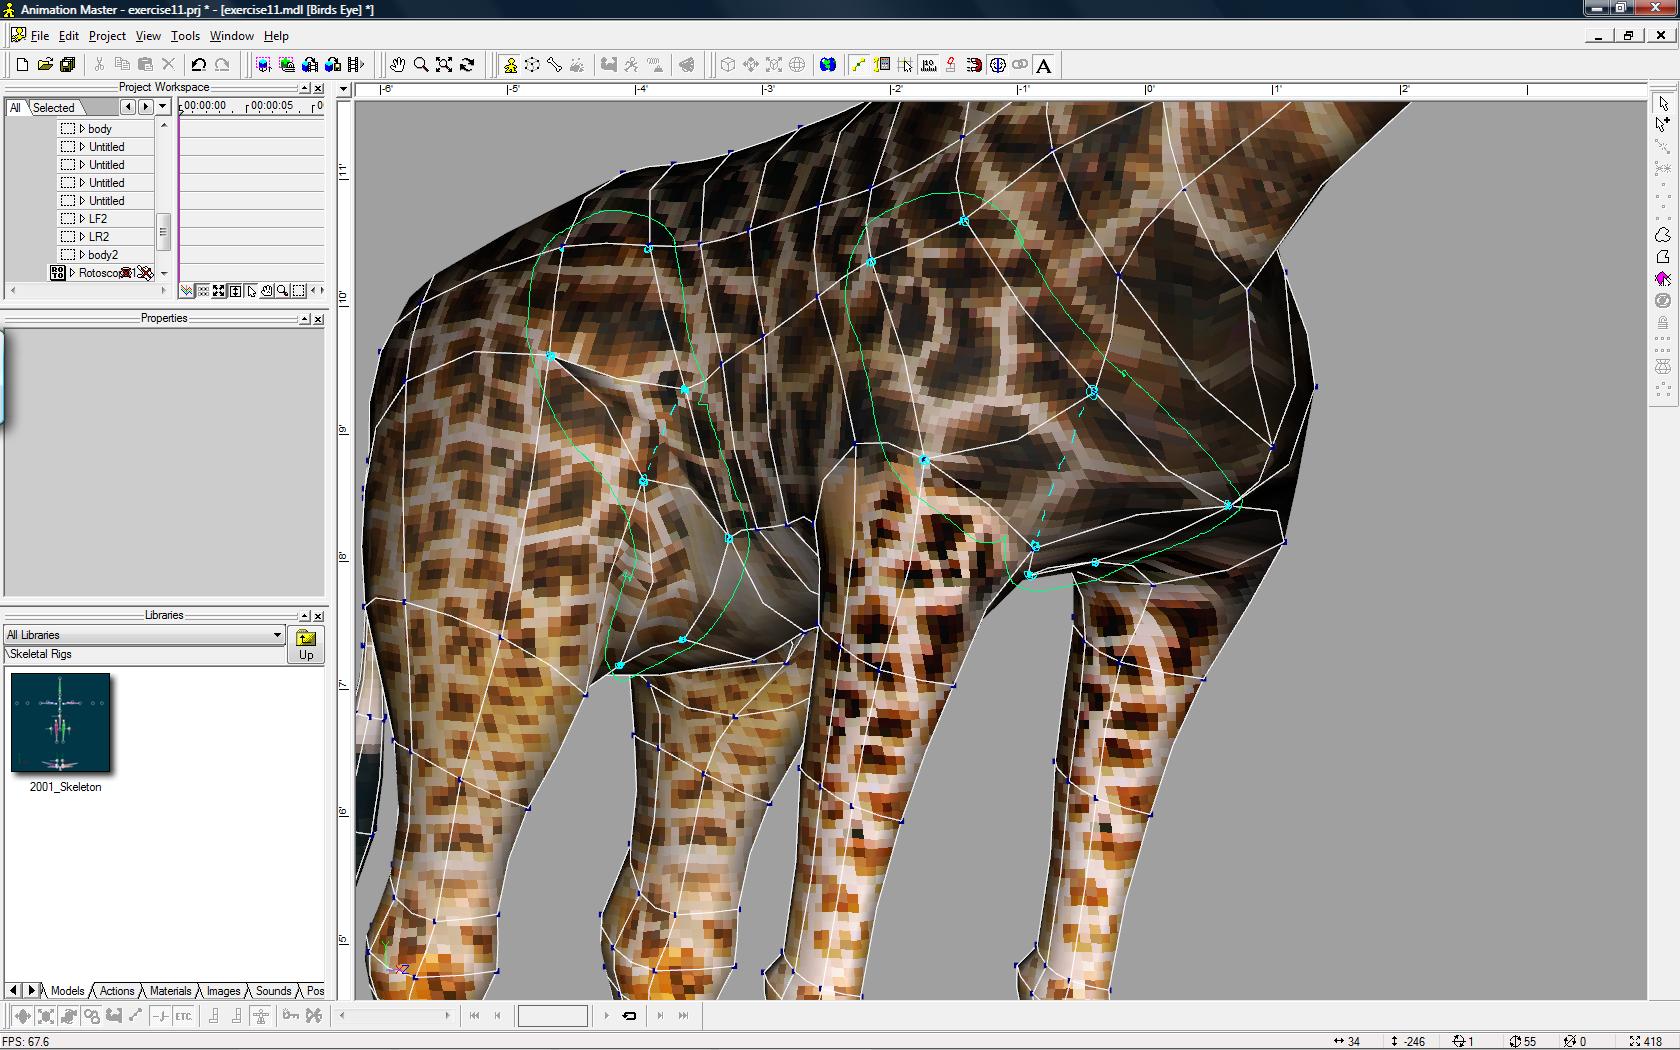
As you can see that the 5-point patch does get decal applied to it.
-
If you post a shaded/wireframe picture of the problem area, including the patches around the 5 pointer, we may be able to offer more suggestions.
Decals on 5pt patches can be a challenge. It often helps to shape the patch as close to an equal sided pentagon as possible. Sometimes you can get a good stamp even if you have an oddly shaped 5 point patch, but if you are having trouble, try to even out the shape a bit.
By adjusting the shape of the patch as close to an equal sided seems to help, as you can see that the white area is decreased.
-
Still distortion after fixing those normals.


-
Or the normals may be flipped? To test this, go to Tools Menu > Options > Modelling Tab. Check Display Normals.
All your patches should be pointing out with a yellow thing. If those 5 pointers have the yellow thing pointing into the middle, then you can flip the patch.
Click on the Patch tool on the right, select the 5 pointer and press the F key.
Don't forget to turn off normals again, otherwise you have a yellow hedgehog forever more.
Another tip, sometimes for 5 pointers you can hide most of the mesh and use the lasso tool to select the 5 points. Then press the period key twice. That always works for me.
It's great to see you progressing and absorbing all this knowledge
Edit: Of course if the giraffe were rendered to a tga that distortion might disappear. I remember now that I had distortion until I rendered.
Edit2: I've just read your other thread where everything is sorted - ignore the above

You are right on the money about normals on those 5-point patch, but I still have to test the decal to see it the normals are the cause of the distortion. About the trick to make 5-point patch, I still cannot make mine to work as you can see in the picture. Any recommendation?
Thank you!
-
Or the normals may be flipped? To test this, go to Tools Menu > Options > Modelling Tab. Check Display Normals.
All your patches should be pointing out with a yellow thing. If those 5 pointers have the yellow thing pointing into the middle, then you can flip the patch.
Click on the Patch tool on the right, select the 5 pointer and press the F key.
Don't forget to turn off normals again, otherwise you have a yellow hedgehog forever more.
Another tip, sometimes for 5 pointers you can hide most of the mesh and use the lasso tool to select the 5 points. Then press the period key twice. That always works for me.
It's great to see you progressing and absorbing all this knowledge
Edit: Of course if the giraffe were rendered to a tga that distortion might disappear. I remember now that I had distortion until I rendered.
Edit2: I've just read your other thread where everything is sorted - ignore the above
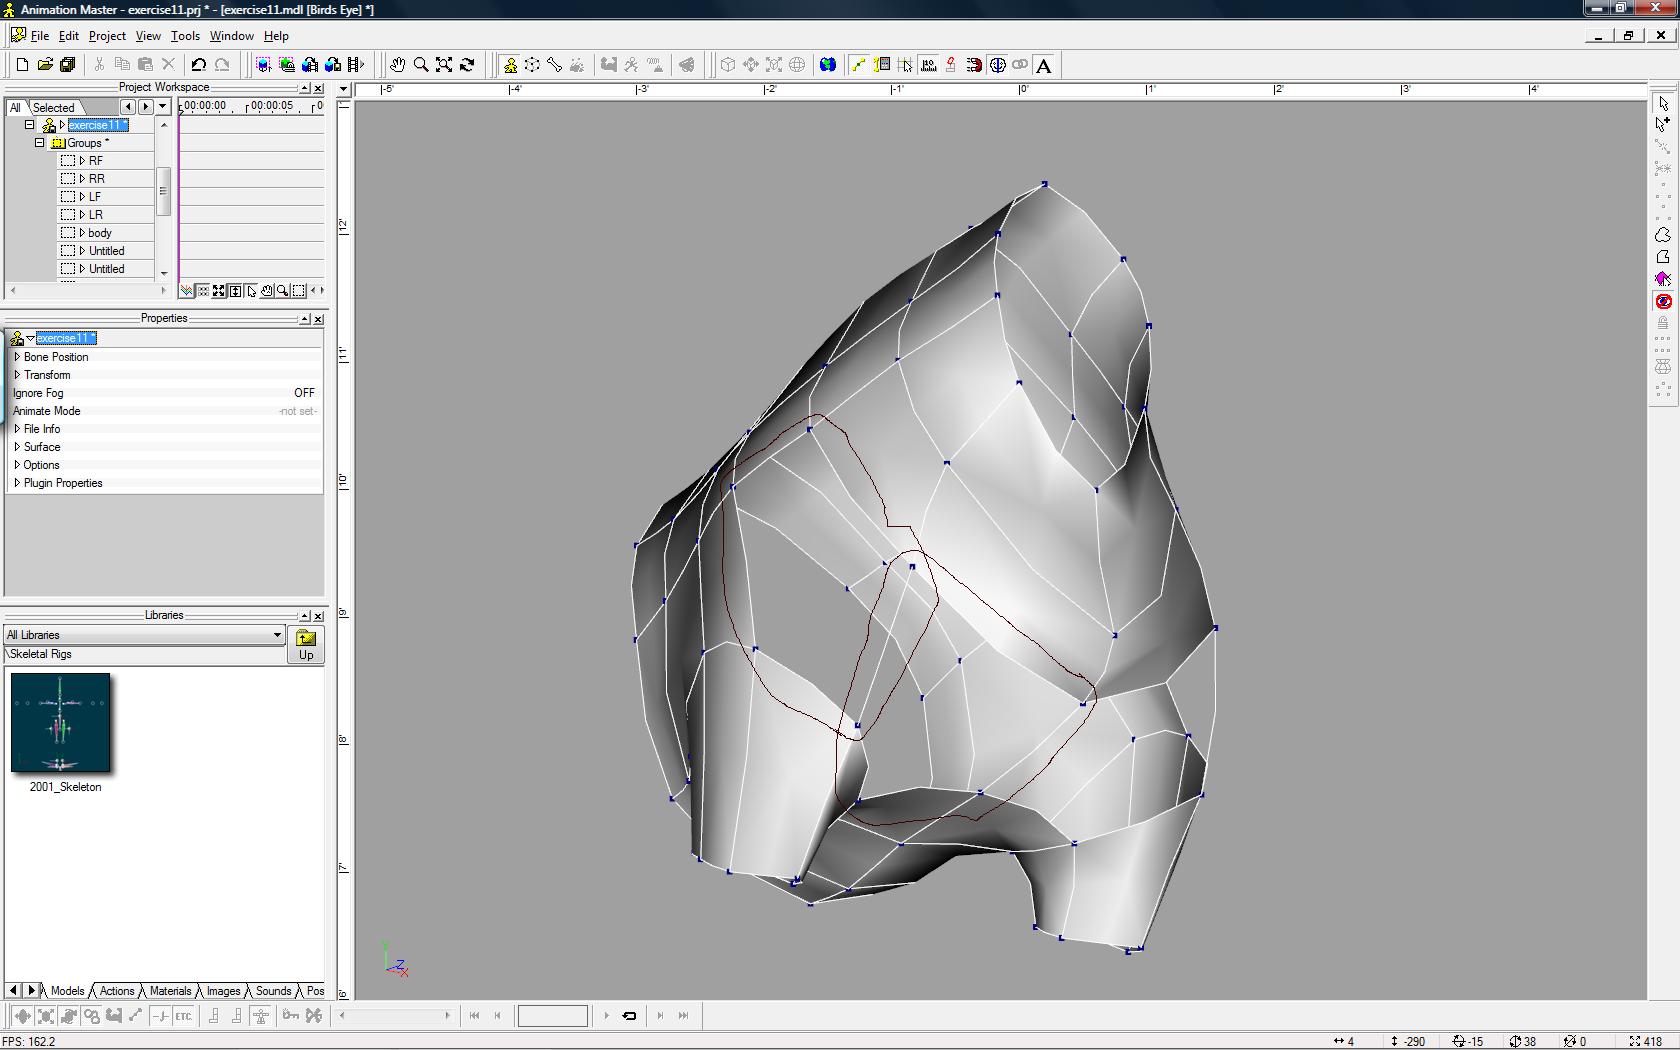
Thank you, Caroline! I just made a quick solved to those 5-pont patches by turned them into 3-quads as shown in the picture, but I still would like to know more why they get distorted. I will test all those methods recommended this weekend to if those help fix the issue.
CHEERS!

-
If I didn't know any better I'd say you solved your decal/5 point patch problem.
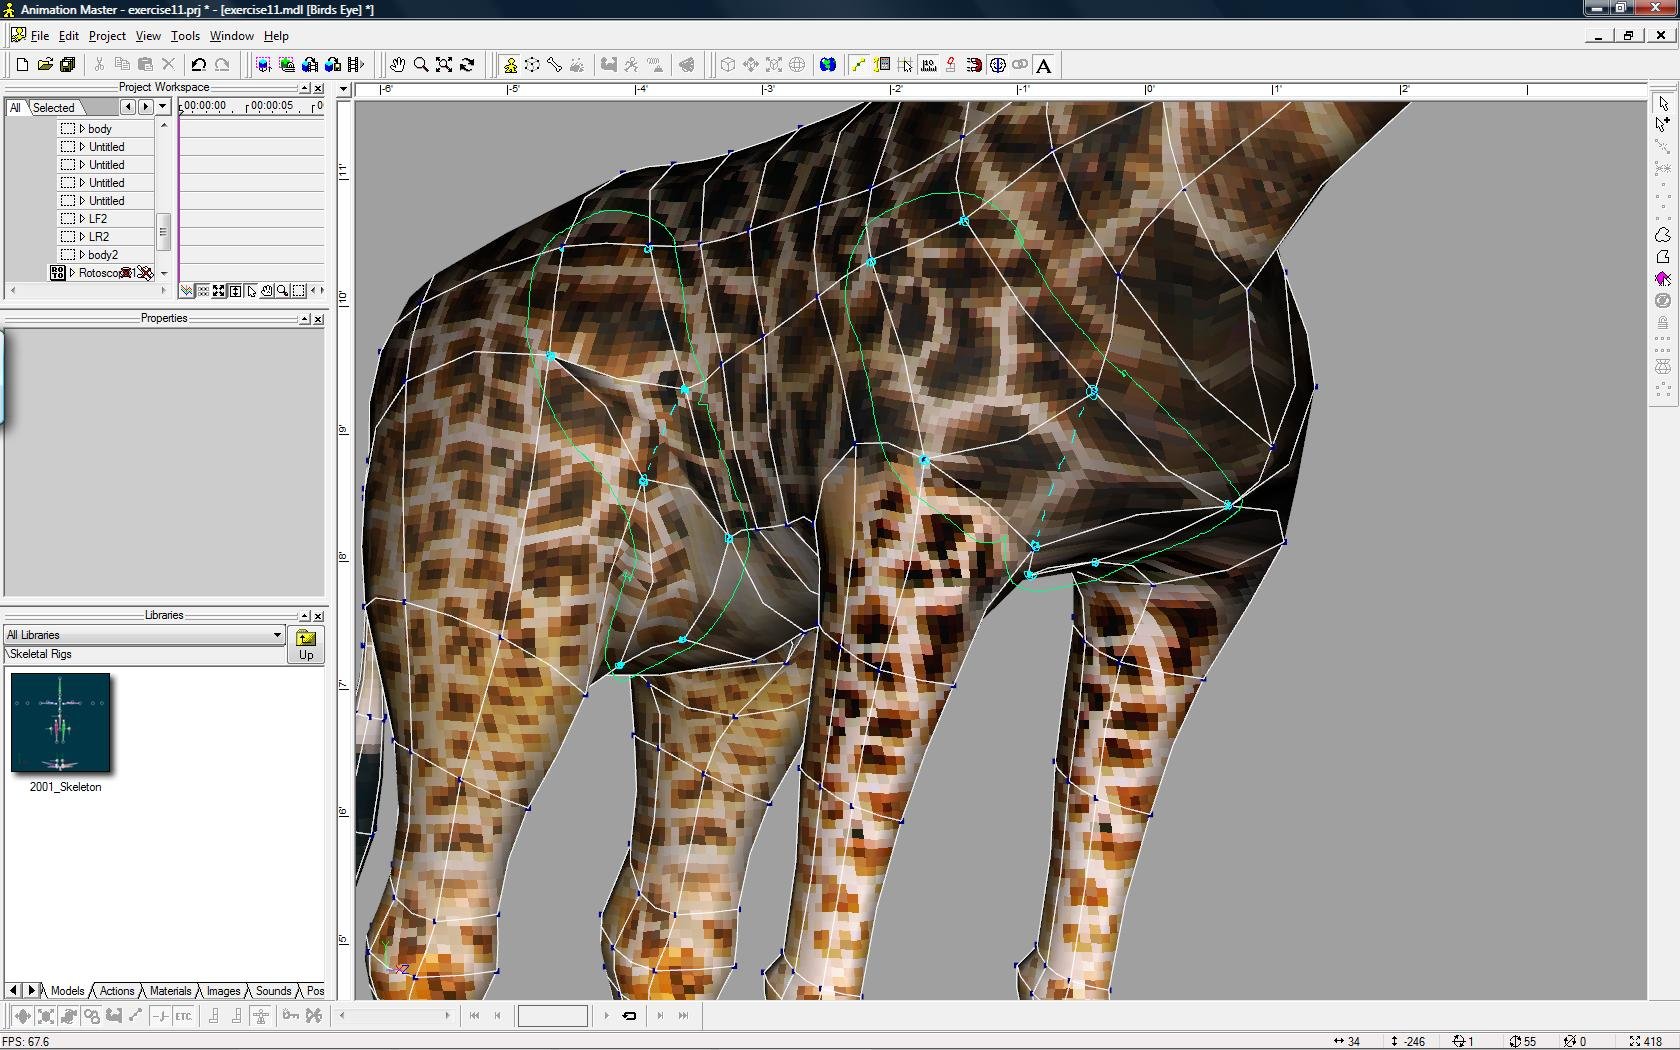
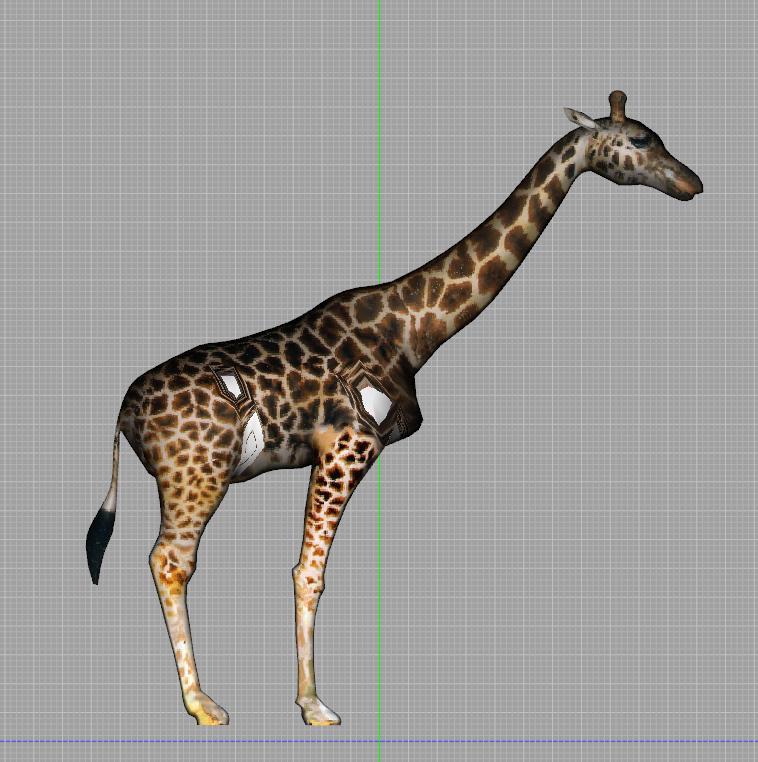
It just a quick way to get the decal work properly, but still need to find out why the decal gets distorted in the area of 5-point patch. In the image, and you can see there are two consecutive 5-point patches at the legs area. I disconnected then are make them 3-quad as shown, and I still make the shape look better by adjusting those sline curve and move the CP around.
CHEERS!

-
Exercise11.
-
It looks to me like you've got something else going on besides 5 point patch distortion.
I've seen this before but forgotten the specifics.
The white spots appear to be areas where no decals are applied at all.
You can test this theory by changing the Surface color of the model itself... say to a red color.
I would guess that in the process of reselecting your 5 point patches you broke the decals connection with the patch.
You'll have to add those CPs/patches back in.
Thank you, Rodney! I will test it your theory this weekend, but I have to move on to exercise12.
CHEERS!
-
Here is the image with 5-point patch distortion.

-
If you post a shaded/wireframe picture of the problem area, including the patches around the 5 pointer, we may be able to offer more suggestions.
Decals on 5pt patches can be a challenge. It often helps to shape the patch as close to an equal sided pentagon as possible. Sometimes you can get a good stamp even if you have an oddly shaped 5 point patch, but if you are having trouble, try to even out the shape a bit.
I realized I hadn't addressed the distortion so I added that in my original post as well.In some cases the distortion will be caused by spline discontinuities, where the splines don't run in such a way as to keep the decal/image from deforming.
If the 5 point patch is directly in view you may want to reconsider or refine your geometry to see if you can rid yourself of the 5 point patch (consider 3 point patches and hooks for instance) or to help relocate it to another area.
You can get distortion even in 4 point patches if the size of the patches varies greatly.
Holmes touches on this in his response.
Yeahhhhhhhhhhhhhhhhhh!!!! Thank you all for your responses. I think I found the solution and here are what I did. If you have two consecutive 5-point patches you can make 3-quad out of them. Problem solved.
CHEERS!
-
when I group those 5-point the "Make Five Point Patch" does not get highlighted.
Does anyone have any trick on this issue?
The classic 'trick' for selecting 5 point patches that don't seem to want to take is to hit the Period Key twice.
The first time will cause A:M to select everything except those 5 CPs while the second time will reselect them again... almost always reselecting them in the proper order so that they are recognized as legitimate 5 point patches.
Try it out and see.
I will try that out.
How about the distortion of the decal at the area of the 5-point patch?
Do you know what causing this or a way to get around it?
Thank you, Rodney!
-
I do not want to give up exercise11, but this 5-point patch just not seem to work right for me. I have been trying for an hour now to get this decal done, but I found that the distortion of the image only occurs at the area of 5-point patch. I have tried everything by disconnecting the CP and reconnect it, but when I group those 5-point the "Make Five Point Patch" does not get highlighted.
Does anyone have any trick on this issue?
CHEERS!
-
Now, I am half way there.
You are making great progress. Keep it up!
Thank you, Rodney! Will try my best and will try to finish exercise11 tonight, so I can move on to 11.
CHEERS!
-
I dont' have QT7 loaded at the moment so I haven't seen the movs but the still images look like you are on track.
Thank you, Rob! Now, I am half way there.
CHEERS!
-
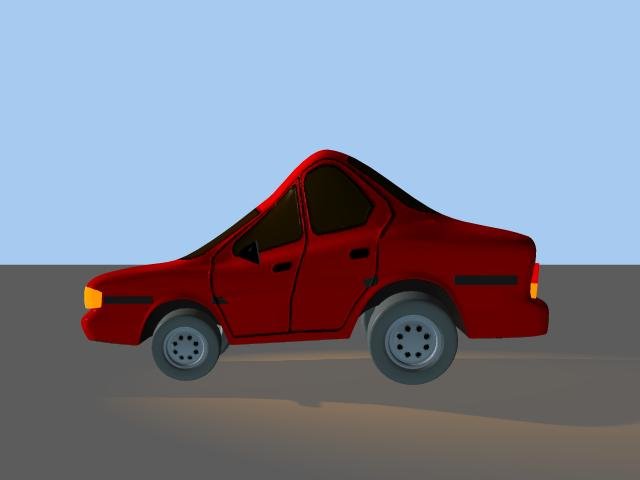
Exercise10.
-
Exercise9.
-
Exercise8.
-
-
I turned the alpha off but still show the black sky in my render
That's odd. Does your screen look like this one?
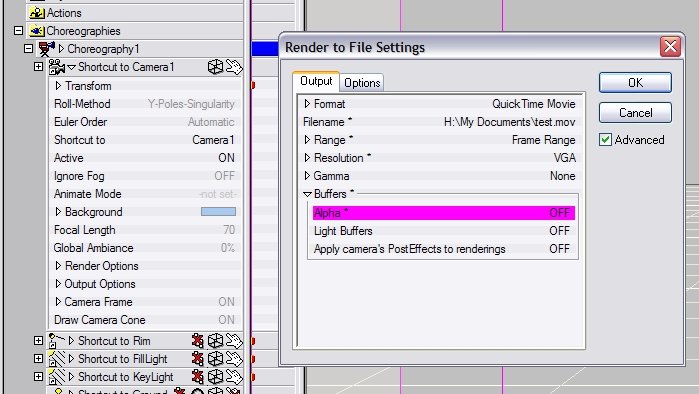
Check both the Camera1 Background colour (should be blue) and the Buffer Alpha = Off.
That seems to work now. Thank you, Caroline!
-
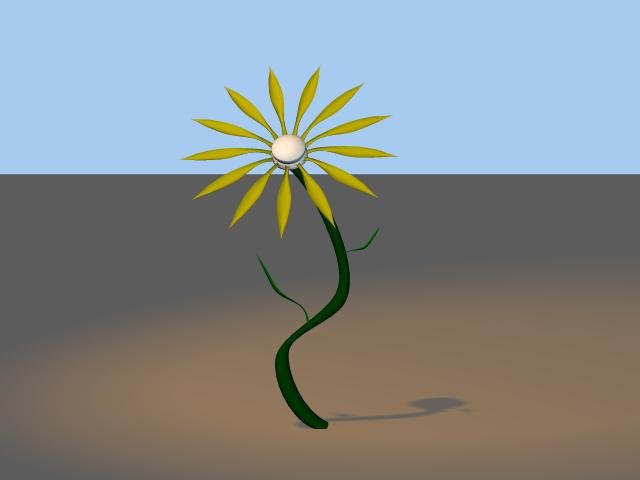
Exercise6.
Well done - I especially like the timing; the way he jerks backwards.
Thank you, Caroline. As you can see, I turned the alpha off but still show the black sky in my render.
CHEERS!


5-Point Patch
in TaoA:M and the A:M Technical Reference
Posted
I have to agree with Vern at this point, and I have to admit that I have learned alot from exercise11, especially about this 5-point patch. It is not that I am picky or anything, but if we just let it go by then we will never truely understand the root cause and will never try to fix it. Trying to hide it is ok but the best is try to avoid it at all in the first place.
Does AM support UV-map
CHEERS!