


MJL
-
Posts
960 -
Joined
-
Last visited
-
Days Won
7
Content Type
Profiles
Forums
Events
Posts posted by MJL
-
-
Ok, I'm ready to animate.
The bee will fly into a black background, (speck to large) and "Sting" once and the words "Franco Paletta & The Stingers" will appear in the arc, one letter at a time, dissolving in from transparent to solid.
At first I tried each letter as a group in the same model but I couldn't get the individual group Transparency attributes to animate. Neither as a pose or in the chor.
I'm sure there must be a way to do this without making each letter a separate model?
Suggestions? thanks.
-
Good wishes are never late, Thank You!

-
Thanks, everyone! It has been, is being, and will continue to be a wonderful day. At this stage of the game, the marking of the passage of time has somehow been diminished in it's allure. It IS however, still much, much better than the alternative.
Thanks again.

-
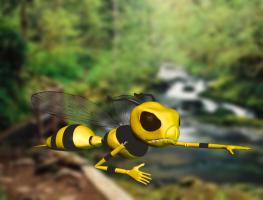
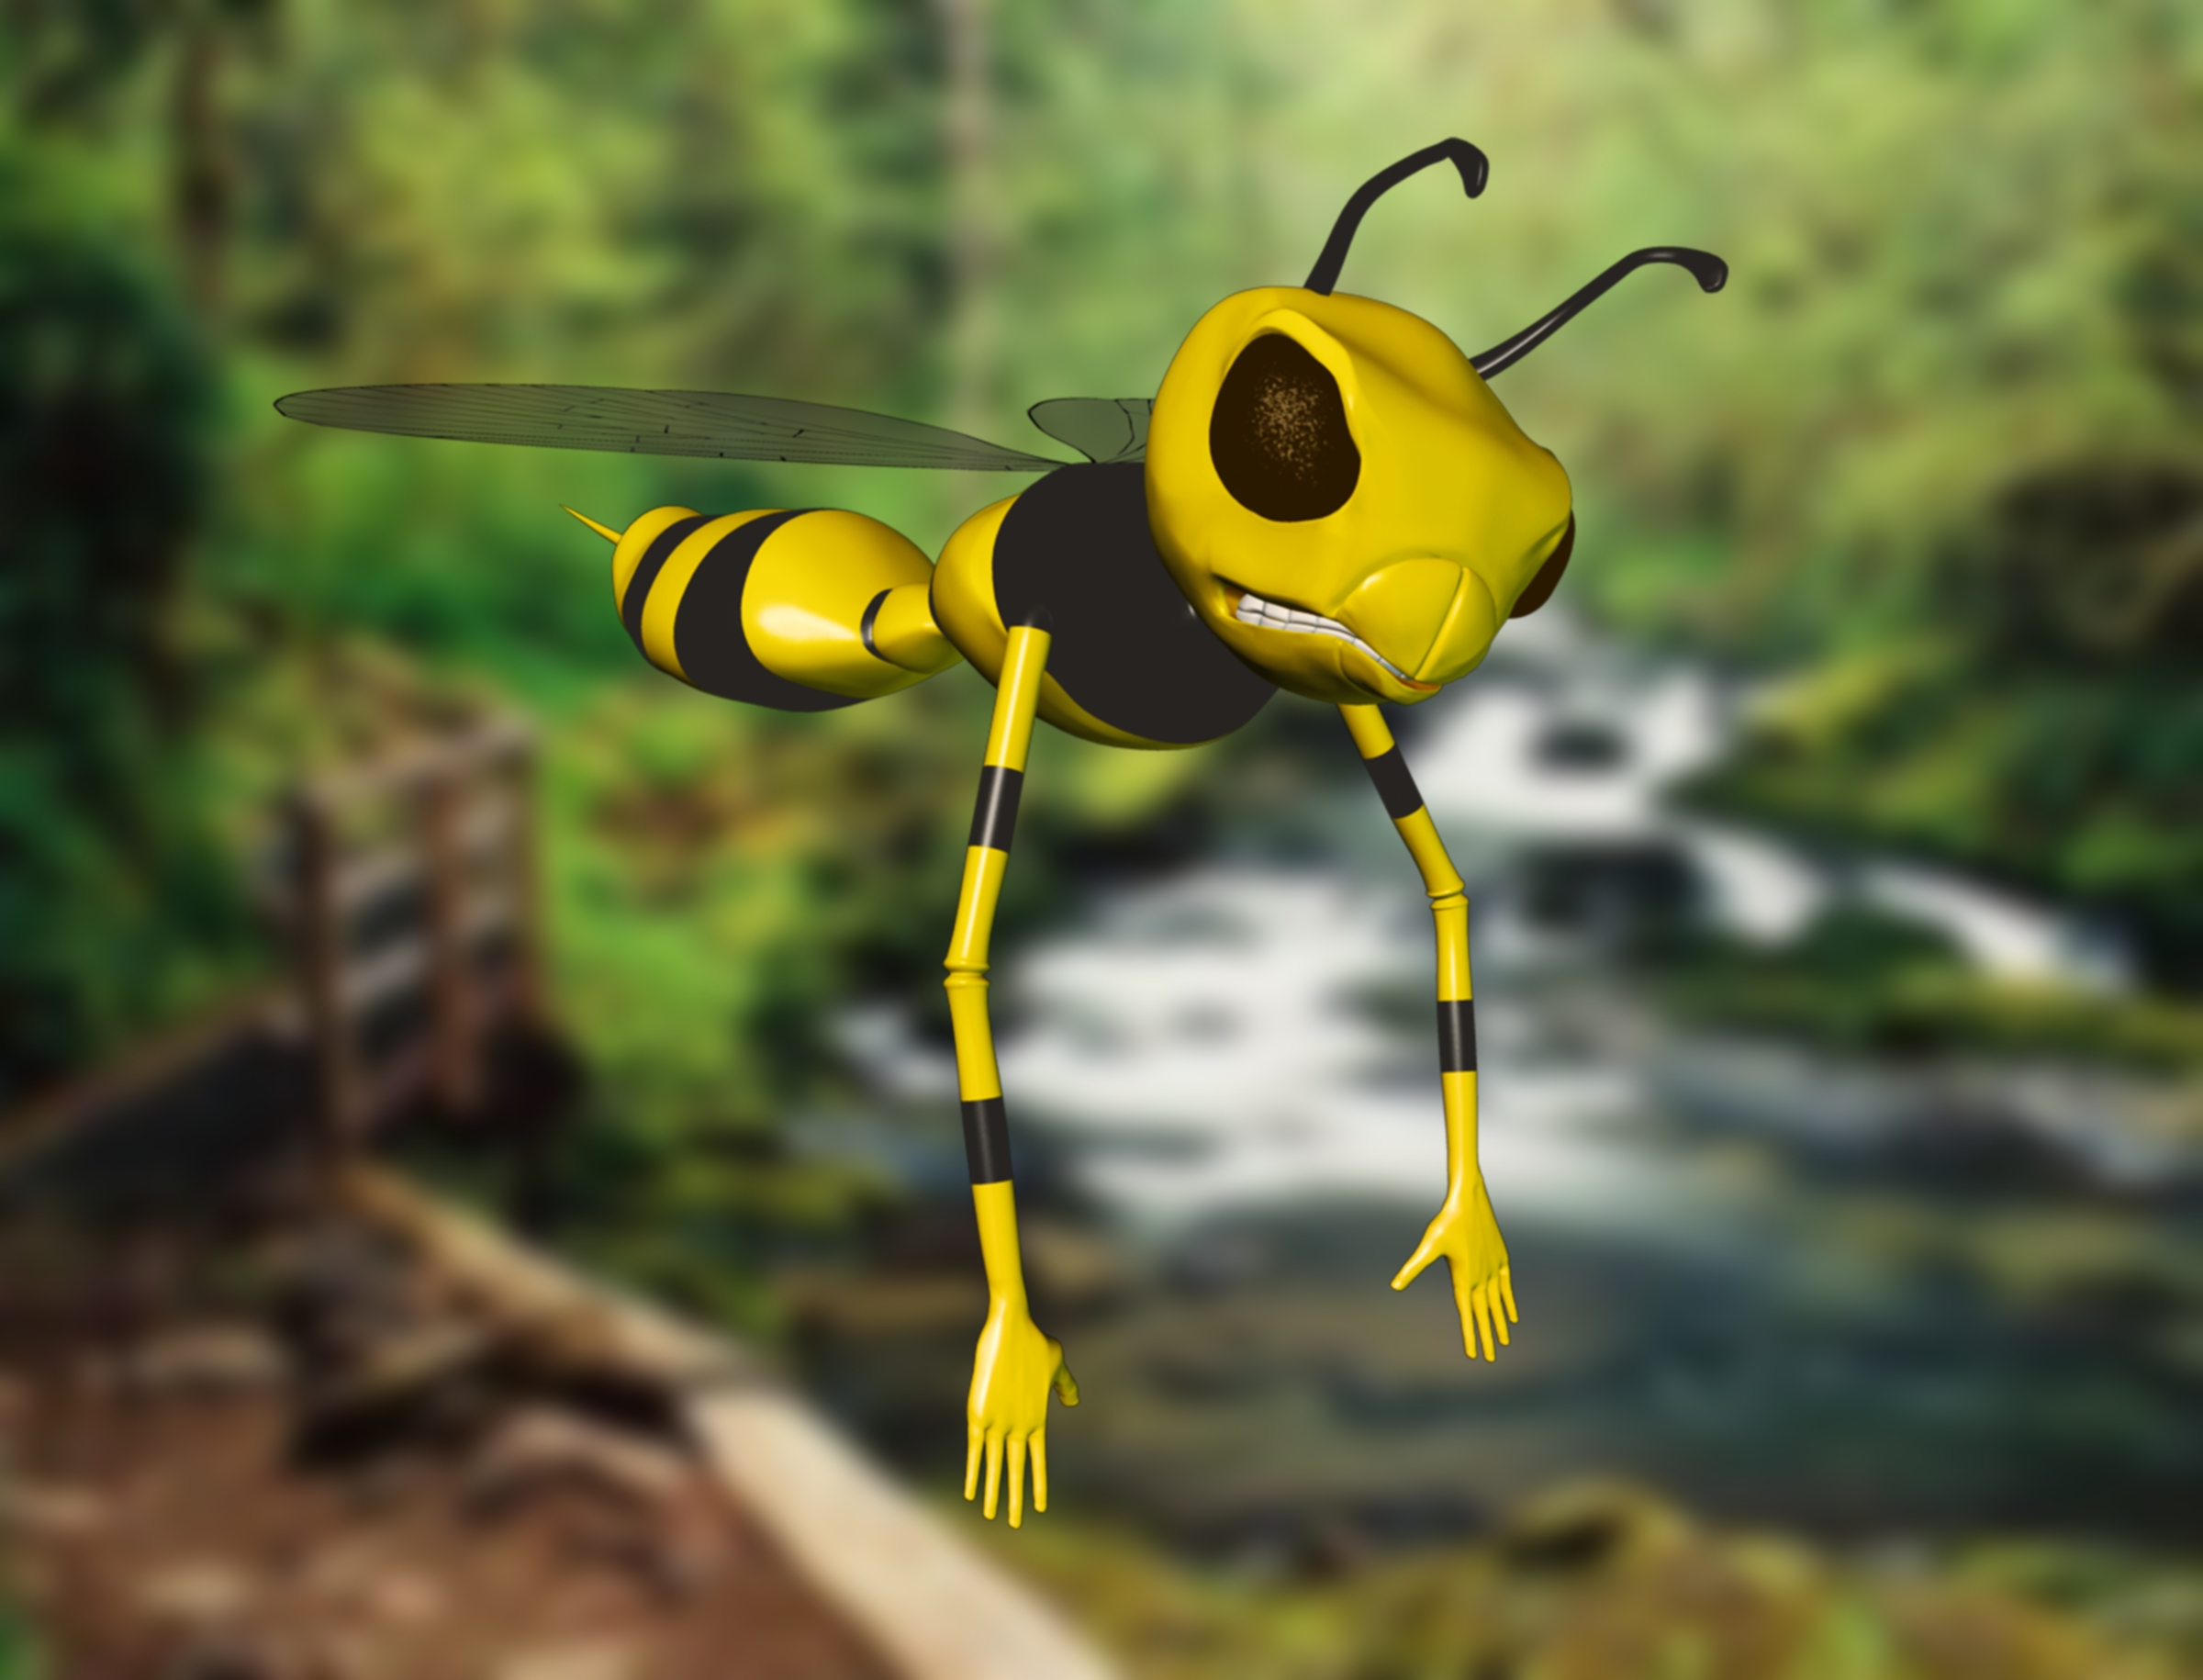
Finally got the time to finish the rigging, CP weighting and some smart skins. Still need to refine a bunch, but I've managed to replicate the original logo with the new bee.
-
My spirits were lifted!
-
You will notice that the ground prong is slightly longer than the two power prongs. That is so that, with the ground on the bottom, if the plug were to "fall out", or come to be inadvertently pulled out somehow, the two power plugs disconnect before the ground plug does, as a safety feature.
Incredible modeling BTW
-
Rob, that is just downright cute!
-
Great Chapter list, Rob. I was wondering if in the materials section, when texturing the robot, (great idea, everybody loves a robot) could there be a subsection on using decals (color, bump,etc.) to texture with?
Just my $.02.
EDIT: Just reread Rodney's post, maybe the decal texturing could be done with the vase section.
-
Wonderful work, Steve!
-
Thanks, Guys. The pats on the back are all the more profound considering who they are coming from.
These were just quick shots with the bee, rendered as a targa, imposed on a jpeg I had laying around and fuzzed up a little.
Xtaz, I will eventually get around to the fancy lighting stuff as soon as I can, right now the learning curve is on relationships in the model.
I have been learning so much with this project. These years of lurking on the forum, reading every post, is starting to pay off.
This time next week I should have an animated turnaround to show. -
Like it says in the title, I saw this post when I first got Animation Master. I have been so glad I followed this advice.
-
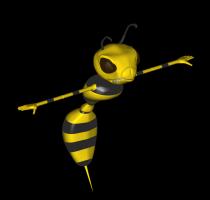
Got him rigged, and CP's weighted ( I hope I'm done). Got some smart skinning left, a few of decals, then some poses. Oh yeah, and a hand gizmo. (Thanks Will Sutton, and Holmes Bryant for the vid tutes
) I'm getting quite an education on this little project.

-
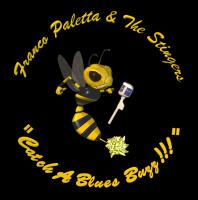
The last word on my last bee, was that is was a copy of the Georgia Tech Hornet. My friend says that they copyrighted their logo with that bee on it and it should be ok to use. I still think that eventually there would be a challenge from G.T.
I still wish to do an animated version of his logo, but I decided to make my own bee. When I am finished with it he can use it or not but I still wish to use it for a learning project. It may be another week or so before I will have the time to rig him and add some decals for flavor, but here is the start.
-
Thank you, Stian.
-
You are insane! (But in a good way.
) -
Alien Chicken Abduction.
-
I'm self unemployed, so I get to be employee of the month every month. It get's old after a while.
-
Happy Birthday, Fucher. And Yes! thank you for all you do.
-
Happy Birthday, John!
-
You, sir, are a talented man in every aspect of animation.

-
Happy Birthday, Laddie!. Have a taste of the Laphroaig.
-
Steve,
You may already know this, but in case you don't, I thought I'd chime in. Changing the scale of a Darktree material works best for me as follows: On the shortcut to "material" for a particular group, click on the white triangle (properties, I think) and open it up, then open up "transform", then "Scale" and adjust your percentages. ( I go up to 500% sometimes) Click on the white box with the plus that is to the left of the shortcut and open up the Simbiont properties and adjust your bump scale there.
-
thanks Paul and Mouseman.
As I stated on my FB post:
Ok, last time I promise. I wanted to make this image into a "non-info" "Art" poster, but there was just too much unbroken black. so I played just a tad bit more. I'm done now.
-
Thanks, folks. I just LOVE what you can create in this program. My FAVORITE artistic tool. (well, next to my guitar, of course.)
Here is the final poster:
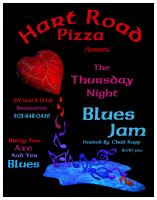


New Bee-ginnings
in Work In Progress / Sweatbox
Posted
Did a successful search and found the answer to my problem Here
EDIT:
To get the transparency to animate in the groups of a model, AFTER you drop the model into the chor you activate the "show more than drivers" button in the chor's shortcut to the model and animate the group transparencies there.
Will let you know how it turns out.