


nerrazzi
-
Posts
374 -
Joined
-
Last visited
Content Type
Profiles
Forums
Events
Posts posted by nerrazzi
-
-
man..., you sure are busy crankin'em out aren't cha?
Hey, how are you building these models anyway? Are you guessing as to what the dimensions are or do you have "The Essential Guide to Vehicles & Vessels" from Bill Smith? ...wait, none of the newer star wars stuff is in that edition....
I've noticed that you're creating a lot of the battlefield vehicles & artillery, I really can't wait to see what you've got planned. You saw what Lucas did, there was a lot of dust and blaster fire and explosions not to mention all the droids & jedi fighting... when's the expected release date and where will we be able to see the premiere?
last question:

how are you planning on doing the explosions? are you going to use A:M or artbeats or alamdv...
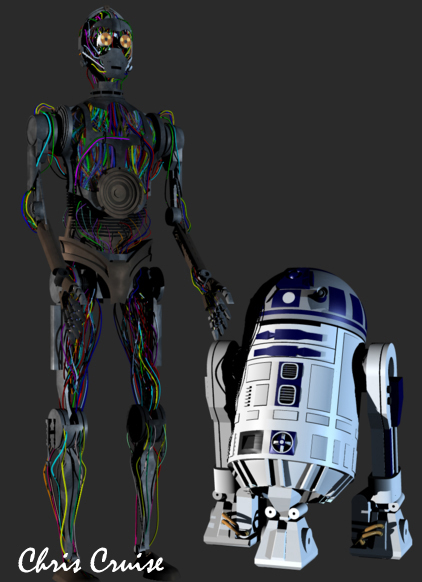
Thought I'd share these pics... check out these models of 3PO & R2 I did a year ago...
3PO isn't rigged but R2 is... I wanted to make R2 break dance but never got around to doing it.
-
hehe, that's funny...
Love the model. Lip sync is right on target, great work...
-
You know I just thought, using a pose slider to control a bump map say for a vein in someone's forehead during an arm wrestling match... I can see that big ole vein pop right out of the center of this head.
-
Yip, easy enough...
After your decal is applied to your model...
1. Create a New Pose
2. Locate your actions folder, then the "Shortcut to your model" folder, this is under your actions folder...
3. To the right of the "Shortcut to model" there should be a little white "thing" with a red "X" on it... click that red X.
4. The Groups, Relationships, Drivers and all that jazz will appear, you want the "Decals" folder.
5. Click the little plus (+) sign to the right of the decals folder and expand it until you get to the "Images" folder.
6. Click the small triangle next to the picture icon of your decal. You're going to need your Pose Slider window open now. (View> Pose Sliders)
7. With the pose slider set to the 100% postion, set the percentage value of your bump map to 100%, now move the slider down to 0% and set the percentage value to 0%.
Move the slider back & forth and see if the percentage value is changing with it.
Should work fine now... render different values to check your work.
-
Excellent work!
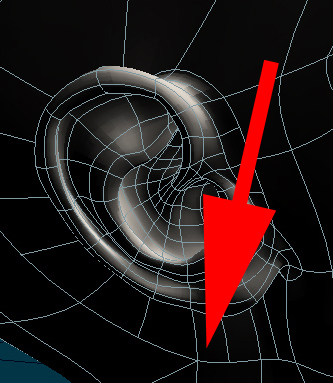
Looks like you've mastered the hooks & 5 point patches and you've managed to create an ear... a lot of folks still have challenges with creating ears, nicely done though.
One crit... I can tell that you're from a poly app. because of the way you connected a spline in the attachment. I'm pretty sure that'll produce unwanted artifacts when you go to animate any head movement. You may want to create a 5pp and head it off with a hook so that there are no potential problems later.
But great work, can't wait to see your future projects.
-
I have a loopable .GIF or .MOV of a unicorn galloping if you'd like to create your own action... anyway, email me if you're interested and I'll get it out to you.
-
I think painting on a 3d model (in some cases) would be easier if you included an option for painting on the model utilizing A:M's UV editor, I wouldn't make that the only option however because you can pretty much do that now using photoshop. A lot of cases would require the model to be in full 3d space.
When you select a brush to paint with, an icon could appear on the model to designate where the painting will occur, this will help with painting on curved surfaces.
Also, a tool that would allow you to paint on one side of the model and affect the adjacent side as well would be dandy... is this getting too expensive for $20 bucks???
-
I'm HIGHLY interested!!!!!!!!!
If you can develop an app. that does all that you think it might, you'd have an instant hit on your hands. I'd even pay more for a pro version!
You mentioned a stamp tool, I hope that's like a clone tool? Would you set it up so that you can sample a photograph or second image and paint on the model based on that sample? I love the layers function idea so you're not stuck with a mistake...
-
whoa... thanks Yves... Yeah, car tutorials are pretty scarce, guess i have to do a car tut now

Well, it's between a 1979 VW Rabbit or
 a Ford Focus...
 I'm thinking of doing the Ford because those cars are pretty simple in design and a lot newer. Besides, I can't find those rabbit blueprints anywhere on my hard drive... it would have been nice to give it a few dings and then add rust decals to the rear quarter panel to give it a bit of authenticity but we'll make do with the ford I guess.
We'll begin as soon as I finish this project I'm working on.
-
<choke>


that's great Rodger!
I hearby pronounce you... King of the Classics

great work.....
-
Sweet, here it is...
-
....and i do appreciate yall's comments... i wonder if anyone would be interested in an online car modeling tutorial? i don't know, if enough people are i'd be willing to try and chugg one out.... just the body you realize... maybe a ford focus or something small & not too tough

-
thanks Yves, yeah I removed my website a while back, didn't really care for that particular webhost... I would post the model here for anyone to download but I don't think it would work and it's probably against the rules anyhow.... i wouldn't know i never read the rules anyway
if anybody wants to poke around with that BMW, email me and i'll try and get it out to you...
-
That looks sweet but I've got to ask you, is this done using a flat plane? Also, how long did it take to render this image?
"a simple reflecting gradient material???"
wow... I'd like to know how you did that...
-
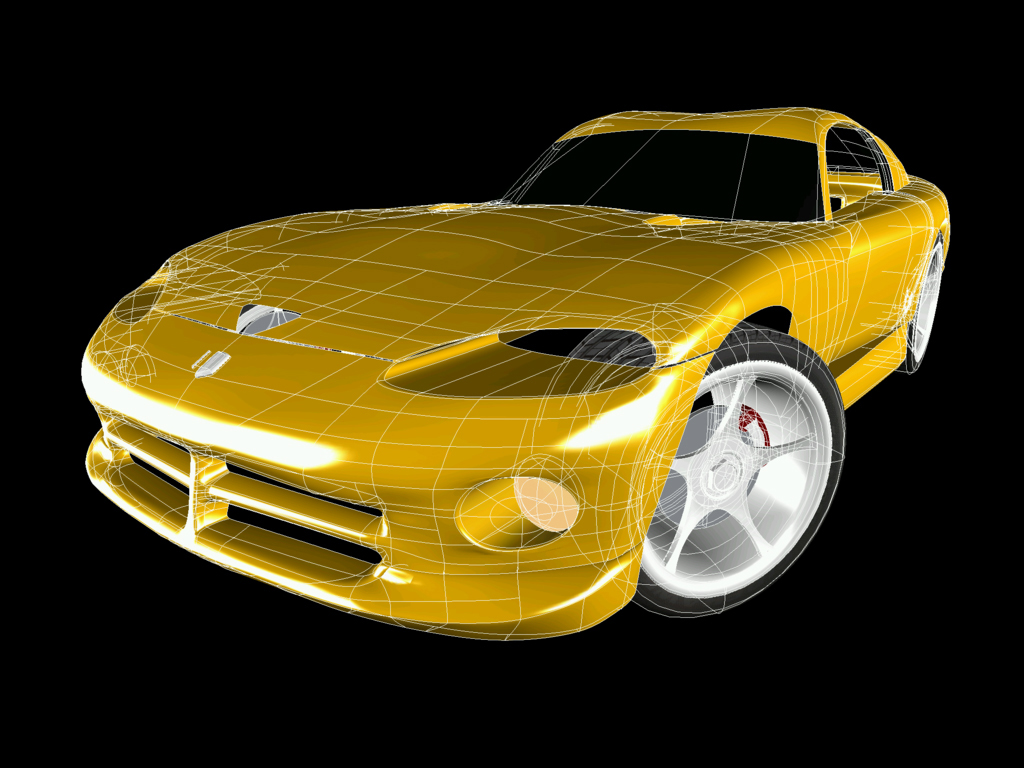
I was cleaning off the ole hard drive and found this pic of a Dodge Viper I built in 8.5, this was a real pain in the neck because 8.5 didn't have the "maintain curvature" feature, I would have liked to have had that on certain parts of of this sucker

-
Thanks! I appreciate the kind remarks...
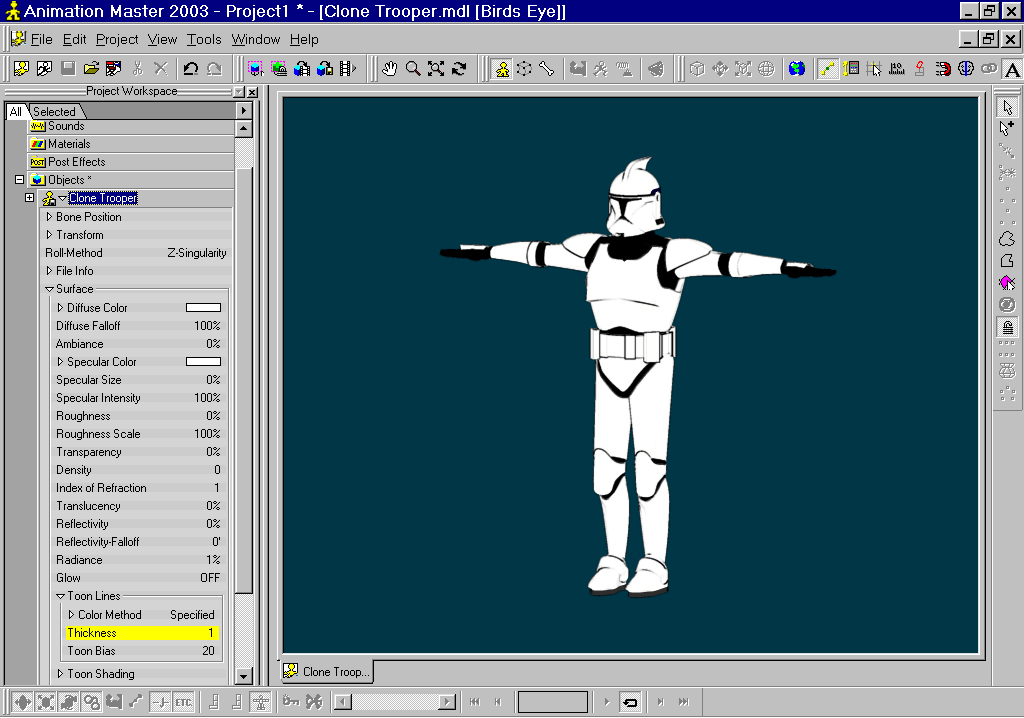
I built that thing maybe a year or so ago and was going to do a massive army scene just to see if I could pull it off but gave up because I was dissatisfied with the Clone Trooper. (Maybe I'm too hard on myself...) Anyway, I wouldn't think of trying to place 200-300 troopers in a choreography and render it, so what I was planning to do was render small groups of say... 5-10 troops and composite like there's no tomorrow. I even considered building ultra-low patch count Troopers for not so detailed scenes to get the ball rolling faster.... Just some ideas i guess...As for the fanfilms, I've been in the process of putting together my own Star Wars fanfilm but I won't say what I'm doing... I will divulge some behind the scenes facts about my 2005 fanfilm, it will be a blend of live action, 3D & stop motion or go motion animation for those politically correct person(s) out there...
 So knuckle-up future contestants!!!
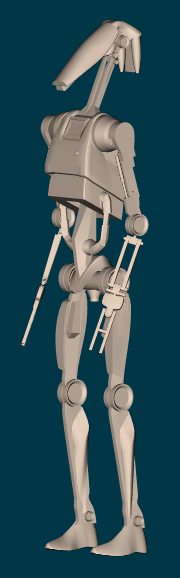
Here's a look at a Battle Driod I made around the same time as the Clone Trooper...
-
that's been a problem for me for years
You're kiddin', right?
The Trooper needs rigged, if you're going to make a fanfilm you're going to need to rig him, are you prepared for this? Just wondering since you were having trouble with the "Lock" feature...
-
-
I like this! Looks great!
-
Yeah, I suppose it could be accomplished with a nice look, the only problem you'd have is exporting the completed model into other apps.I wonder if boolean will work on certain areaWhere is the finished BMW?I uploaded it to my website which I have since shutdown...
-
-
-
I'm designing a (real physical model) 1:4 scale, 1932 R/C roadster using A:M. I'm considering using 3dartopart for some initial prototype parts to get the car up & running. These "initial prototype parts" are small things, nothing huge like the body or anything. I'm also thinking about posting some pics later for all to see the progress as it becomes available...
-
I'm very sorry to hear of this... my thoughts and prayers go out to you and your entire family in this time of mourning.
SPHA-T
in Work In Progress / Sweatbox
Posted