

cribbidaj
-
Posts
317 -
Joined
-
Last visited
-
Days Won
4
Content Type
Profiles
Forums
Events
Posts posted by cribbidaj
-
-
If you turn on "Show more than drivers"
 on the object in the chor you can use the "Frame" property for the decal to make the value loop and repeat.
Key it at 0 at frame 0 and at 23 at frame 23 then select both key frames and choose Post-Extrapolation>repeat
Okay. I've keyed the two frames. Where do I choose Post-Extrapolation>repeat? Using v.15j
-
I have a character model with a 24-frame walk cycle that I rendered as a .tga image sequence that I want to use as a decal on another model. How do I get the walk-cycle image sequence to repeat as a decal on the other model within a choreography?
-
What are the system requirements for running the latest version of A:M on Mac OSX?
Am I just dense, or is this information very difficult to find at the Hash Store or here at the forums. I'm already running one subscription on a Mac running Tiger, but am wondering when Tiger is no longer supported.
-
I am rendering a scene and want to render every third or fourth frame. Right now I'm just entering the frame numbers with commas between each in the custom frame options dialog box when rendering, but I feel that there was an easier method that I am forgetting. Is there a way to set a render so that it renders only every other frame or however you want?
There are start, stop frame numbers in the render options for the camera as well as a step option (normally 1) - if you want every other frame it would be set step = 2. I have never tried step 3 or 4 but I suspect that would work as well
Thanks, Nancy! That's very cool!
-
I am rendering a scene and want to render every third or fourth frame. Right now I'm just entering the frame numbers with commas between each in the custom frame options dialog box when rendering, but I feel that there was an easier method that I am forgetting. Is there a way to set a render so that it renders only every other frame or however you want?
Also, as my reason for rendering this way is to get a choppy, "stop-motion" look to the animation, is it possible to accomplish this in a choreography when there are camera movements and I want the camera movement to be smooth while the models I am animating have the jerky stop-motion look?
-
I am able to reorder the poses in the User Relationships folder in the PWS, but the poses in my model's 'Properties' window stay in the order in which they were created. Is there any way to change the pose order in in the properties window
If you are having a problem moving/reordering Poses in the Properties Window you can create a temporary Folder, drag and drop the Poses into that Folder... then drag and drop the Poses out in the order you wish to have them. Finally, delete the temporary folder.
...this is the same thing mentioned above but with more words.
Thanks for the simplified answer, Rodney. I am a simple man.
Part of my problem was not precisely grabbing the "target" icon to the left of the pose name, but trying to select the pose from the name, which continued to cause incorrect results.
-
I am able to reorder the poses in the User Relationships folder in the PWS, but the poses in my model's 'Properties' window stay in the order in which they were created. Is there any way to change the pose order in in the properties window?
-
Try setting the hair materials surface transparency property to 0%. The hair is probably picking up the transparency set in the model.
That did it! Many thanks!
-
I've been fooling around with several cloud images on a hair material, basically trying to create a face model made of billowy, cloudy material. I have been rendering both in the modeling window and in a choreography and keep getting black "sooty" coloring along with some clouds. I have the transparency of my model set to 100%, so the only thing rendering is the hair material. I've messed around with properties til I've run out of ideas. Can someone point me in the direction to achieve what I trying for?
Thanks.
-
In the models user properties, turn OFF the IK legs and arms (if they're ON), turn OFF all the poses in the spine folder. Create a new action and export the model from the action (right click in the action window and choose export>model. Don't know how to do that on a Mac). Start new project and open the exported model, turn ON all the poses in the user properties you turned OFF and save.
Note: Make sure ALL the poses that YOU created are turned OFF or set to 0%, in the models user properties, before exporting.
That solved the problem! Thank you.
-
In the models user properties, turn OFF the IK legs and arms (if they're ON), turn OFF all the poses in the spine folder. Create a new action and export the model from the action (right click in the action window and choose export>model. Don't know how to do that on a Mac). Start new project and open the exported model, turn ON all the poses in the user properties you turned OFF and save.
Note: Make sure ALL the poses that YOU created are turned OFF or set to 0%, in the models user properties, before exporting.
Thanks, mtpeak! I'll give it a try and see what happens.
-
Ok, I don't really know what the issue exactly was, but I re-exported the model from an action and it fixed the problem.
The fixed model is here.
Thanks for the link. I have also created a model using the body of the 2008 rig with a head created by me. I've done quite a bit of editing, poses and whatnot, on this model and would like to use it without creating a whole new model. How did you "re-export the model from an action" to fix the problem? Being able to do this would alleviate a lot of work I'd have to re-address with the fixed model from your link.
-
What keyframe filtering keys do you have turned on when you do the copy/paste ? (eg model, branch, bone, translate, scale, rotate, other etc)
I believe there is a magic combo, which I'm sure someone (rob, mark) can tell you what it is
I've used the 'model' key - I don't know where the 'translate, scale, rotate, other etc' keys are. The choices I have are 'model, branch, bone'.
'
I didn't see them on your screen capture? Weird.
tools/customize/commands/frame
I probably got rid of them when customizing my workspace (not really knowing what they were for). I'll reboot A:M after restoring to the factory settings and see if they show up. If not, I'll add them to my toolbar. Thank you.
-
I tried your PRJ and I get a odd result also.
Wait a few days for v15h to come out. I put in an AMReport on Paste Mirror a while ago and I believe Steffen has addressed it in the next release.
Steffen explained to me that in rigs like TSM2 and 2008 apparently, the CPM algorithm can get confused by hidden rig bones that are in nearly same positions as control bones. Notice that bones like Chest Controller Parent are getting keyed by CPM even though those weren't keyed to begin with and shouldn't be getting a mirror treatment.
Wait a few days for v15h to come out. Sorry for the frustration.
I don't know where the 'translate, scale, rotate, other etc' keys are. The choices I have are 'model, branch, bone'.'
to the left of those. hover over them and they have names.
BTW, have you watched my keyframing options vid inthetuts link in my sig? It covers that stuff.
I have not watched those tuts yet - will check 'em out!
Thanks for all the info.
-
What keyframe filtering keys do you have turned on when you do the copy/paste ? (eg model, branch, bone, translate, scale, rotate, other etc)
I believe there is a magic combo, which I'm sure someone (rob, mark) can tell you what it is
I've used the 'model' key - I don't know where the 'translate, scale, rotate, other etc' keys are. The choices I have are 'model, branch, bone'.
'
-
I just uploaded a zip and it worked.
embed the model , embed the action, save the PRJ and zip that.
okay - I was able to upload the action as a zip now. the other 2 files are not zipped.
-
Zip up the action file and then you can post it.
After zipping it, I still receive an "upload failed. You are not permitted to upload this type of file." Before zipping it, the .act file is only 24k
-
I have no issues here. Can you post some screen grabs and/or the action file?
argggh - can't upload the action file!
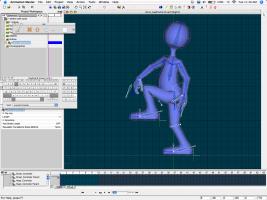
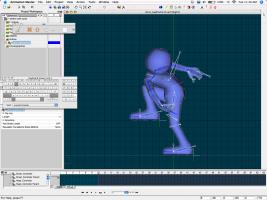
attached are screen grabs of frame 1 and frame 13 - the latter being the mirror paste of the former.
I've tried changing the 'mirror mode' option in the 'modeling options' menu - from .05 tolerance to .15 - to no avail
-
odd results can happen if bones are not exactly mirrored in the model.
Try increasing the paste mirror tolerance, the default is quite small at .01
That said, some fixes are coming in the next A:M release.
where do I change the 'paste mirrored tolerance'?
-
I'm using the v.13 2008 rig and am getting confusing results in an action when trying to copy/paste mirrored keyframes to create a walk cycle. Running latest version of A:M on Mac 10.4.11. I've tried everything I can think of, including pasting every bone singularly instead of using the bone tree or model tabs. The body control and chest control nulls create body distortions. Any idea what I'm running into and why?
-
LOL! Yeah, Orson Welles . . . I didn't place his voice though it did sound familiar . . . not a good sign since I just watched John Huston's adaptation of "Moby Dick" with Welles as the preacher!
-
Thanks Robcat -
Man, what you've done with body language and a great character voice is amazing! It really does work with simple mouth movements! I'm not at the level of animating the caricatured body that I need to be but am working on it. The link to that video helps, if only to see how well it can be accomplished in the right hands with limited mouth movement.
Thanks for the input and advice. I have Jason Osipia's book but haven't looked at it in awhile. The character he uses that graces the cover is classic and I'm assuming the lighting effects on the face (relative transparancy around the ears, etc.) are accomplished with subsurface scattering. That's another topic I haven't learned yet.
Back to it!
-
While making an original character speak, I have tried creating a separate pose for each phoneme, but find that in an action the frames between one mouth pose to the next are unmanageable. My solution so far has been to create poses for phrases, each phoneme pose set at, say, increments of 5% in a percentage pose. Is there a less tedious approach that allows you to use a set of phoneme poses and animate between them smoothly?
-
I've been messing with the 'steam' volumetric effect in a choreography and last night saved the attached project with all the settings working as I intended. When I opened the project after restarting this morning, the settings on both the steam effects and the camera were wacky. What happened? I'm using A:M v.13t in Mac OS 10.4.8.
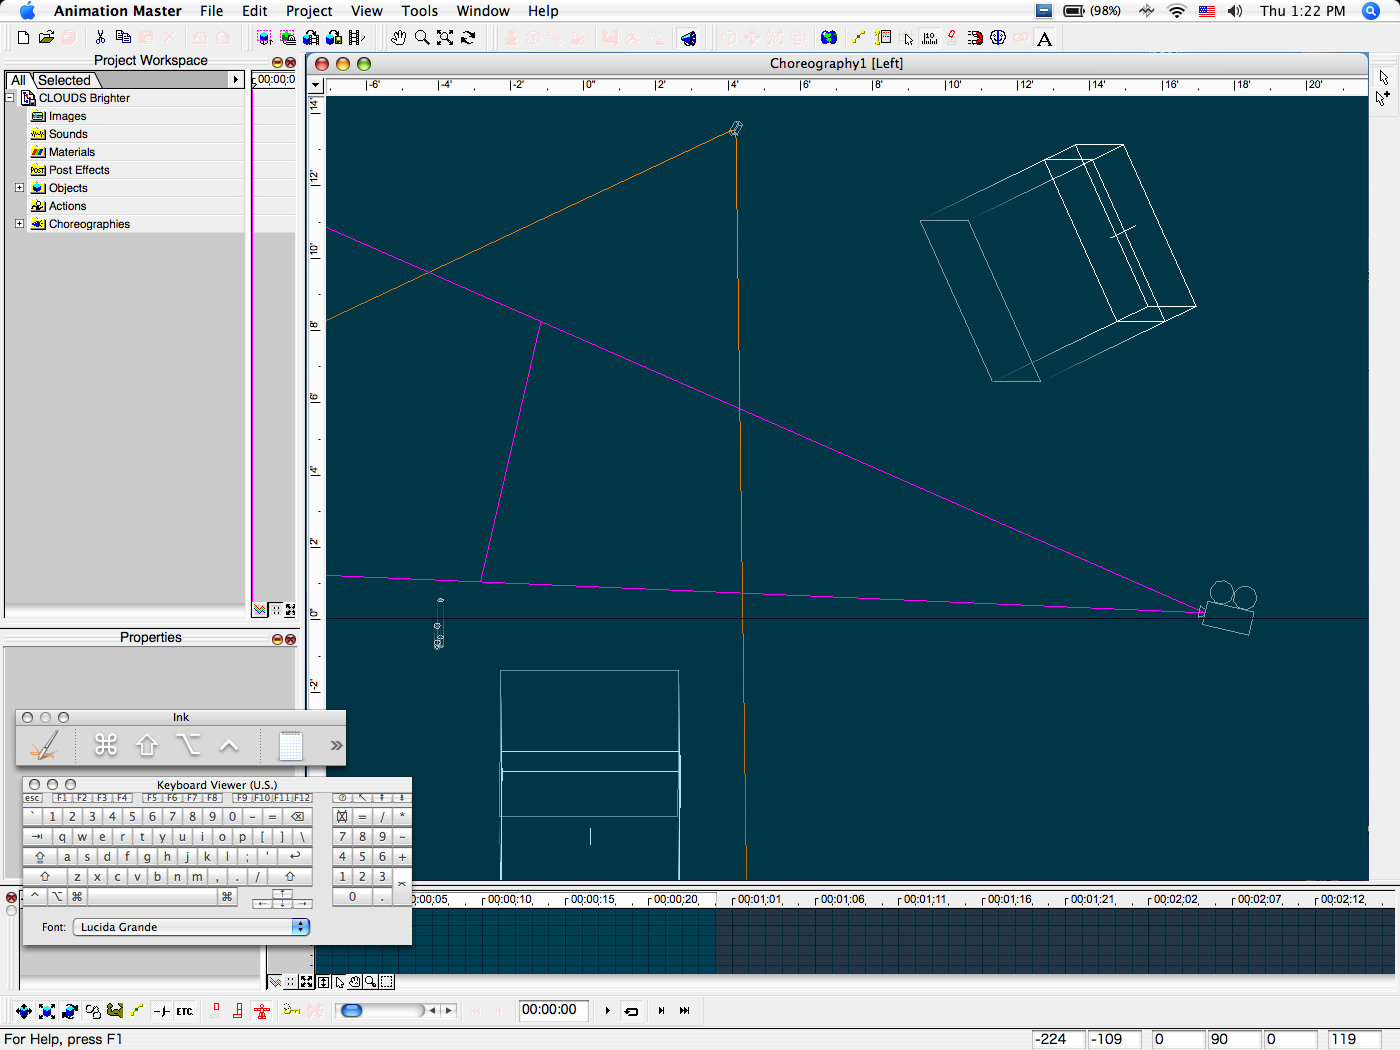
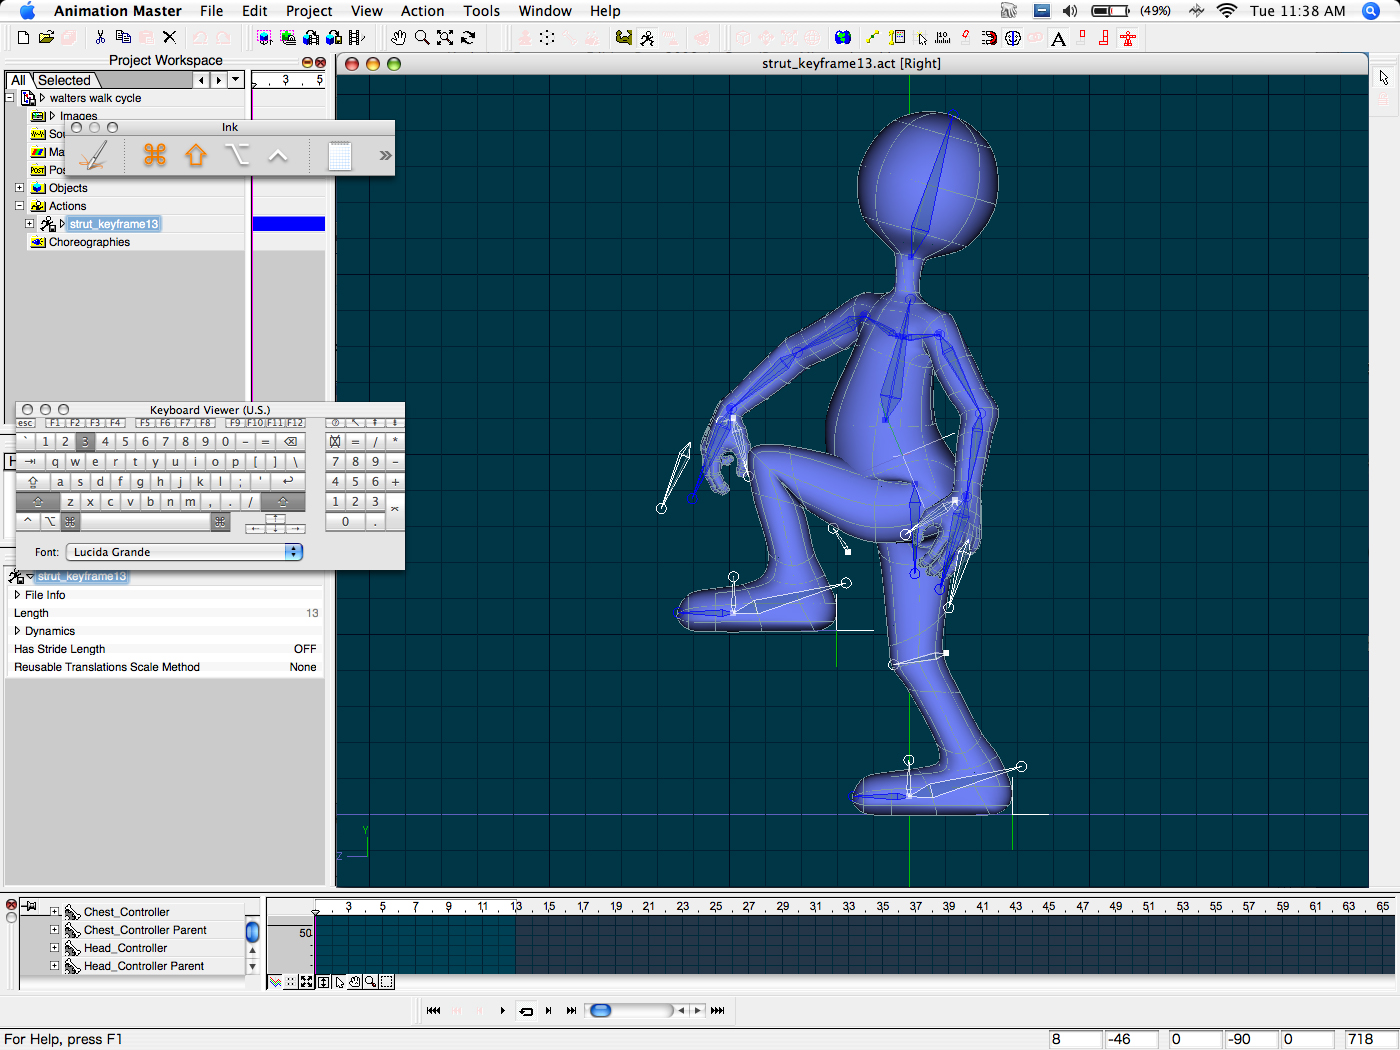

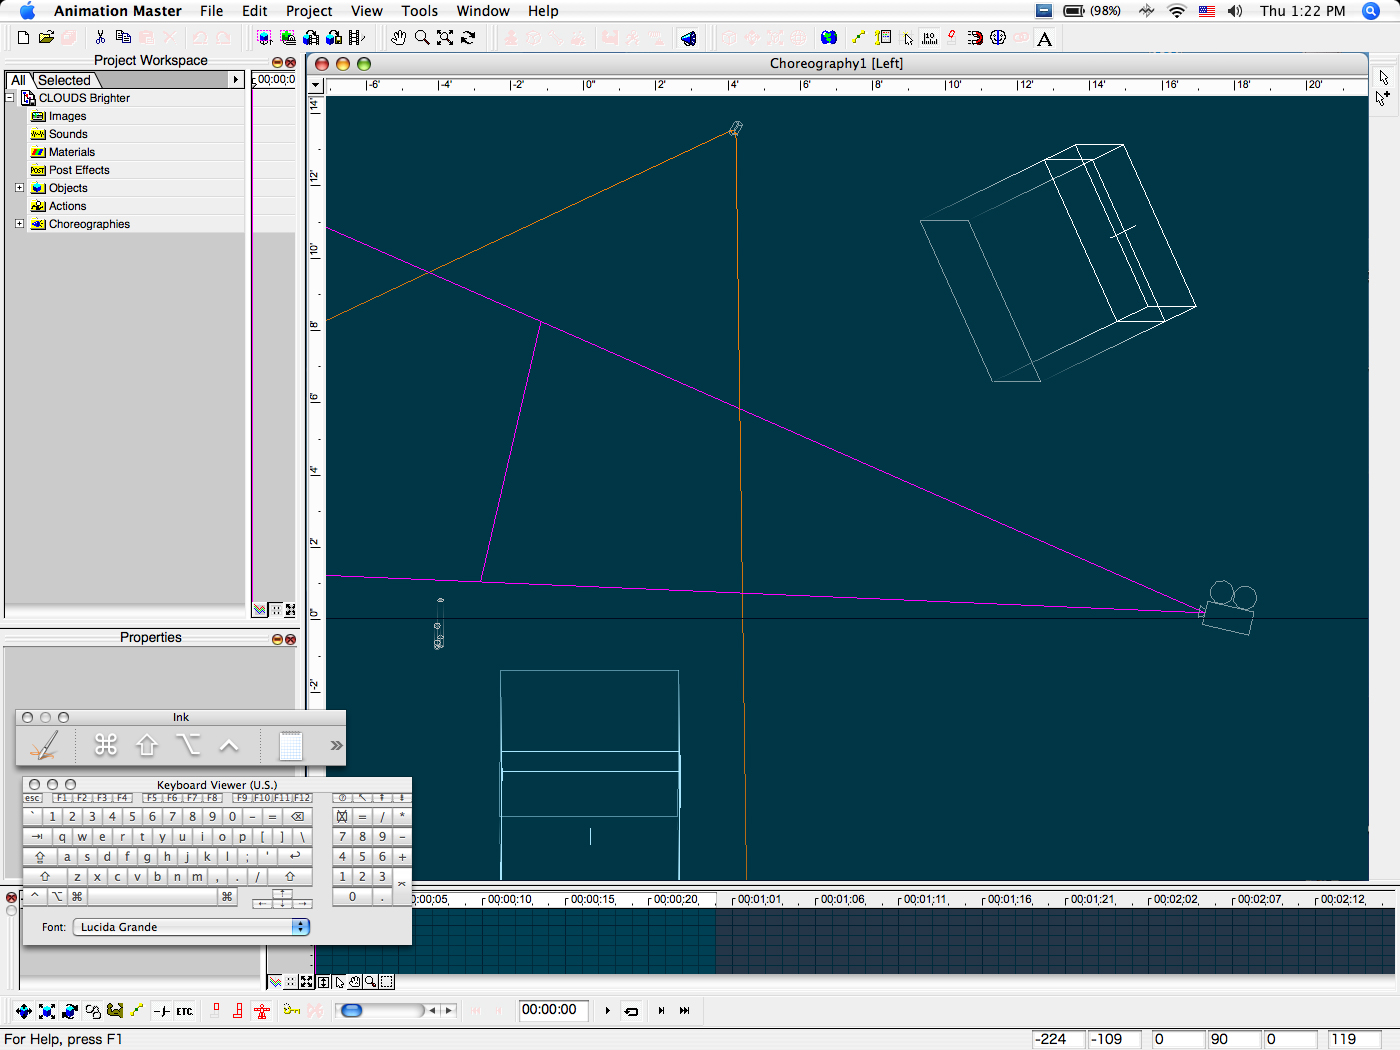
Image Sequence Decal
in New Users
Posted
Thanks, guys. The video's great, Rob. Unfortunately, using Mac running OS 10.4 I can't seem to get the Post-Extrapolation dialog box to appear when selecting and right-clicking the keyframe points. The Channel CP Setting dialog box appears with the interpolation method choice.