Simon Edmondson
-
Posts
2,579 -
Joined
-
Last visited
-
Days Won
19
Content Type
Profiles
Forums
Events
Everything posted by Simon Edmondson
-

Cookie Cut Question
Simon Edmondson replied to Simon Edmondson's topic in Work In Progress / Sweatbox
Mark Thank you for your help. The cloud is supposed to be semi transparent, although perhaps that needs to be toned down (?). I'll try a re alpha attempt in Pshop and see if that works. regards simon -
I am about to upgrade to V17 and presently run an Imac. My understanding is that 64bit is not available for the Mac as yet (?) but wondered what the advantages of 64bit over 32 bit are ? The reason for the question is that, if the benefits are worth while I was thinking of getting a PC laptop with W7 64bit and either getting my brother ( techy to the extreme ) to make it dual boot with OSX or use it to render work made and animated on the Imac. I hope this is not an inappropriate Question. regards simon
-
Trying to follow up on Robert's suggestionI am using Cookie Cut decals for the first time, with mixed results and wondered what I might be doing wrong? This is a PNG of the decal used ( the original is tga ) This is the flat used to put the decal on and this is what happens when I render it. I looked on the forum and there was a suggestion that Multi pass had to be on for cookie cut to show but I'm getting the same result with multi pass on as well. Any help gratefully received. regards simon Cookie_Cut.prj

-
If you set it as a "cookie Cutter" decal the alpha channel in the decal will also create transparency in the model. Robert Than you very much for that. I've never used a cookie Cutter -didn't know what they were for to be honest- Now is the time to try. regards simon
-
An image sequence has a frame property that can be keyframed and post extrapolated. If that really is absent from a Layer, remember you can always decal an image to a simple flat plane model that should have all the normal properties available. I looked at the clip but I'm not sure what is "the frame" Robert Thank you for your reply. You're too fast though ! I was just about to add a correction on my part. Found were the problem lay, but not the cause as yet. The problem lay with the rain layer, which was in the foreground.Re rendered, without the rain layer, with this result Why_Rain.mov Its a bit strange, as the animated frames that are on the layer, should be static ( with the rain passing through ) but the border edge of it appears to descend during the sequence, causing the problem. If the cloud was decaled onto a flat would it retain the transparency of the alpha channel ? H'mm, I'll try to find out. regards simon
-
Trying to use multi plane as a composite ( to get used to the process and thinking needed ). I rendered out each of the clouds separately as TGA files with Alpha then used them to make layers. The rain doesn't really show up under the clouds ( due to the scale ? ), so put a rain shower in the foreground. This is the result. It is only 25 frames long so needs to be cycled. Why_Rain.mov Two questions 1 Is it possible to cycle the image sequence on a layer in the same way as it is possible in a chor, on a flat, using "post extrapolation". The show more than drivers option does not appear to be there in the PWS on a layer ? 2 There are no key frame changes in the timeline but the frame appears to partially drop out. Can anyone suggest a possible cause for that ? regards simon
-
I downloaded the zip file with it in from the other thread, pardon my ignorance but, how do you install and use plug ins ? The twit.
-
http://www.hash.com/forums/index.php?showt...mp;hl=Composite While looking for more info on compositing I came across this thread from 2006 about a plug in that Marcel Bricman had written for T Wessling. There was some talk that he may have introduced it to the wider AM community later on and I wondered if there was any news on that now ? regards simon Apologies. Just found another thread about Sumi and couldn't stop this one. My Mistake.
-
Bruce Thank you very much for your reply and the info. I will try to do the next scene as a composite, then post the result in the Why thread. regards simon
-
Mark and Rodney Thank you for your feedback, I shall follow up the DVD extras link later. I'm thinking of the Charlie Birthday project, there are a few open air landscape scenes in that and, rather than build a whole landscape, thought it might be best to try a matte so, in the current project, he's about to go walking in the mountains, bemoaning his fate. That seemed like a good way to test mattes in landscape! Bound to get it wrong but it will be fun finding out. Thanks for your help. regards simon
-
Rodney Thank you for the info and the link to the tutorial video, downloading it now. On a related theme, do you know of any useful links on Matte painting and useage. I was thinking of using it for the next scene as a tryout for the next project. regards simon
-
Robert and Rodney Thank you once again for your help. I think I'll just use FCP on this one, then try to address the problem properly with the next scene, because I can keep track of what was done as I go through it. The light buffers possibly stem back to an experiment a few weeks back when I found out about using EXR and the option of adjusting the lighting after the render. I rendered a scene and kept the info,but haven't had the chance to pursue it further yet. I will try to restore the default settings to the camera for the next scene in the current project, to be able to track the process properly. regards simon
-
Rodney Thank you once again for your help. Much appreciated. Might be a bit tricky without images (?) but here is the project file without images or models. regards Simon Why_Composite.prj
-
Rodney Thank you for your help. I will go back to look again at the frames rendered but, as you suggest at the end, I am only using images . I rendered the scene with a blank sky and an alpha channel as a TGA sequence. I rendered the clouds separately as a single image. Scene frames rendered in AM as, "Why Scene Six" 000- 280 .tga, Cloud rendered as single image in AM. New Chor set up, All lights deleted, no ground, no other objects, The cloud image was the background layer The scene sequence was the foreground layer, with the alpha allowing the clouds to show through. That was then rendered out as a new sequence, "Why Scene Six C" 000-280.tga When the C sequence was saved as animation the problem became apparent. Went back to check the C frames individually with the result as posted above. Tested the original scene sequence and cloud frame in FCP, no error in sequencing. Just tested it again, this is the result, ( its a bit compressed but no sequence error ? ) regards simon FCP_6_Clouds.mov
-
Robert and Rodney Thank you for your replies. I was working in the chor using layers for both the background image of the clouds and the foreground of the figure on the set. No lights were used in the chor at all, and the shadow option was turned off in the render panel. ( I was unaware that you could do a composite within the images folder ? ) Apologies for my error on the description, I meant that there is a darkened area behind the figure in the first image, it shows up on the cloud and takes the form of a silhouette shape. It looks as though it could be a shadow but, the figure is not in that position on that frame. The sequence was rendered completely in one overnight session and the list runs correctly in the image folder. It was imported into the images folder and applied to a layer, that layer positioned over the background layer of the clouds. a camera framed on the layers, then rendered out as a second sequence. What seems to have happened is that a frame has been used out of order within the chor and the render has interpolated between the two ? If the exact same sequence is used within Final Cut Pro and over layed on the cloud image, then it is as expected, with everything in order and no 'tweening' regards simon
-
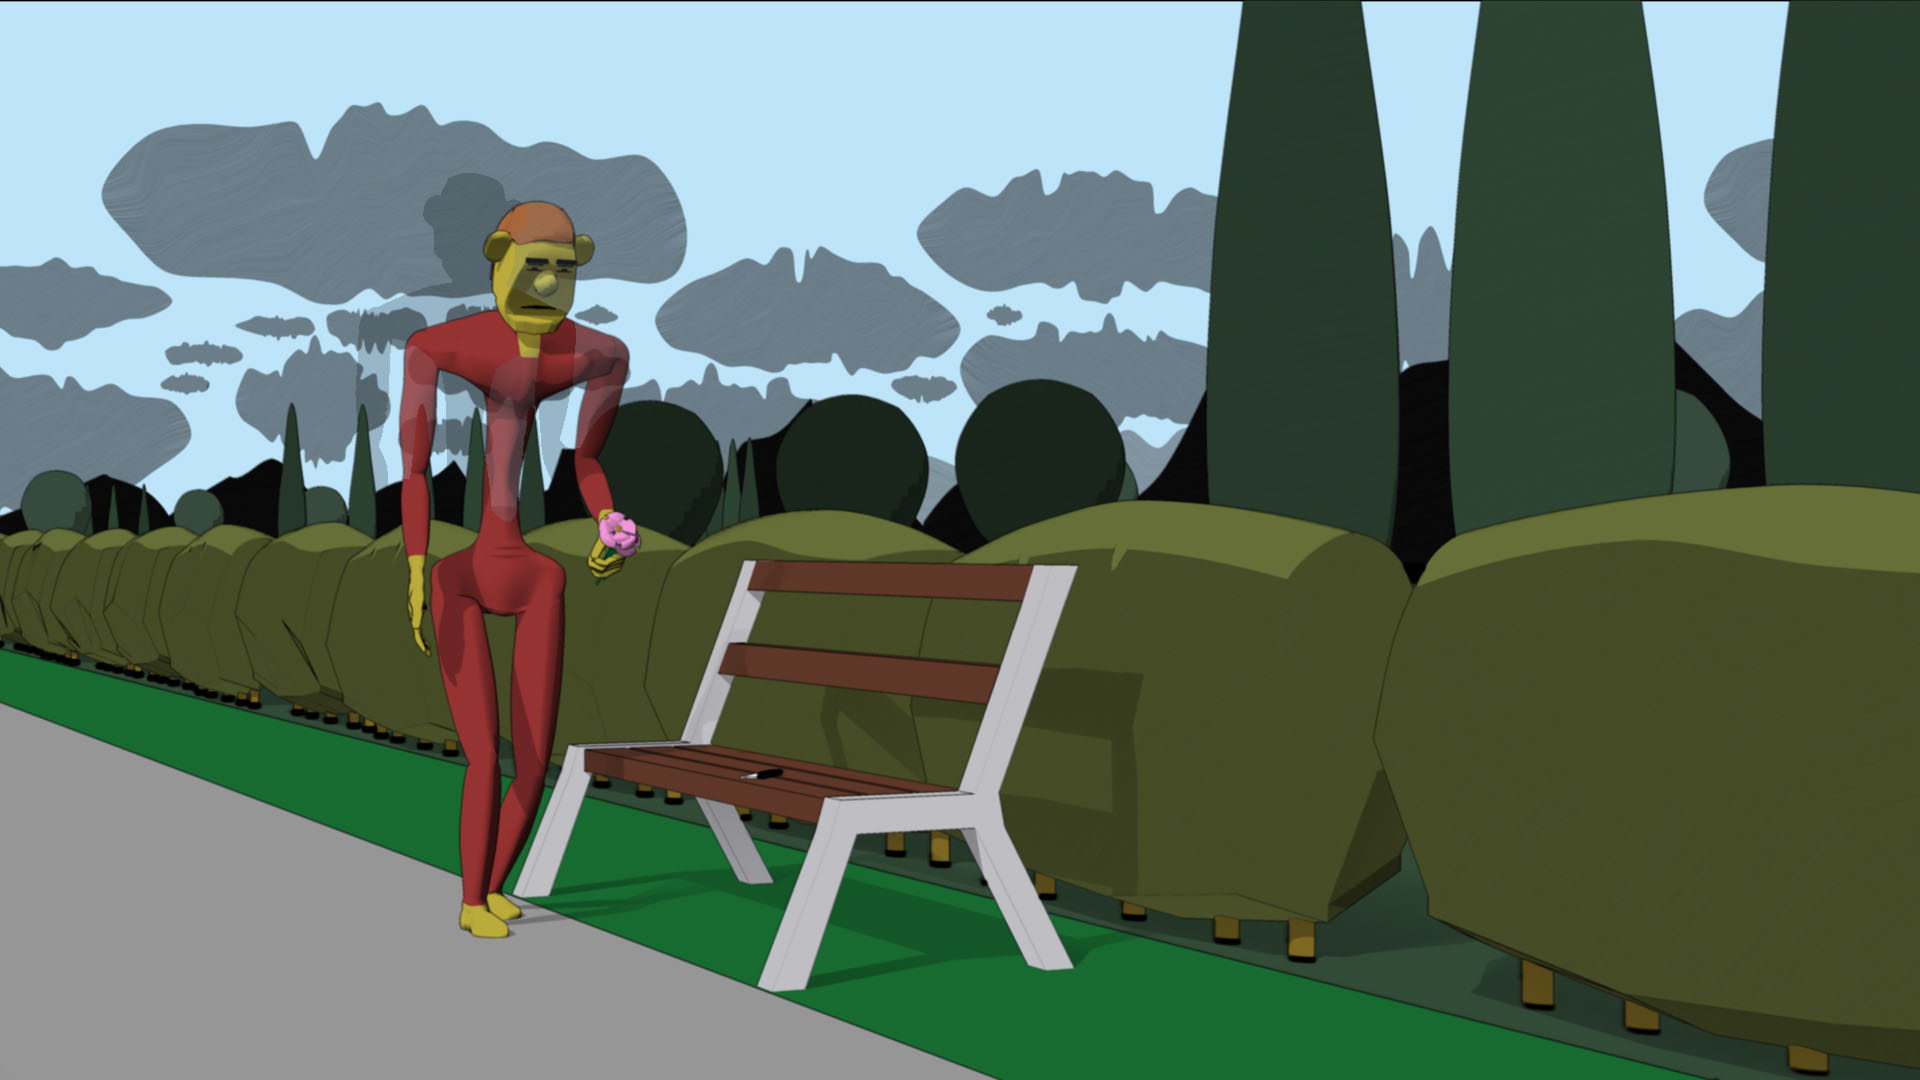
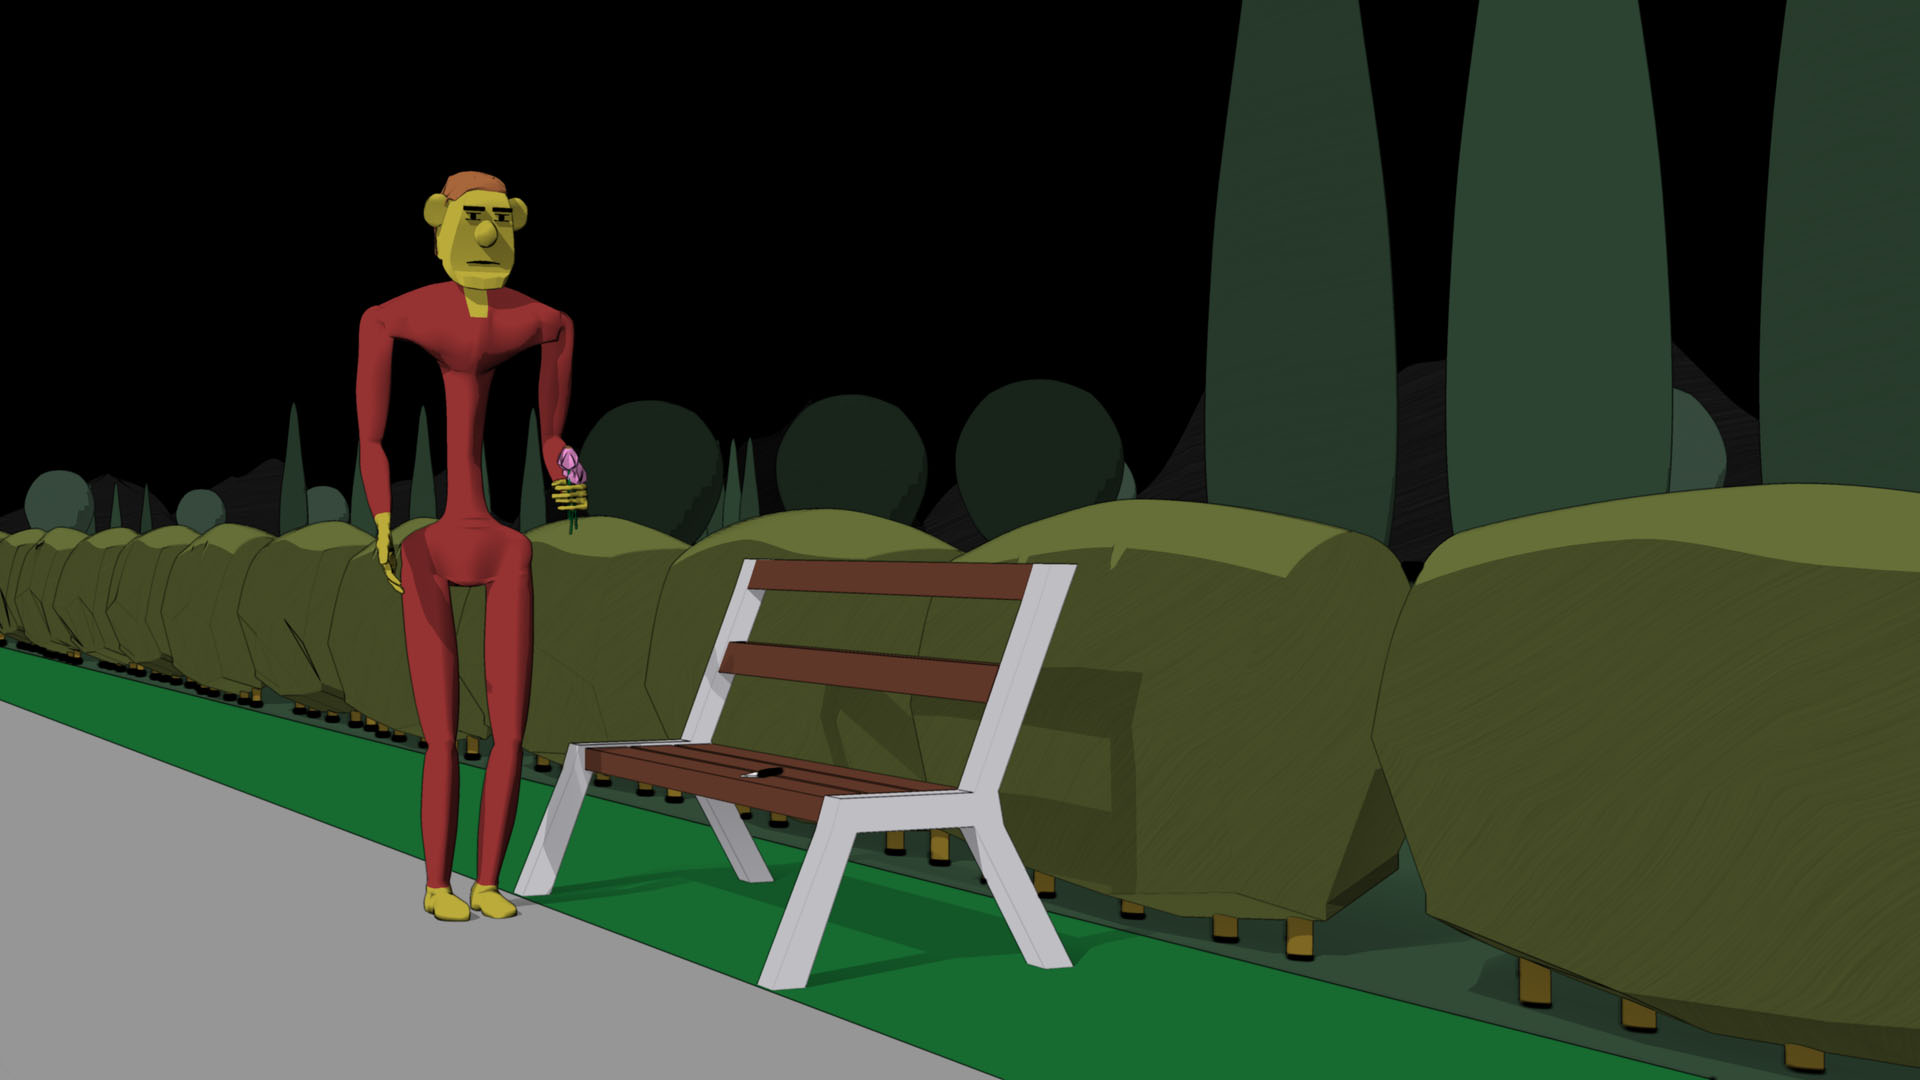
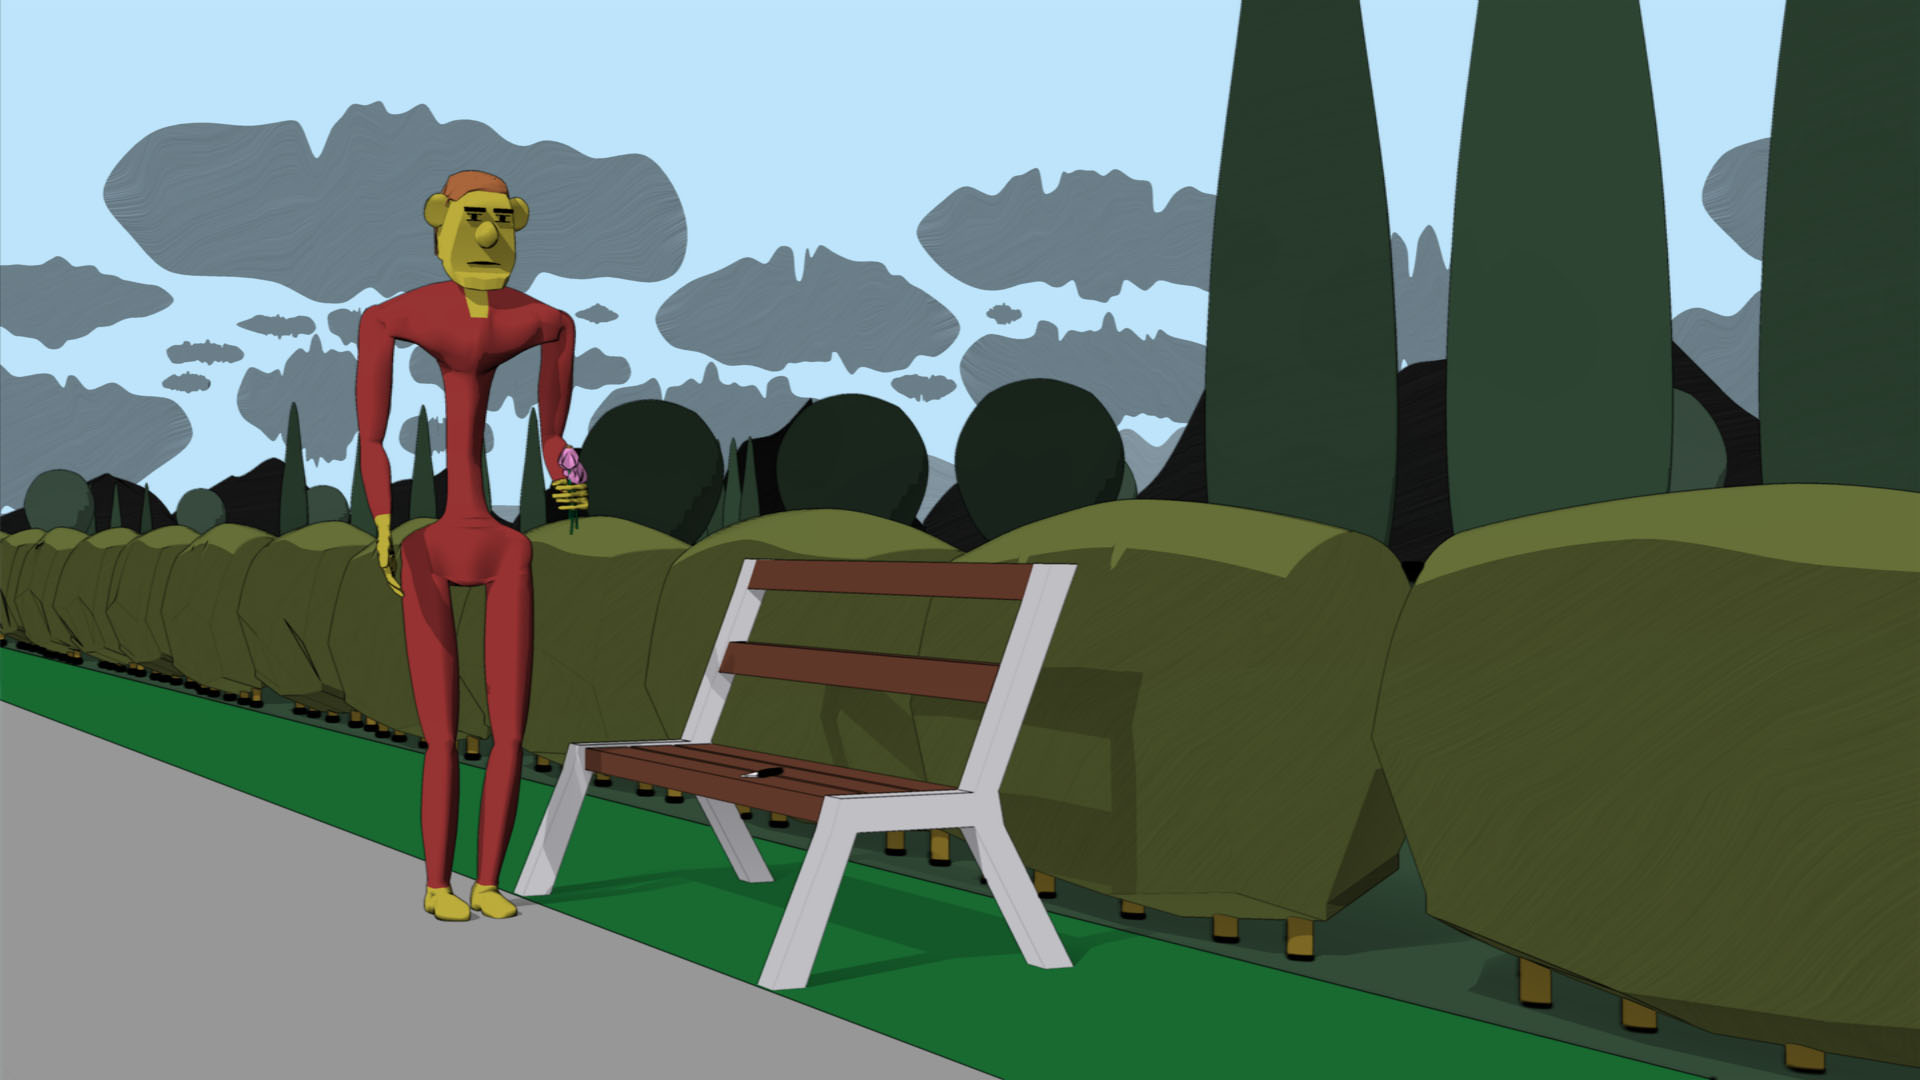
Working away on the current project. I rendered the sequence out as a series of TGA files to be composited over a cloud background. Then used a chor to composite them within AM. With this result, S6_Clouds.mov There are two moments when there are distinct movements which should not be there, frame 65 ( 02:15 ) being the first. Checked the new composite file and this was the result. There is a shadow behind the figure, I went back to the original, Which looked like this, Using the same files as for the AM composite, I then did it again in FCP and got no glitches, this is frame 65, Should add that, the original were rendered with Toon settings but the composite was not, no lights or shadows were used but, multi pass was. It seems to have placed a different plane while rendering one as a 'ghost' image. A similar thing happens on frame 166, ( 06:16 ). I don't know why this has happened, could anybody kindly suggest the cause and possible cure ? regards simon PS I was hoping to use the composite and multi plane options within AM for the next part of the short so would like to get it right
-
Robert Thank you very much for that. I shall try to implement it tomorrow. I wondered about the bone placing but my knowledge of anatomy is not good ( they had stopped teaching it when I went to art school ). Thank you regards simon
-
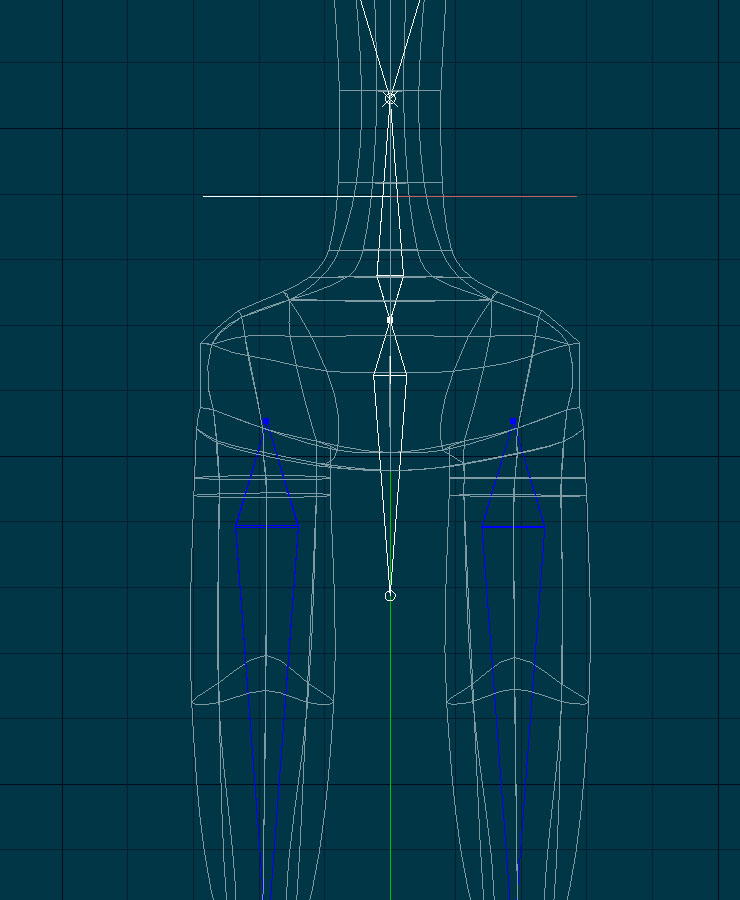
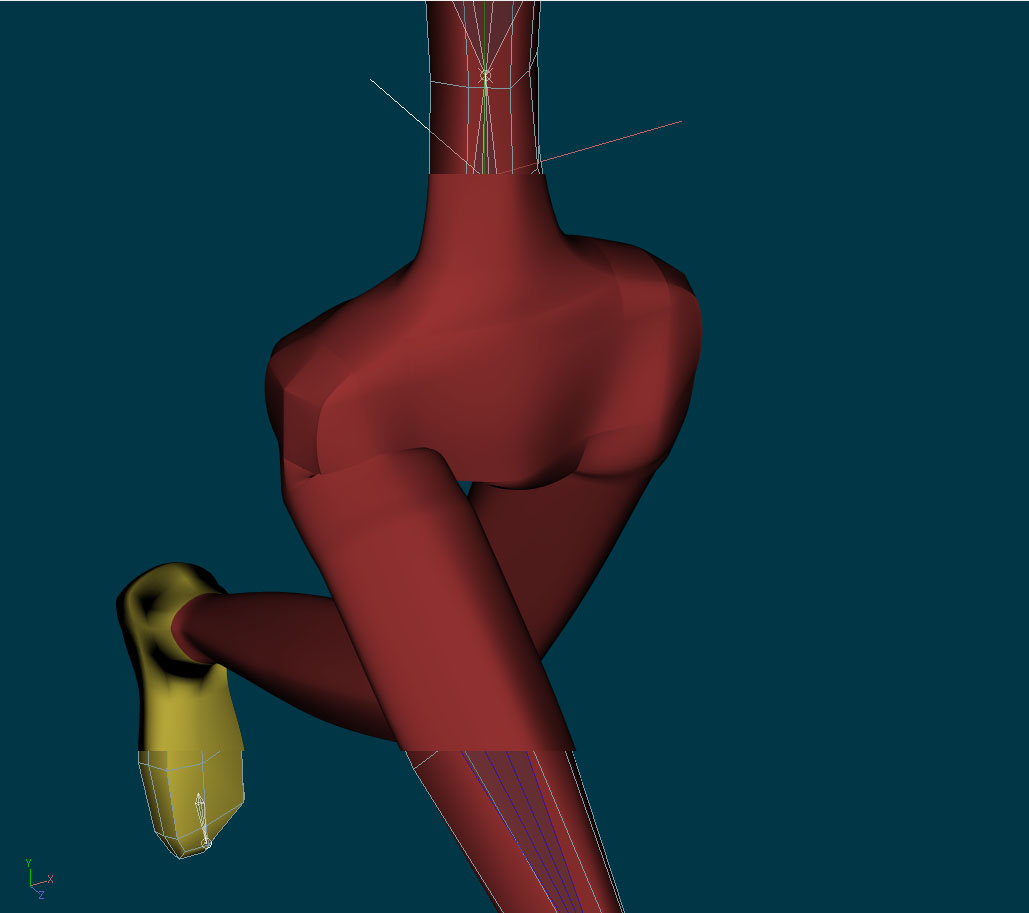
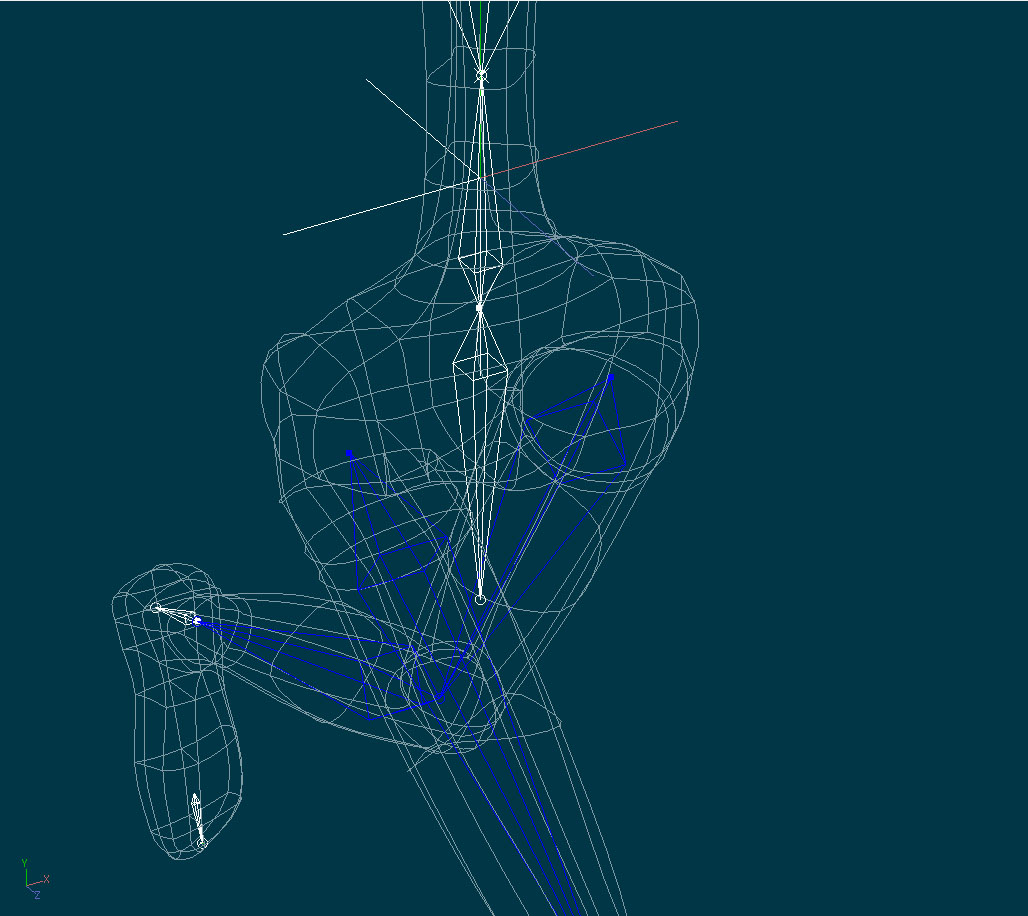
Robert Thank you for your reply. I'm using the 2008 rig. This id the basic hip set up from a front view. This is a render of that in a pose This is the same pose and view, as a wireframe, I'm about to read through Nancy's illustrations and Holmes tutorials but, any starters would be very welcome. regards simon
-
Nancy Thank you for your earlier help and for these links. Much appreciated. Much to do over the coming days... regards simon
-
This may a "How long is a pice of string " questions but, Is there a table or list that suggests appropriate weights to be given to CP's, using the 2008 rig ? What I mean by that, is given a standard joint like a wrist, what type of percentage spread would go across the forearm, hand and fan bone ? I've tried to work through it, but with very limited success, and need to address the problem again. regards simon
-
Nancy Thank you for your continuing help. It is much appreciated. I am going to have another look at the walk later today. In the meantime, could I ask about the CP weighting you mentioned earlier ? I opened the project you posted, and started to look at the way the CP's were weighted in the Robbie Model as suggested. Is there a way to list the way the values are distributed or , is it a case of selecting groups and choosing the "Edit CP weights" dialogue, then transferring those onto the new model I've done some work with weighting before but with limited success. regards simon
-
David This may be a bit left field (?) but, what about making it look like a victorian specimen room in a forensic hospital, with the colours and lighting to match. If the technology is so advanced that they can cross galaxies, it barely needs to be evident and it comes down to the function of what they are doing, collecting specimens for examination ? Just a thought ... regards simon
-
I noticed today that there is a sequence featured in the banner of what looks like a large transformer, kicking a car. Clicked on the link but it went to the forum section rather than the animation itself. Could someone kindly direct me to theanimation itself ? regards simon
-
Nancy Wow ! Thats a lot of work from you. Thank you very much indeed. I don't think the description Lazy is at all appropriate... The pigeon toed effect you describe, was less a stylistic choice, than following the guidelines in the Williams book I mentioned. I'll post a scan of the relevant page later on I'll certainly look at the project setting you kindly posted in some detail. I don't have a lot of experience using CP weights or smart skin so the models are evolving as the project goes along. I didn't use an action cycle but, will in future. It was partly to see if I could do it and partly because I watched a cycle tutorial that suggested it could become too mechanical if used extensively. The variety you create in the project is very impressive. regards simon
-
Mark Thank you for your feedback. I did have net render quite some time back ( several years !) but had trouble getting it to work at that time. I look forward to the increased render speeds of V17 but, my working method now is to animate till about 21:00 then let it render overnight while I work out what to do next ( maybe !!!). I will invest in net render at a later date though, when I get the "Charlie's Birthday" project sorted out. regards simon