SpaceToast
-
Posts
70 -
Joined
-
Last visited
SpaceToast's Achievements
Apprentice (3/10)
0
Reputation
-
Sorry for the novel here. My team is nearing the end of post on our current film, and A:M's renderer has been on my mind a lot recently. I'd like to frame these notes as constructively as possible. Since it's gotten so long, I'll throw in some Big Headings for readability--and in hopes of making myself feel really important. The Bottleneck All of my films and many of my illustrations have featured A:M in one form or another. It's my utility knife app. I continue to find it an extremely powerful, user-friendly full stack modeling/rendering/animation package at an admirable price. It's beginning to show its age though. A 3D package is only as good as its output options. Moore's Law is dead. We're not going back to ever-faster single core CPUs. Absent third-party renderer support, everything we do in A:M has to go through the bottleneck of a raytracer that can only utilize one processor core. When Netrender was included with the base package (in v16, six years ago) I took it as a stopgap solution and admission that the single-thread renderer was becoming a problem. Looking at the v19 roadmap, I still see nothing about multicore rendering. According to Activity Monitor, raytracing in A:M launches one additional thread, with a negligible increase in memory usage. My current production machine, a laptop, has 8 cores. Netrender, with respect, was never intended to be an artist's tool--which A:M always has been. It's a TD tool for idle overnight labs and rackservers: overly complex, crash-prone, difficult to use, and less convenient than the multiple applications of the Playmation era. I personally have never even gotten it to work. Third party renderer support is attractive in some ways, but aside from introducing many of the same pain points as Netrender, it would mean writing translation code for all of A:M's output options--not only Hash patches, but procedural textures, hair, volumetrics, soft reflections, IBL, ambient occlusion, etc. etc. etc. As much as I'd love to see COLLADA import/export eventually, we're talking about a very large undertaking, better implemented piecemeal over a longer period of time. Keeping it Realistic It's been my observation that an A:M window at render is basically a "state" machine--anything that changes between frames or render passes is applied to the world state and then read back into the renderer. (You'll see soft lights literally shift position between antialiasing passes, for instance.) As such, simultaneous rendering of different frames/passes becomes a slow, crash-prone and inefficient process of repeatedly loading multiple, near-duplicate instances of the same scene. More realistic would be to render a single pass at a time as now, but split it into tiles (say 128x128). A separate rendering thread is spun up for each 128x128 square and fed into a queuing/load-balancing library like OpenMP. The world state is maintained by the main thread. The queue completes (with an acceptable bottleneck at the last thread rendering), the tiles are assembled in a new thread while the main thread is allowed to advance, and a new queue is spun up for the next render pass. I notice that some great work has already been done in v18 at handing off render pass reassembly and other post effects to the GPU. (Today even a netbook's integrated graphics will composite faster than a single CPU thread in most cases.) Pass compositing, post effects, and file I/O should be able to manage without reference to the main thread, so need not hold up work on the next pass/frame. Digging through the forums, I see that a multithreaded renderer was attempted in v14--splitting the image into horizontal strips in that case--but was abandoned because it produced render artifacts in complex scenes. I can only go by my own war stories to guess what might have caused them; many of you will remember the memory-limited old days when illustration-quality renders required "scanning" across the image with a zoomed in camera or obstructing different parts of the scene sequentially, rendering multiple frames, and reassembling the pieces in Photoshop. Post effects like glow and lens flares were obvious snags with these methods--but again, post effects are better handled on the fully reassembled image, preferably in a separate thread. Single-pass antialiasing, especially at the frame edges, could occasionally be a troublemaker, but overlapping the render tile edges a few pixels fixed this. Single-pass motion blur and depth of field rarely produced good results; the time savings of saturating more than one core (even on a low end system) would to my mind argue for their potential retirement if need be. Phong soft shadows were always a little finicky--they saved me on "Marboxian" with a 500Mhz PowerPC, but I'm not convinced retiring them would cause much pain today. I have very little experience with the toon renderer, so I can't even attempt to comment on how well it might parallelize. 2001 Miles to Futureburg With a multithreaded renderer, A:M's biggest bottleneck is ameliorated. The power available to users increases immediately, and begins to scale again with each hardware generation. Tile size and priority optimization can be tweaked in subsequent releases. More tasks that are suitable to be handed off to the GPU, like Perlin noise, can be experimented with in their own time. With all the work that's been done to date on control point weighting, COLLADA import/export of rigged, animatable polygon models becomes more and more realistic (bare bones and incomplete at first, but with plenty of time to improve). With effortless boolean animation, riggable resolution-independent curved surfaces, hassle-free texture mapping, particle/hair/cloth/flock/physics sim, volumetrics, image-based lighting, AO, radiosity, 32bit OpenEXR rendering and much more, A:M becomes an app indy filmakers and small shops can't afford not to plug into their pipelines.

-
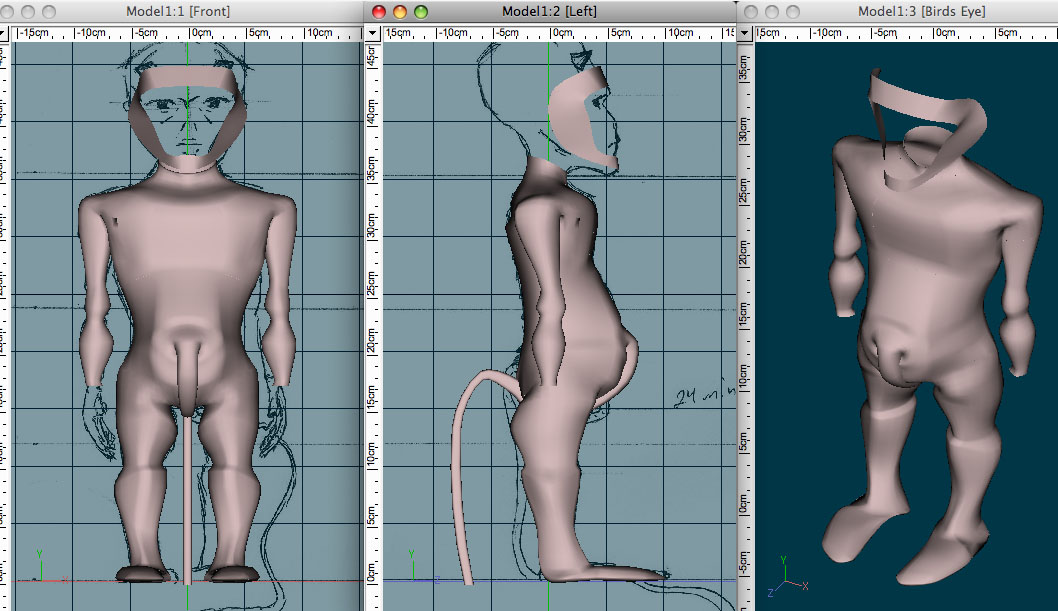
Two hours are up! Did I make it? Nope, not even close. Not bad for two hours, but the head and hands will take at least another hour of modelling. The fiddly bits are a mess of bad normals, and A:M absolutely refuses, no matter what I promise, to believe that there's a valid 5-point patch behind the right shoulder (though it's fine with the duplicate on the left). This little Maxwell will have to wait to be finished another day. Still, a good challenge for a chronic perfectionist like me.
-
Starting now...
-
I've set myself a challenge tonight. I'd like to see if I can go from sketch to usable character in two hours. The character is a Maxwell -- a sort of demon, or imp, based roughly on child proportions. At the end of two hours, I'd like to have: Produced front and side sketches Scanned them as rotoscopes Modelled the character Added the 2001 Rig Textured vinyl-like wrinkles where the skin bends in certain places This won't be a full-screen character, and a lot of fine detail would be eaten up by the noise I'll have to add to the final layout. (I'll ultimately be building a scene around a noisy, low-light photoshoot.) I'll check in tonight at 10:00, and then -- hopefully -- at midnight.
-

Recent jobs done with A:M
SpaceToast replied to John Bigboote's topic in Work In Progress / Sweatbox
Nope! Sorry, you're right. 16-25 passes. So 4x4 or 5x5 oversampling. -
Recent jobs done with A:M
SpaceToast replied to John Bigboote's topic in Work In Progress / Sweatbox
*has to check...* Nope, no rigs, just standard A:M lights and 16-25x oversampling. Here is the setup for the cover art: And here is the setup for the product shot. Note, with all the reflective surfaces in the image, the use of ambient white "cards" behind the shadow-casting lights: Cheers, -Matt -
Recent jobs done with A:M
SpaceToast replied to John Bigboote's topic in Work In Progress / Sweatbox
I've mostly been busy building the frontend on FoodFiltr.com, but this was a project I did last year. Beantown Project is an awesome local group from Boston. I designed their album art for the "Moving at the Speed of Life" album. The rest of the pics are here. -
Greetings all. I've been putting some of my gainlessly unemployed time into a new project, building a county-by-county population map of the United States -- America's other topography. I've been blogging about this project on my site here and thought members of the A:M community might find it interesting. Best, -Matt
-
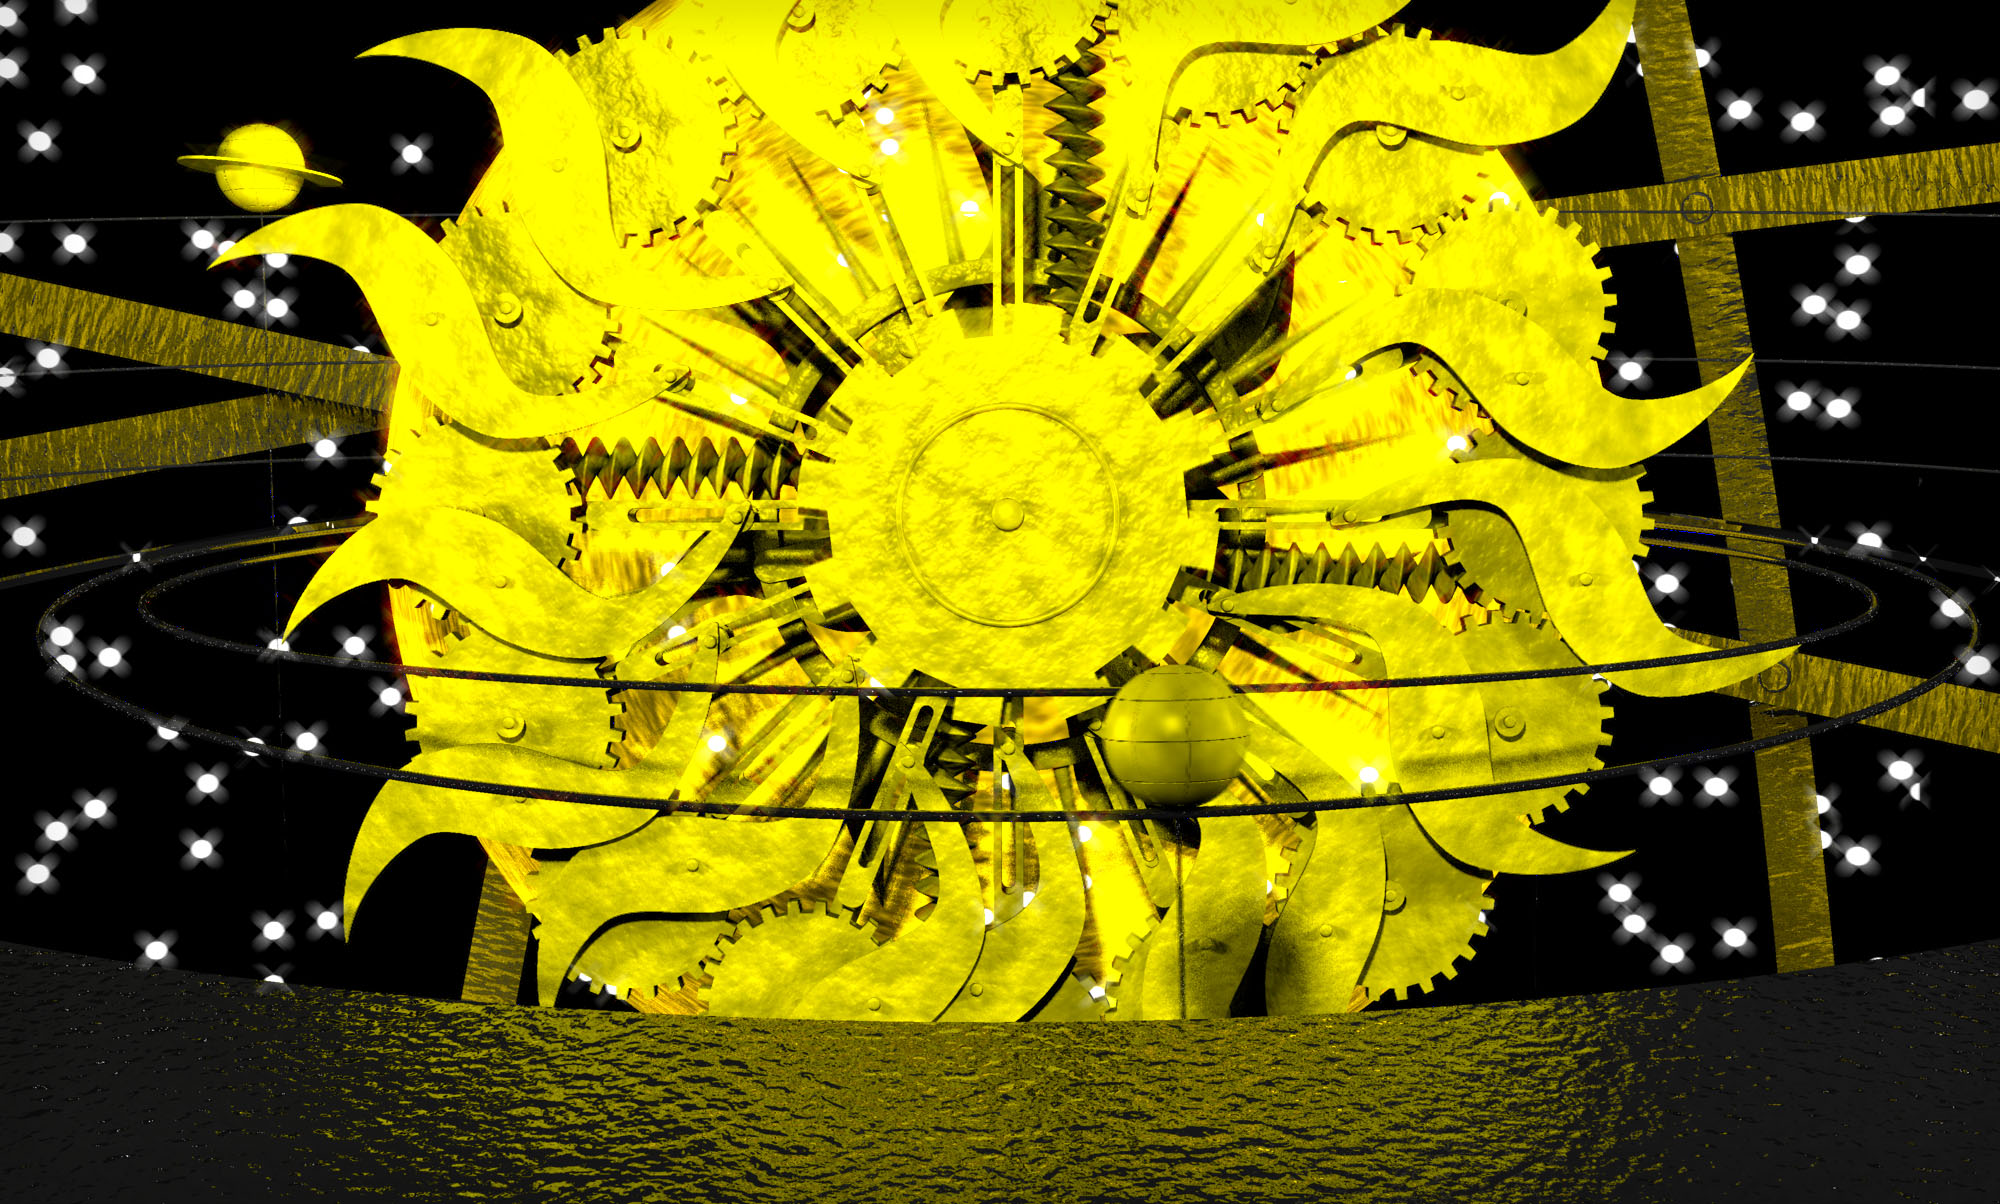
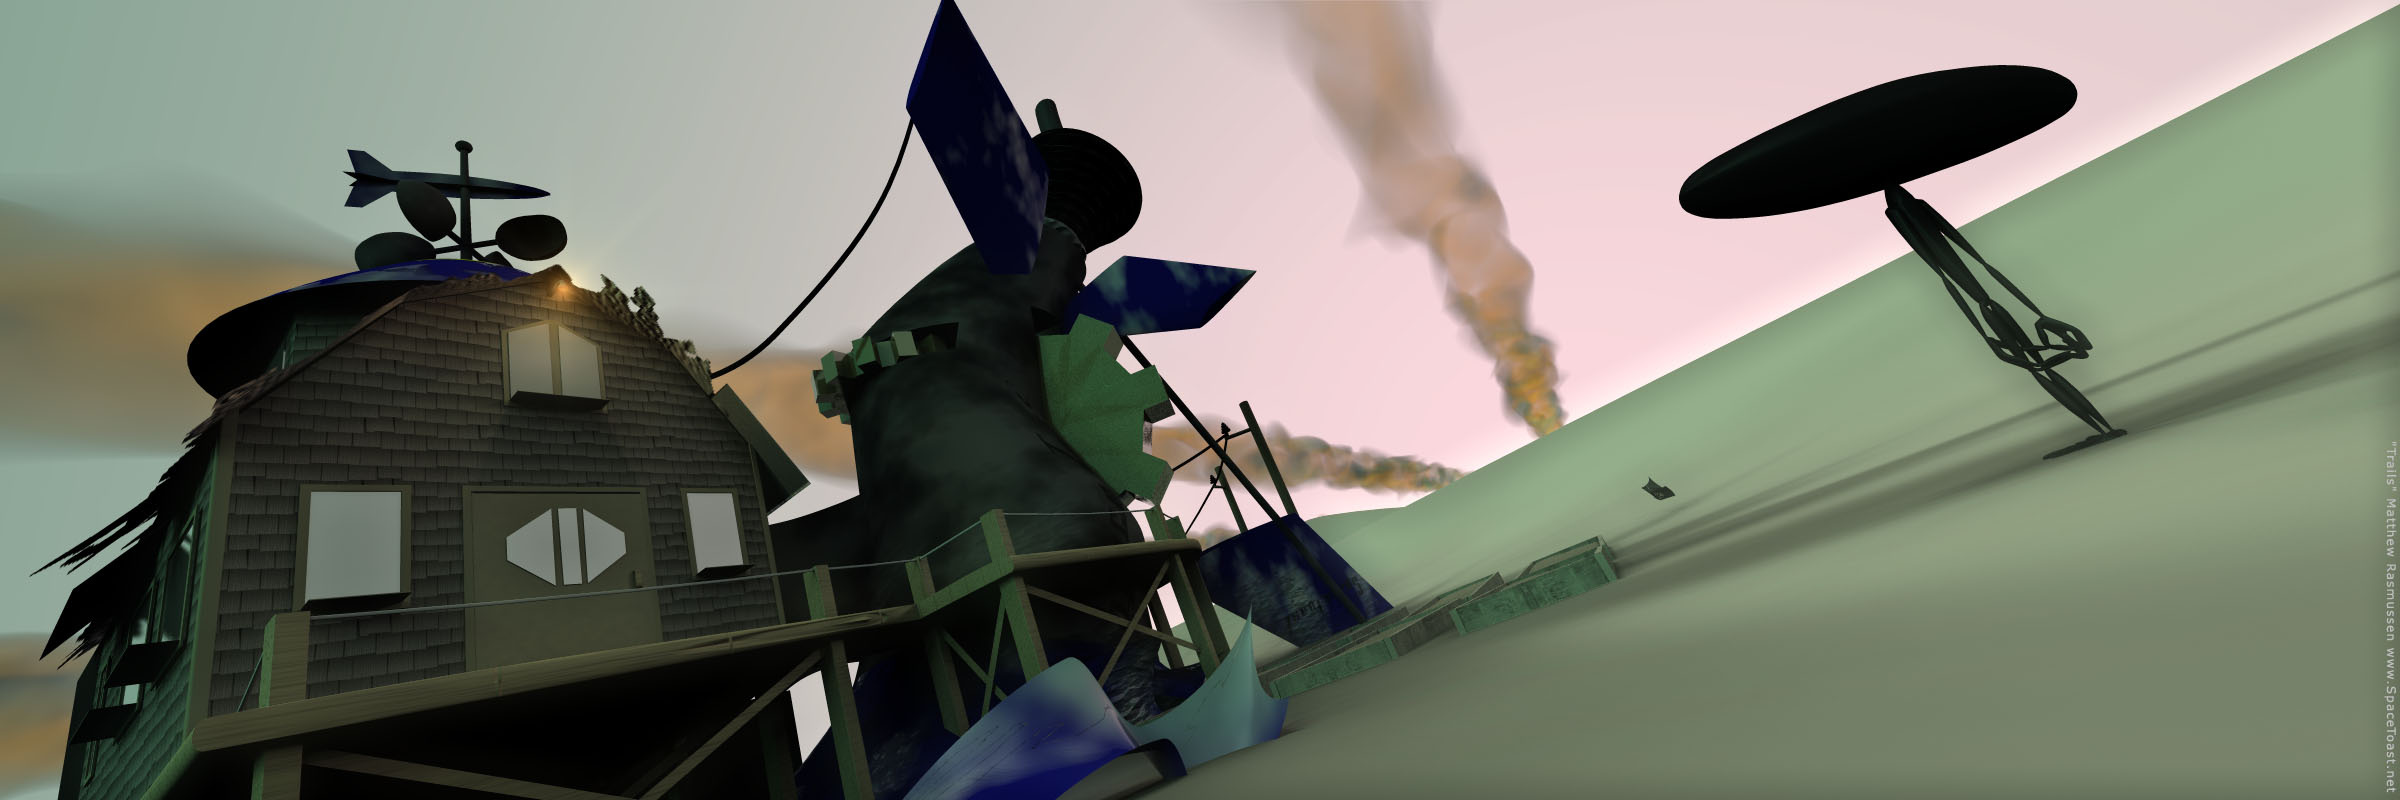
This is a new image I've been working on as part of a redesign of my site. (January is turning out to be a slow work month.) "Trails" took a bit over 24 hours to render on a single 1.8Ghz G5, with 16-pass oversampling. It's lit with five dub lights and the practical below the peak of the roof. The clouds are a seperate layer, to simplify things, and because I wasn't sure how much work I'd need to do on them in Photoshop. (I ended up applying a half-pixel gaussian blur, but that was it.) Each cloud is a tube with something like 50 cross-sections. I ran my Punk&Bloat AppleScript on them twice, and crossfaded between the two action files between frame 0 and frame 1, with motion blur set to 100%. Please welcome back the Marboxian. [attachmentid=13392]
-
This is my latest short, AEsop's Council of Mice. Bill Plympton's "Guard Dog" beat me at the Woods Hole Film Festival this summer, but I guess I can live with that. I had won Woods Hole last year, with "Marboxian," and was obviously hoping for a repeat performance. Now that I'm finally into my new place (though still living out of boxes), I need to get the DVD together and get this one out to more festivals. Go watch it! I don't think it's bad. ART STUFF: The severely crunched color palette was ripped shamelessly from "Avalon," a live-action/CGI film from the director of "Ghost in the Shell." Crunching your color palette, as that film and its later-born cousin "The Matrix" both realized, is also a good way to cover your special effects -- and I'm working legal, alone, and on the cheap here. A bit of advice here: Get an editor. He doesn't know what shot took the longest. He doesn't know what you expected to look cool. He doesn't know what you were thinking would happen with x footage, and he's not going to pretend it did when it didn't. If you spend the requisite man weeks required to animate a multishot film, for god sakes, get a fresh pair of eyes to help you in putting it together at the end. Rama Rodriguez (who is a heck of an animator in his own right, in Flash, and once re-edited "Fist of the North Star" into "Christ: The Return!" -- you'd have to see it) did an amazing job getting the timing and pace to work, as best my footage allowed. I'm serious: Ask for help. TECH STUFF: I shot/photographed the backgrounds in DV, then recolored, cleaned and painted alpha channels where needed in Photoshop. Editing and compositing in Final Cut Express, on a G5. The hair is 10.x decal controlled hair, for two reasons. For one, I spent an hour grooming one of the mice with v11 hair, and the results were a terrible mess; I couldn't find any way to groom symmetrically, nor to shorten/lengthen more than one guide hair at a time. The second reason was that the A:M for OS-X (10.5) release rendered significantly faster than either 10.5 or 11 for Classic, and time was not a luxury I had while finishing this for Woods Hole. I was never really happy with the mouse rig, but I'm never really happy with any of my rigs, and I don't believe in one-size-fits-all rigs. The legs were overly complicated, and could break in certain positions. I did all the dope sheets by hand, altering and deleting phonemes as I went, then went into the pose channels and dropped the intensity way down on all but the most noticeable phonemes. (I figured the audience is mostly watching how the mouth opens and closes, and that was all done by hand.) The spine was curled using a horrible smartskin system where forward/backward/side/side were all controlled by rotating one bone floating over his back -- I say horrible because it was impossible to crossfade actions, it turned out, without the spine freaking out. The ears are a great demo of the dynamic constraint, but it's not noticeable on many shots -- seriously love this feature though. Also, the geometry bones in the tail are all rigged to a set of control bones using a lagged constriant, so that the first segment of the tail is one frame behind, the second two frames, the third, three, and so on; I really liked how this feature worked too. At any rate, hope you like it.
-
No no, it's not a picture frame, but I imagine it's a bit esoteric. What we have is a newly constructed raised bed, just filled with soil and watered perhaps a bit too liberally. There's a nice explanation of raised beds here -- building them is covered in the Square Foot Gardening book pictured. (This is right out of my childhood.) Still trying to find a pic... There we are. The other book is The Not So Big House. The graphic theme for my site/company (The Space Toast Shop) is based around a shop built in/out of the ruins of a crashed rocket. More pics here. As of Cold Night, I got around to shingling the building. In this pic, I just wanted to reflect the shop. The picture is kind of an homage to my dad, who was a fan of both book series. He built the house I grew up in, and always had a whole mess of projects going: garden, workshop, wharf, sailboats, you name it. He was also a school teacher, so the summer was when things would really kick into high gear. We all love to build things, you know?
-
Summer days, summer days... This is an image I did a couple weeks ago to lend a summer theme to my site. Been meaning to post it. Cold Night was feeling more and more out of place... Props as always to Robb Allen for his free Grunge Pack collection. If I ever find myself with some time on my hands and a digital camera, I swear I'll pay him back karmically by creating a Grunge Pack 2. One of these days. Summer days...
-
I've added a few more high-res still to my site here -- the first four from the top. I'm realizing that I can use color saturation for depth cuing... but I'm afraid that'll have to wait for tomorrow. *yawn* 'night, mouseketeers- -M@
-
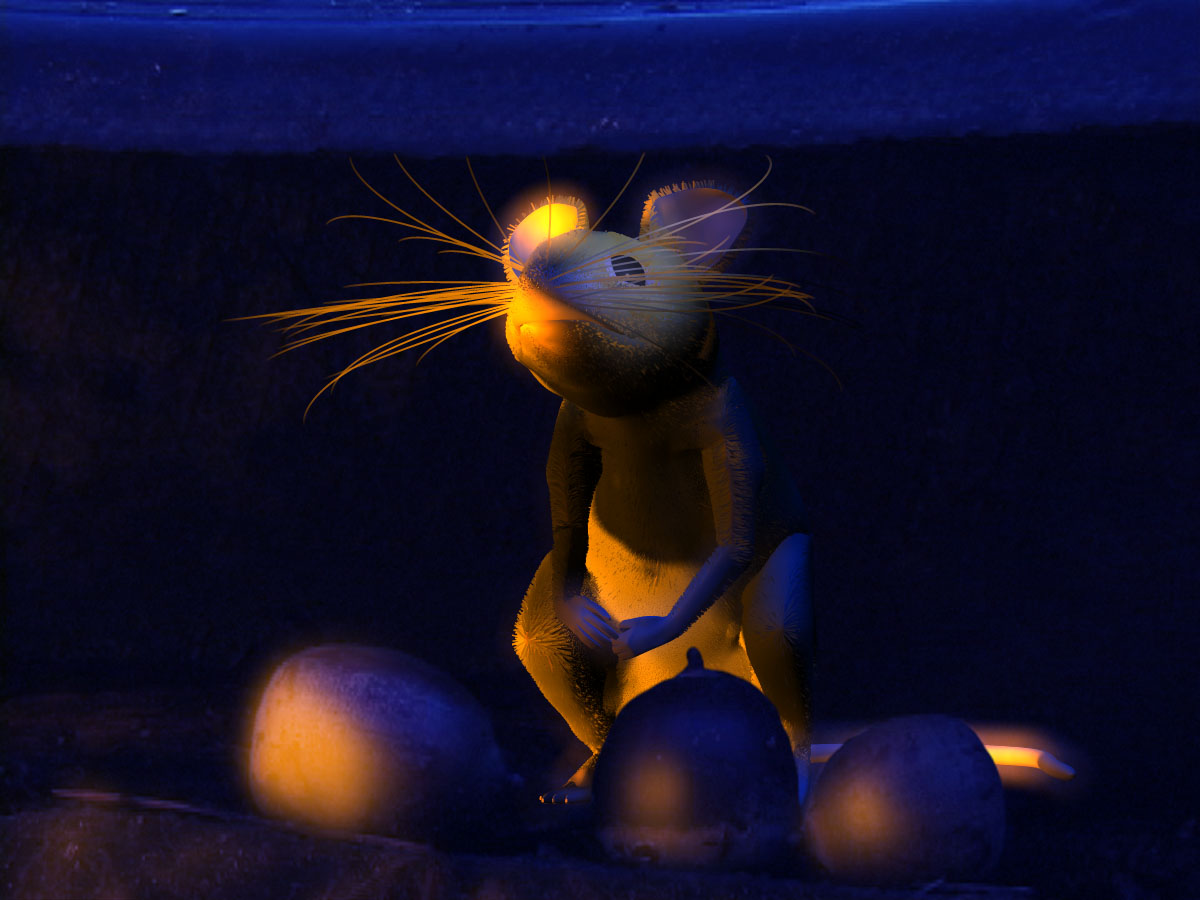
Crashing down to the task of revising and finishing "Aesop's Council of Mice," my next short, in a few too-short weeks. This is a high-res pic of Pawtuckett. (The actual short will be produced at 720x480 DV.) Pawtuckett has a kind of yellowish color to most of her fur, and I'm checking to see if that explains the difference in glow color between the acorns and her. I'm just posting this pic because she's the first of the character models I've revised. I need to decide what to do about her thumbs, and a few other trouble spots, before I move on to the other mice. The hair is 10.x decal-controlled hair- -M@
-
Thanks for the kudos everyone. Actually, the best accolade so far was being told that it once kept a roomful of very sleepy children attentive for 12 minutes. The melting statues were just done with a three-frame muscle animation, if I remember correctly. I keep meaning to put together a quick tute on 2d warping and morphing in A:M -- this really was done with just A:M 8.5, Photoshop and Premier, on a G3 iMac. (Hence the blown-out backgrounds, as an eagle-eyed observer commented -- but that wasn't the only reason for the white empty space.) The whole thing took about a year of my spare time, going to school and working a part time job for a few months. The official Marboxian home page is here. Right now, I'm hurrying to finish "Council of Mice" for the Woods Hole Film Festival at the end of July, which is where I premiered "Marboxian" last year. I'd like to keep some local buzz going. Then we'll probably see about producing a series of short live action films with Boston writers/directors/talent, but that's... *whistles* way over the horizon right now- -M@