


DJBREIT
-
Posts
359 -
Joined
-
Last visited
Content Type
Profiles
Forums
Events
Posts posted by DJBREIT
-
-
I was work on coping a bunch of group pivots to there material. After two hours of mind numbing work I hit some keys and the groups I was working on had there pivots numbers copied to the materials translate.
I wish I new what keys I hit because it saved me a boat load of work. If You know something about this please post.
-
Hmmmm It may have been like this.
My lines maybe a different color since it is set to one that sticks out. Yours seem to be set at blue.
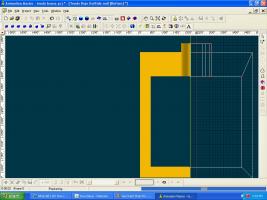
What happened is I put on the CP lock in this image but to cause this first open your model and expanded it. Then open one of your work windows like "project workspace. Next put quick render on your model then close the work window. you should see the yellow line on the side. I think the yellow line is suppose to be the edge of the render window and normally is the same as your model window. It is just a glitch in AM Not a big one. To fix this turn of quick render. If it is some thing else then I don’t know.
-
Do you mean something like this?
-
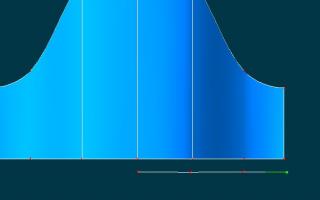
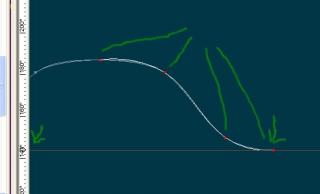
The Ease sort of answered most of the question but left one problem.
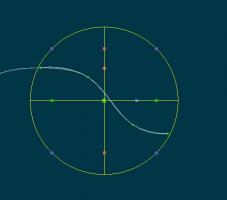
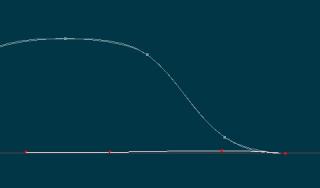
Since this is a tour I don't have a defined time line and I need to change and extend the path as I maps out the tour. the problem is the Ease is a percentage of the path so when I change or extend the path it throws off the movements and stops of the camera that I have laid out. If the ease was a time stamp this would not be a problem. Is there a fix or would you do something totally different instead of using a path?
-
I am setting up for a video tour of a house I have made for You Tube. And after taking two days to figuring out how to get the doors and windows to work at the right time throw an action. It maybe faster to just ask.
I am using a path with a camera.
1. How do I speed up/down and stop the camera along the path so I can have the camera stop and look around.
2. How do I set up so the cameras movement as the actions that dictate the time of the video instead of the path. Since it is a pain to recalculate the time ever time I make some changes to the cameras tour of the house.
3. How do I set up an object on the path ahead of the camera so the camera will aim at where it is going instead of where it is on the path. Just like a person would do. look at where they are going instead of where they are moving.
-
Rodney or who ever else can answer. I was wondering if "Images forum” is for decal's and material or is it for another purpose? If not Can you make one since it would be useful.
 Since I may have some decal's and material to add.
 -
Some how this double posted.


-
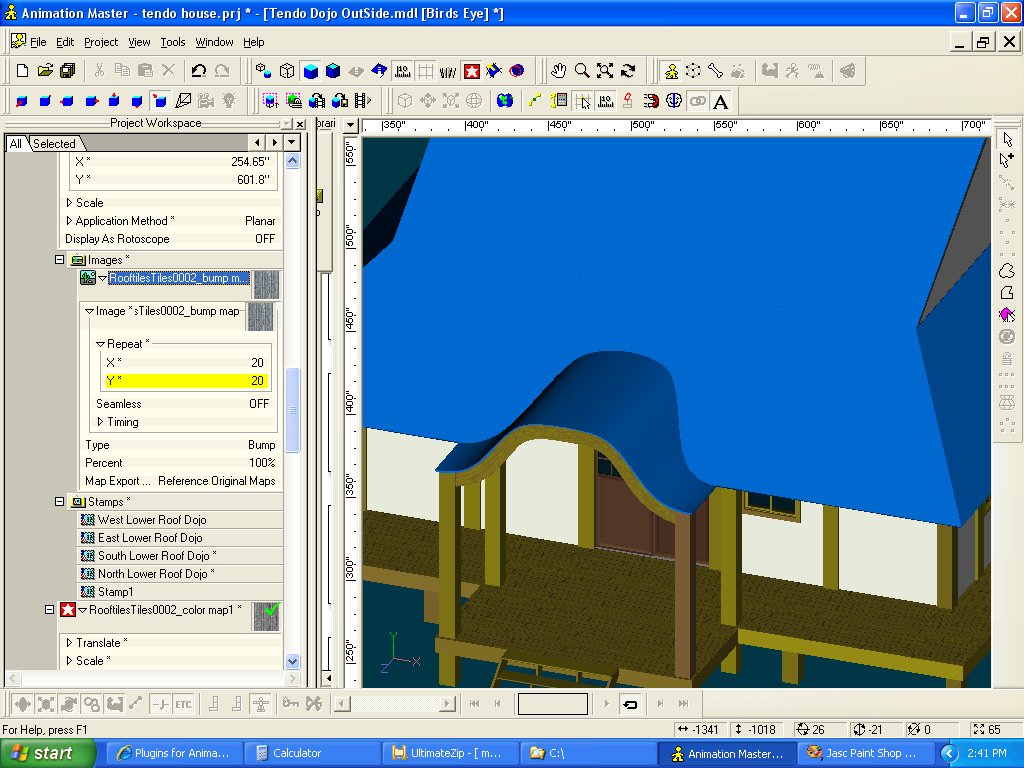
2) second try would be to use patch image method - select all cps of roof, right click on selection, choose add image, select your image. Change any orientations on patches that show up incorrectly - ie, right click on patch , select rotate image until it looks right. Then set the repeat count
This one turned out not to have some of the flexibility that I needed.
Don't know what you tried (can guess) - and I would have to see the spline layout of your curved roof (can guess), and the image you used (can guess) -1) So assuming your splines, and tile image look something like mine, my first inclination would be to go into an action with just the roof splines showing, go into muscle mode (in the action), select all cps, then flatten the surface by scaling to 0 on the y axis. Then still in the action, rearrange the cps so that the patches are somewhat uniform - and apply the decal from the top view, using a planar map. Set repeat count.
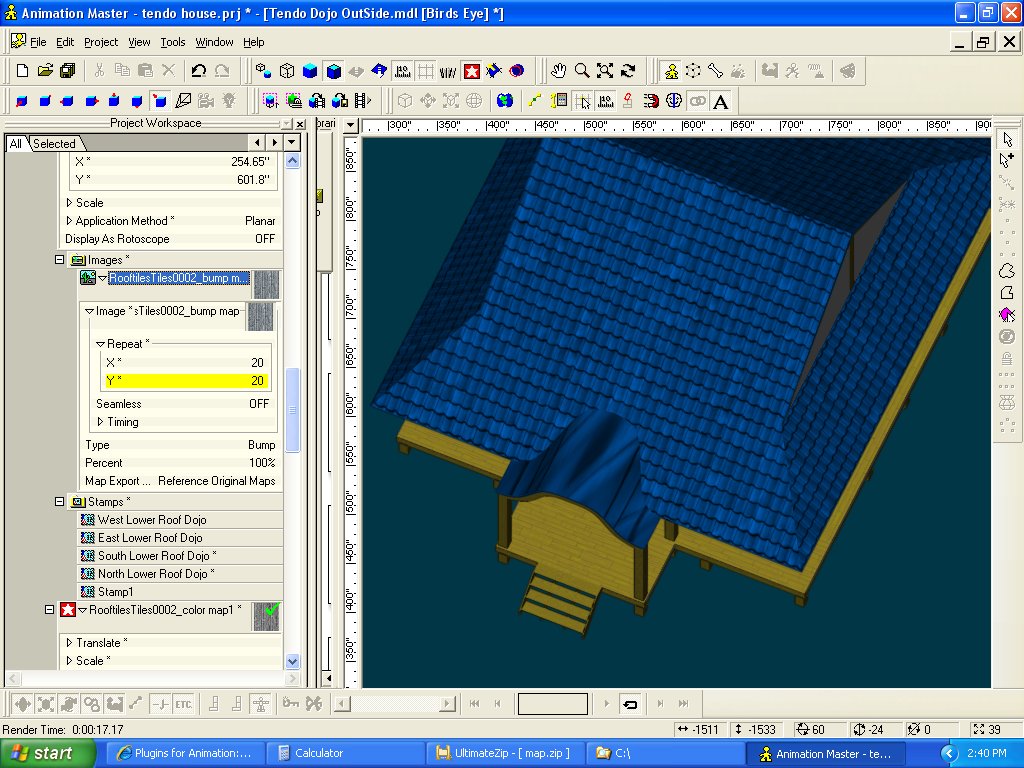
This one I did try but after realizing I had to figure out the steps. I decided to ask to see if there was a simpler way of doing this instead of eating up my hole night on this one problem. But it turned out to be the one that I used to fix the roof.
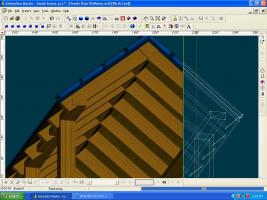
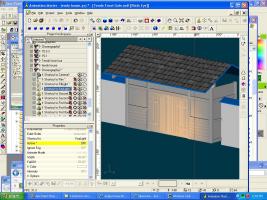
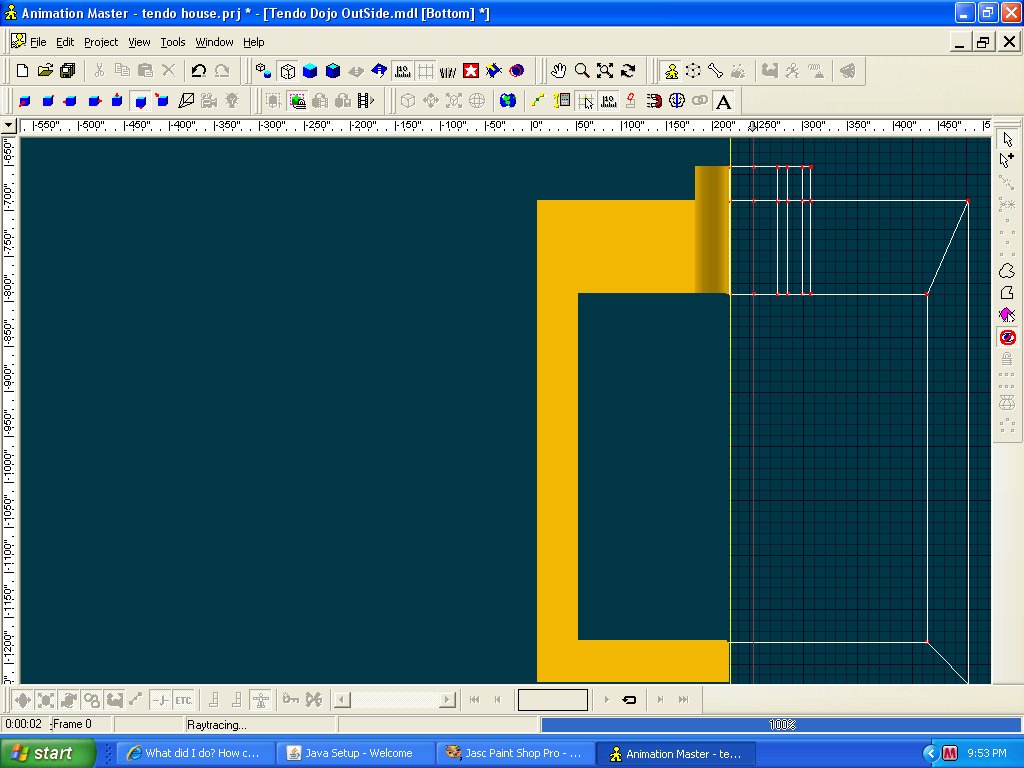
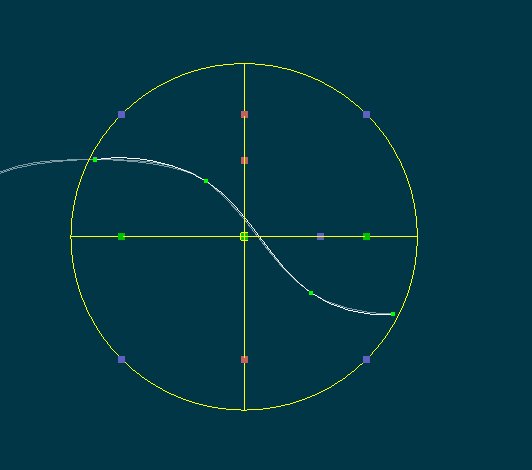
This is How the spline Was set up on the roof
I isolated the part I was working on and made a spline along the edge of the roof line then using the “rotate translate”
I made the spline flat wile keeping the CP distance the same as the coved piece..
No images after this do to two crashes And being frustrated I forgot to take them.
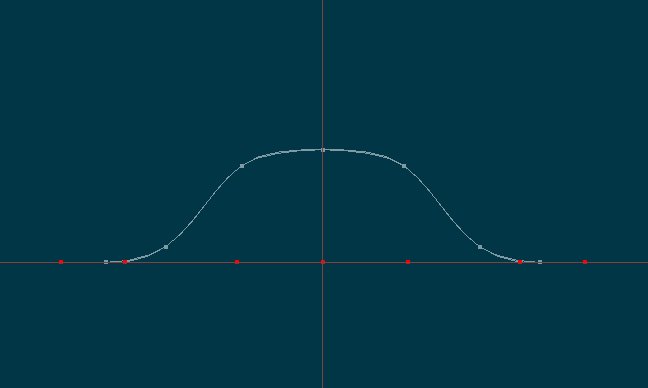
Then went to “Pose mode” “ON/OFF” the switched to “muscle mode” then flattened ( as you said) the model with the property. “Y=0" then used the spline as a guide and stretch the outer splines to the CP marks on the single spline that I made from the edge. Then I added the two decals one was a bump map the second was added as a diffuse map. No color map was added.
Not a full render.
Thank Nanncy
-
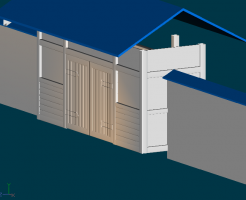
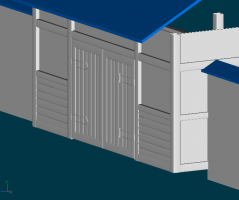
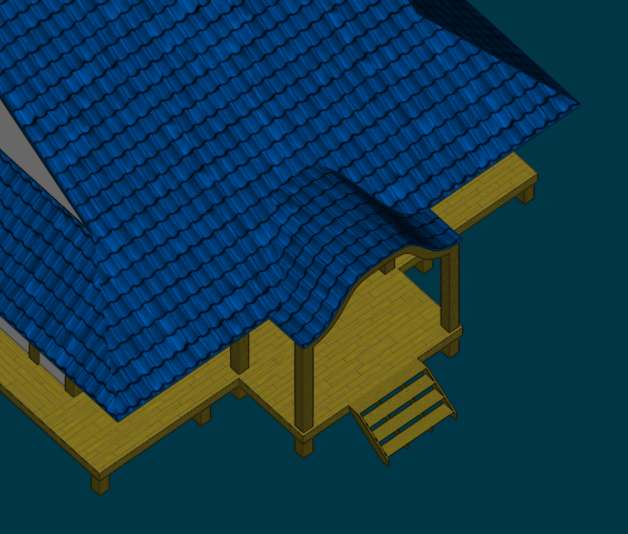
I was putting decals on my models roof until I reached this curved piece I have tried a few things but it cames out distorted. So instead of poking and hoping all night I’m posting it here. What would be your approach to applying the decals to a curvy surface?


-
I have found where it is coming from but how it is doing it is the bizarre thing. it is coning from one of the choreography. Since if I open the last choreography and start moving the light around the light in the model window moves.
Since it is just an annoyance I will put it up in the AM report when it comes back up.
-
For a week I thought my eyes where going bad or my computer. Since all my models where showing in an odd shade of color. Until I made this model with out adding color groups.
Then I noticed the odd spot light on the model. “This is in model mode” in 15i vers.
So I opened it in 15d vers.
How do I turn it off?
-
It seems the "error report" link goes nowhere.
-
I already know of this problem If you have three files with three container in them and bring them in to a project as soon as you save them each file will have nine container each. It dose not do a good job of cleaning them out. And the purge plug-in dose not work ether.
If you think you have got them all and open the project and get the same problem then you missed some files so don't save. Close it down and start looking for any file you may have missed.
Also you can start a new project and add the files one by one. To check witch files you have missed.
And to help you speed thing up you may want to use notepad++ http://sourceforge.net/projects/notepad-plus/
I tried to find an INI's editor but the only one I have found was a old one set up for a game. to bad we don't have one set up for A::M files it would make it a lot easyer to fix and clean up the files.
-
im getting a number of crashes on a simple model switching to shaded wireframe mode. anyone having this and is there a setting i need to change?
Ether you have a decal or you have a bias magnitude not set to default. in ether case the problem is in the render switch. And this seems to be only PC. so go back to 15g until the problem is solved and 15I comes out.
-
It seems the main problem is with the Render mode switch. One of the conflicts is if you have bias magnitude set other then default and have a CP selected or other you will crash or freeze. If you have down loaded 15h ether but 15g back or make sure you have nothing selected when switching from one render mode to another.
Have a nice day
-
-
-
-
If you have a the web version/upgrade you can also use a three ring binder.
Down load the web help files, print them out (double sided if you can) get a hold of a three ring binder and a three ring hole punch. And there you have a manual that dose the samething. But you can replace pages or add your own note pages as you see fit.
-
I ran across the same problem a short time after I upgraded. In this case I was in choreograph I think but I have not seen it happen since. Right now Im just keeping an eye out if it happen again.
-
Thanks guys
I was hoping to see something I had not found or tried yet but thanks anyway.
Also I have add the trick I found to the AM report as a new feature
Shelton
You may also want to look at this if you have not found it yet.
-
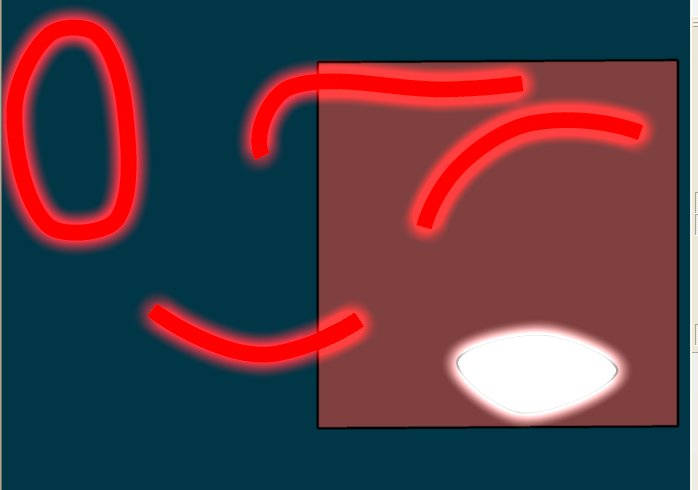
I will be needing to make some neon signs.
I have figured out how to make one using render as line and adding glow to it in notepad but if you save the file it deletes the glow entre.

I wanted to see what other options there are to make them?
-
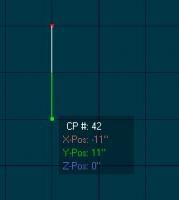
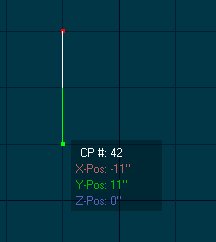
If I understand the question correctly, this might help:
Group-select the CPs.
[sHIFT]-Click on the CP (within the group) for which you want to define coordinates.
Click on the "Show Manipulator Properties" button in the toolbar.
Enter your values for X, Y and Z.
The [shift] selected CP will move to that location and the rest of the group will follow along.
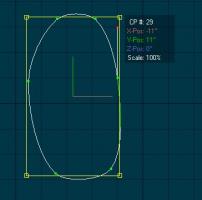
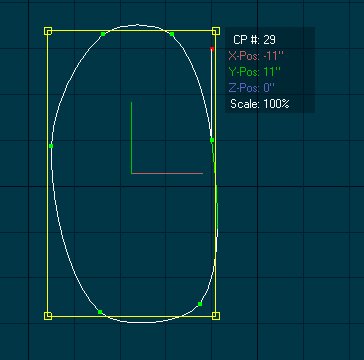
Turn on "Show Manipulator Properties" button in the toolbar.
Get the pivot point of the snap grid or use 0,0,0
Group-select the CPs. move the group near the grid point. Because as you enter each of the coordinates the group will jump.
[sHIFT]-Click on the CP (within the group) for which you want to define coordinates.

Enter your values for X, Y and Z.
The [shift] selected CP will move to that location and the rest of the group will follow along.
Hope this will help.
This is HomeSlice I just cleaned it up.
-
[
You cannot import other model shortcuts into a model window and have those shortcuts still reference the original models. Anything you import into a model window becomes a permanent part of the model and adds to the patch count.Thank that answered the question.
You can construct your set in an Action window. The you add your base model, which can be a simple ground plane or whatever, to the chor. Then you drop the Action onto your base model in the Choreography in order to automatically assemble the set in the Chor. This is kind of a hassle, but it is a good way to use the same complex set in several scenes and insure that the set stays consistent in all the scenes.I will have to give it a try


Hidden command
in New Users
Posted
I take it this was a bug. And After trying to reproduce it came up with nothing ether. Bummer the first bug that would have been rely handy.