-
Posts
895 -
Joined
-
Last visited
Content Type
Profiles
Forums
Events
Posts posted by entity
-
-
... and if you want things to glow with less intensity... lower the intensity too.
-
Well, I believe my advice to you was wrong in that case.
Try putting your speculars settings back the way you had them and use more lights... if you are already using 2 or 3 lights reposition those so the highlights/textures show up more, because you want people to be able to see/feel what your character looks like and is made of, unless you want him to be shrouded in darkness the way he is. Did you input a diffuse setting for his clothing or materials? ---- all this is assuming you want his textures and materials and surfaces to be seen. If he is supposed to be a shadow creature then ignore what I'm saying.
EDIT:
Just keep playing around with the textures and lighting til you find what you are looking for... is actually the best advice.
-
I've been wrong before. What types of surfaces are you trying to show on the Dark being? leather, black chrome, stone, plastic?
-
Yes,
Thanks for coming to my aid. I'm going to rest a little before delving into this walk again.

robcat2075 says:
the toe needing to push off more into the next step. And the shoulders would benefit from a different treatment and...william gaylord says:
you might keep the toe planted longer and roll the foot more off the ball of the foot before it leaves the ground and then come down on the heal at a slightly higher angle. That will also allow the knees to bend a bit more.modernhorse says:
The feet seem to almost hit toe first before the heel. This makes his walk look tentative and unnatural.hypnomike says:
When the back foot comes up heel first it may look a little better if you bend the toe until the foot leaves the floor. It may also help to speed things up a little as the stride appears to be on the slow side.Reply:
Everyone,
Yes, the walk needs the toe-push off... and a little more of a "heel plant" before "foot down flat"!
It's hard to see from the angle of the camera, but his feet actually angle outward as they leave the ground and the leg swings outward a little and then comes back toward center again before planting the foot.
hypnomike,
As far as changing the speed--??? I don't think that would help IMO. It seems about right to me. I could tweak that too, but I have no context to animate this walk for... tempo/speed would have to do with timing and it's just the cycle I'm concerned with right now... the rythm and mechanics. It is noted though for future use of the walk.

And Robcat it has lost some of the weight I had before. I felt I had to much... this maybe what it needs to, just a little... I don't want him to get too exaggerated.
 I know you're wanting to do realistic and not cartoon, but Richard Williams "Animator's Survival Kit" has a great big huge section on walks and he addresses just about everything that's probably bothering you about what you have so far.
Geez, only $20 used on Amazon... that's a steal considering he used to charge people $1000 to listen to him say the same stuff in person.
I'd be lying if I said I was going to look into that, so I'll look into that. <_>
Are black socks in now?WARNING: inside joke--> Depends on which Bar you happen to stumble into.

And KenH,
Swinging his lower arms abit will give it a more flowing movement. Also, the right shoulder joint doesn't seem to bend naturally. The pectorial should be stretched when his right arm moves backwards. And it looks like it rolls too much.Okay swinging the lower arms adds weight also, and he needs that but when I walk, I don't swing my arms very much and not even as much as he does! ... and both shoulder joints have the same problem when the clavicle is moved. It's a long rigging story, but he was built as good as I could build him. What's causing that is the bicep roll. The roll moves some of the fan bones a little, but not enough... without getting too post heavy... I can't mechanically fix this and I'm not ripping his rig apart again for MY SANITY.
Finally, I have to roll the bicep so I can swing the lower arms forward and back.
Don't feel bad starwarsguy and ddustin! I've been at this for 8 months with my first attempt at building a semi-realistic human. This is my second effort and it's been about 6 weeks. It gets better as you go along. Just keep DOIN IT!
Way back when I first got A:M version 6 my work wasn't even close to your work. When I got A:M version 8.5, I learned a lot more and built my first humans- I'll look for some old work to show you so you can see my progress...but later... for now, thanks for the replies and don't feel discouraged.
-
I got it as smooth and as even as I could, but he still has a slight hick-up in his walk. I've BUSTED MY BRAIN over this. There's hot neural fluid leaking from my skull!
-
You have a dark being that doesnt have much specular on him. Increase the size of your specular in his "surface materials" or "surface colors". Make the specular size larger than 100%. It works good on dull or shiney surfsces to bring some light on your character. (A good example is the way George Lucas lights Darth Vader.) Experiment with different (opposite colors?) colors to make things pop out against each other more. Tone some things down toward gray, let others be bright in tone.
The composition is very good. I like creatures with glowing red eyes!
-
Good job Biotron2k,
Keep working on it. Don't for get to "punctuate" the actions he is doing, to seperate the actions... but for a preview it's going good!
-
Fantastic ship animation. It's definately got that hover craft feel to the motion. That was kool the way you allowed it to go out of frame and cut to a new angle-- smart way to handle that... most people would have just moved the camera, but whenever you move the camera, it's disorienting... so you have to change timing as a result. I'll have to remember that solution you have for scenes like that. Thanks.
-
Good! The only suggestion... is to keep going! Are you going to go on to animating the brows? I see a lot of possibilities there.
I almost missed this posting. There are a lot of wip's going on, right now.
**EDIT:
Sorry, I didn't see the brow movement the first time around. It's very muted. I suppose you don't want it to interfere with any of the other jestures going on there, but I think a few strong arches are good for puctuation "!" . Just a suggestion since I'm not much of an animator. Just my first impression, concidering the subject matter here.
-
WillP, you said:
Adds new meaning to "Drag-N-Drop" InterfaceWere you trying to say this:
DragN- DropIn?

*EDIT:
VERN said:
So... back to libraries and actions...My characters need to skip, walk, run, etc, so instead of starting from scratch, and since I did use the 2001 skeleton for rigging, I am using the actions on the CD and making modifications and improvements to it. Not only will this save time but I also learn from the process.
Using the actions on the CD is like... well... like those plain pizzas you get. You then add your own stuff to them.
That is my 2 cents...
My long winded posts are a symptom of extreme laziness. The more I talk the less real work I have to do.
p.s. I had to reread that... I have rigged 3 characters in a week using the 2001 skeleton... I still can't believe it... and they work too! Amazing. I suddenly understand rigging...
You know, now that I think about it, A:M has a strange way of making you get creative even when you aren't trying to be.
-
That is wonderfull! GREAT JOB !

-
Here's the post I was looking for. Maybe the answer is somewhere in there. -R
Volumetric Discussion and Troubleshooting
The only difference is there is a boolean cutter used for the window. Maybe we HAVE to make the geometry (built) hole instead of using a boolean. That would definately solve the problem. Stop banging your head against the "wall".
Edit:
The example Rodney speaks of has the hole built into the wall. As for the volume rays shooting through the wall... I don't know, maybe try flipping the normals and trying them each way, but the thread Rodney posted has a sample project... I downloaded it and had no problem rendering it.

-
I tried it with two sided wall (wall face's normals for both sides point to the light) and two single planes next to each other (again face's normals for both planes point toward light) and I get no passthrough but no volumetrics through the boolean cut hole. But I used a klieg light with raytraced shadows.
(The boolean face's normals face away from the light.)
With klieg & raytraced shadows
-
no one's going to mention that the correct phraseology is "back in the saddle"?
I don't know... I once sat ON a chair? or did I sit IN it? But phraseology doesn't account for both? I've heard it said both ways.

EDIT:
-
I tried LW demo for a while and I just couldn't get used to the darn rigging... it's terrible compared to A:M. The learning curve is not bad... it's the work involved in what should be as simple as it is in A:M. So, I switched back and to my surprise almost everything I wanted to change to LW for was new features in A:M v11.0. Only one feature I want more than anything is shadows and volume shading for streeks. That would just blow me away. But there are work arounds for that. Also to be able to make a model a particle. That would just make me cry.
-
i mean in the modeling window and how to assign it to control points .... do you apply the nulls to control points or bones?
Nulls are easy to grab bones for animation, IMO. To my knowlege, they are for keeping positions rather than manipulating the mesh, so no the cp's can't be assigned to a null.
or do i just have to make a relationship in the project workspace tab?Using constraints in a pose is a good use. A pose is a relationship. Smartskin is another type of relationship. You can constrain a bone to "translate" like a null and the bone will go where ever the null goes when the pose is turned on in the action properties.
Look at some of the models that come with the CD or go to HASH A:M VIDEO TUTS for more info.
hope it helps.
-
Do you mean in the modeling window (If you want to move it virtually, you'll have to click and drag it like any other bone would be moved- the red/blue/green vanes will not select it in modeling, it'll be the blue bone) or in the action or chor window (if you want to virtually move it, just click on any part of it... then you'll see a box around it... click inside the box and drag. If you can't seem to click on it there because it's obcured, just select it's name in the PWS or rotate to get in a better position for grabing it.)... if you mean change the values of position to specific variables- then click on the null and look in the properties>bone position>start (x,y,z) and end (x,y,z)... you can input the variables there... that is if you are in the modeling window... the default position is the "start" at (0cm,0cm,0cm) and "end" at (0cm,0cm,10cm).
*Edit:
You can do the same for Action and Chor windows except only the start position(=translate) is needed. You can input translation variables in the properties under translate... a translation will start as (0,0,0) where ever it may have been positioned in the modeling window and as it is moved (translated), it will change the variables.
Note-- if you use the arrow keys to move it, keep in mind it will move it "straight up and down or side to side dependent on your view in the viewport(window).
Hope that helps.
-
UV sliding
This could be Manual or Dynamic poseing and sliding of UV's. Dynamic would require the UV's to slide proportional to spline length and such - Tricky but probably not impossible to do.
If it "could" be a request for a moving or non moving map... maybe the simplest approach to that would be being able to define the position of projection in relation to something you can animate/ move around with bones... maybe it could be related to the position of a bone or a null that won't move. The projection map could be moved only when the bone/null moves. But to do this for a UV... I don't know if that would be a programmer friendly approach. It's a good idea for more than just skin sliding uses.
What do you think?
-
I was just trying to make another example using camera projection/composite which actually turned out quite good! Problem areas is overlapping (arm pits) and edges. This could almost substitute the need for a material plugin, but it just does not work well with anything but color (It becomes too obvious with bump).
Okay! That example is very good. So, you are projecting the high/under mesh images on the lower skin moving mesh... or is it the other way around? Or are you just rendering the two passes and compositing later?
I see what you mean about the "realism" of it... it certainly looks like skin over bone/muscle! Is there a chance you could show the images before composite?
You must be a genius. It's a BIG step in the right direction.
*Edit:
I just was thinking about this a little more... Photoshop has a distortion filter- couldn't you use the bone/muscle pass to distort the skin pass using that for final comp.? I'm not sure if things in the filter get distorted because of differences in value or the actual tone amount (like bump maps). I not very knowlegable about compositing, but it sounds like it might help where the shadows are.
-
Also, you could always try to do an animated distortion box in a pose and have the rotation of a bone trigger the pose or change the percentages. It's outlined on the "A:M- Siggraph 2003 CD".
-
But you said it with less words

-
As far as I know that's the way A:M has always done it. Whatever is selected is not hidden, so what you can do is hit the period key- (.) and reverse the selection, then hit "hide" button or "h" key.
-
From your animations, I can better see what you mean. It still seems to me that the time you would have to invest in making the maps could be equal to setting up softbody dynamics... but at least you ARE in control more with the method you speak about. Cloth would be a hit or miss kind of thing, but your method seems more controlable where output is concerned. It's not so insane, I will admit, and is plausable. It would have to be synced up with bone movement after being setup? Should bone movement cause the effect to deform the surface?
-
It is an insane request. And the method seems so far from what could be done a lot easier with the mesh on mesh approach... What you are speaking of is needed, but the computation required and the backround work would be as hard as soft body dynamics anyway. What we need to acomplish this is being worked on right now... a more robust cloth. I think HASH is already headed in this direction, without straying to another method. Just hold on a little longer... we may get what your asking for. BOB (Or other HASH emp.), if you read this, we're waiting for the new cloth... some of us want to use it as skin for our characters.

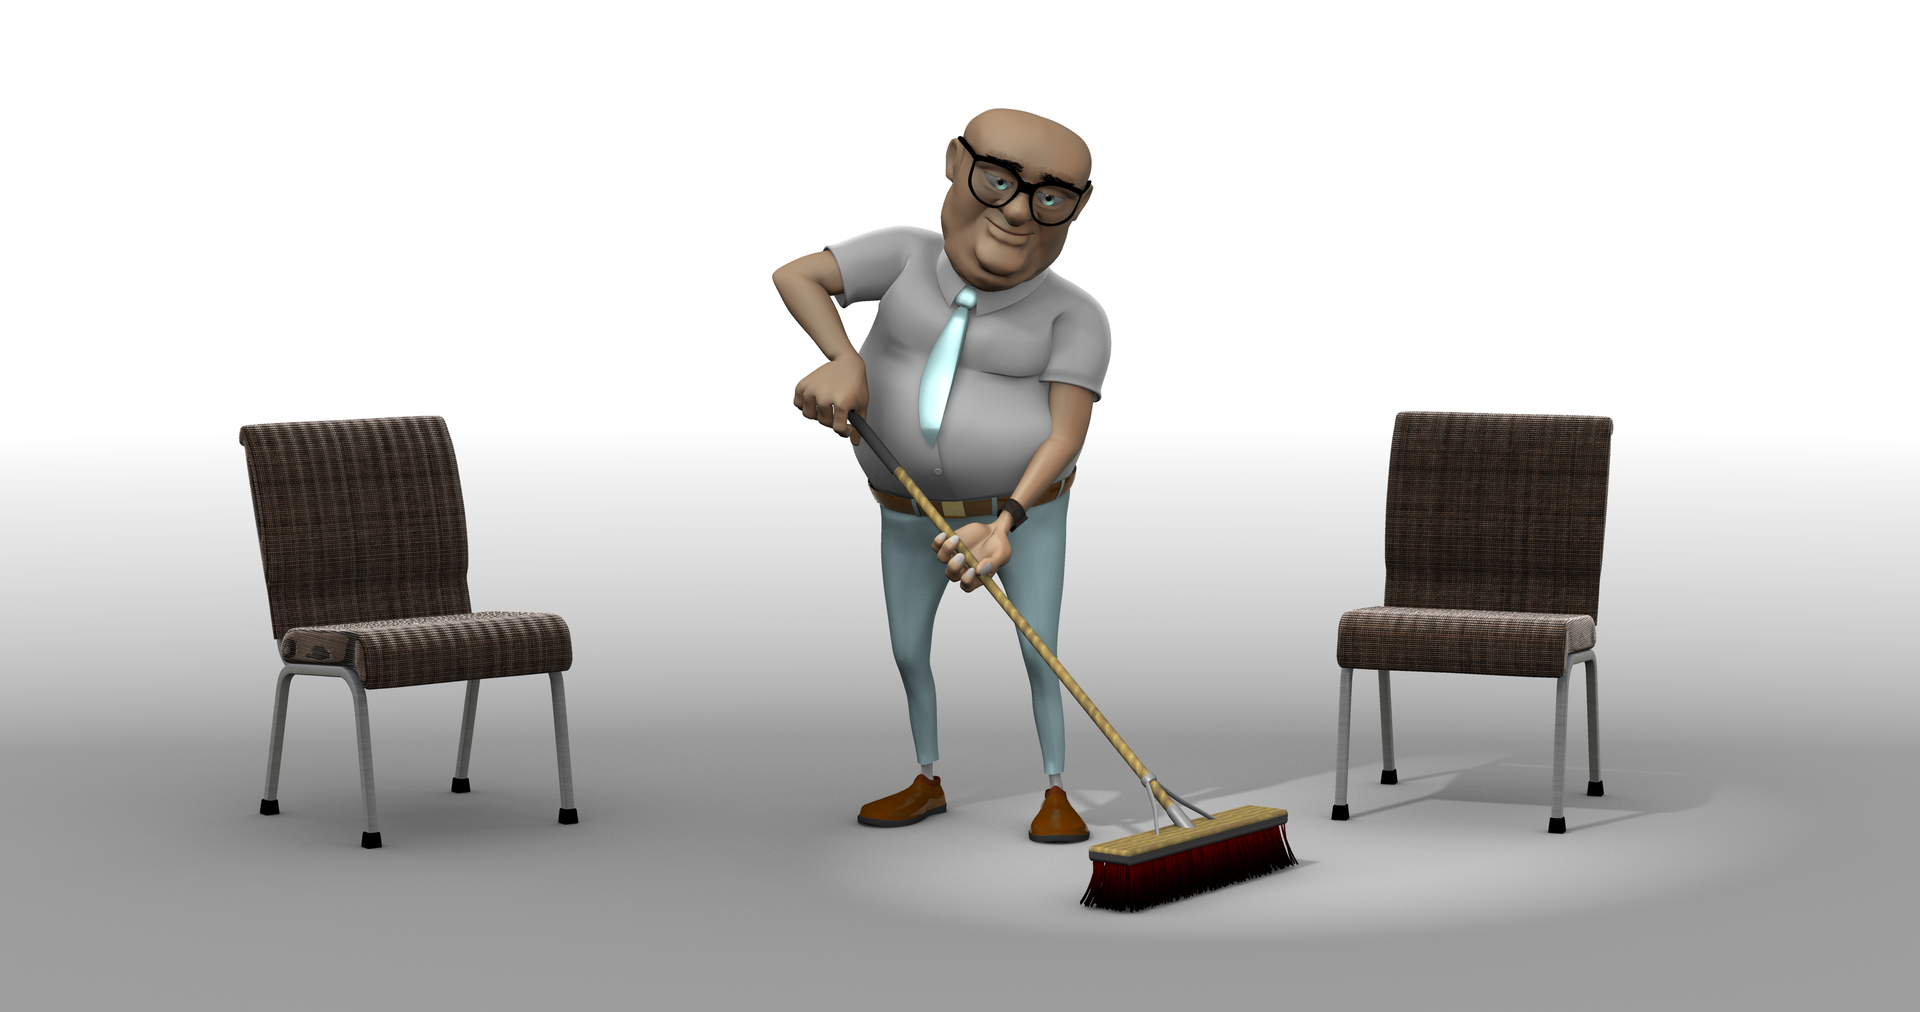



Another boring Walk- Cycle:
in Work In Progress / Sweatbox
Posted
You have to see what I mean... I am only using smartskin on the abdomen area... so all the other smoothing skin is just fanbones.
It doesn't have to be perfect... he's going to be wearing clothes eventually... and I want to keep my options open for that area, so smartskin in that area is a no-go. But I will probably try to reduce the rolling of the bicep (just enough to not break the streatching pec) and increase the lower arm swing, as was suggested. I think that will solve this, and roll only looks weird, in the pecs area, when he has his arms at his side- at -90 degrees. (as you can tell, I'm trying to get out of re-rigging that area that caused me such pains.)