


Duke
-
Posts
100 -
Joined
-
Last visited
Content Type
Profiles
Forums
Events
Posts posted by Duke
-
-
as a Maya user I also had a struggle with it in the beginning but what I would advise is to just get used to the shortcut keys.. for the different views
the shortcuts are the number key buttons.. on youre keypad
once you start getting into it,, it works quite well..
hope this helps
Leo
-
Great model, I like it. especially the back lighting effect.
good job

Leo
-
What file type are you using?
you wont have much luck with .mp3's. you need to use .wav files
Leo
-
Hi William
Welcome to the forum. Hope to see some of your stories soon.
Leo
-
I have had some problems in that area as well.
after rendering a scene and playback the movie I had a screeching sound in the background.
to solve this I rendered out the sequence without sound (it saved some render time)
then I added the sound afterward in my video editing software. it works fine that way for me.
I'm not sure what caused it to screech like that but it may be the same thing thats causing your muting problem.
Hope this is a help to you.
good luck
Leo
-
Great work Dhar
I love it, its very well done.
keep up the good work dude, you rock!!

Leo
-
Hi Ramón
If that were possible then it would make it amazingly easy to do a lipsync on a character.
as far as I know, the only way that you can do that is to set up a pose slider and do it manually in an action along with the audio clip. its actually alot of fun to do.
I wish there were shortcuts to this, it would my life a whole lot easier.
thats as far as I'm aware. if there is a way of automating it I'd really like to know about it as well.
Leo
-
Hey Case
Ok, this is a problem that I have run into before.
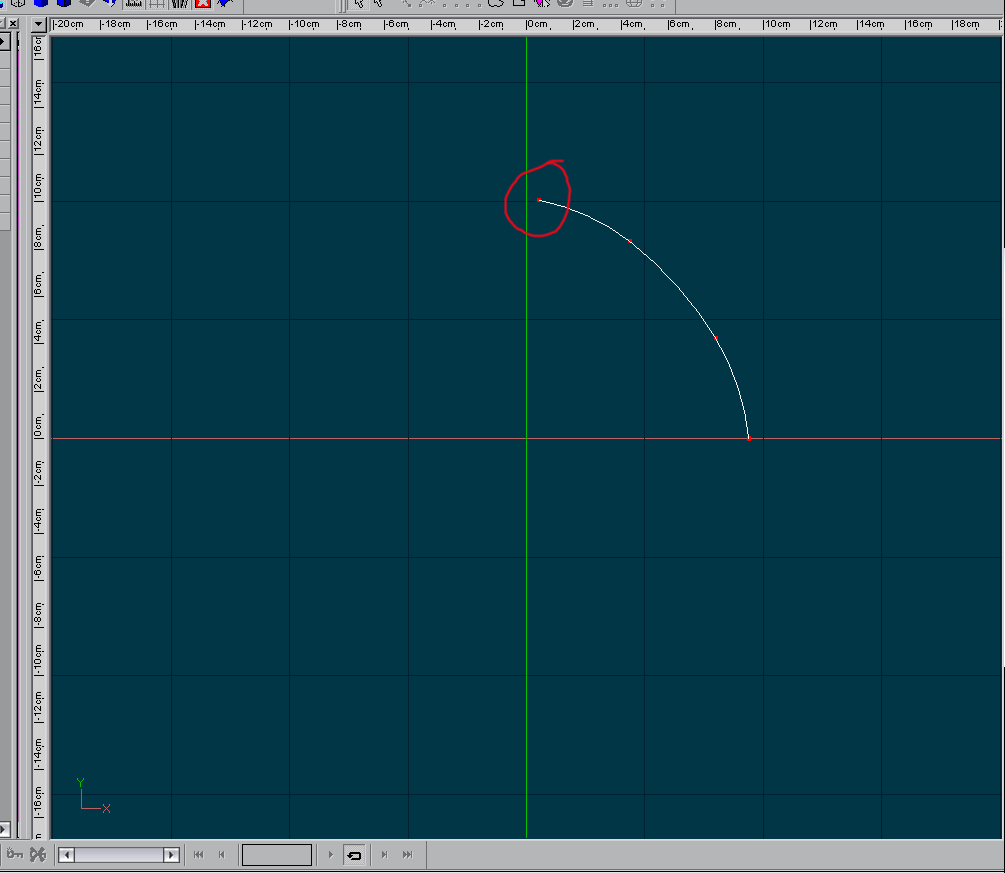
this usually happens when you lathe something like your dome shape and the first CP is not exactly on the 0 of the axis..
Here is an example: see the marked CP is not exactly on the green line. (0)
[attachmentid=21414]
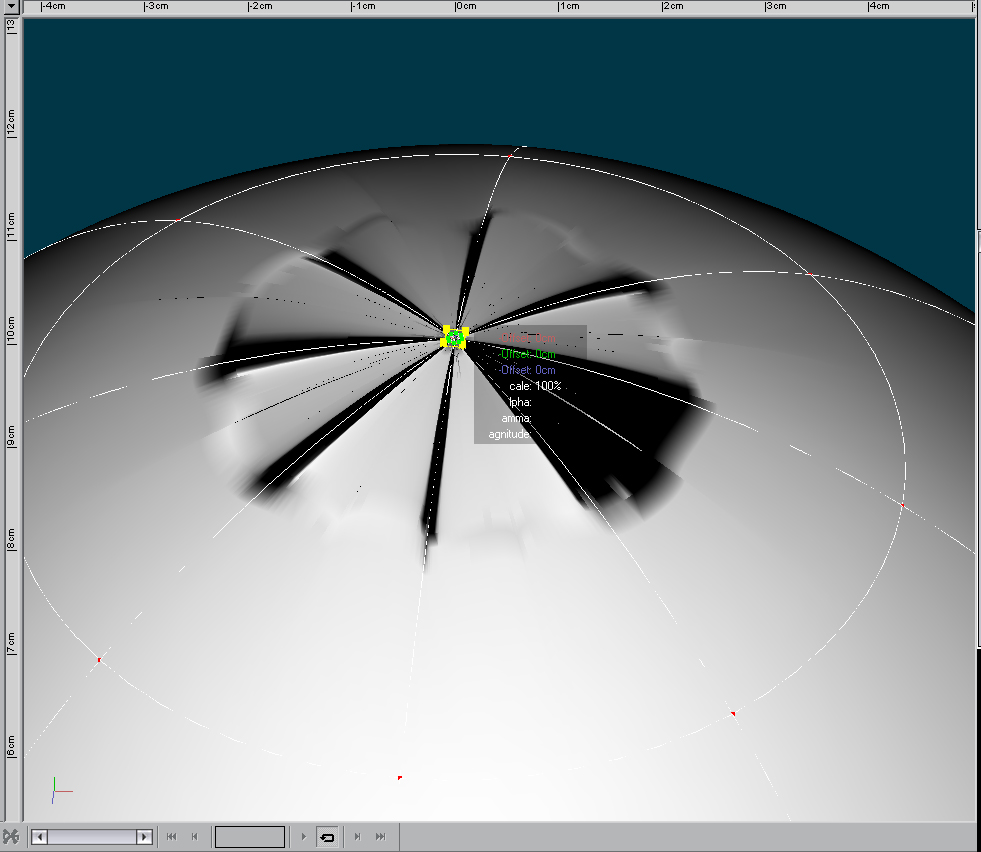
When it is lathed it will make a hole in the top like this
[attachmentid=21415]
now if you go to the front view and lasso the top CP's like this
[attachmentid=21416]
and resize them (make them come together and you go too far over then they overlap causing this
[attachmentid=21417]
but if you then size them to the exact centre you will get this
[attachmentid=21418]
The best way is to get your very first CP exactly on the 0 and then' make your shape and lathe.
I hope this helps
Leo


-
Hey Case
what is it that you are asking? is it the creasing that is in the front of the pod?
if you post a wireframe of the pod it would be easier for us to give you advice, off the cuff it looks like the group of CP's at the tip of the nose(half dome front) are not together. or are not aligned. that would cause this to happen.
but its better if you post a wireframe pic and then we would be able to see what you did and try to help you fix it up.
Leo
-
you're welcome.
good luck with your project
Leo
-
Hi dude
it is possible that you have somehow selected glow on one of your surface properties.
to check this you must open do the following:
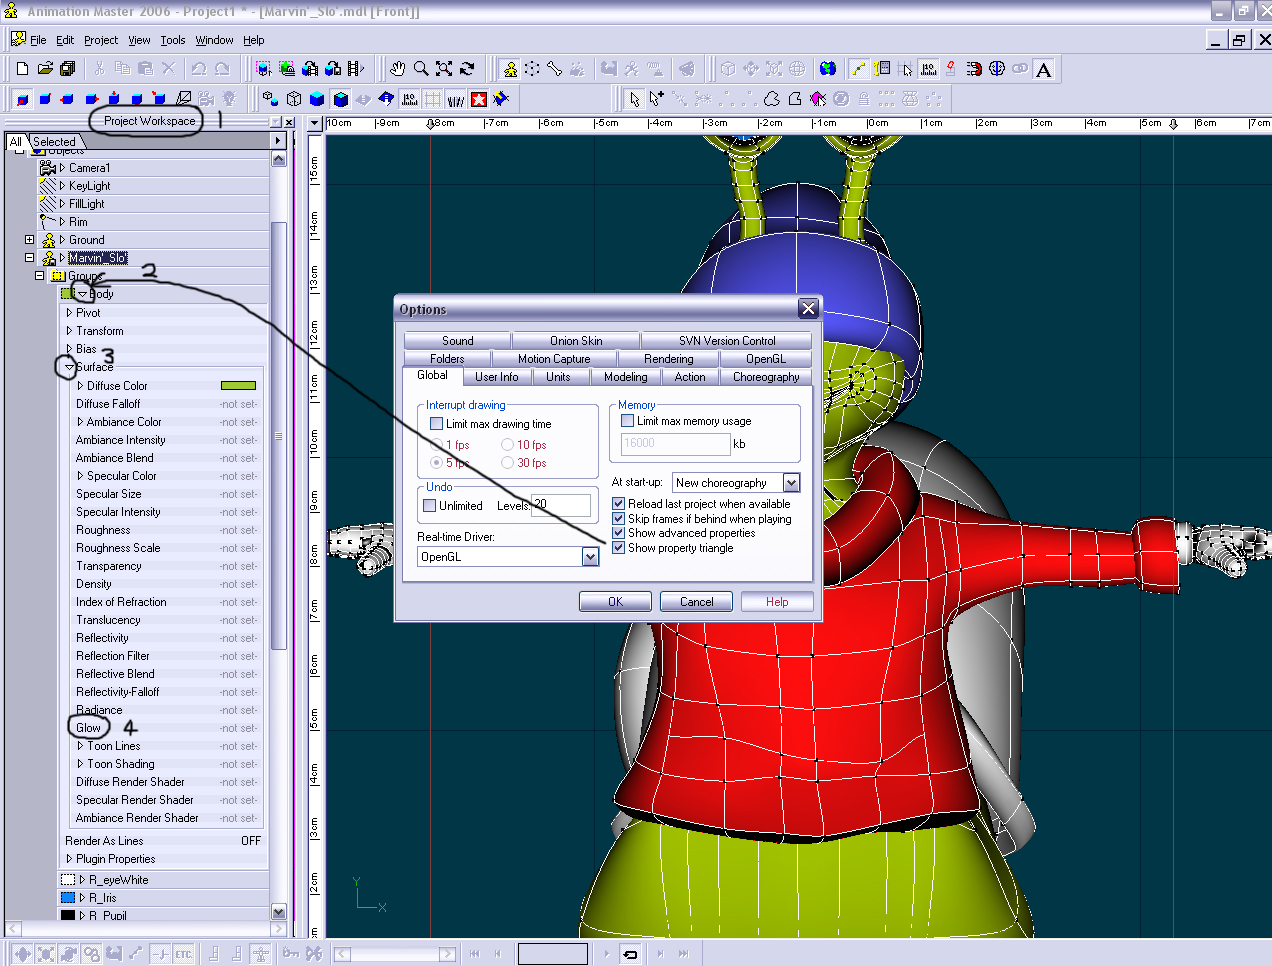
I have numbered the steps in the pic here:
[attachmentid=21207]
1: in the project workspace
2: if this triangle doesn't appear here then go to Tools/options/Global and tick this tickbox here.
3: crack open the triangle next to the surface where you are experiencing the glow effect, or all of them just to make sure.
4: go down to glow and if it is set then rightmouse click on glow and click on not set. that will take it away and try to render again.
I hope the instructions are clear enough. hope this works.
Leo

-
I would render out each choreography separately and then use some or other composite (video editing) software to put all the scenes together. I use Avid Xpress. there are various other programs.
check out this you could possibly fine help here Compositing
Thats my 2 cents worth. hope it helps you.
Leo

-
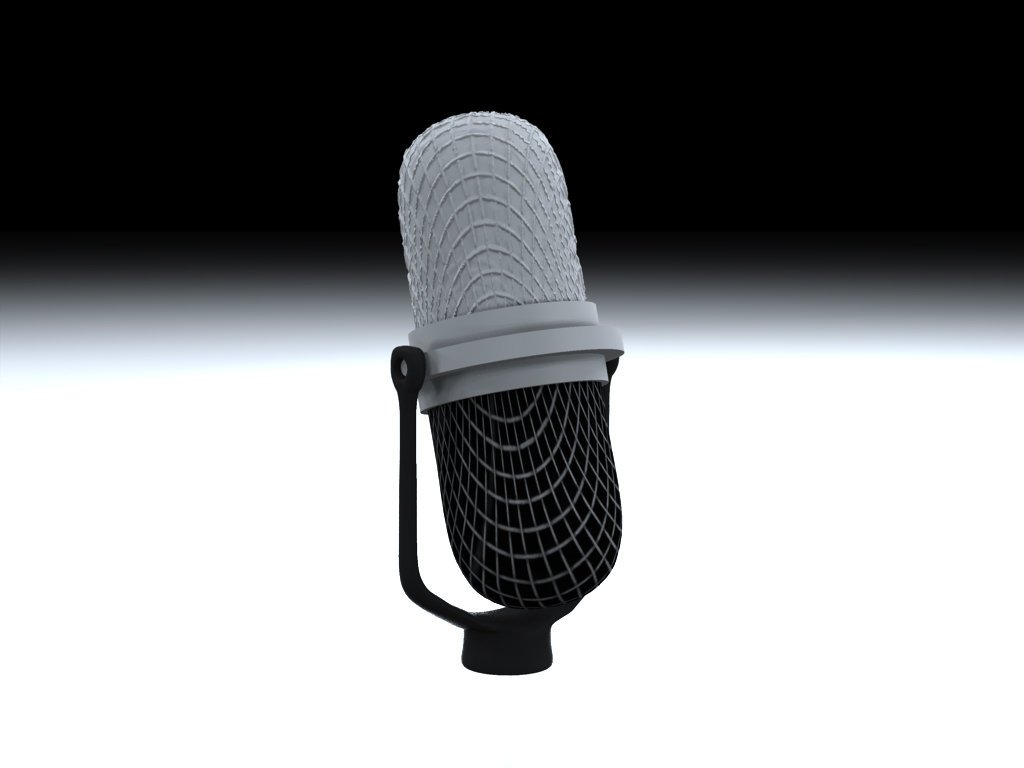
Hi Matt
The top is a bump map I used, it is the same as the bottom image which is a color map, when I selected displacement it gave me a very fuzzy almost hairy looking finish so I selected bump and set the percentage down to round 20% and that came out like the image above.
I have decided to rather leave the bump or displacement. as I rendered it out in my chore and it came out nicely. I'm happy with the end result.
Here's the result.
[attachmentid=21157]
Thanx for the suggestions, I appreciate it.
Leo
-
Thanx Jeetman
I'll add your directions to my collection of handy tips. I appreciate it.
BTW, love the Sponge Bob, He's the nuts!
Leo
Hey Leo,
If you plan to model the audio cable coming out of the microphone I'd love to see more posts here on how you attack it. I ended up making a series of cylinders each with a bone so I could move and twist the cable as needed, but it didn't work the way I had hoped, so I have to revisit that at some point.
-Jim
Hey Jim
I have been giving some thought to the cables, Ill be needing allot of them for the guitars and amps etc.
I would probably do it with sweeper and then make some pose sliders for the movements. but then again, I am just thinking as I write this post. might not work with poses.. anyway, I'll definitely show what I've done and possibly how I got there.
BTW, forgot to mention that your mike looks cool

Leo
-
I like what you did with the decaling, it's awesome.
have you done wheels yet or is that still in the making? I look forward to seeing the end result.
Leo
-
Leo,
We're both working on the same old fashioned microphone!
Actually, I got to a point where I thought it looked OK so I haven't touched it in a few weeks. http://www.hash.com/forums/index.php?s=&am...st&p=196875
I like the look of your bump map on the top, my suggestion would be to keep it, and if possible to shrink the lines so the wire mesh is even tighter. For the bottom, isn't the bottom of these microphones solid? I thought they only recorded from the top, but just for artistic purposes, I do think making the bottom look different maks it look more interesting. BTW, if you ever flick by CNN during the Larry King show I noticed the show uses a CG image of this exact microphone for when it goes to a commercial break.
-Jim
JIM! I got such a fright when you said that we were making the same mike, I am glad when I saw that they are quite different..
I have decided to rather leave the bump mapping on the mike for now, possibly will look at it if I have time later. I seem to recall that the mike's are solid at the bottom but I thought it looked cool this way,,, (call it artistic flair)
it's for a kids video series that I'm making this so they wouldn't know the diff's.
I've seen the one on Larry King, but forgot about it completely. but now that you've brought it up I'll check it out again.
Thanx
Rusty.
Thanx for your help I have gone to your website before and saw some cool stuff there, I'll be going back there right away, thanx to your post.
thanx dude
Leo
-
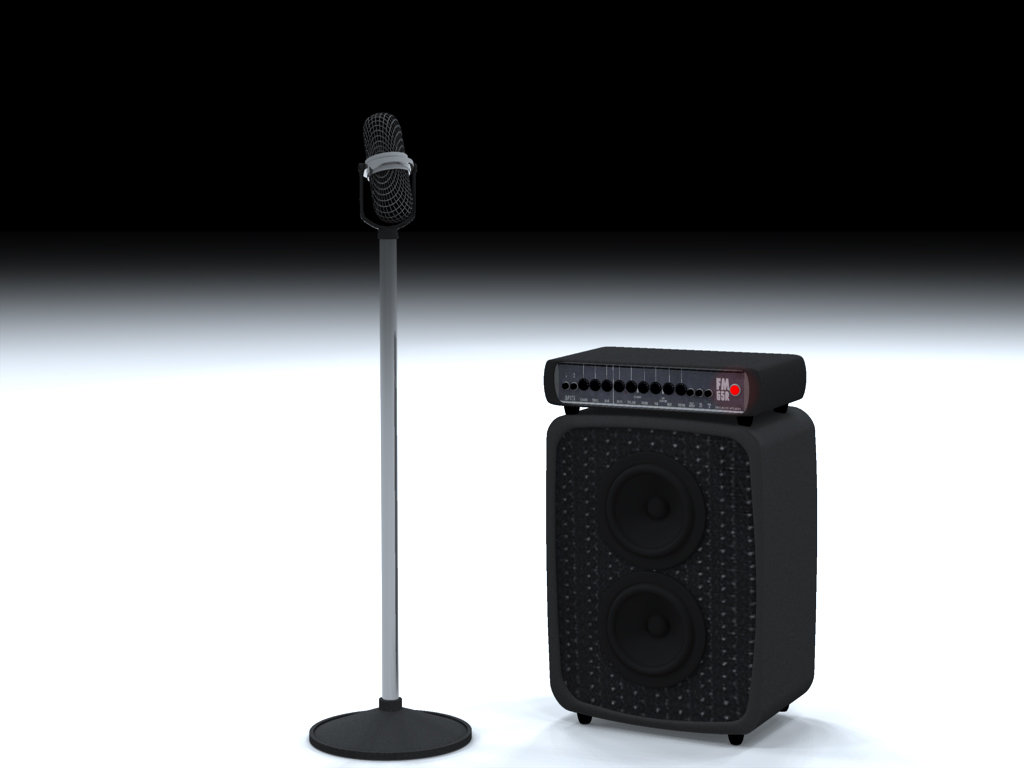
Hi all
I made this mike as part of my music video project. and have run into a problem.
The top and bottom mesh's are the exact same decal, it kame out pretty well at first and looks quite cool, until I decided to make it a bump map, as I wanted the wire mesh to stand out to add detail. so top part bump mapped, bottom part is just the decal.
[attachmentid=21147]
now for the question:
Do I forget about the bump mapping and just leave the top section same as the bottom half.
Or: if someone can explain to me what I'm doing wrong that the decal comes out white? (It is originally a grayscale .tga image)
And please as always, comments will be appreciated.(by the way the mid section has not been textured yet)
Leo
-
Hi Mike
Nice looking characters, my favorite is Rowash Connix, of the lineup, he's the one that stands out for me. I think you can do much with him. as for Mondo Mongo,, mmm he kinda looks like the odd one out. not sure what it is,, possibly his head or his eyes, all the others have expressive eyes. anyway thats just my thinking.
other than that I think they would look great in 3D. will keep checking your progress, should develop nicely.
good luck with the project.
Leo
-
Thanx Rodney
Yip you did do a racing tutorial, when I got my copy of AM a also got the SIGGRAPH 2005 DVD and the tutorial is on there. although its not noted as a "racing" tutorial, I found it very good and it opened up a whole new world for me especially the camera constraint to path part. But for the life of me I couldn't remember where it was that I saw it. hence the post.
By the way, would you like to put that hoverboard of mine on the Extra II DVD? its yours if you want it. And if there's still time.
Leo
-
Thanx UNGLAUBLICHUSA
Frustrating it was, but like I said earlier, there's nothing like battling your ass of with something and getting it right in the end.
Dhar, for the compliment, I will definitely let you see it fly, as soon as I'm done I'll post a preview.
Leo
-
Hey Jay
Thanx a stack dude, I don't know how that one got past me, hehe
It's there all right, and I did check the DVD the other day, (at a glance I might add) and somehow missed it.

thanx man
Leo
-
Hi all
A while back I watched a video tutorial of a motor race with three vehicles from the AM library,
it had to do with motion paths and setting the time for the vehicles so that one could win the race.
for the life of me I cant remember where I saw it. (It was very good, and I need it now!!)
If there is someone that can help me to remember where it was that I saw it I would be extremely greatful.
I have gone through all my tutorials and on the Siggraph 2005 training video. am I missing some braincells or what?

thanx
Leo
-
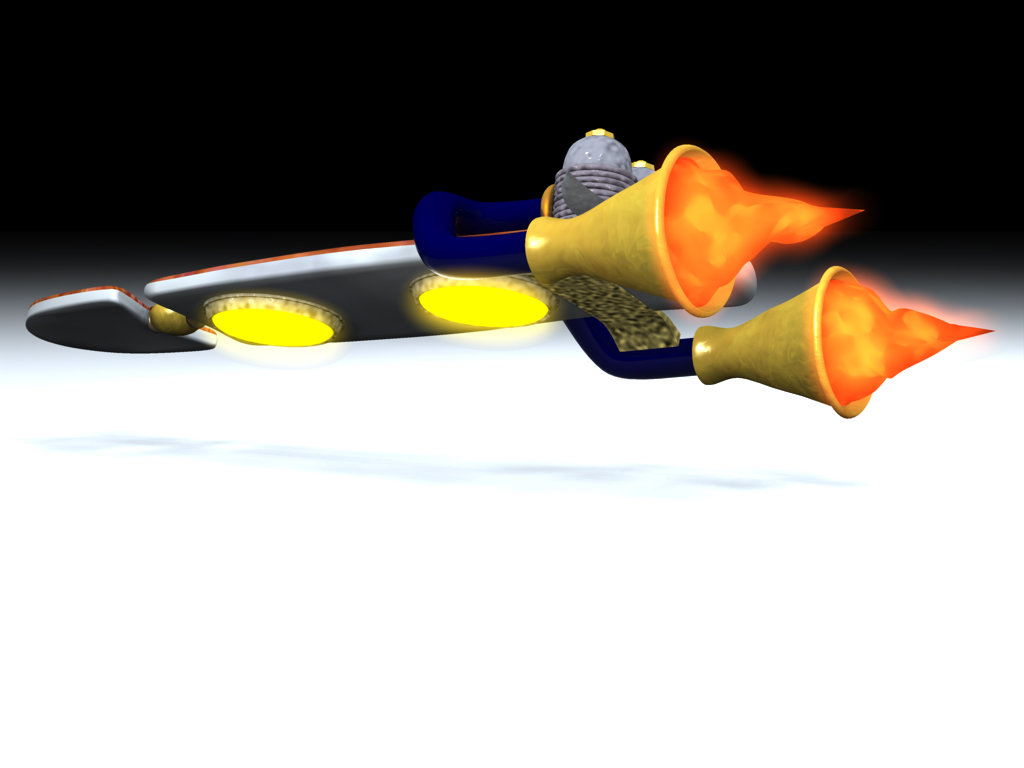
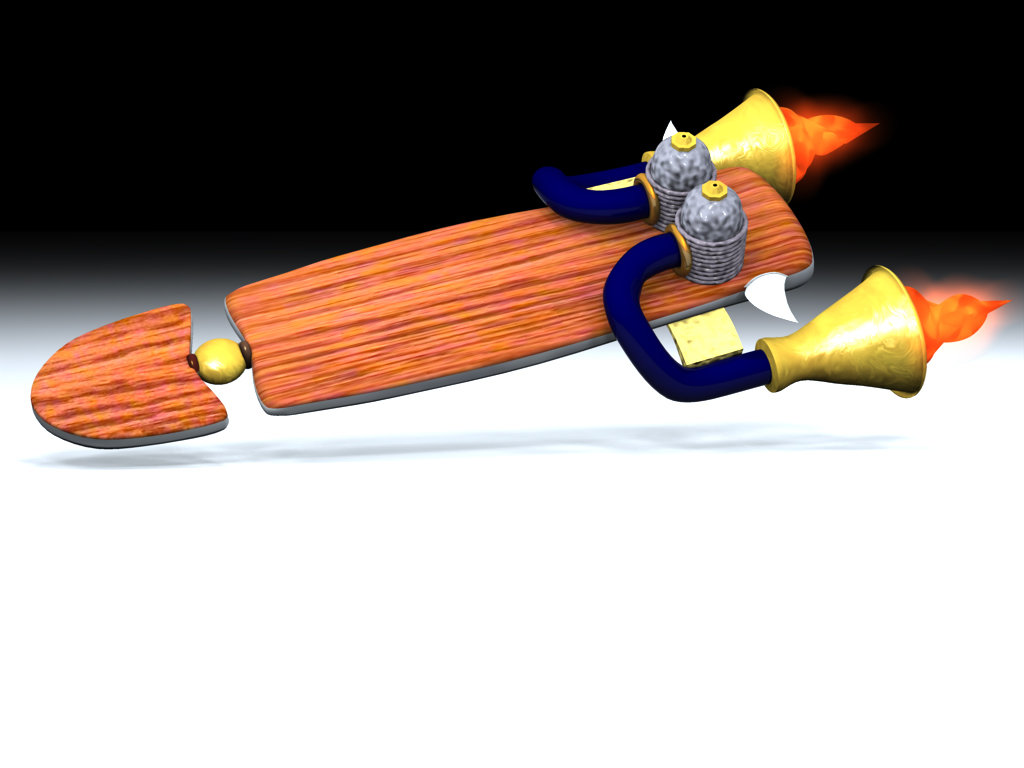
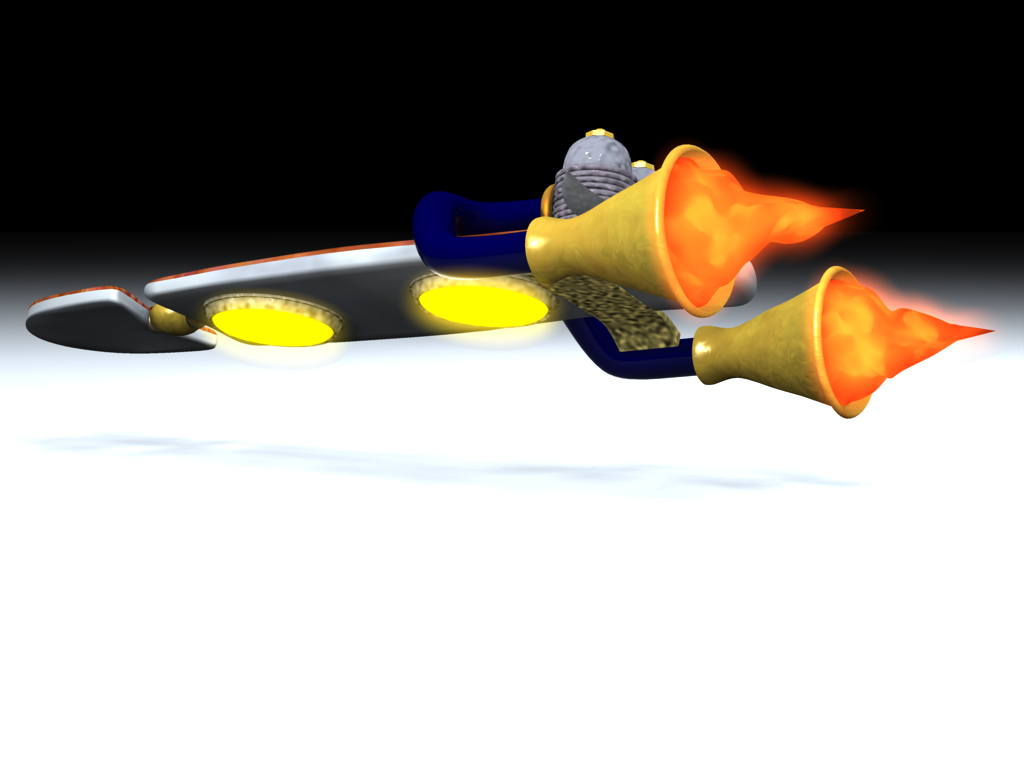
I finally finished the board. its my first attempt at making some thing that resembles flames, so comments will be appreciated.
[attachmentid=20974][attachmentid=20975]
Leo
-
Thanx Jim.
I am still going to do a little more with it. wanna get some flames out the rockets as well as the hover ring thingy's at the bottom, but I fixed things as I went on.
must say, there's nothing that will teach you better than to struggle with it and figure it out. learned much about materials and decals with this one.
thanx again for your comments.
Leo


Help with sweeper.
in New Users
Posted
Hers a link to all you need to know about sweeper.. download the tutorials and you'll be blown away.. you'll wonder why you never used it before..
Sweeper tuts
Have fun
Leo