Neu_Type
-
Posts
62 -
Joined
-
Last visited
Content Type
Profiles
Forums
Events
Everything posted by Neu_Type
-
I think the issue is that your "windows" are flat boxes with 6 sides. While the window side is transparent and the 4 window sides/sills are opaque, what you are seeing is the 6th or "opposite" side: a patch made up of the four outer segments of the window-sill. A quick look at your normals should reveal the extra surface. Adding a line through each window and sill should eliminate the 6th side. Hope that helps. - kit
-
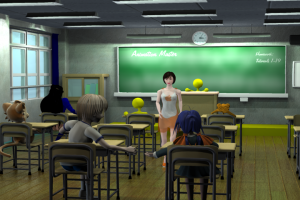
Okay, I hadn't set the spec intensity on the floor or chalkboard, so I set them both a lot lower as well as lowered the model default intensity as well. Didn't realize the default was set so high. Thanks pixelplucker. bighop, I am sure there is a better (simpler) way to do the lighting than I did. Some time ago, someone described a technique of making fluorescent lights using a light traveling a path in one frame with multi-pass with blur. So I wanted to try that. In each light fixture I set up a light and light path with a repeatable action and rendered with multi-pass and 20% blur. A search for fluorescent will show several topics on it. I believe I first read the topic here: http://www.hash.com/forums/index.php?showt...escent&st=0 there are several others that explore this, and good reading if you are interested. The first render was done at 25 passes (5 x 5) this one was rendered at 9 passes (3 x 3).
-
I may be very wrong here, however, since hair (as a particle system) is, I think, calculated rather than statically attached to a model, it can't just move with the model. Otherwise, AM would have to be constantly calculating hair and other particle when a model was selected or being moved, which would get even more complicated when dynamics are used. It at least appears to be thus, regardless of hair density or use/non-use of dynamics. So I doubt screen resolution or window size would make a difference. Lowering the real-time density wont change that, but will help manage the amount of "lines" and time if you have a lot of hair without changing the final render. That is if you want/need to see it in non-render modes. Just remember, the space bar is your friend with hairy models... Hope that helps...
-
Hello all... Thought I would share a test render of something I've been playing around with off and on The floors are a bit shiny, so I'll have to play with that a bit more

-
Duke The rocks are added the hard way, particle blobbies No doubt once I start learning compositing it'll make my rendering life much easier I apprecieate the help though, I'll have to see what I can do for my rocks... ddustin I tweeked the bias some, how does this look..? nf1nk I moved the lights around to try to brighten things up, though my glow seems to have leaped up in the front - have to look at that... Anyway, heres an update... [attachmentid=20601]
-
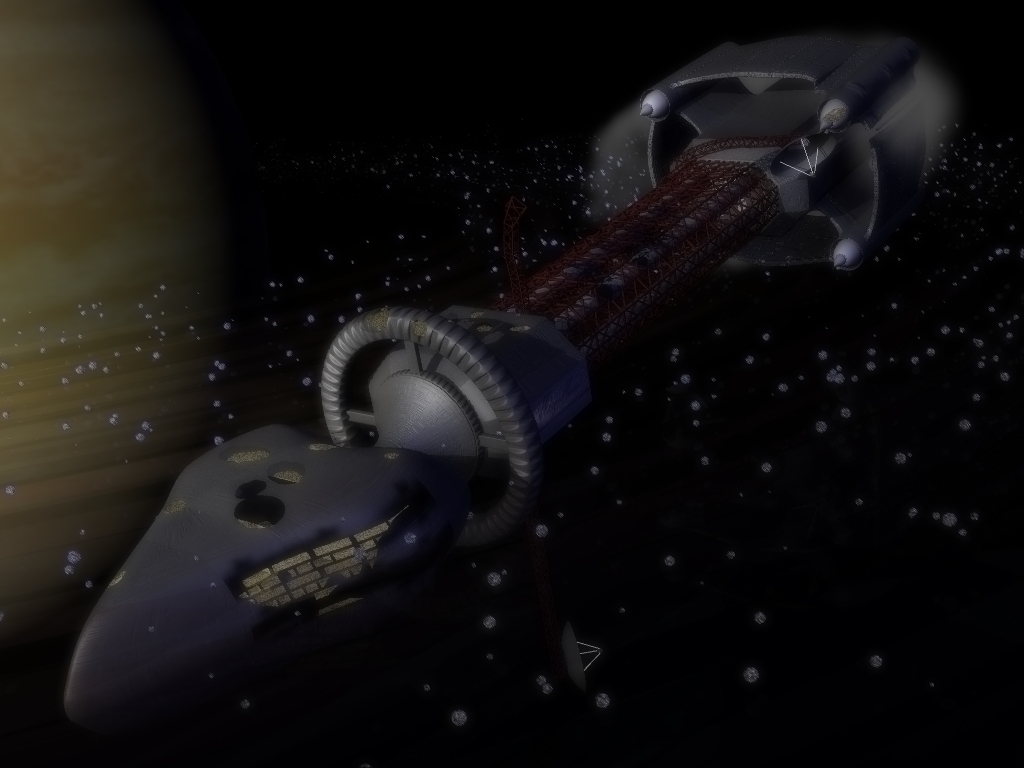
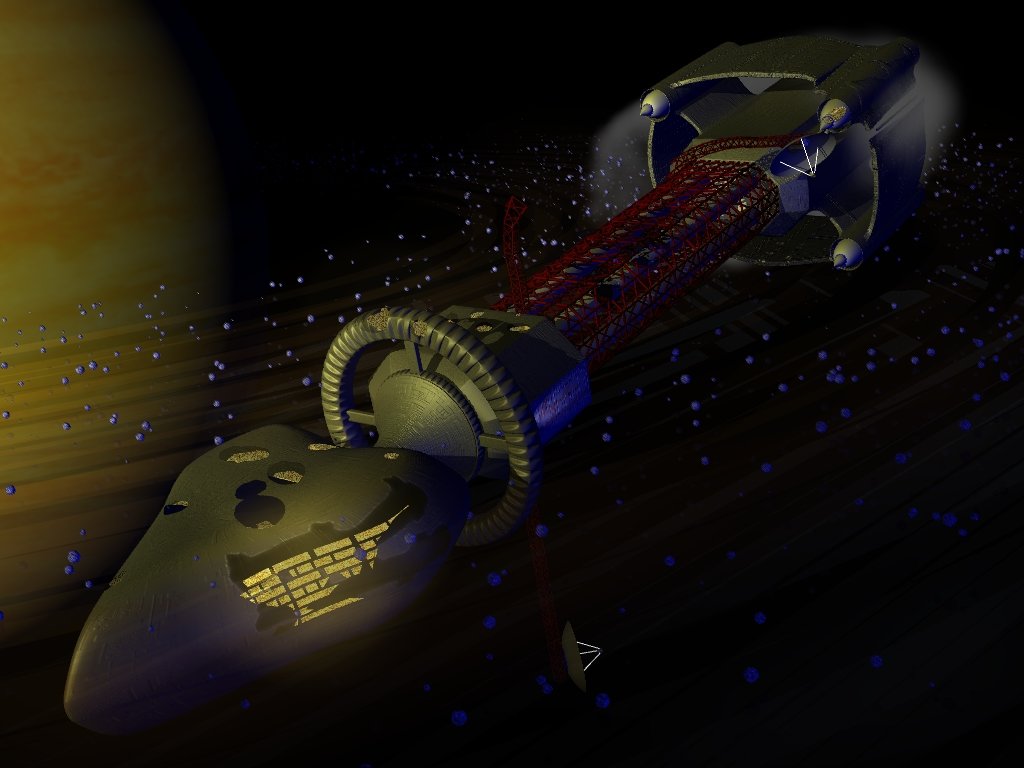
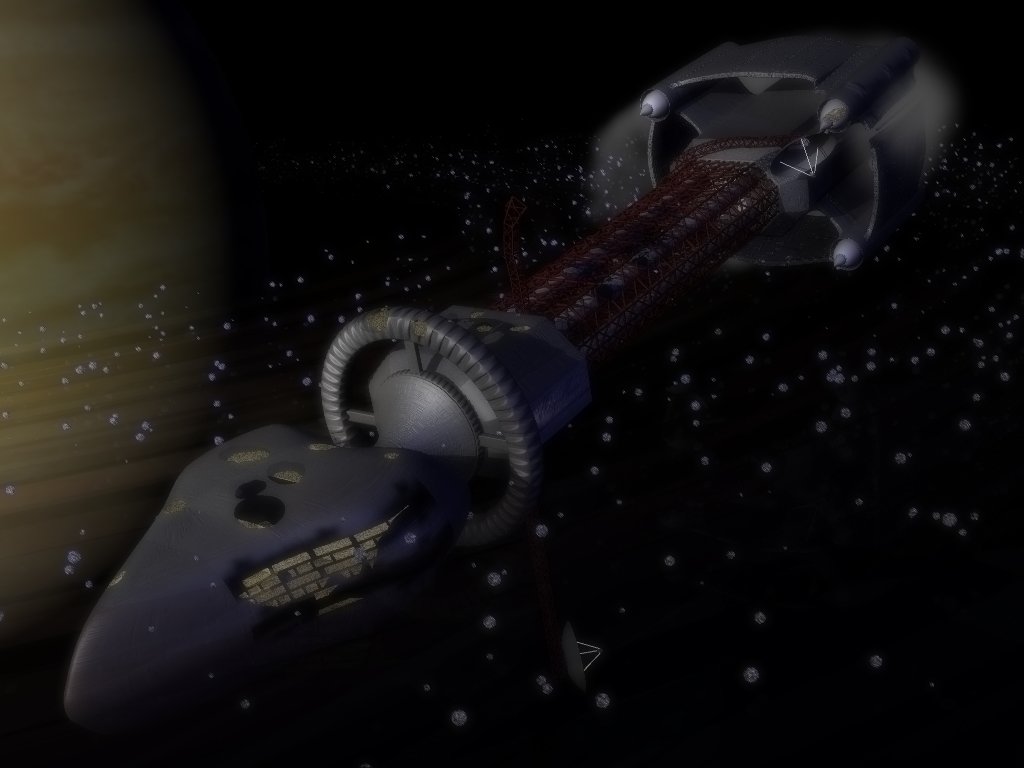
Here is a space render... [attachmentid=20582] My original render altered with gschumsky's photoshop hand-tinted feel trick (http://www.hash.com/forums/index.php?showtopic=23948&st=15) Anyway, was just playing around with it...
-
I'd like to help, if I can... sets and props if there is anything that hasn't been taken up yet...
-
When I'm moving the camera around, I like to use nulls Create a null, (I like to name it "Camera Aim") Constrain the camera to aim at it, Place the null where you want the camera looking Then you can drag the camera around from any view and still know where it's facing... If you need to look at something else, just keyframe and move the null
-
When you choose to render to file, click on the options tab and change the quality You should be able to choose Final, wireframe, shaded, shaded with wireframe, and default... Wonderful work, I look forward to seeing more... : )
-
I'm still fairly new, and playing around with, so take this with its grain of salt... I did get MOVs to work as a decal, but I had to play around with the compression type... In the end, I went with an image sequence (tga) which decaled and worked much easier for me. Even if it did take a lot of space. Just import the image sequence, frame start, then sized and applied the decal. I believe when you import, it decides whether to peak or not based on the angle in and out of the CP. Anyway, I know it is after your deadline, but I hope this helps for future referance... : )
-
Hello all, I originally picked up AM back with V8.5 after seeing a demo at COMDEX. Unfortunately, my video card didn't play very well with it. I picked it up again recently (friendlier computer) and began stalking *ahem* lurking in the forums. And after reading of V12, had to upgrade for the hair and cloth. So far it has been real fun to play with and I still have a lot to learn. Anyway, hello all... : )
-
I could go for this... Might even have to stop lurking...