


genocell
-
Posts
177 -
Joined
-
Last visited
Content Type
Profiles
Forums
Events
Posts posted by genocell
-
-
The problem was stabilized in later versions of the program, but the actual model - NOT the choreography instance, had to be scaled down. That was a pain but that's the only way "The Mountain" got rendered. =)
(and I added more ram too.)
Interesting. I'll note to self on that.
I believe if you export a scaled down version of your model from the Chor that will scale everything in the exported .MDL file for you.
Sorry if that suggestion is a few years too late in your case but perhaps that could help Reza.
It'd be worth a shot and very easy to test the theory.
(Make sure you delete the ground plane and any other extraneous models before exporting)
Knowing Reza's desire for high quality I suspect its not just one but a combination of things.
I wouldn't think mesh would make a big difference but it might if there are large decals and other things thrown into the mix that suck up a lot of memory.
If it is a memory problem then I'll suggest shutting down any unnecessary programs while rendering (Photoshop, etc.).
I see you saw the screencap.
 But that was just me saving the screen cap of A:M. I turned off every other softwares too. Restarted the system, turned of antivirus, firewall, internet etc.
Rescaling down the model is a no-no for me. I've Smartskinned each and every possible bendable joints in the model on every possible angle, and if I rescale it in .cho or action
and export it back into .mdl the offset isn't the same. I know what to do next but it will definitely still take a lot of work. Also I've smartsinned the clothing and some other long sleeve garments too in relative with the same size, so I think it's too much work on top of it.
-
Exception #10 is an out of memory problem.
Back with v14 it often was related to SSS. The biggest problem I was having was that my models with SSS were "huge" - I had built them to life-sized scale within the program (my character was literally several meters tall in the program's units), and since SSS is physically based, it was sending the memory and render requirements through the roof.
Your character is VERY patch-heavy.
You can sort of render SSS separately by rendering elements that contain it apart from the rest of the scene.
Another thing your could try is render one without SSS, and another with SSS with very high half-extinction values - this will make a very waxy and soft render, but it renders with less memory and time and you can comp that translucently on top of the non-sss render to find a happy medium between the two.
And you can definitely render AO separately, that's done all the time in the pro world.
The best solution for your specs would be multiple layers to composite.
The models are of 'actual' size. The female is like 5' 10".
All of the rest is in relative proportion.
Now that you mentioned it I remember doing something with the SSS and comped it out in photoshop. I wasn't excited with the result though because I've seen render marquees of the actual SSS and it much much much better. It's just that once I see something I really liked I HAD to attain it again no matter what and render it to final and not settle for something less. I tried rendering it separately with the other models turned off and SSS turned on and it doesn't take that much time at all so I'm thinking I'm missing a lot. To me SSS is like a reward for my hard work.
I'll definitely look into rendering separate AO for animation. But for still I defintely want to go with the real SSS or none at all which I'm not that excited and feel less rewarded.
-
Great to see you again Reza.
Sorry to hear of our problems but it's always great to see your high quality models again.
If it'll keep you visiting the forum... have more problems please!
Thank you.
Did you add a typo into your post here?:I still can't remove the duplicate phantom models for some reason. It has no relevance to my render problem though as a copy of an earlier cho with no duplicate problem didn't have the same render issues.The reason I ask is that if that is a true statement then it points to the duplicate phantom models as the problem.
If you meant to say that an earlier chor with no duplicate problem DID HAVE the same problem, that would be different.
(Hope that makes sense)
Also, for the record and to rule out another variable what format are you rendering out to? TGA?
How much free space do you have on your harddrive?
What are the size of your decals?
That was a typo. The problem I had with the multiple phantom models was just 'recently'. The problem with the renders went back first when I upgraded to v14.
I have plenty of free space. 30 gigs.
I've tried downsampling the decals some time ago but the same problem persist.
-
It may be worth posting your system specs just to make sure its ok. But I'm fairly sure its a modeling thingy- you could consider posting the project so people can see- or at least some screen shots.
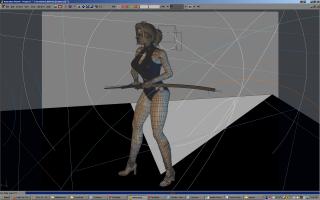
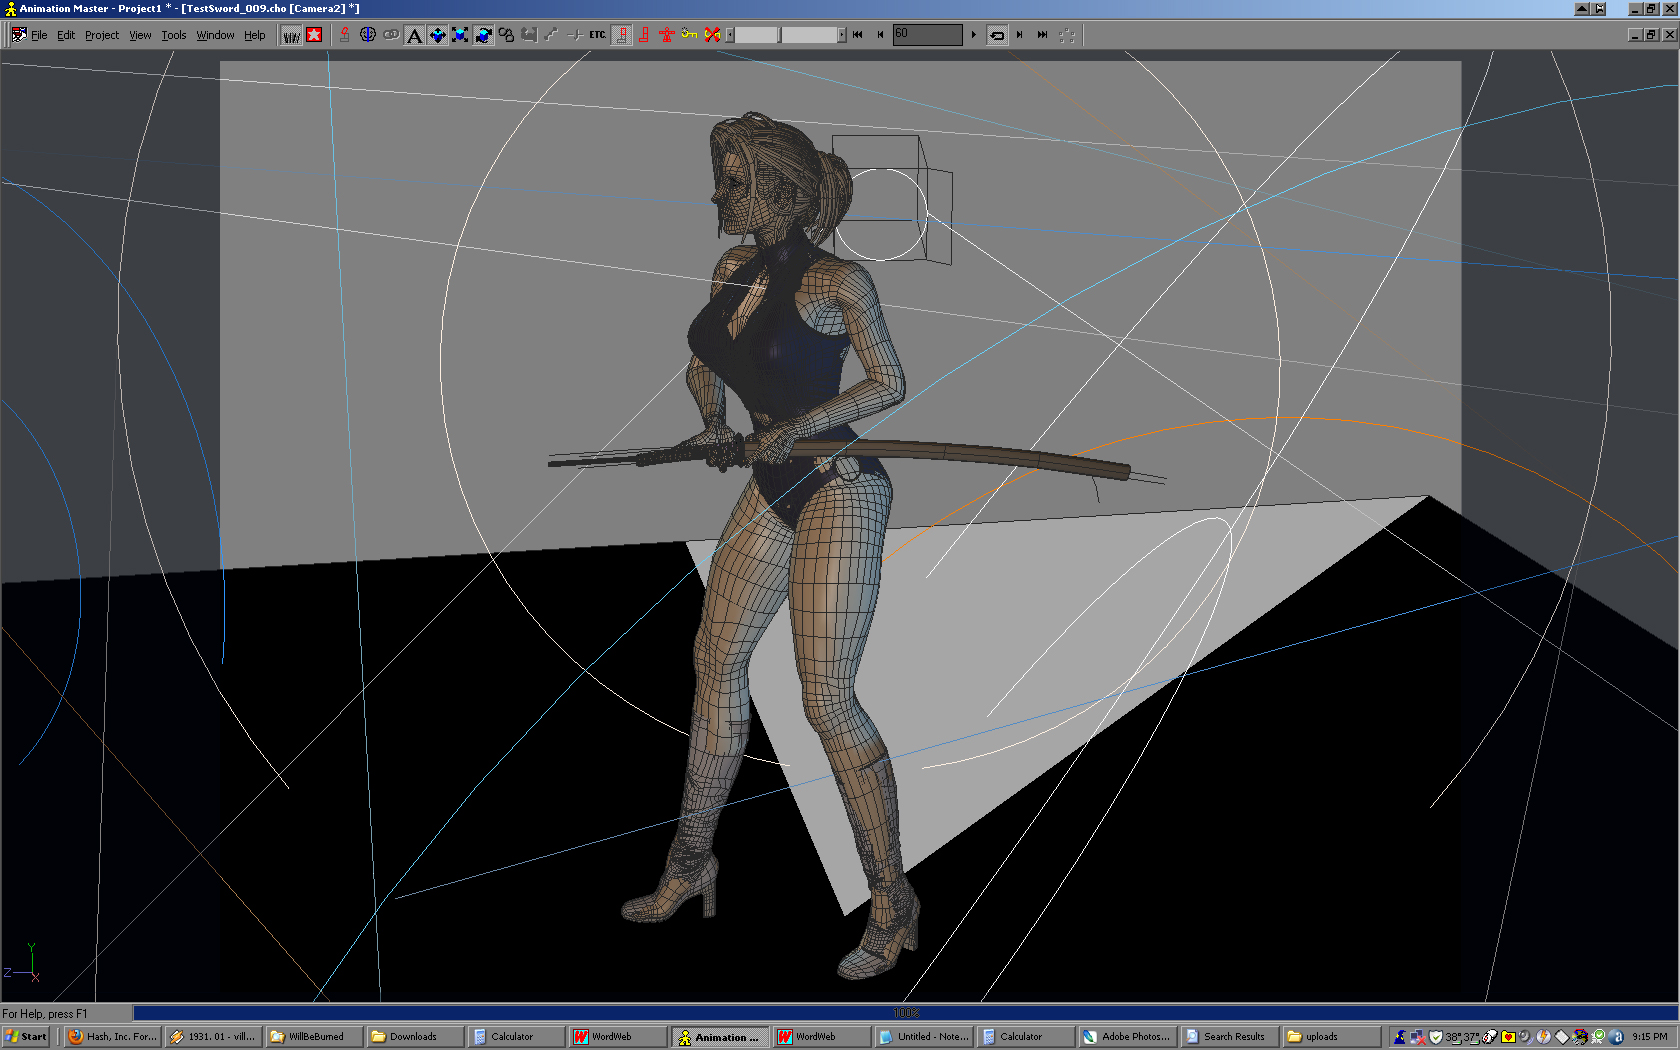
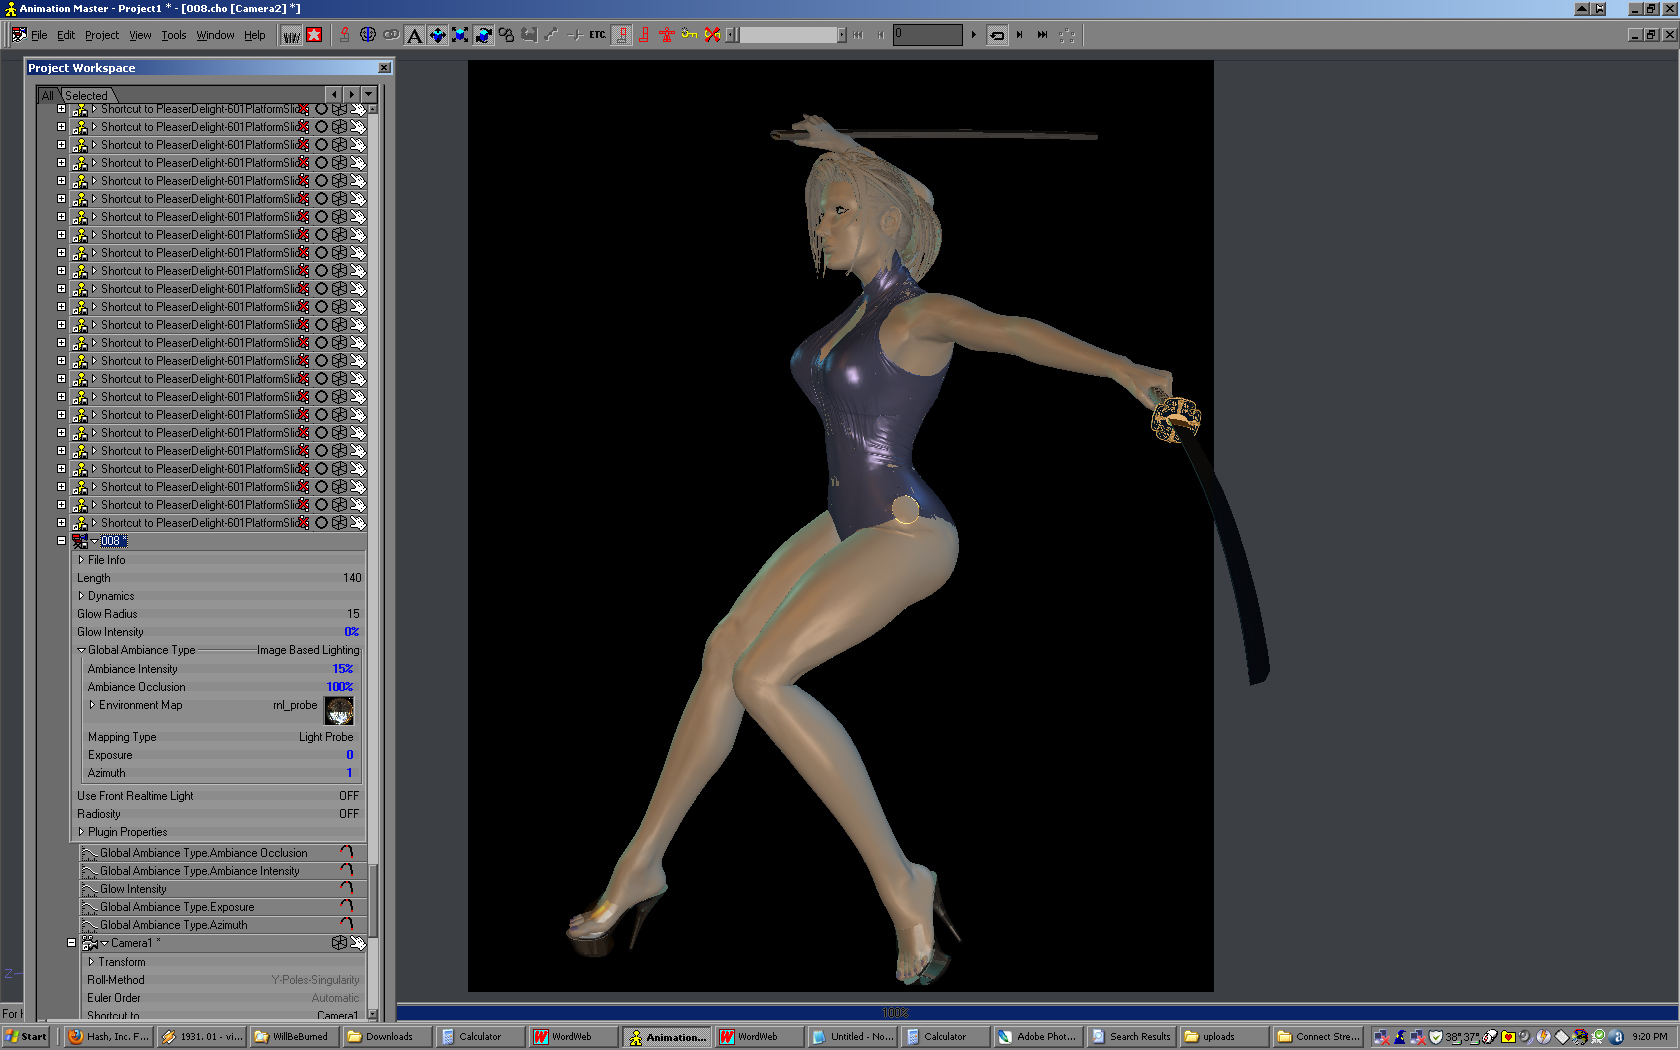
Okay. Don't know if this helps. It's not much because I still have some more work to do to make it to my portfolio because I don't know how they'll respond to such 'theme' so I haver to add more clothes and stuff or something like that. I'm embarrased to say this but if I can't get pass rendering the character with lesser clothes so it's less likely with more.
This is just an example some of the scene with minimum number of models to test for animation and if the render can work.

I still can't remove the duplicate phantom models for some reason. It has no relevance to my render problem though as a copy of an earlier cho with no duplicate problem didn't have the same render issues.


Old stuff for the image contest when I just upgraded to v14. I remember i had to render 20 to 30 and only one got through and I'm stuck with which I posted for the image contest.
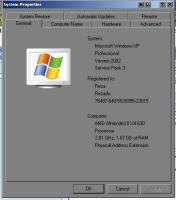
My computer spec. I use an onboard video card so that's where some of the memory goes.
I appreciate any help. Thank you.
-
...So it has to be lack of resources.
My question is, is there a robust solution to render these objects separately or in any possible other way render separate passes as not to over-burden the systems resources resulting in me getting kicked out onto the desktop and ultimately composite it all back together? Or at least can someone in here point me into the right direction as to achieve similar solution. I remember some time a go that a studio used A:M to render for an advertisement and they mentioned rendering some of the elements separately (not sure which elements they are) to tackle down 'certain problems' and composite it back using After Effects.
If a solution prevails itself I will defintely be using A:M for my final animation project. Any help is appreciated. Thank you.
It really sounds like it could be related to a low memory issue. I remember 14c or so gave me a similar problem, using SSS. Or it could be an internal patch + memory issue.
If indeed you can render out parts of the scene separately, render them with an Alpha channel. This will make it easy to composite back together in AfterEffects. The pros do this all the time, even Pixar and such.
Sorry it's been so frustrating!
Thanks. Is it possible for me to render AO and/or SSS separately? I believe the last time I asked I can't remember the exact answer and it has been a long time, sorry but I remember looking into this but I came to a dead end but I can't remember exactly the details. Can you point me into the right direction? This is just a note, but I can't leave out the SSS as it makes the render 10 times better. Edit:
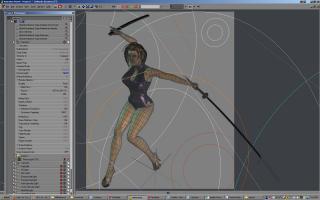
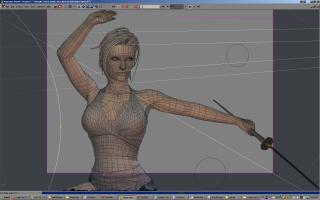
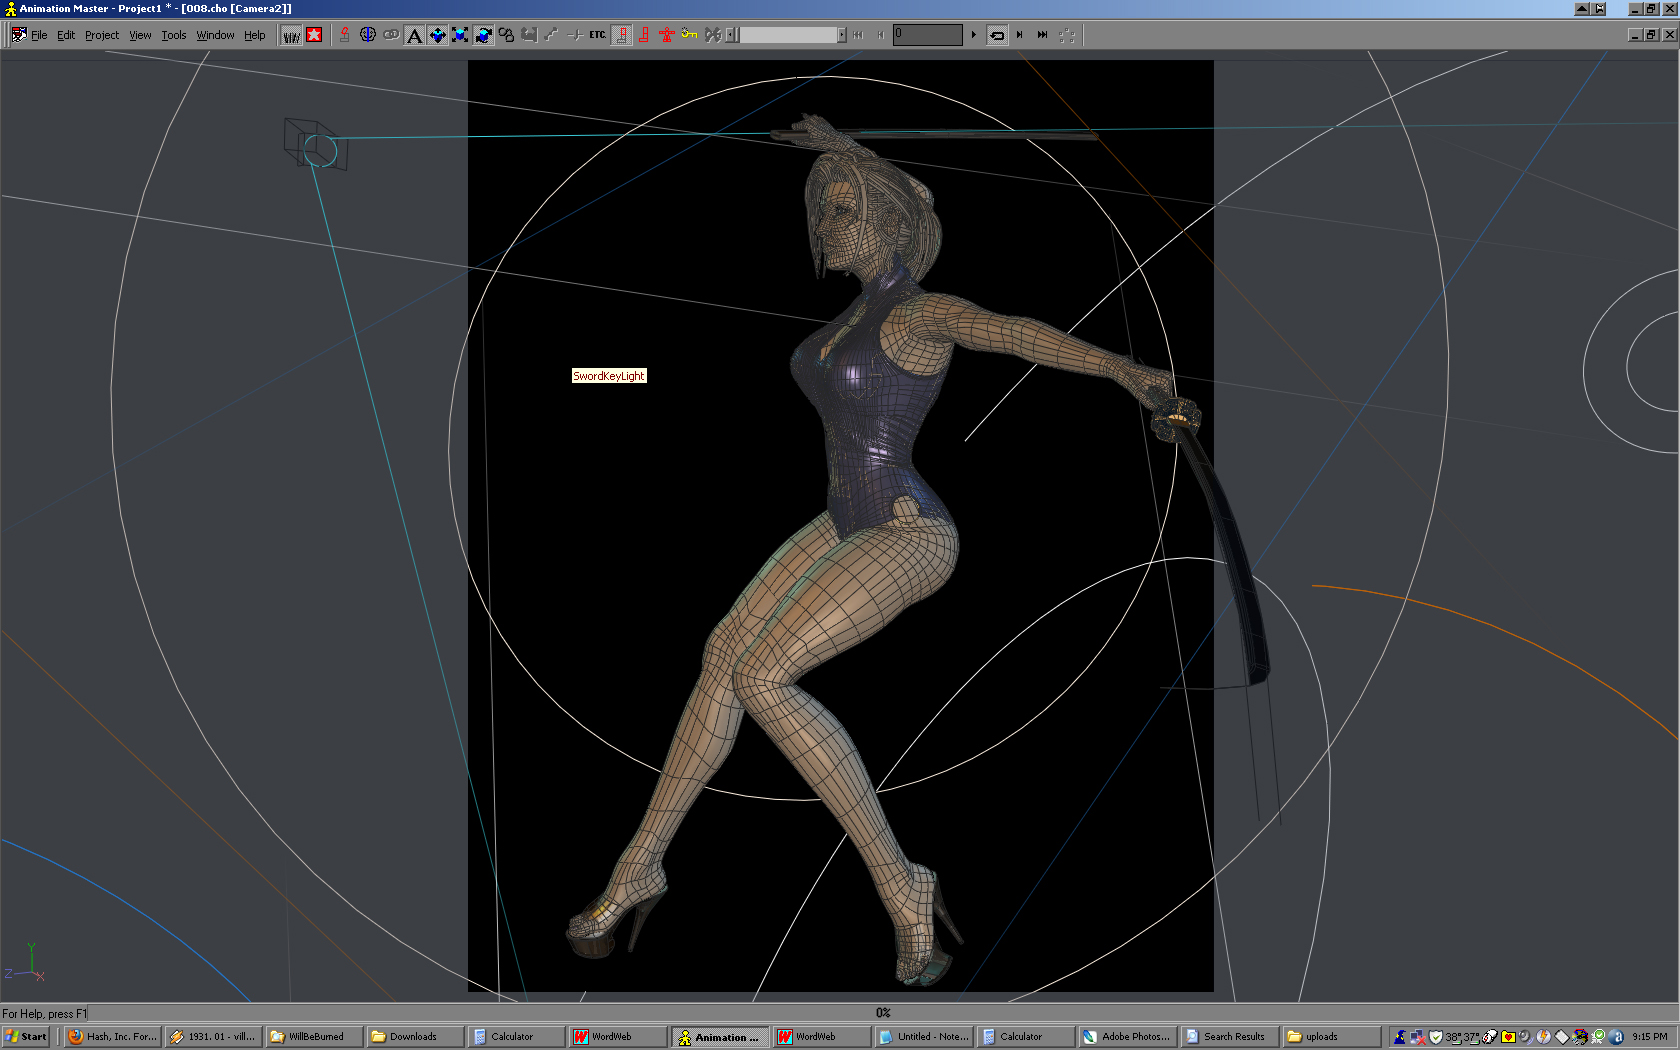
I've played around with lower res 800x600 and this is what I get. I remember now.

I'm not sure if posting such images is allowed so please notify me if it's otherwise. Thanks.
-
Ok I have to add somethng that may be of importance. The scene has a minimum of 9 lights in total. Each of the models is tied with a lightlist to at most 4 to 5 of these lights.
Only two of them have shadows. The rest are isolated lights with different settings. Each model renders shadows and accepts shadows. AO turned on for every model.
AO Setting 100%. SSS for the main model. Multipass 25. Minimum hair (for the lashes) the main character uses cookie cuts. This is the lowest setting that I use for render to file and seems to promise acceptable result except I get kicked out on the first pass mostly. Render marquee can of course go computationally more extensive than this.
If I render separately with higher settings there is absolutely no problem. I just need to find a way (or ways) to compose all the shadows and AO and SSS with each othr and background together and everything will be dandy.
-
...I have found, that mostly when I run into such kind of problems, I had internal patches somehow in my models.
Maybe its worthwhile checking that...
Thank you for responding so quickly.
Things render fine separately under the same light and render settings. The problem is when I put them together in one chor, 'turn everything on' so to speak, and after a few minutes of render I get kicked out.
Also I've checked my models they don't have internal patches that I can see. They are high in patch count I admit. I remember having to try like 20 to 30 times renders when I made the image contest and only one went through for some reason. That's the lowest possible setting I used with SSS.
-
I've been stuck with the same probolem for years of A:M kicking me out to desktop once I render a 'complex' scene. I've tried everything that I can think of.
I need to really solve this problem and I need a robust solution or versatile workaround. I have no money to upgrade to a newer version, and I don't have money to get the latest bellsand whistles for my computer and I'm limited in time. It probably won't fix my problem in the end.
Sorry if this post sound like I'm venting, but I'm really desperate and after years and years spent into making models, the feeling that all my hard work can't be rendered apart from using the render lock (render marquee) using A:M's full potential is disheartening. I've relayed this problem some years ago to Rodney, and since then I had been working on ways during my spare time to come up with a solution but to no avail. Recently I've been futzing around with this same problem in my semester break but like the last time I cant come up with a proper solution.
It's 'only' version 14c, but the preview renders under the right settings, lighting and SSS is awesome. The reason I went back to A:M is I'm very familar with it and I've been using it for more than 10 years and it's actually very easy to use if everything goes smoothly. A:M's non-linear animating capabilities are very versatile, and I'm especially in love with the SmartSkin feature after digging around desperately for months and finding undocumented ways to actually use it real easy. I've posted about this if anyone can remember.
This may be all down to my limited computer resources. And this is what I'm getting at. I've tried rendering objects separately under the same settings and it does fine. Render marquee with all the objects in the chor is fine. But once I turn on the 'active' property under choreography for each and every one of the models and put them all together using the camera settings and lights and render and put the system under full render mode A:M kicks me out after a few minutes. So it has to be lack of resources.
My question is, is there a robust solution to render these objects separately or in any possible other way render separate passes as not to over-burden the systems resources resulting in me getting kicked out onto the desktop and ultimately composite it all back together? Or at least can someone in here point me into the right direction as to achieve similar solution. I remember some time a go that a studio used A:M to render for an advertisement and they mentioned rendering some of the elements separately (not sure which elements they are) to tackle down 'certain problems' and composite it back using After Effects.
If a solution prevails itself I will defintely be using A:M for my final animation project. Any help is appreciated. Thank you.
-
Thank you. Anyway just a general question. The latest A:M doesn't have this kind of problem right?
-
Anyone in here knows of a free script editor that can find and replace specified tags and stuff between tags automatically? Can't seem to find any.
The file has some nested
tags and it's confusing. Also some of my other cho files are getting worse with the duplicate models on the choreography branch. Seems like when I import that particular model it duplicates itself up at the same cho level at a very alarming rate. jEdit is capable if you make a macro for the job.
Thanks.
-
Anyone in here knows of a free script editor that can find and replace specified tags and stuff between tags automatically? Can't seem to find any.
The file has some nested
tags and it's confusing. Also some of my other cho files are getting worse with the duplicate models on the choreography branch. Seems like when I import that particular model it duplicates itself up at the same cho level at a very alarming rate. -
Glancing at it briefly they all seem to be a vestige of some sort of constraint. They all constrain a "1 left foot" to "1 left foot" and likewise for "1 right foot"
Odd
I notice most of the items in Chor 004 do not have "Shortcut to" in their names. Did that just happen or did you rename them to exclude the "Shortcut to" part?
I think those are for a shoe model I constrained the model with. Somehow there was a bunch of them popping up sitting in between the phantom models but I removed them in a text editor.
I renamed them and excluded the "Shortcut to".
It reminds me of Ye Olde Empty Driver issue. I can't remember what A:M versions it affected or when it was fixed.If your problem is related to that issue, then all the models, materials, actions, and possibly everything else but images that were in the project are also corrupted. If I remember correctly, the contagion can spread too. If you import an affected model into a clean project, all the other assets in the project will get corrupted. It was a rather nasty bug.
The fix was to open every single asset in a text editor such as PSPad, Notepad++, or Textmate and remove all instances of
DRIVER>. I'm a little fuzzy on the details. Hopefully someone will correct any misinformation I'm giving. Even if it is not related to the empty driver issue, if you open the file in one of the above mentioned text editors, you will see a bunch of identical entries. Make a copy of your project/chor, then delete all those identical entries, then open it up in A:M and see if they are gone.
This is exactly what happened before this. I had many chor files with similar problems but I've put them through a batch text replacer and removed some of the duplicate instances of models and rotoscopes before the chor branch but I can't pin down the 'phantom models'
Thanks. The
DRIVER> seems to be it. It reminds me of Ye Olde Empty Driver issue.The fix was to open every single asset in a text editor such as PSPad, Notepad++, or Textmate and remove all instances of
DRIVER>. It reminds me of Ye Olde Empty Rotoscope issue
The fix was to open every asset in text editor and remove all empty instances of
. I've never seen the phantom model issue before this post.
I had problems with this one before this and managed to remove them. Didn't know which tags to look for the phantom models though.
Thank you HomeSlice, robcat and Nancy. I'll try and mess with the file a bit more now that I have a lead.
-
Hi guys,
Been on a hiatus because I was very busy with art school. I got a 1 week break so I might as well continue the work that I had previously put on hold...
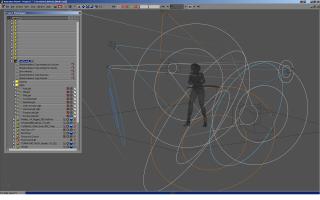
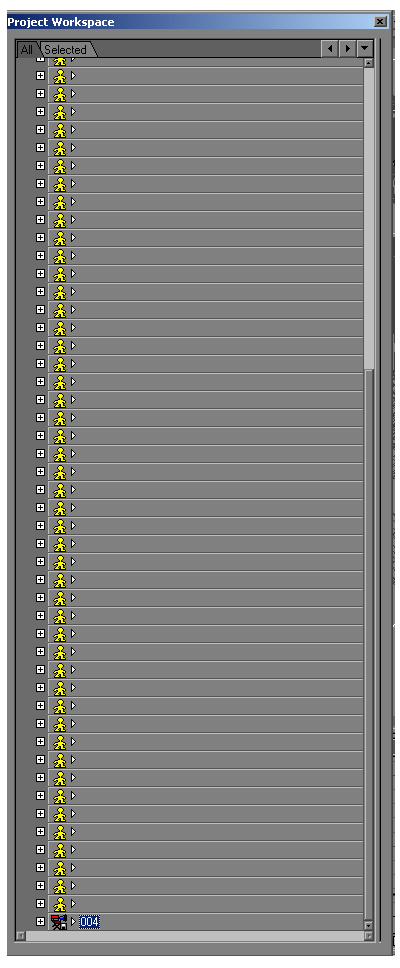
I had a nagging problem with some cho files having these nameless 'phantom' models in the Project Workspace three under the Choreographies 'branch'. They're not inside the choreographies, but they have the same hierarchy level with the chor files but they just came out of nowhere and seem to procreate themselves each time I save the chor.
This is what I'm talking about.
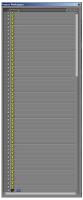
And this is the .cho file in question
The linked model files of the .cho were intentionally left out and the result would be the same either way, just to show that the problem didn't origonate from any of the linked files. I've tried opening the .cho file in a script editor and managed to track down and delete some of the duplicate "Cache=..|..|..|Objects|" lines but some of them still managed to pop themselves up when I open the cho. I would appreciate if anyone in here can help me with this.
Thanks.
-
When I lost my x,y,z pivot value I just highlight either one of the x,y or z in the properties and press Enter. Works every time.
If the pivot still reverts back to whatever random number try restarting A:M.
-
I experience similar problem as well when I did a contest entry.
I remember spending weeks trying to solve the problem but no joy. In the end I ended 'airbrushing' it.
-
Thanks everyone for voting.
 Ken's is a real masterpiece
I like this guy very much. Nice textures, modeling, use of fur, and so on...
But don't take me wrong... the other once are very well too. Something about the face of the woman is a little bit to hard and she would need good textures and she would have won.
Overall: Godd work everyone!
*Fuchur*
What do you mean 'too hard'?
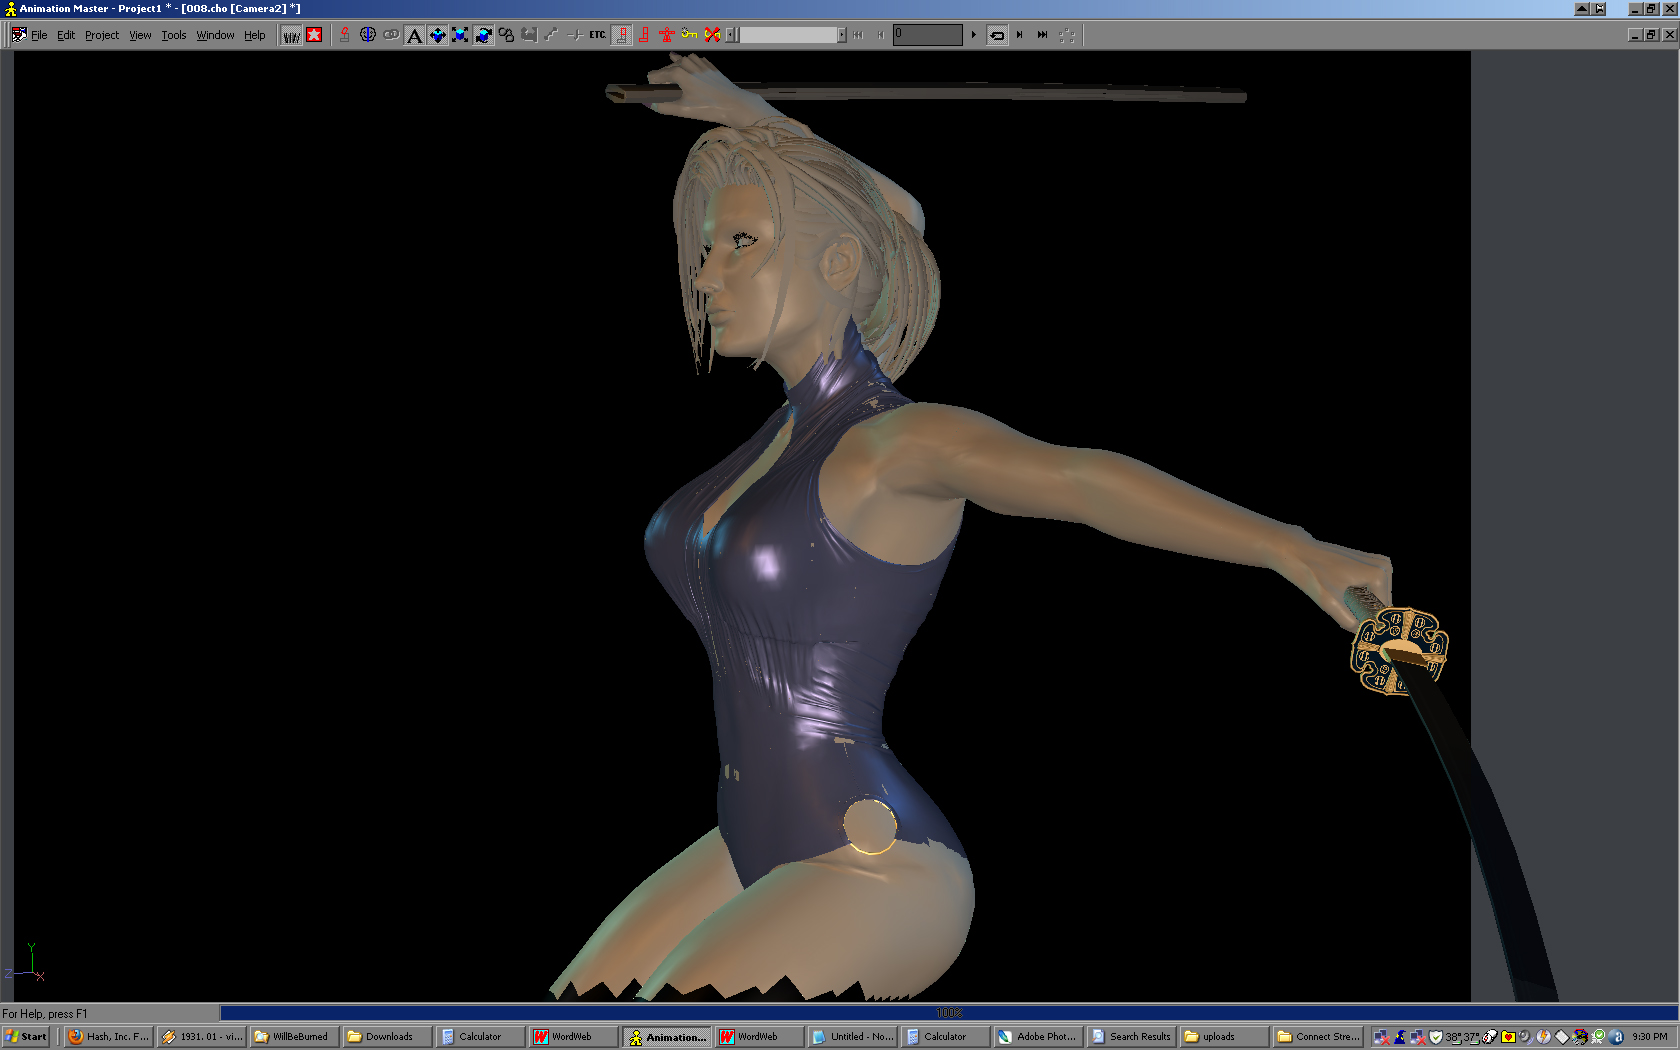
Too angular? I would appreciate any critiques. By the way I have made the mistake by putting it through Photoshop's automatic level adjustments. The end result made the colors too washed out and the SSS was diminished to a degree. Of course I have no one to blame other than myself.
The original untouched image which was directly off A:M is here: http://www.snapdrive.net/files/241938/NatalieSword.jpg
Maybe it's too dark. I wouldn't know. I'm using a really crappy CRT monitor. Again I would appreciate ANY comments and critiques. I wouldn't know my mistakes otherwise. There are mistakes that I am aware of in the image. Let me hear what you people think.
-
http://www.hash.com/forums/index.php?showtopic=29896&hl=
I had 2 cds shattered in the past. One of them was an A:M 2000. The first time it happened I thought my computer exploded. One 'incident' rendered my cd-rom drive unusable.
-
I think the anxiety is justified :
The funny thing is I had my cds shattered at speeds lower than 48x.
To manually lower the speed of you r cd/dvd drive you can use this freeware:
If you are having problems with the freeware not sticking to the speed that you have set at the main tab, you can go to the automation tab and set the drive to use the speed that you want.
For my DVD drive I set the speed down to 1x at the advanced tab (1385 (kb/s)) and for a CD-rom drive you can set it to 600 kb/s.
-
I use BOTH PhotoShop CS2 and Photo Paint X3 extensively for texturing and bitmap editing and I only want to say both programs have their own weaknesses and advantages if compared side by side. PhotoShop has features PhotoPaint doesn't have and vice versa and one program approach a particular problem better than the other one and vice versa, which is why I use both. Much of the features in each programs use the same general workflow, they only use different interfaces and graphical element terminology.
So if you have any questions about converting the workflow of PhotoShop to PhotoPaint feel free to ask.
-
I have gotten away from tools that create virtual drives and only use imgburn (open source) for my CD/DVD imaging needs. I don't mount images virtually any more unless it's on my media library machine.
Cheers!
Hmmm. The hash CD has Safedisc. I don't think you can a get usable cd image by using imgburn alone or are you talking about non-Hash cds?
-
These make learning more interesting and visual. Great work.
I just want to mention a feature in A:M that is worth putting in these tutorials.
I don't know if anyone has already mentioned this so forgive me if this is common knowledge but I've never seen it mentioned here before or in the manual. It's assigining a pivot point of a group automatically from a cp in the model.
A simple example : you have box and you want to assign the pivot point of a group to one of the corners using this corner cp's coordinates as a reference for rotating or scaling the whole box.
In the conventional way of doing this you would select the group, turn on the scale or rotate manipulator and manually drag the manipulator so it's center matches exactly to this cp's x,y,z coordinates, or copy paste the x,y,z coordinates of the corner cp into the group pivot properties.
Too much work.
There's an easier way. Select the cp that you wish to use it's coordinate for the whole group, turn on the rotate or scale manipulator first then add the rest of the group by using the shift key, you can also use the complement key (/) or the select spline key (,) as well, depending on what you want to selcect). The group's pivot point will be automatically assigned to the cp's
coordinate that you selected before you turn on the rotate/scale manipulator. If you don't want this pivot cp to be included in the group you can deselect it and the coordinates will still be retained. To save this group pivot coordinate just rename it, (don't deselect it just yet) then click on one of the coordinates in the groups pivot property panel and click enter. That's it.
It's something that I do a lot and is one of the most useful features in modeling, especially mechanical modelling. I also use it extensively when I want to unwrap models for decalling.
-
Hisako, try and uninstall and reinstall your video card driver see if it works. I experienced similar problems in the past before where everytime I updated my windows A:M rotoscope suddenly won't work and I could bring it back by uninstalling and reinstalling my video card driver. If that still doesn't work try to check if you have the latest driver form the video card's company website, download tyhe latest one. Sometimes they list their oldest drivers to the latyest drivers, if the latest driver stilll doesn't work, try them all, see which one works. If that still doesn't work try ANY version of the driver of the video card, in most cases videocards have the same chipset but different companies just stamp their name on it, and use their own version of the drivers and software, it's worth a try intstalling it to see it works.
Also do you have a built in video adapter in your motherboard? Have you tried using that and see if A:M rotoscope is available? If anything doesn't work, your last option is to buy another video card.
I know this is not exactly a solution that you wanted to hear but having no rotoscope capability like you said is very limiting. I'd rather buy a new cheap videocard than not having that limitation. Good luck.
-
Wow, thank you very much for your helpful suggestions! Why didn't I think of that idea before?
 The multiple smartskin per bone is a good idea too to isolate the keyframes. I'm going to try it and see what happens.
Thanks!
-
Some ideas and possible work arounds when dealing with smartskins that come to mind that might help:
Suggestion 1.
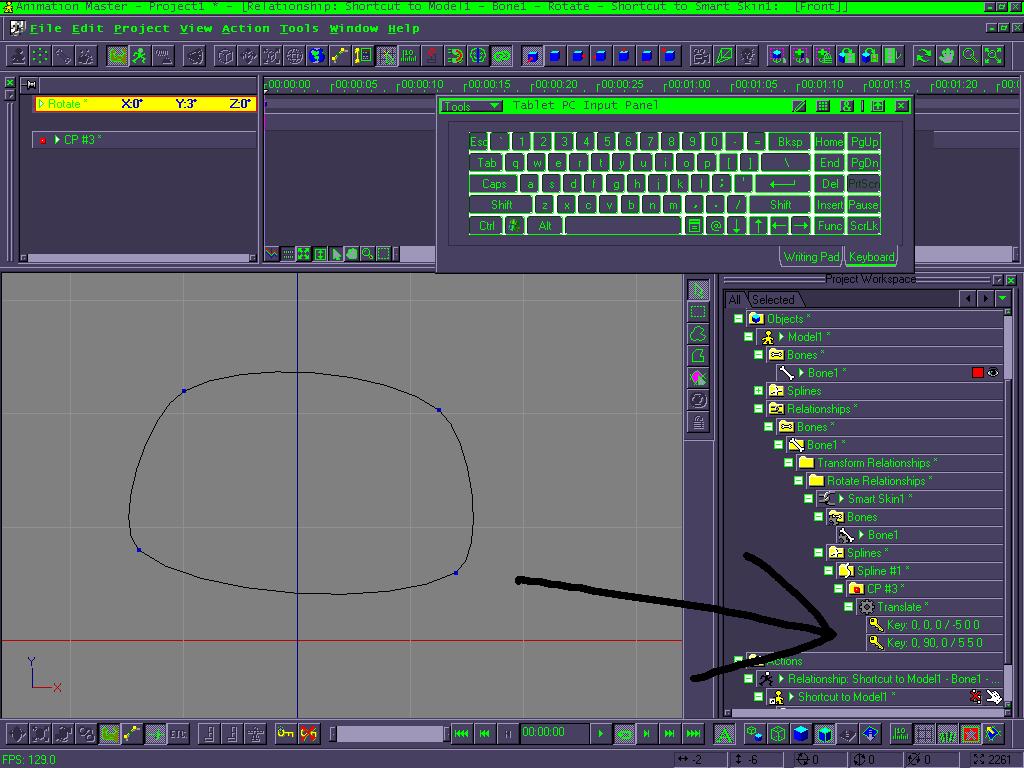
At the key values where you want to set up your smart skins (also the key values should be pretty regularly spaced, if you have big differences between key frame spacings then A:M according to the help file under........
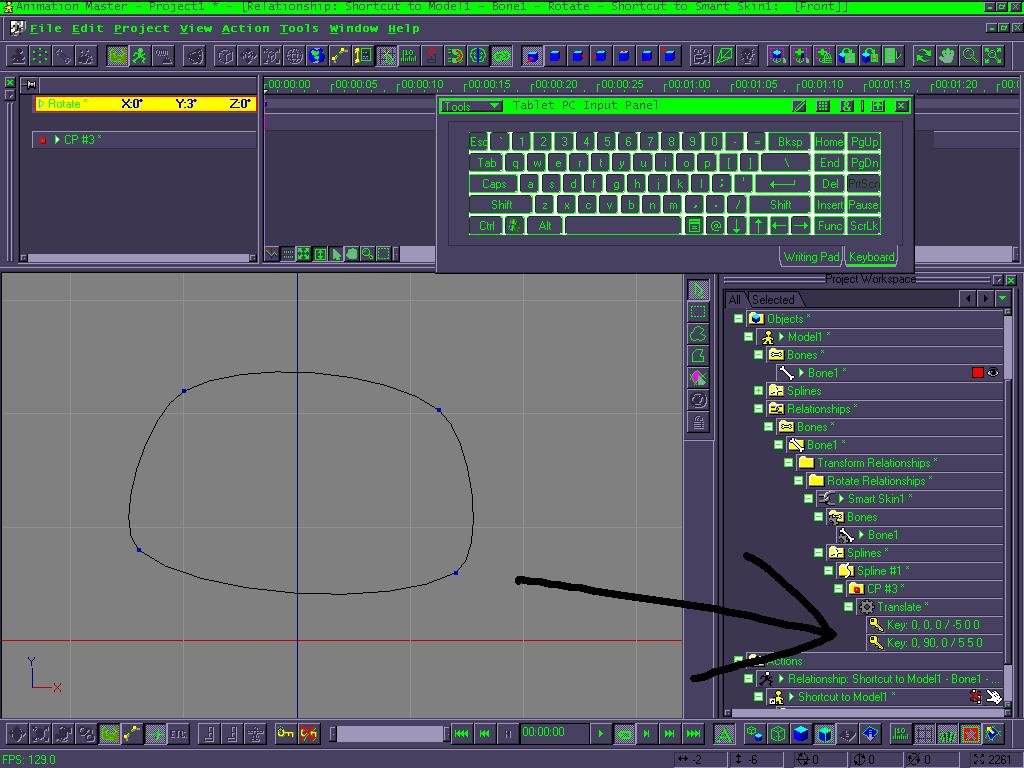
The keyframe spanning problem you mentioned is weird and makes me wonder if something in how things are set up is off. Instead of using the delete keframe button have you tried deleting the keys that appears under the project workspace (see attached image) with either a right click delete or a delete key on keyboard press (although the delete keyframe control does work for me in a v14c quick test).
Thank you very much Sum Square Stories. That confirms the problem that I'm having. About the null key and the wandering cps, I also did something similar (only not as effiicient) which solved the problem to a certain extent (although you explained it more eloquently than I ever could) My method is to force the keyframe AFTER I moved the cps and copy mirror pasted all of the keyframes, delete the current smartskin and copy mirror paste back). I did this so any muscle keyframes that spans 2, 3 and even sometimes 4 per keyframe gets flushed. No other way of removing these irregular keyframes.
This method works well for joints that moves in one axis, (elbow, knees and such) but with joints such as shoulders and thighs which have more than one axis and moves at extreme angles (think about martial arts and gymnastics) the spacing of keyframes in one angle affects the other, which makes the cps involved in those simlutaneous joint angles behave unpredictably. So if you have a joint that moves in two axis and one axis has different spaced angles of muscle keyframe with the other (much more likely in shoulders than in thighs), it will effect the other cps with another keyframe on another axis which result in the cps involved moving in irregular non linear fashion during joint movements. I hope I'm making sense.
Yes it's kind of weird the way that the default interpolation in post v8 smartskin works. So with this built-in-problem what I do is I just smartskin only the necessary angles that I need, with angles that is more or less equally spaced and omit any angles that would make the interpolation wonky, animate the model, any unwanted muscle deformations that came in view of the camera shall be dealt with brute force in action or choreography. Not the perfect solution but it beats getting pulsating muscle movements. If only we can manually force the default interpolation for each individual keyframe for smartskin muscle keyframing.
Thank you for sharing your solution and confirmning the problem that I have.


My current problem
in Work In Progress / Sweatbox
Posted
I have a little bit of problem with money as I have mentioned in my first post. I can't even register for this new semester for my art school because I have no money.
I'm trying to find a way to separately render objects and somehow composite it together. If I can render SSS separately like AO I can see it as a solution. But I guess not.
Only two of the lights render raytraced shadows one has 3 rays and and the other 4. The rest are positional rim lights with no shadows, some are only speculars. Some of them are tied to light lists of models, some are not. It's really is a minimum light setup. The rest is image based lighting.
At the moment I guess I can only work with my animation, but I still need stills. And thinking that SSS makes the renders much much better... I don't know, It's like it will not be complete.
This is really me but I can't show someone expecting something from my work but in the it ends up being sub par but at the same time I know it can be better.