digman
-
Posts
63 -
Joined
-
Last visited
Content Type
Profiles
Forums
Events
Everything posted by digman
-
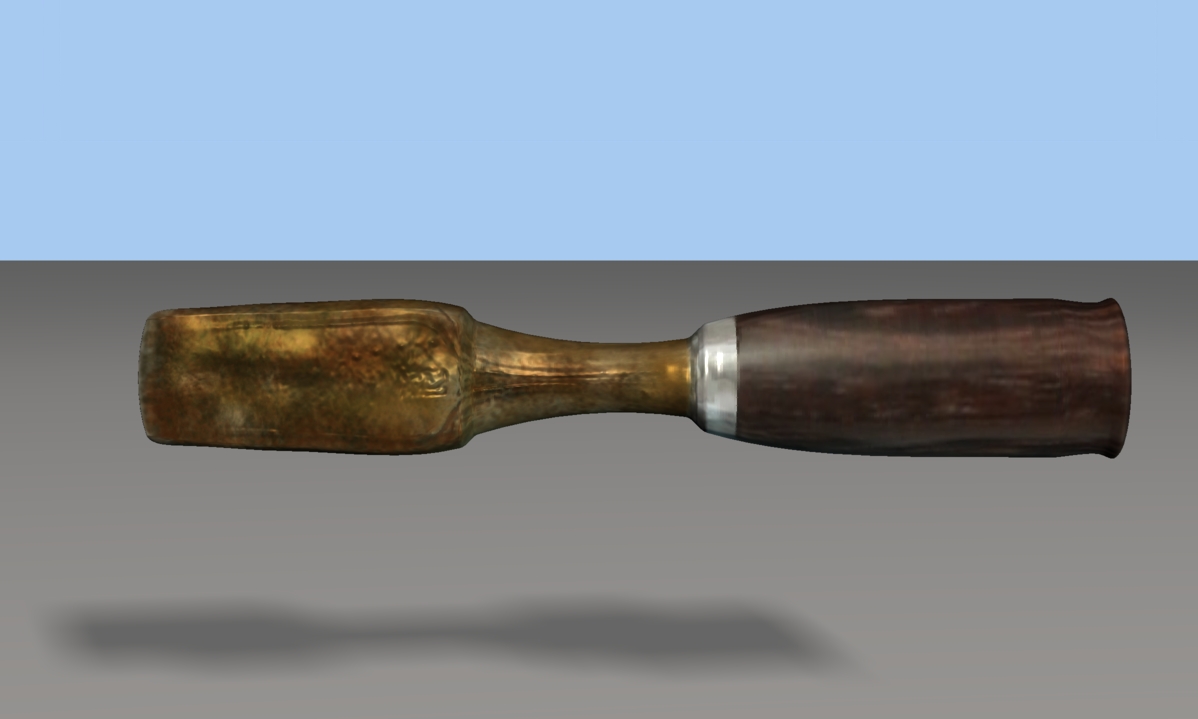
Thanks Eric for your replies. Though I might disagree with the shinnies of your rust, I saw that my rust had too many indentations. Yes, I know what bump maps are, I have used them for quite awhile though now I will use a normal map. Then use a displacement map but put it in the bump channel to help bring out the details of the normal map. On this occasion, I went a little different route. I did reworked my normal map to futher give the chisel an even older look and to reduce some of the indentions. The rust color reference map was just use as color reference not the details. I like creating my own textures as you can see that way I will improve my skill. The lighting is terrible I know but this just started out as a quick Sunday fun project, LOL but as lighting in AM is new to me I will study that part and make a better lighted scene. Oh, I did change the chisel model alittle. The handle will need to be reworked in the normal map to give it an older look to match the blade... Thanks again for the input as it makes us strive to be better... AM version 15.j MJL, That is a nice trade wood (very very hard,I went and looked it up)you spoke of but nope it's just a generic wood style on the chisel...
-
Great modeling there and I like those wrinkes...
-
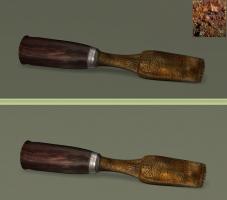
Chisel is done now but I still have to setup a better lighting routine... The upper small right image is the reference image that was used for some of the colors I painted for the rust texure.
-
Ok Eric, I used the grayscale diffuse as a bump map to add some more texture the normal map did not show and rendered with some radiosity. Yes, the gray is funky, just working on the chisel for now...


-
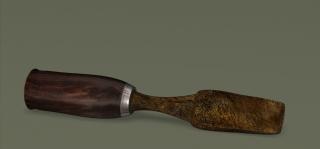
I took a break from rigging and made this old chisel today. A generic render. no radiosity The model has diffuse map set to color, a grayscale map set to diffuse, 2 spec maps, and a normal map. The spec maps I'm still working on as 3Dcoat and how AM renders them is different. 3Dcoats spec map will work,just have to tweak them some more.


-
Thanks Homeslice andf Paul for the information, very helpfull to know.
-
I'm working through Barry Zundels videos on charactor rigging. The videos are from 2005 so that raises a few questions. Fan bone = cosmetic bone, I believe these are the same but just different naming. Correct? Control bones, naming has not change, Correct? With the advent of smartskining and cp weighting how important is it still to add a lot fan bones and control bones. I know that smartskin and cp weighting can't care of everthing but in Barry's tutorials he sure has a lot of different fan bones(cosmetic) and control bones. Do you still have to add that many or now can you reduce the number of fan and control bones with the use of smart skin and cp weighting? I'm sure their are many ways to skin a cat ( sorry cat) so any anwsers for this newbie rigger would be helpful... thanks in advance.
-
Thanks for the input...
-
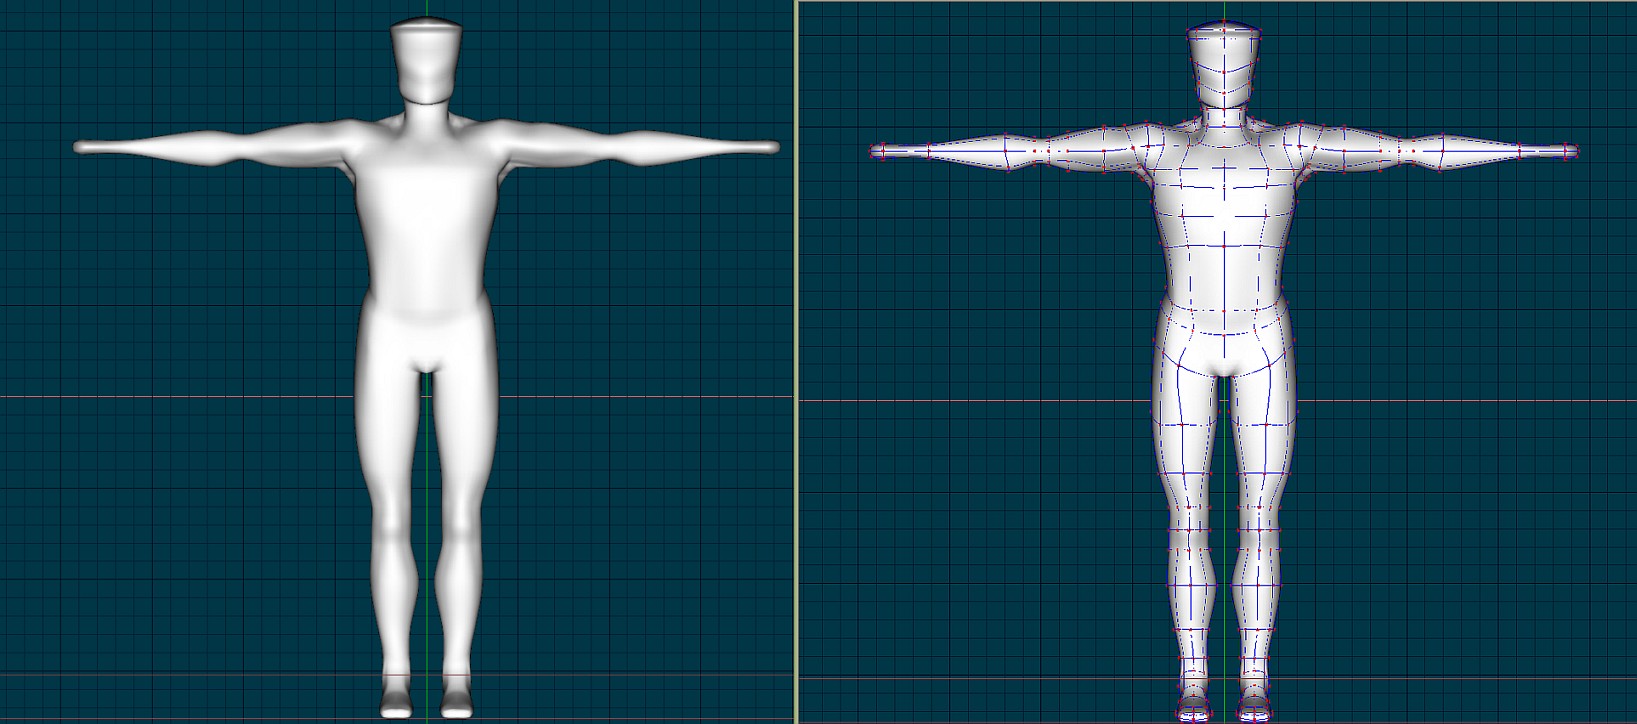
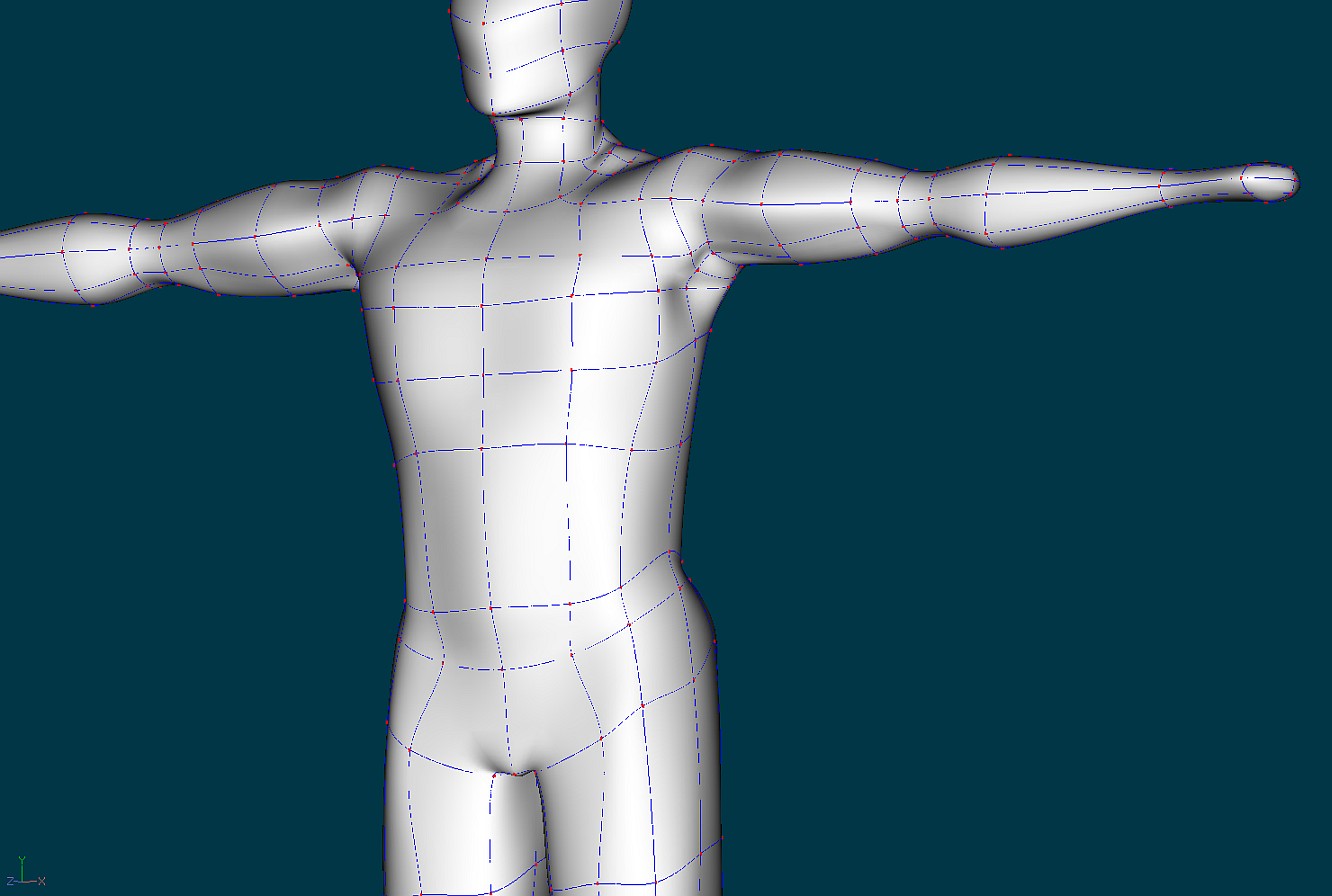
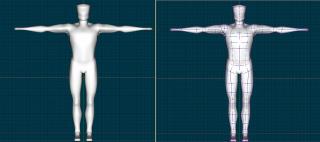
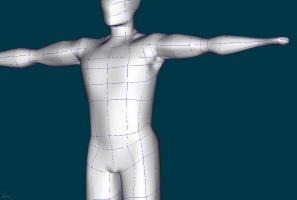
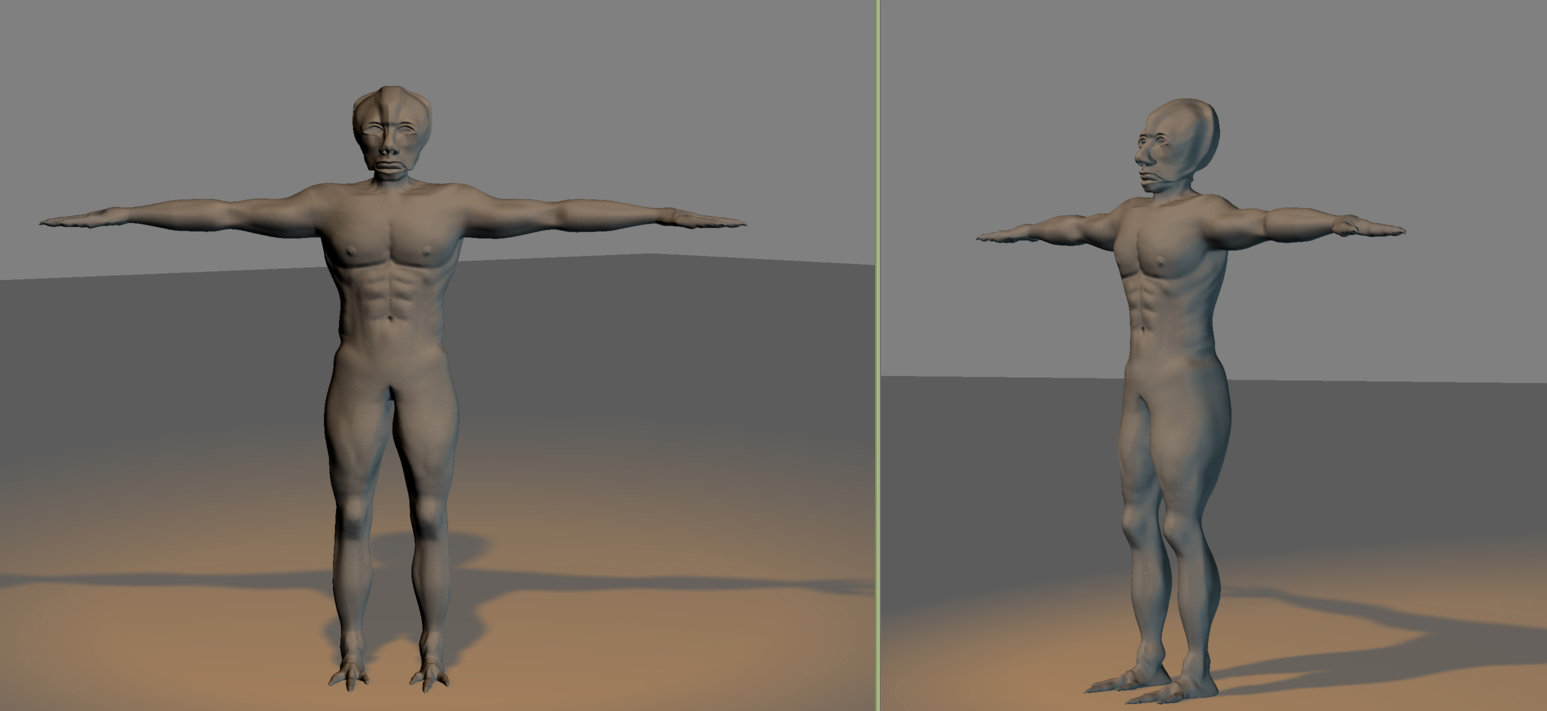
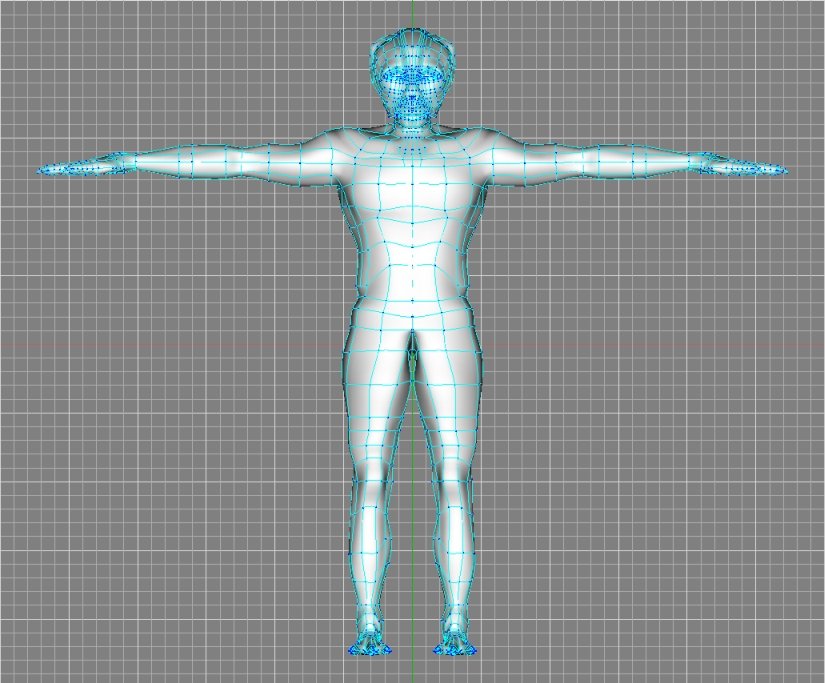
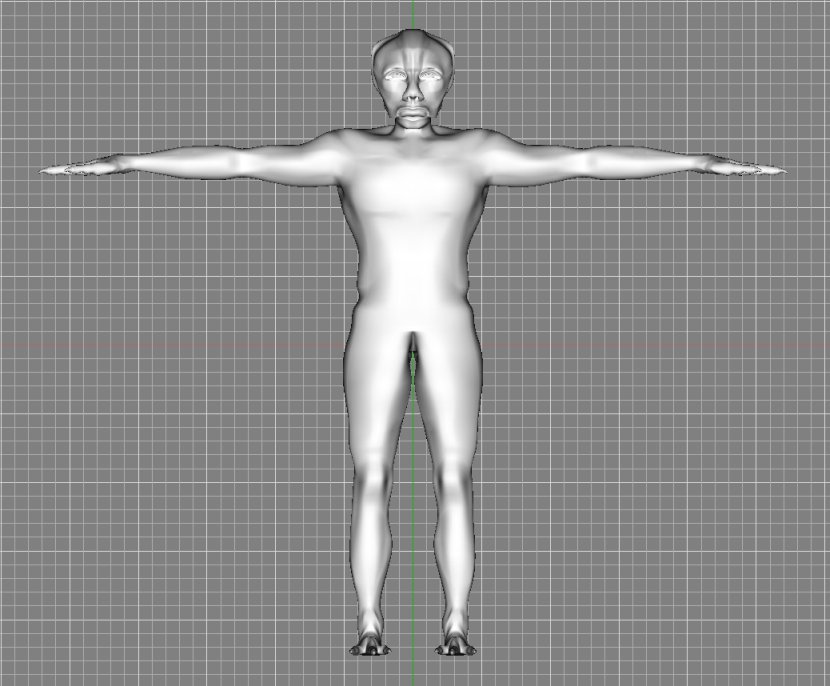
Hi all, I finished my second generic human type male. He has no toes, face or fingers. Still refreshing myself on AM modeling techiques. I'm going to concertrate on rigging basic model first. Is this model in an ok state to rig? . I could have done a better job from the neck area out the shoulders. Rigging experts throw in your comments...
-
Thanks for the welcome back and my son had a very,very rough year with a severe illness but he much better now...
-
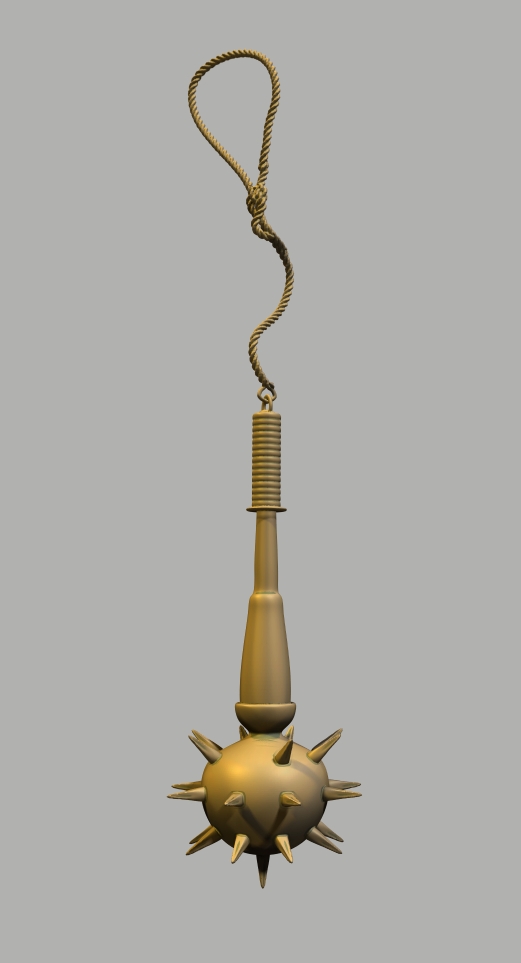
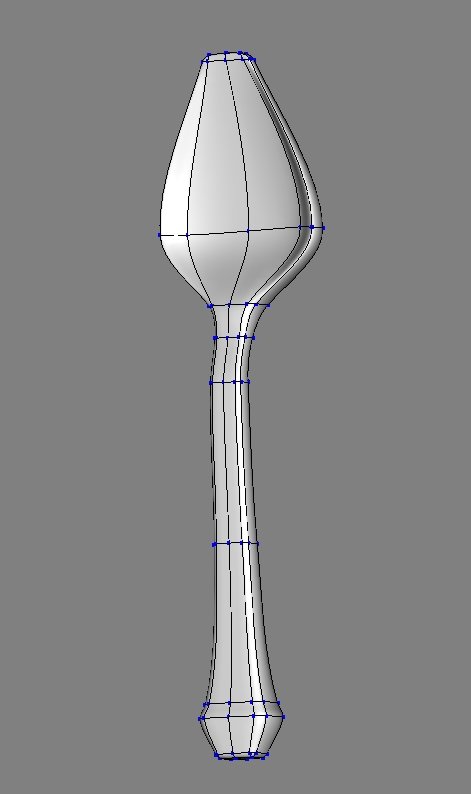
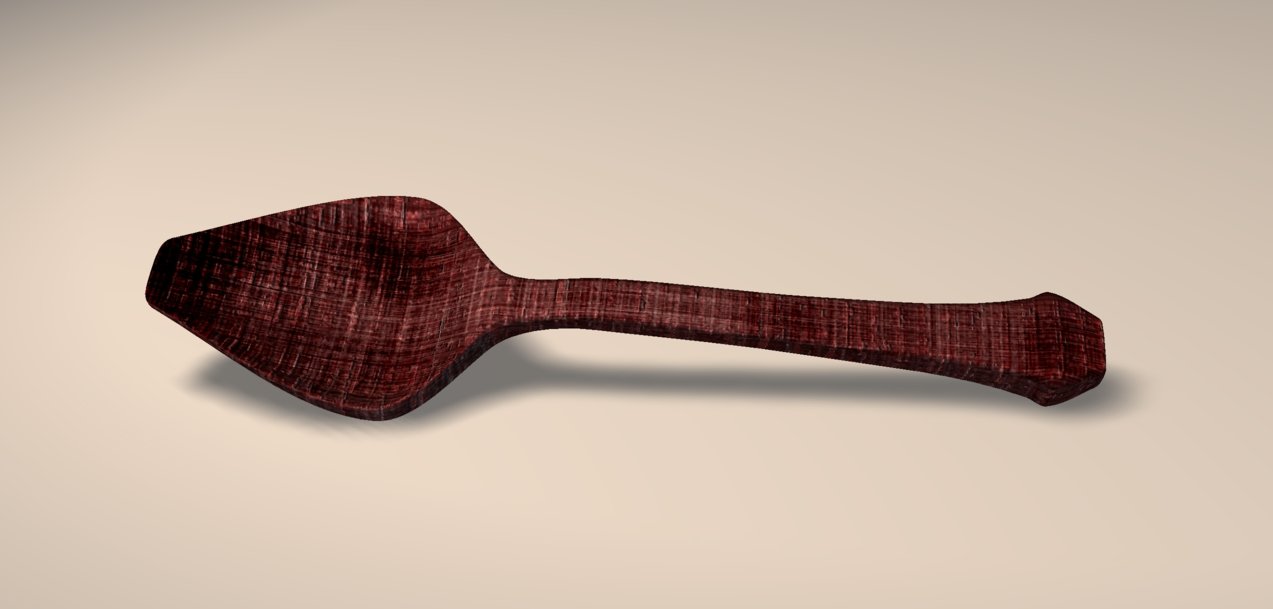
Hi all, it's been a long time since I posted. Real life medical problems kept me away, not mine but family. I just got another year of Animation Master. To refresh my spline modeling I'm working (WIP) on this simple Mace type weapon. Normal map details will be done in 3DCoat. This year, I will work on learning the nuts and bolts of animation. I got Jeff Lew videos ( his older ones when he used Animation Master and Working through Barry Zundels videos as I buy them) It was good to see the the King's Throne I modeled in some of Nancy's draft videos from the Scarecrow of Oz... The rope to the mace's handle was added in another program.

-
Howdy all A.M.'s rendering of bump and normal maps is quite good. To all the newbies (I'm one too.) texturing in A.M. is fairly easy to learn once you understand decaling in A.M. sense. I use a combination of 3D painter and some 2d work. Also Shader Map Pro to produce the bump and normal maps from the texture map. I hope to make a texturing tutorial for newbies in the near future.
-
3D Painter has it's advantages by using a auto uv which divides the model up into alot of planner patches. Then you use projection mode to paint across the seams in 3D. Also you can make a regular UV map ,paint it in a paint program. After that you bring it into 3D Painter to get rid of your seams by using projection mode.(3d painter will load your handmaded uv map). The only drawback of using projection mode in 3d painter is that you lose some texture sharpness when you apply your projection texture to your model. 3D Painter works as a plug-in inside A.M. or as a seperate program. http://3dpainter.com/ There is another way also by exporting your model as an obj file. ( I used 16 polygons per patch to get the model to match the A.M. model.) then bring the obj model into another 3D paint program. Now most 3d paint programs do not handle triangled polygons well ( These are made when exporting from your 5 point patches or 3 point patches). I have found that some work better than others in handling them. Tattoo 3d paint: http://www.terabit-software.co.uk/ older program but works well with Hash exported obj models. Limited in some of more modern features but has projection painting too. Great for quick texturing and fixing seams. Blacksmith 3D: http://www.blacksmith3d.com/ It also works well with Hash exported obj models. The free version is limited but still works well for texturing and it's free... 3D-Coat: http://www.3d-coat.com/index.html The most powerfull of the above programs. Has lots and lots of features but does not handle 3 point triangles very well. I work around this because it is my fav. 3d paint program. In version 3 that is coming up it will have direct poly painting so the triangle issue should be solved. Edit: I forgot to mention that you just save the texture file and apply it to your A.M. model. You do not have to load the obj model into A.M.
-
Hi all Is the Animation Master 2006 book by David Rogers a good resource for those of us who are new to A.M in additon to the great information you can find on these forums. Thanks!
-
Here is a link to some 2005 cd models http://www.hash.com/amtutes/X_Vol001/index.html Click the top link (Browse the Content from the Extra CD: Volume 1) on that page for thumbnail views P.S. Some of the model links for downloading do not work.
-
Thanks for model Cronos, as a newbie to spline patch modeling these well made models help me to learn alot.
-
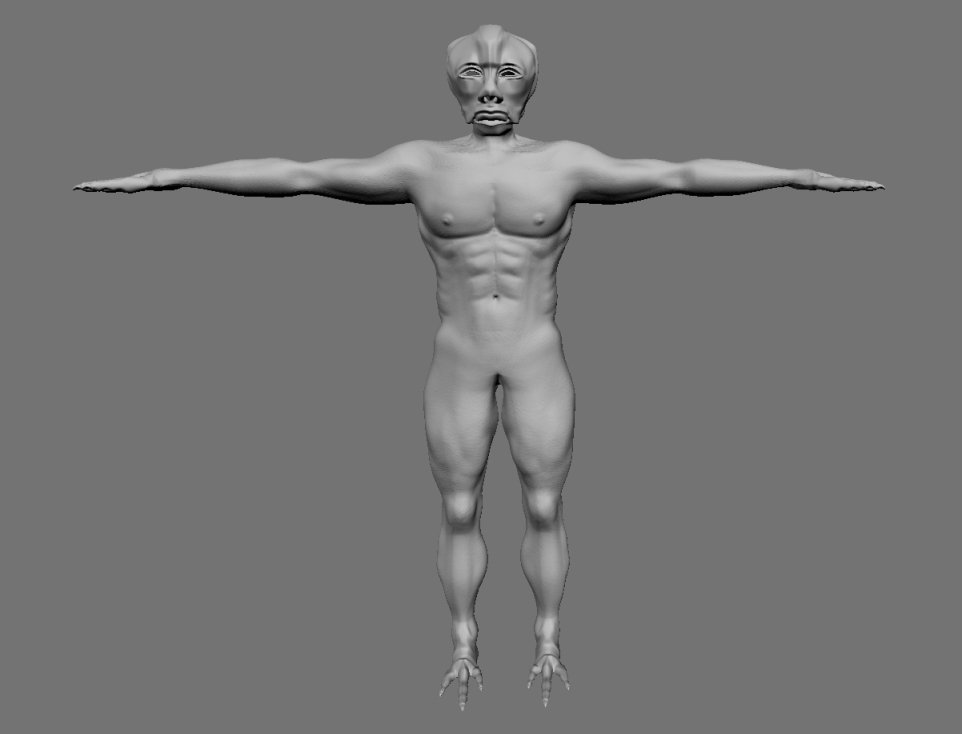
Hi all I completed the normal map for the creature. I used 3Dcoat to make the displacement map and then saved it out as a normal map. I did not push the displacement too far because the original geometry was not detail enough for a normal map to do it justice. I included a screen grab from 3dcoat of the displacement. A.M. Master's display of the normal map works quite well. A.M. is a great program and I have only began to learn it's tools. P.S. The normal map is applied to the A.M. model, not an imported obj.
-
Thanks all for the encouragement. At first, anything I did, looked like tangled fisherman lines and I could not make heads or tails out of splines. LOL. This is pretty much the final model, made be some tweaking here and there. I bought 3dpainter so now off to texturing.
-
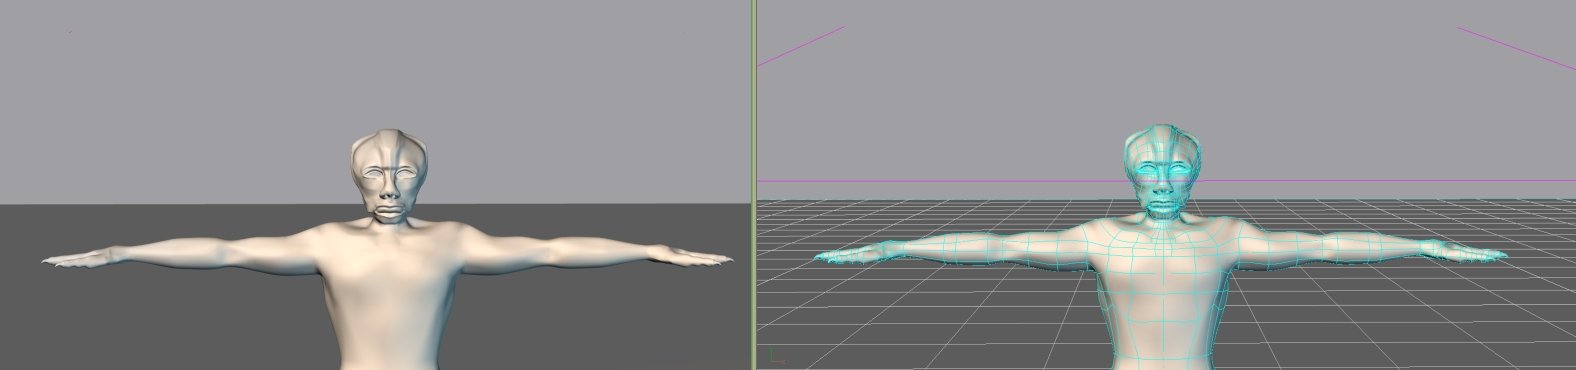
Here's an update, I'm working on tweaking his anatomy. The lower trunk area still needs working on. He has a mask on his head. Hands are palms down now, Thanks Robcat.
-
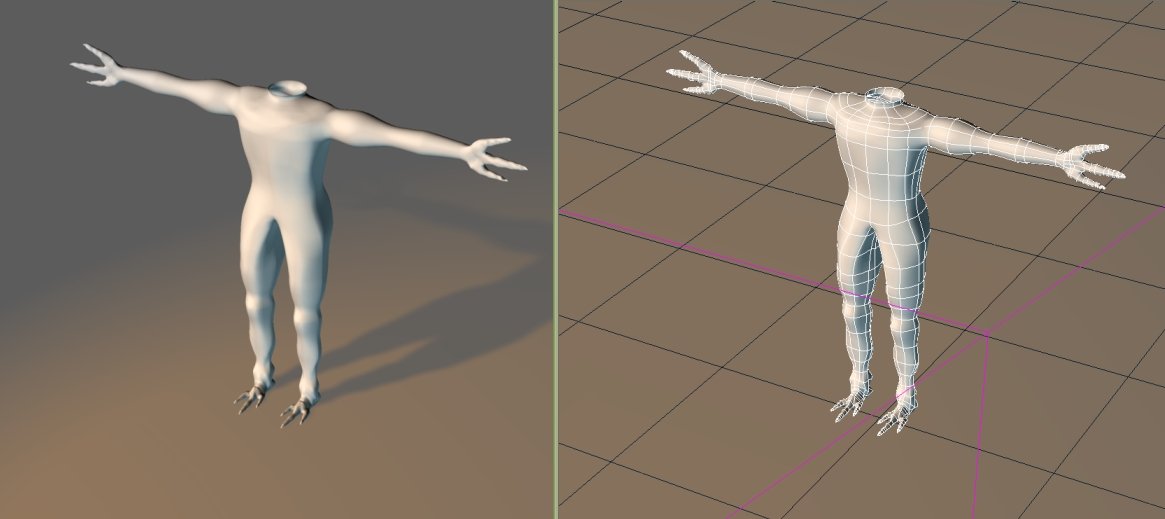
I've had A.M. now for 3 weeks. Watching and reading tutorials here at the forums as helped me to better understand spline/patch modeling. Thanks all! I come from box polygon modeling before getting A.M. The biggest lesson I learned so far is spline continuity. Then the limited but usefull use of 5 point patches (knowing when to use them or not) and hooks. I still have got lots to learn but here is the wip so far. The creature is not tweaked on his anatomy, no reference used, just started at the feet and worked up from there to help learn spline modeling. Oh yeah, no head yet LOL.
-
Thanks for the quick answer. I drilled down in the decal properties box and found them.
-
Hi all, I just brought A.M. and it seems that the tech. pdf file, seems to say that version 15 supports normal and displacement maps. Is this true or do you still need a plug-in for it. Anyway I got my brain awash in learning this new software. Thanks for any answers in advance.