

detbear
-
Posts
941 -
Joined
-
Last visited
-
Days Won
29
Content Type
Profiles
Forums
Events
Posts posted by detbear
-
-
Here is a sample of the original render with all rendered together. And the second is a render using the resulting .TGA on a layer.
Notice the dark border rim around the letters. That's hard to composite. The following has no rim because it was rendered without an alpha.
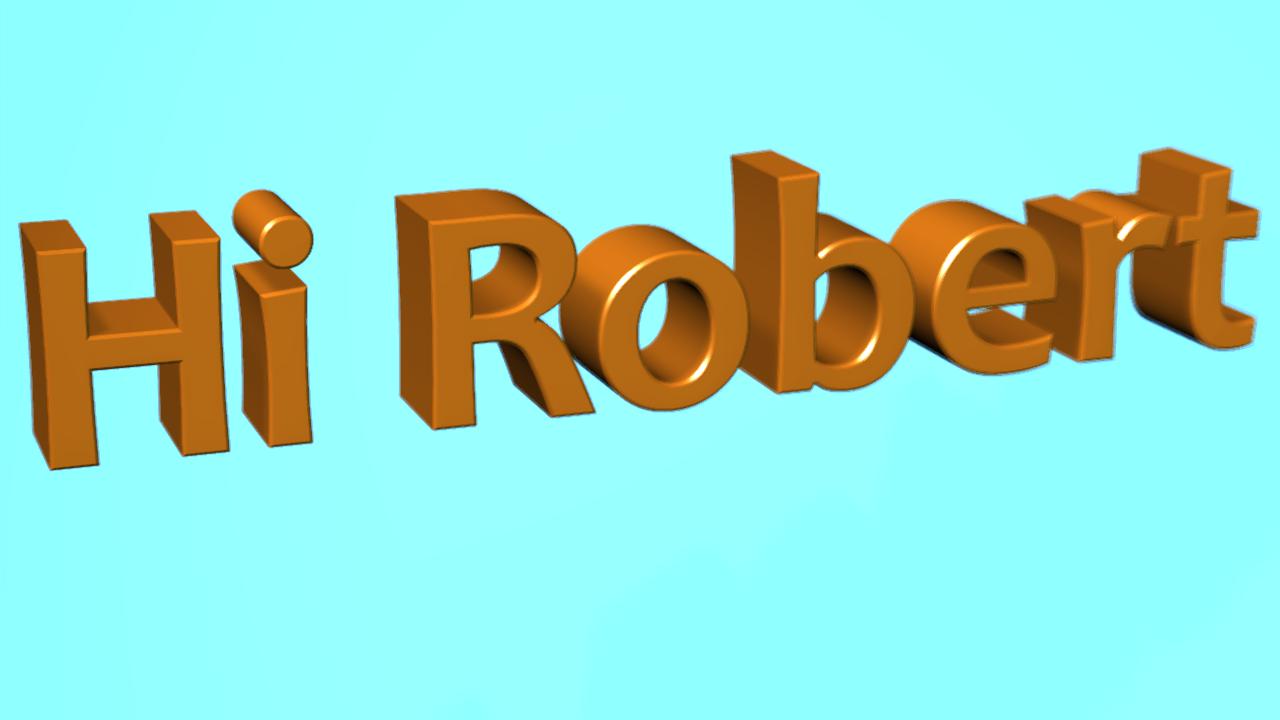
The following has the odd resulting dark border:
Hi Robert combined strange dark border0.tga
-
I'm remembering also that for some reason the .TGA has a dark rim around the outer border that doesn't composite well when blended back into the same image.
That may be some setting I'm unaware of though.
-
I remember having trouble with this in the past, but I was hoping that it had been solved simply.
When I render an image file from Hash as a PNG, JPG, or other, the Alpha channel doesn't export automatically. As a result, when I import the image back into A:M to be used in a "Layer", it has black instead of transparency. If you have an Alpha channel set in the render, it should show up in the image as transparent. But in an A:M render this is not the case.
Am I missing something.
1. Render an object as a PNG with "Alpha" buffer set on.
2. Import that image back into A:M and create a layer with it in a Choreography.
3. Does the transparent area show up "black"???
4. In my opinion, it should automatically have the transparent Alpha channel working....Right??
-
Hey. I selected the splines on the center and then did the steps below. It worked quite nicely.

AND THEN CHOOSE THE X plane and keep the number at 000 for X axis.
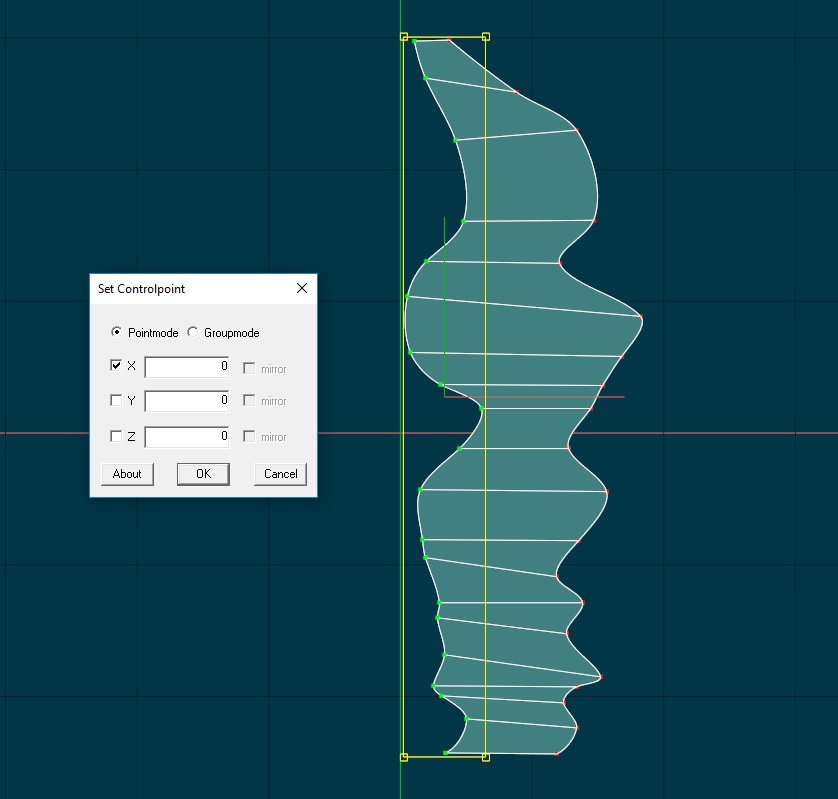
THEN CLICK "OK" and WALLAHHHH!!!
ALL THE CPS SNAP TO CENTER.
-
Hey everyone.
I'm having to copy/Flip/attach a character model. The center line cps are not on 000. Is there a quick way to move the center line of cps to CENTER 000????
-
Hey Everyone. Great to see you all still splining and all. I'm about to "Re-Subscribe."
BIG Thanks to Robcat for e-mailing me back with the new features since I've been away.
Was wondering if you guys have a suggestion as to the most stable V.19 version. A while back,
I encountered some issues with V.19 and had to go back to 17 and 18 to finish a project.
-
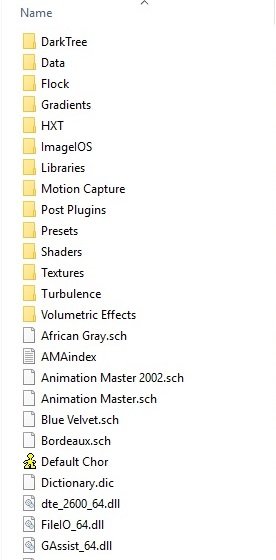
There's no post effects folder
-
And this is what I have.
-
Does anyone know where to access the "Post Effects" for V.19? I thought that there was a folder with them, but when I looked I didn't
see them anywhere.
-
Are you looking to hire animators for a project?
Some of us animate professionally if you're interested.
-
OK....
Found out.....There is a temporary action file created when you make a new pose.
You must select "show more than drivers"
Then select "Stamps"
Then select "Image" itself. Then select the images "Timing" folder.
Then use the "Frame" number there to key the frame you want in the Pose slider's percentages.
-
Hey Everyone....
Either I never did this, or I have forgotten the process.
How do you place an image sequence onto a model and key it to a pose slider??
Thanks Bunches!!!
Detbear
-
MORE ON THE WAY!!!! Hopefully real soon here.
-
Once you add those higher density meshes, you have to do more tweaking and work on the images? Right?
Seems like that's where the process becomes cumbersome. But it is certainly doable.
-
What method are you using to control the placement?
-
Robert did a wonderful job on that sequence. Great acting choices. I think I had set up the shots with moving
cameras in the animatic phase. That left the animator with the framework to work in. One of the cool parts was
the horse/ leg tapping him on the back. That was a cool addition by Robert.
Another important R&D portion that Robert added to this shot was his rig and image stamping of the "Knight's 101"
book. The pages turned great for the shot and they had writing on both sides of the mesh.
At the time, I was still using Vue for backgrounds.
Unfortunately, Vue is a render hog. So the moving camera shots all took hours upon hours to finish.
Matching the lighting between the characters, props in A:M and the Vue scene was a combination of
several things.
One of these days I may re-visit that project in depth enough to show more details on the process at the time.
I think it had 23 minutes of animation. Thank goodness I was able to contract a few people like Robert to help out.
I rendered the film in 720p which was big at the time. Especially since some shots were taking around 20-30 minutes per frame
to render. Started the project in 2007 and completed it in 2010.
Cheers,
Kevin
-
 1
1
-
-
That's such an awesome use of cloth Robert. Looks Great!!!
-
Since I have little Mocap experience in A:M, I don't know if it ever worked(Obviously). But I appreciate you guys checking into it.
Back in 2009, I worked on 3 projects as a mocap animator and mocap cleanup artist....But they were using the BIPED rig in max.
You could drop a bunch of BVH files onto the character and it worked much like "drag and drop" actions in A:M.
So I was hoping to get the Lego Character in A:M set up somehow to accept at least a number of BVH files.
MOCAP files are created differently, so many of them are on different scales. However, many of them are created with similar scale ranges.
You have to import them into MAX to find those that work the best with the setup.
That is my hope with the Lego Character. If it works with not all, but a "Bunch" of BVH files......that would be satisfactory.
-
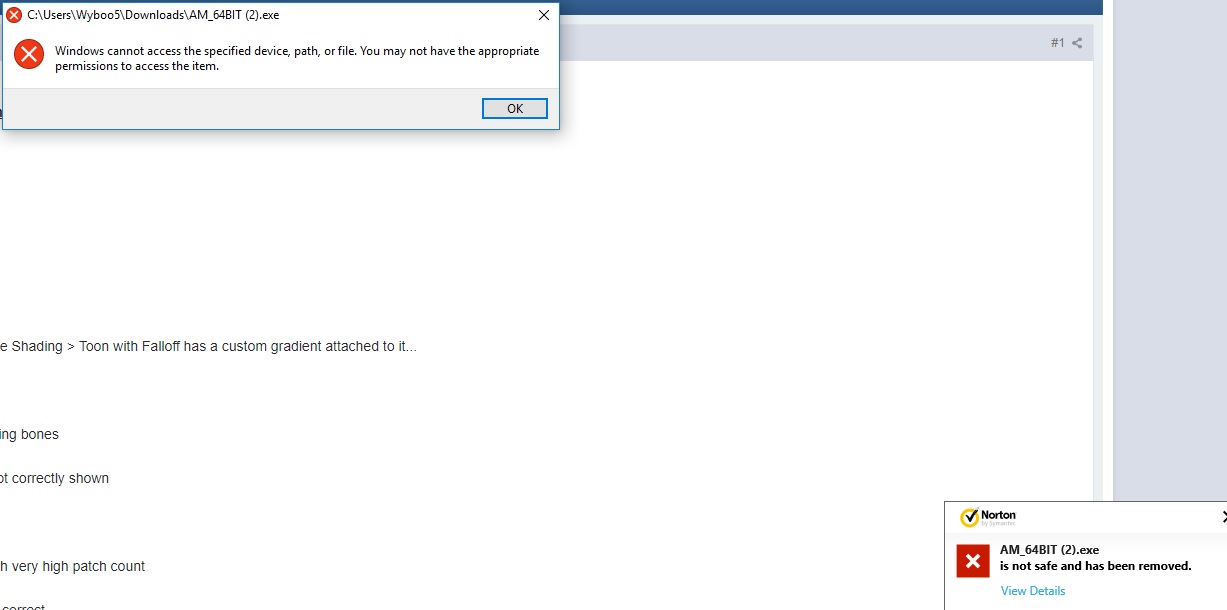
Hi,
I was trying to renew. Never had problems in the past. My virus protection went off two separate attempts.
Here are the error messages.

I can't get up and running...How do you get past this? Is there really a bug in it?
Thanks
-
If it were possible, a "Floating" license would be ideal. With most other apps, that only requires internet access to boot the program up. So
that you can work on any computer as long as the software is installed on that system. If I'm not mistaken, this is called a "Floating" license by
a bunch of App companies. They normally offer several purchase options. The software can only be used by one person or computer at a time.
However, it can be used on as many computers as you have it installed on giving you the ability to work on a laptop, home, office, etc.
Unfortunately this requires a different set up than A:M currently runs. So I doubt it will ever happen.
-
1
-
-
In another thread I broached the idea of applying neural network "deep learning" to the task of resplining dense polygon shapes down to A:M splines.
If you presented it with enough examples of correct conversions... eventually it would figure it out and be able to do it for you? That's the general premise.
But I'll also note that we have people on this forum, like Steve Shelton, who can knock out good-looking realistic humans in A:M quite handily.
Where are Steve's realistic humans? Are there any samples on the forum? I'm not sure if I've seen them.
-
I did this same type conversion multiple times a few years back. It brought in the UV's correctly,
but since the mesh was so dense, I ended up spending way too much time doing a complete
retopology on the character. I think I was able to complete two or three of those. Unfortunately I
was so exhausted that I gave up after the first few attempts to rigg them. I will say this, though......
I got the model to look really close even though I shed about 70-85% of the splines.
-
I think I have it figured out.
Question:
Can you hide the bones in Blender so that they don't show up in the renders or FBX exports??
This is awesome Nemyax. Thanks for working on this.
Detbear
-
On a more complex animation, things don't seem to transfer.
I'm using AM V.18. I tried both versions of the importer, but both seem to have similar results.
Alpha channel embed???
in New Users
Posted
Here is a jpg of the TGA results