


harunw
-
Posts
60 -
Joined
-
Last visited
-
Days Won
3
Content Type
Profiles
Forums
Events
Posts posted by harunw
-
-
I took a look at the Wookie PRJ... there doesn't seem to be a Diffuse color set on any of the Hair materials, although there were Specular colors set. Was that intentional?
If I set them all I get brown hair across the whole body.
Apparently, to colour the hair, and get the varying shades of brown to black, you need to apply an image into the properties dialog below....the wookie that you looked at is the one supplied with A:M in its libraries, and so it works....but when I tried to do the exercise using the "hairless wookie" model, and apply the hair, images, etc, well it worked for the head, but not for the rest of the body....

-
Exercise 20 - It's Getting a Bit Hairy
I was going through the exercise when somehow I couldn't get the colour of the body to appear brown, although the head worked. Not sure why...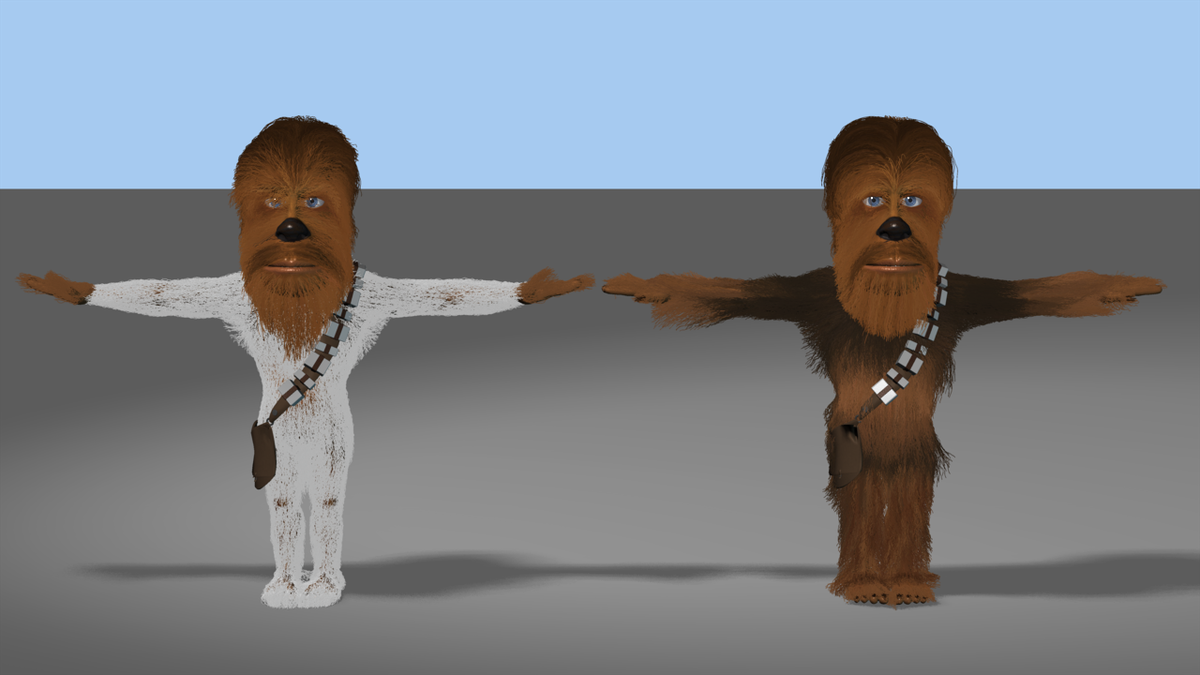 Anyway, I proceeded to use the supplied correct Wookie model in the below clip as I wanted to see how the hair would react to the dynamics of movement.Well, it took me almost a whole year to do virtually all of TAOAM exercises! Maybe I could have finished it earlier if not for my daily workload getting in the way, hehe...
But it has been a worthwhile journey for me; I'd recommend anyone new to A:M to go through TAOAM....take your time, and have fun doing it!
Thanks to all, especially Rodney and Robert who helped me along the way :-D -
Count me in!
However, skyping at the same time as you guys may be a little awkward due to my faraway timezone….
If the skype sessions could be recorded, that would be a great resource to share for those that are unable to join.
Nevertheless, I'd definitely make an effort to participate

-
A couple notes about flying....
Thanks very much Robert, this makes perfect sense.... for every action, there is an equal and opposite reaction.... and helpful sketches too!
-
There are some settings in the flock parameters themselves that can be adjusted.....
Thanks Rodney for taking the time to provide your valuable feedback and suggestions. In any case, I'm just happy I managed to complete the scene, as I had pre-visualized it in my head. I wasn't even sure I could animate the part where the dragon lands on the arch (forget about trying to model the dragon, that is almost unthinkable) but just to be able to see one's efforts to try to breathe life into these creatures is quite satisfying
-
Exercise 19 - Flying Dragons (Flocking)
I again reused an existing project, this time the "Dragon Castle" with which to try out the flocking birds effect...
Done using A:M v19e and assembled with Davinci Resolve 15b2, although I think my animation is a bit stiff...
Appreciate your comments and any suggestions for improvement.-
 1
1
-
-
Exercise 18 - Waving the Flag
Thanks to Robert and Rodney, I got the SimCloth to work again in v19e.
I reused the "Space Marines" project and copied over the flag, then got the soldier to wave it around. I think it loops nicely too...
Also, this clip was assembled using the new Davinci Resolve 15 - thanks Rodney for pointing it out...-
1
-
-
When trying to do Exercise 18: Waving the Flag, at the last step of running the SimCloth simulation, the flag simply drops from the pole and passes right through the ground.
The classic fix for that is not to select all of the splines and patches in your group that will contain the SimCloth material but to leave the spline closest to the pole out of the group.
Then when simulated all of the mesh except that spline will be effected and the spline will keep the rest in place.
Yup, that solved it! No wonder the flag just falls to the ground, it had nothing to latch onto....
-
Bug in v19e when doing Ex18 - Waving the Flag (Cloth)
When trying to do Exercise 18: Waving the Flag, at the last step of running the SimCloth simulation, the flag simply drops from the pole and passes right through the ground.
Upon reopening the project file, I noticed that the "custom groups" property of the SimCloth object of the "Shortcut to cloth" is set to None. It is supposed to be "Attached".
 Maybe v19e is not saving this property to "Attached" and has set it to None.Attached is the project file. This contains all the steps except the last SimCloth Simulate step.I've reported this as a bug #6862
 -
Exercise 17 - Cosmic Bowling
Is there a way to group select the bowling pins and apply the rigid body settings, instead of doing it one by one?I noticed that the result of the simulation is affected even by the slightest change in the bowling ball's speed or rotation, so it was kinda fun and unpredictable (kinda like the real game) to simulate it over and over again...-
1
-
-
Yes! The color reads 'fire' much better.
I'd crank down that velocity considerable though s it reads 'rapid inferno' at present.
Hehe, yes, and the lesson learnt here is that one needs to experiment with combinations of minor adjustments as it leads to quite different effects....thanks again
-
Thanks very much Rodney! As you suggested, by tweaking the flame's opacity, emission rate, and velocity, I got the result below, which is closer to what i had expected....this was done using v19e...
-
Exercise 16 - Smoke Wind Fire
I think I followed the steps correctly, however the resultant fire that you see below is mainly red in colour....i thought there should be some yellow or orange shades in the flames but not sure what happened....the wind does affect the fire and smoke in a reasonably way....rendered using v19d.... -
My feeling is that the dust should Poof! and then slowly settle and dissipate. Somewhere around here someone did a version with particles and it really looked like dust.
Yeah, that dust looks like a little explosion....will check out on particles or maybe sprites, thanks for the suggestion!
-
Exercise 15 - Eat My Dust
One thing this exercise introduced wasn't just volumetric dust, but also action objects, in that you can embed and even constrain, in this case, the dust, into a walk cycle. And also time the activation of the constrained dust depending on the walk cycle itself. This opens up many possibilities for making reusable animations easier. I also tried out volumetric mist that would rise from the hillside, as a departure from my overusing the fog effect... -
Way to go above and beyond the call of duty!
Nicely done.
Thanks a bunch, Rodney!
-
I presume you did what the tut instructed but I'll note that a more anatomically-pleasing appearance can be had by putting the hip/leg/body axis higher, rather than at the crotch level.
That makes sense....didn't realised that....will re-rig his hip higher next time...thanks Rob!
-
Exercise 14 - Playing Marble
This exercise was pretty fun, and I had a bit more time to try playing around with more combiners and mixing them with Darksim's materials.
The hierarchical nature of materials makes it simple to build them, it's a bit like layering, however it is tricky to imagine or plan what combination would result in the look you're after. Nevertheless, you can experiment with the various attributes and values easily.
Below is just a quick test of materials as well as material effectors...
-
1
-
-
I forgot to upload the rigged model....here it is...
-
Exercise 13 - Show Some Backbone
For this exercise, I decided to rig using Mack Chappelle (Mechadelphia) Saucy Rig v1.5.
This rig comes in 3 flavours, so you need to try out each to see which one you prefer, differing in the way the body/pelvis is controlled.
I am using the "classic" rig for this. The short video clip below shows the rig in action.
I only used smartskinning for some parts, while the rest I used lazyskinning (ie cp weights)....
-
1
-
-
Exercise 12 - Lip Poses
I hurried through this, doing only the "A I" pose....magnet mode really helped to shape the mouth....tried out the dopesheet, you can see a short video clip of it below, with Eddie saying (no sound though) the words - "Hello everyone, this is lip sync using Animation Master."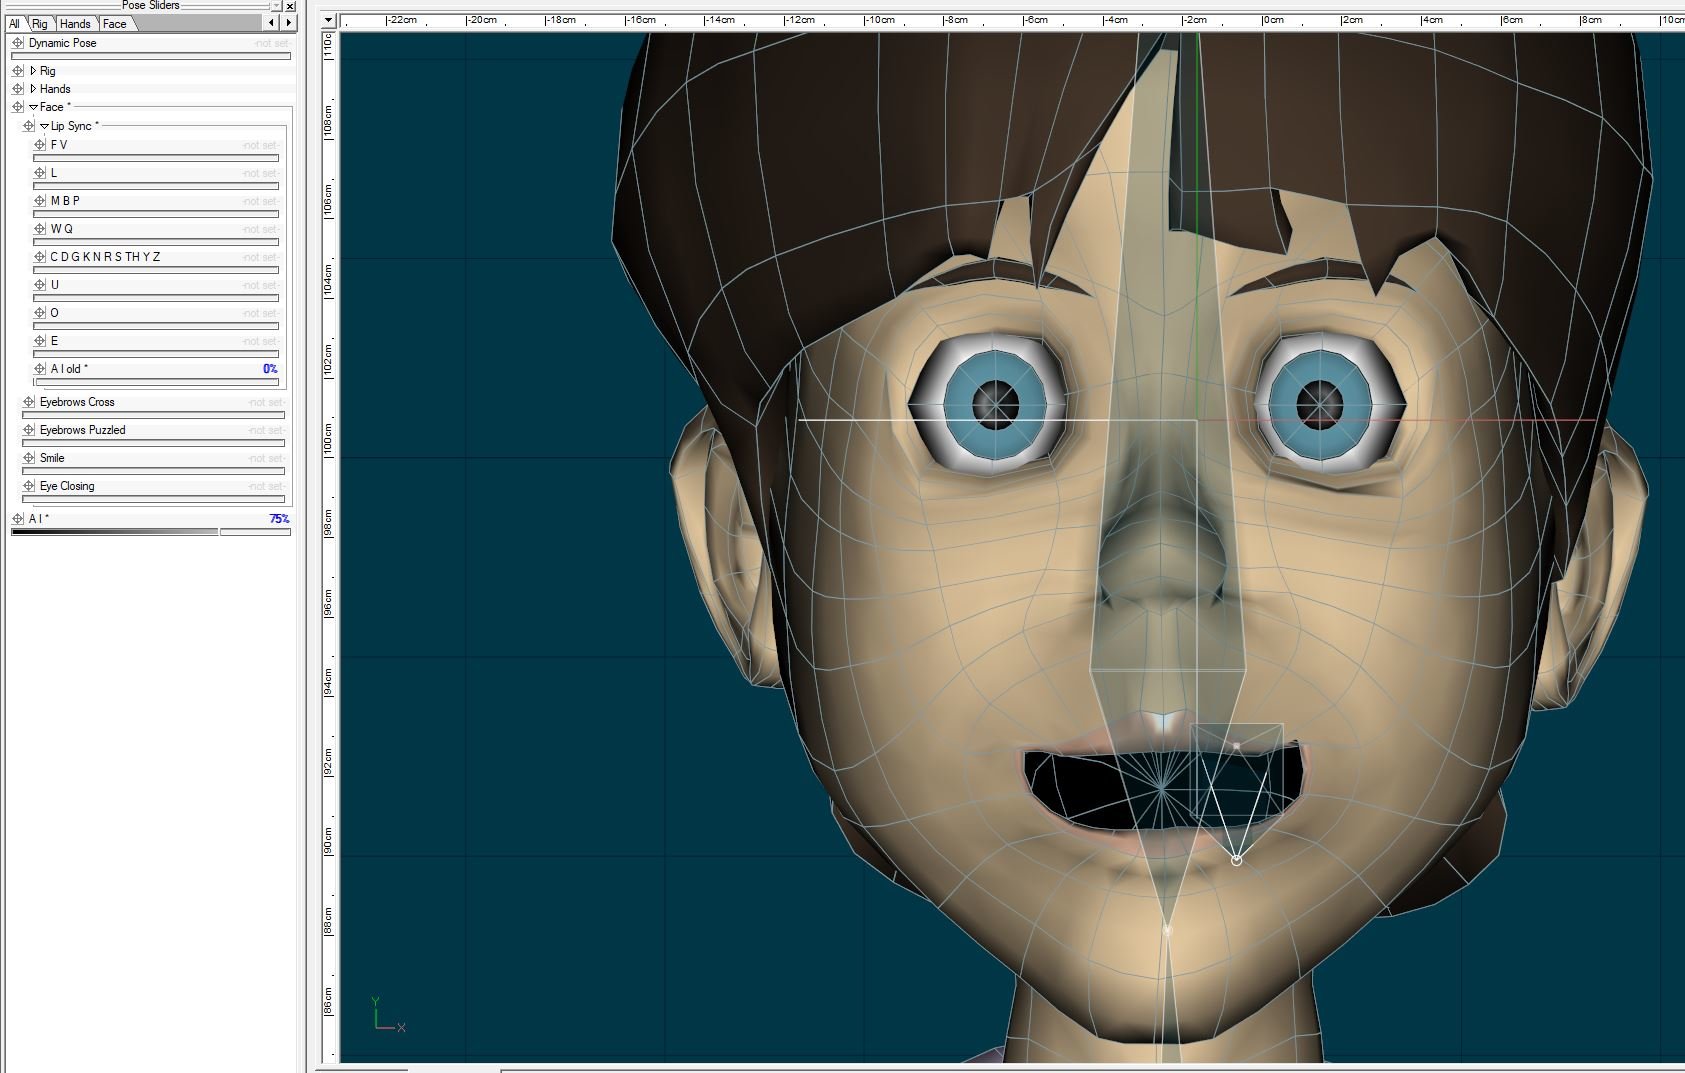
-
One thing I like to do is start with two eyeballs in my modeling space (see post #24 in my WIP thread) so that I can lay the spline for the eye opening directly on that and have it correctly shaped to sit on the eye.
I would recommend that some of the splines coming up from the nose be ended sooner when they stop contributing to the shape.
I'd also suggest that CPs forming the eye and mouth openings be regularly spaced (blue dots) and that the number on the top match the number on the bottom. Both of those make future rigging easier.
[Rodney] - I don't think I would terminate the spline at the bottom into hooks as that spline can more readily be used to form the outline of the jaw. When looking from the side view this becomes more evident because there are no CPs present in order to pull that front part of the jaw outward. If that spline was under the chin... the hooks would make more sense. I good rule of thumb might be to consider the real bones that might be under the skin of the character. Those points of interest will very likely need splines and CPs present to ensure a hard structure is formed. Think of this in terms of hills and valleys where the extreme highs and lows need points but the terrain inbetween may or may not depending on how smooth they need to be or how much that area will need to move in animation.
Wow Robert and Rodney, thanks very much for so many tips and guidance! Yes, I need to relook at your modeling tutorial, Robert, I remembered how much I liked how you approached it...
To be honest, I wasn't thinking of rigging or even animation when trying to model the face, more of just figuring out how to join the dots to create the model...
But it now dawns to me how important it is when splining to be aware of its impending motion and deformation...
Splining is a bit like animation itself with keyframes (control points) and inbetweens (usually control points).
A good rule of thumb is to 'inbetween' these CPs by dividing them equally... EXCEPT... where emphasis is needed.
So, in the world of A:M, modeling has a direct equivalent in animation, when we are learning to spline we are also learning to animate and vice versa.
It is interesting to note that splines and patches were chosen for use by Martin Hash exactly because they were optimal for animation.
The program is called 'Animation:Master' after all.
The above statements almost gave me goosebumps!
What a marvelous correlation and how insightful Martin was to have come up with his Hash patches!
And many thanks Rodney for taking the trouble to edit and fine-tune the face.
This exercise and both your help has brought many "oh my", "omg" and "good gosh" from me but I have much more to learn and practice!
-
Thanks Rodney for your detailed comments! I took up on your suggestion, and below is another try on the face, this time done freehand without any rotoscope guide. I started with the eye and mouth, then splined rings around them and joined them up, and worked my way to the back and neck, then finally did the copy/flip/attach. I think I'm getting the hang of splining around a model, and without the excessive density of the previous Cooper attempt, although i think my model now looks more like an alien from outer space, hehe....
The attached project file contains both the alien half face (before the copy/flip/attach) and the full face.
1 - Previous Cooper face
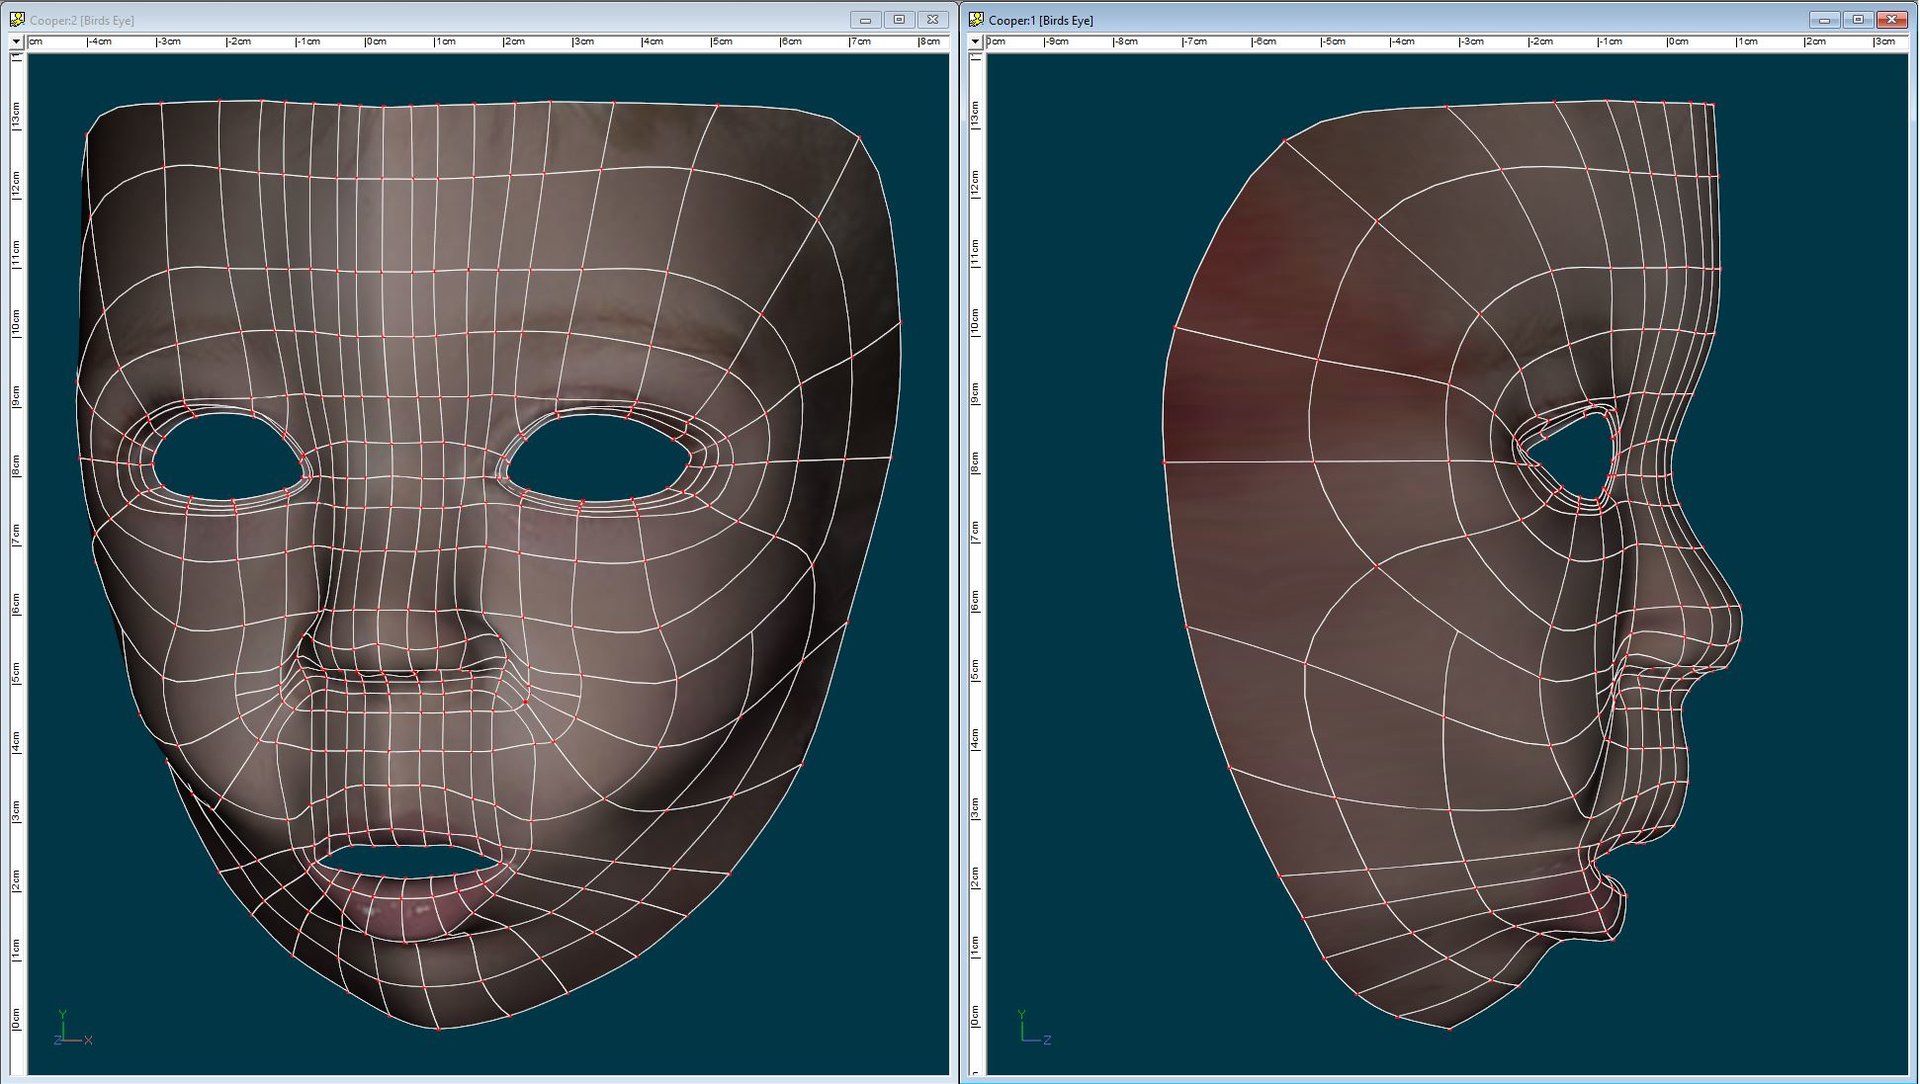
2 - Freehand face
-
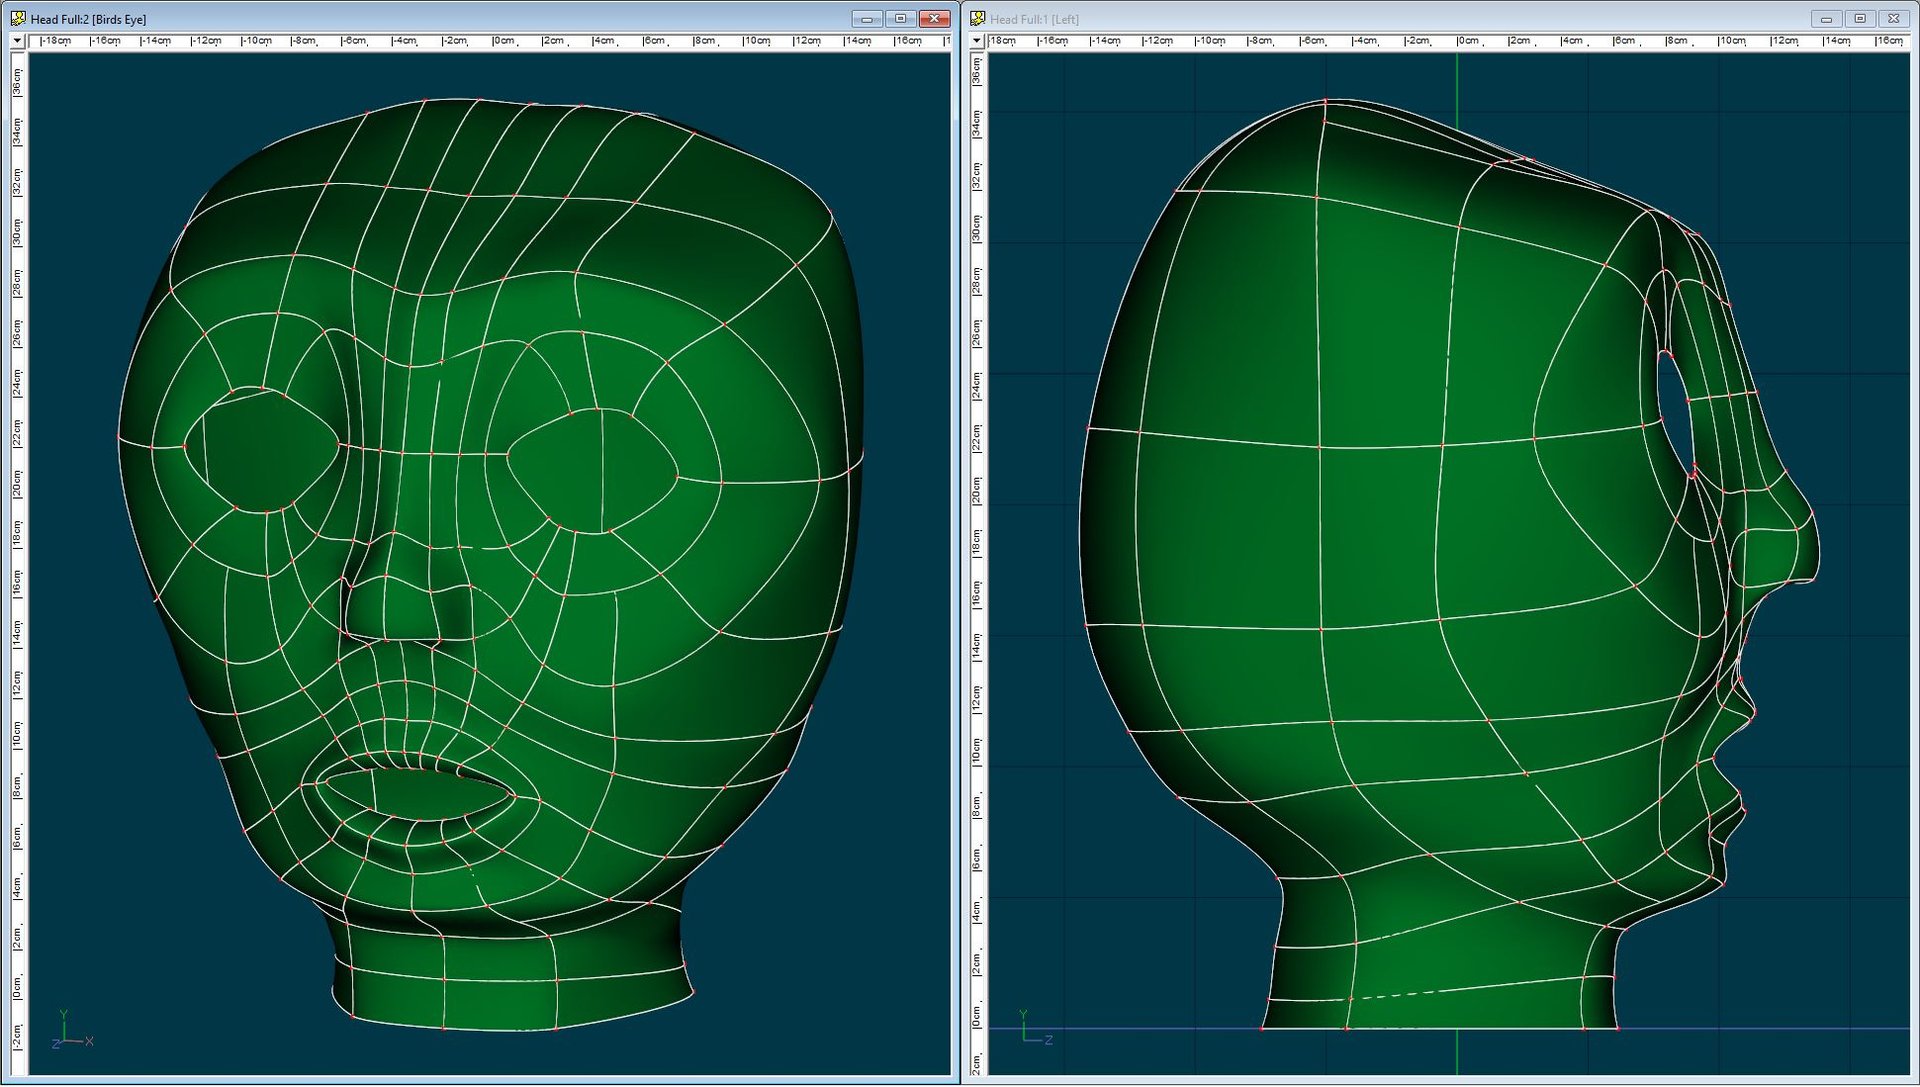
Exercise 11.5 - Make A Face
This one is quite tough for me...not even sure how to complete the head either...but it's a good thing that A:M allows you to trace the model via a rotoscope...and being able to view the model from the front and side at the same time was helpful...i'll certainly need a lot more practice....phew!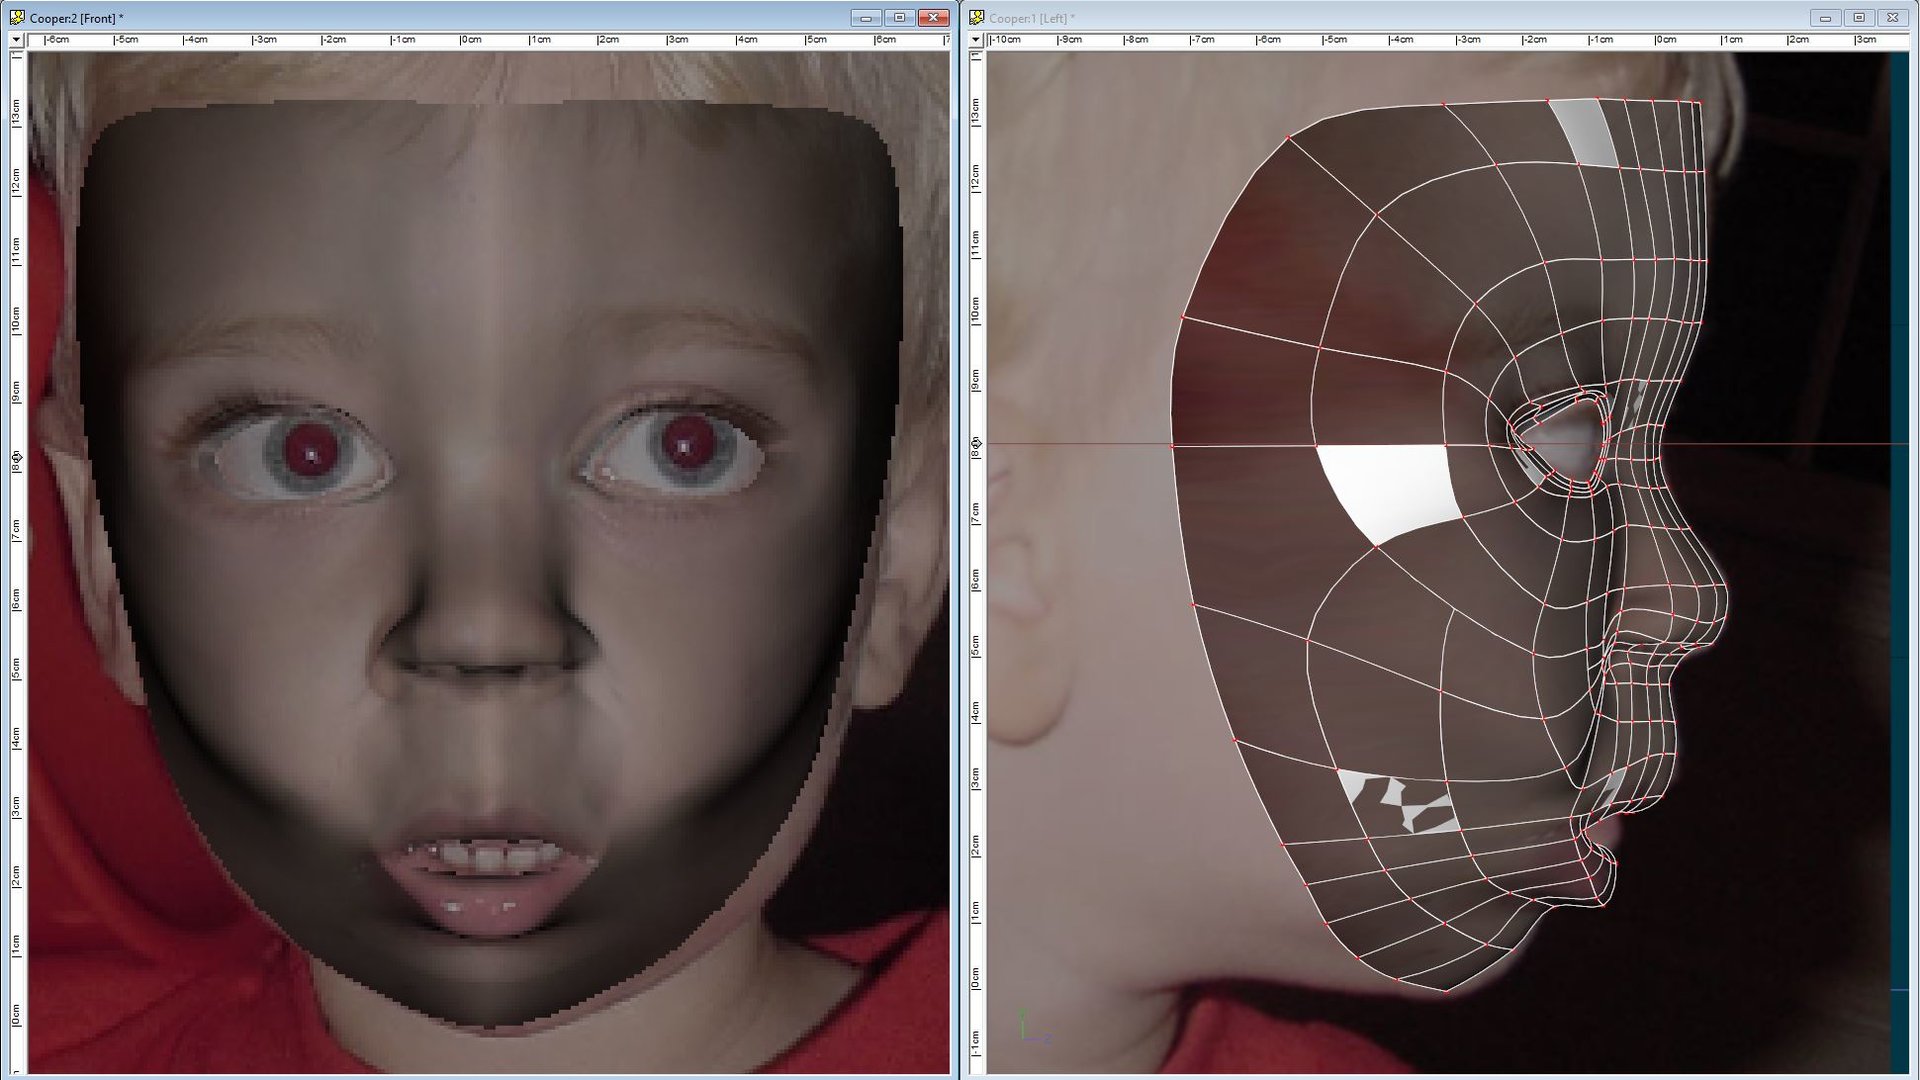


Harun's TaoA:M Journal
in TaoA:M Production Journals
Posted
Thanks again for your kind words. Yes, I've been mulling over what to do next for a long time, but have yet to figure it out yet....I need to cook up a story to tell, something simple and hopefully doable....and meanwhile also work on some simple animation exercises....actually, one of the reasons I took up the challenge to do TAOAM and to register my progress online was to gauge whether I could commit the time and effort to do all of this, thinking that I would have more time this year (well, since last year), but no, looks like time is still not quite on my side yet.... nevertheless, I'll keep tinkering on and would be in these forums for quite a while more...