

jweinrub
-
Posts
28 -
Joined
-
Last visited
Content Type
Profiles
Forums
Events
Posts posted by jweinrub
-
-
Hello everyone!
I have a question, does anyone why whenever I use a translate and a orient constraint object on another object in a choreography file, but once you import that choregraphy file onto another, you have to constrain the object again?
Another question I have is that I just added a translate and orient contraints from an object to a hand of a character and now the objects aren't attached to the hand. is there a way I can fix them without re-constraining them?
thanks,
J.w.
-
I'm curious, whenever I try to take half of a face and use the copy/flip/attach function, the copied object will always go on the y-axis. Is there a way to copy/flip/attach the face to the x-axis?
Thanks.
J.W.
-
Yeah, they sure are.
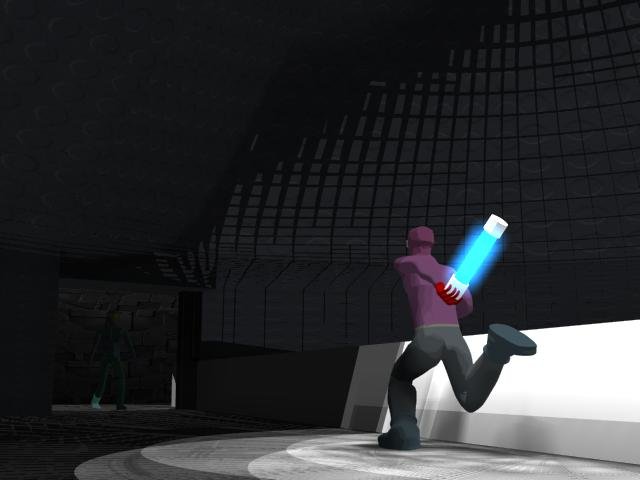
 Glowing cylinders are irresistible to thieves.
-
Thanks Zarvin! I thought it would be best not to kill the bad guy.
Haha, I love that last face punch. Nice. -
I completed an animation in AM about a few weeks ago. I may post up a high quality version on gallery section later on in the future.
Take it easy guys!
www.youtube.com/watch?v=qJUmVFYtUcw
-
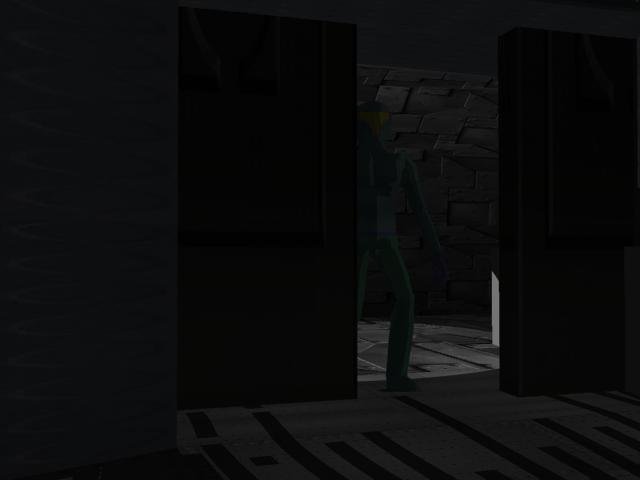
Here's another one, but it's on the floor.
-
I'm having a problem with the toon shader which when I render it, I get these weird shadows and lines in the background of my walls. Here's a picture to show what I'm talking about.
:) 
-
Thanks.
Set the transparency to 100% in the surface tab of the objects property's.Photoman
-
You should read this tutorial on Constraints. It will answer many of your questions.
I forgot to thank you for the link. The tutorial was very useful. Do you know how I can make the object invisible?
-
Actually I wanted to add in windows. I managed to complete one side of it. I didn't want to go with the hassle of deleting vertices or splines just to make the windows appear as I extruded them.
J.W.
Gah. I just searched for a previous discussion where I uploaded a bunch of building mattes but I could not find...Best way is to go to a city(unless you already LIVE in one...) and shoot a lot of digital images of buildings. Preferably, from as straight an angle as possible, but usually you will end up down in the street shooting upward. Take these highly distorted images into Photoshop and use the distortion tools to 're-square' the image back to a rectangle. Now, you have a great image to use as a roto and apply as a decal. Also in Photoshop make a new layer and make a greyscale image that represents depth-differences, slight insets and outsets(darker and lighter greys, with a mid grey as the base.) for the windows and accents. Apply that as a depth matte... make another(with an alpha) for transparency for windows. Applying all these to a simply extruded box (as targas)makes for a nice, low mesh model.
HAVE FUN!
-
Thanks.
Find a building you like and make a rotoscope of it.draw out the shape then apply the rotoscope as a decal.
In the AM Libraries . . . in Models, there is a "buildings" folder.
In it are 4-5 sample building models, if you have not seen them.
They are good examples of how to get started with "mechanical" objects, as they are sometimes referred to as.
They are pretty plain, and not many decals there but, good basic structures.
Once you can understand the decal process, it's great to be able to just slap on pictures of say; bricks, wood, tiles... etc... or your own stuff
to create anything you want... onto the structure you have built.
It takes some fore-thought (planing) and will become a real project at first but, well worth the effort once you apply yourself to it.
-
How do I parent an object to another?
I want to have my character pick up an object and hold it. I already have my character walking by the way as well cause if it requires to use kinematics, somehow when I moved back a couple of frames I got an error message. Thanks,
J.W.
-
How would I go about doing that with decals and all?
J.W.
when I designed game maps in Unreal Tournament for a quick easy building just make a rectangle and use decals to detail it. -
Anyone know a good tutorial to model a simple building? Thanks.
-
I have to agree with that and I didn't think about it when I created them.
Hmmm...Looking good. I have one suggestion for you: the thief looks "beefier" than the fighter. If you buffed up the fighter a bit he'd look more intimidating. Keep up the good work! -
You don't have to remove the skeleton/rig to do the UV mapping, J.W. It's better to have everything rigged before texturing.
That's how I was going to do it in the first place before I had asked my question. Thanks man!
:) -
Thanks Rodney, that should help me get started. I found out that I may have to take out the skeletal system in order for my to do UV mapping. I looked at this tutorial: http://www.colins-loft.net/tutorials.html. For me, I don't want to redo the skeletal system again cause I have it where I'm comfortable with it.
Other than that, I do know how to do the UV mapping in the near future. Thanks. If anyone else knows any links, please send them my way. Thanks.J.W.
Hey J.W.!Click Here for the results of a search using the words 'UV Editor' here in the forum. You will find similar results searching on 'Texturing' and 'Decaling'.
That should help get you started.
After reviewing and exploring give us your feedback.
That's how we all learn.
-
Any one know how to do UV mapping in Animation Master? I can't find the function that allows me to do it. By the way, I do know how to add a material on the object, but I want to add something to the arms, legs, body of the character.
Thanks,
J.W.
-
That was some cool animation there man!
-
A good start, the first model has a "Boba Fett" look to it.
Thanks, I actually had the Master Chief in mind when I did that and I also liked the look of Boba Fett as well.
-
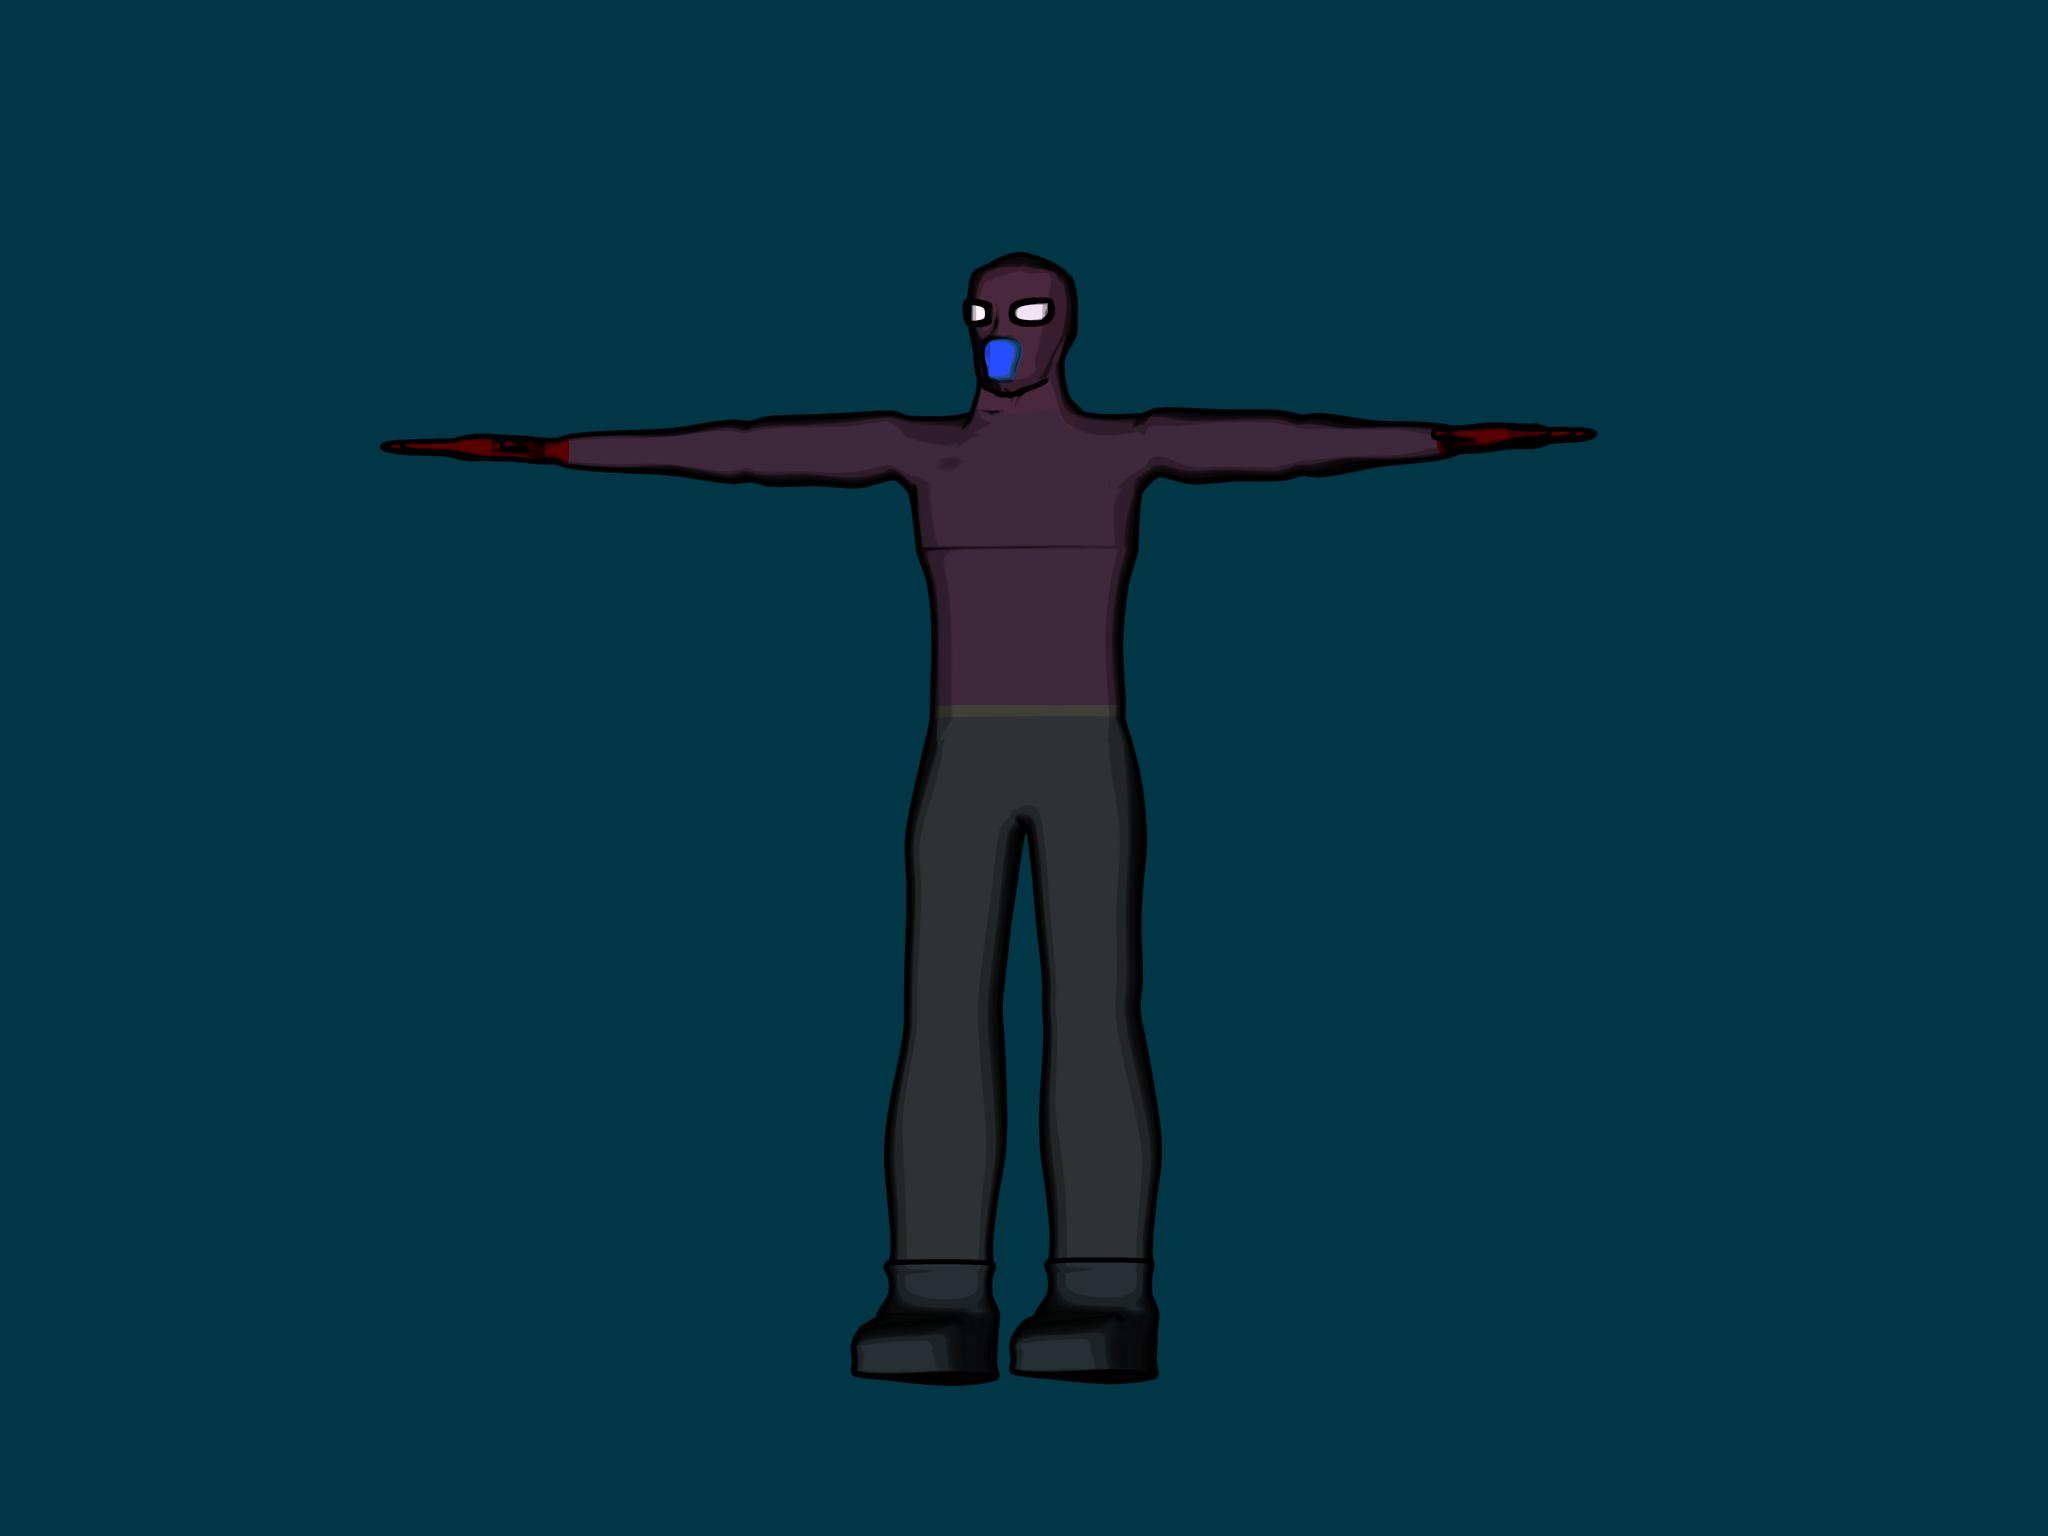
Here's my Thief as well. What I'm basically doing is messing around with the animation part with Animation Master before I get to the facial animation and what not later on.

-
Here's one of two characters that I'm working on. I'm in the skinning mode right now, but I'm adding new points to make the movements a lot better so I'm going back and forth and such. I have to say the skinning in Animation is a bit better than the one in Maya. I still have a couple of things to learn as I go along with this. This one is the Fighter.

-
That's a pretty good model there.
-
I'm not quite sure what you mean. But you have to assign cps to the bones before you do anything. Otherwise, the bone doesn't know which of the model to move. So, you highlight the hand bone in bones mode and select the hand cps. Then in an action/chor, you can rotate the hand bone to make the hand cps rotate with it.
I'm sure there's an exercise in the manual that would explain it better.
That's basically what I was talking about and I pretty much figured it out later on as well once I messed around a bit with the skinning. I'll probably be asking a question about that later on as well. Thanks.


Constraint problem
in New Users
Posted
The reason why I was doing that so I don't have to constrain a weapon into each character again and again and again everytime. I rather just have the gun in the character's hand with the constraint on them and that is it when I get the animation started.