

Sacman
-
Posts
409 -
Joined
-
Last visited
Content Type
Profiles
Forums
Events
Posts posted by Sacman
-
-
I couldn't disagree more.
To set up the attached sequence, I made a 'tube' with 30 bones and two nulls.
Bone one is translated to null 1
Bone 2 is dynamically constrained to null2. The trageting method was changed to none. The translate offsets were set to 0.
That's it. No other setup.
Now, on the downside, I could not get rid of the squash that happens when the bottom loop of the 'rope' comes too close together. This would not be as severe if the motion wasn't so drastic. It can be minimized by increasing the drag a little.
The only real disadvantage I see with using Dynamics is that there is no pre-roll option. Other than that, it seems to be a much easier solution.
This 10 second video rendered in 1:13 with no multipass.
-
Or just use Dynamics.

Wade
-
Noober, did you use cloth?
I think the advantage to Dynamics is that it's basic premise is that it wants to maintain its modelled shape whereas cloth will collapse. I know you can increase the stiffness oft he cloth but that will also limit its flexibility.
Wade
-
I did a quick test using Rob's project and dynamics.
I drew added a 'Rope' to the model consisting of 21 extruded cross sections and ten bones.
The first bone is a child of the Beast floating thing.
I cheated and did not model the rope in place I connected it in the pose.
The first bone in the chain is Translated to the Beast bone.
The last bone in the chain is Dynamically constrained to the Floaty thing bone.
That's it. It would need some tweaking to get it to look just right but I think it does what you want. I left Rob's lag contraints in place cause I thought they really add to the effect. I never thought about using lag so i learned something from this one.
-
I think Dynamics coupled with Rob's lag solution would work great. Dynamics can be confusing though.
Wade
-
You might be missing the little option button in the bottom left of the import box. You have to check it to import a series of images as an animation.
Then follow the instructions above.
Wade
-
First Search the forums:
http://www.hash.com/forums/index.php?showforum=46
Second you might want to also try simbiont which offers some great looking materials that are ready to use.
http://www.darksim.com/html/simbiontam.html
Keep in mind that Materials, while resolution independent, will significantly increase render times as opposed to decals. It's a trade off which you may not be willing to make depending on what you are doing.
Oh yeah, I believe there is an excercise in TAoM for materials about making a marble material but it has been a long time since I looked at it.
Wade
-
Where in the world would you get the inspiration to do this?
Kind of disturbing.
Pretty well done for what sounds like not much work. The only noticable glitch was in the 'jog' cycle. There was a key frame missing that caused a jump back to the beginning of the cycle.
Wade
-
What codec are you using? It would not let me view it.
Wade
-
Great Tutorial. I learned some things from that.
Can't wait to see more.
Wade
-
After Effects for the PC or Final Cut Pro for the Mac. Those are the two best options.
Windows Movie Maker can be used to chroma key with a little tweaking. Do a google on it and there are some options but I am not sure you would get exactly what you want using this option. With After Effects, you can accomodate uneven coloring on the screen. I'm not sure that Movie Maker can do this very well.
Luck,
Wade
-
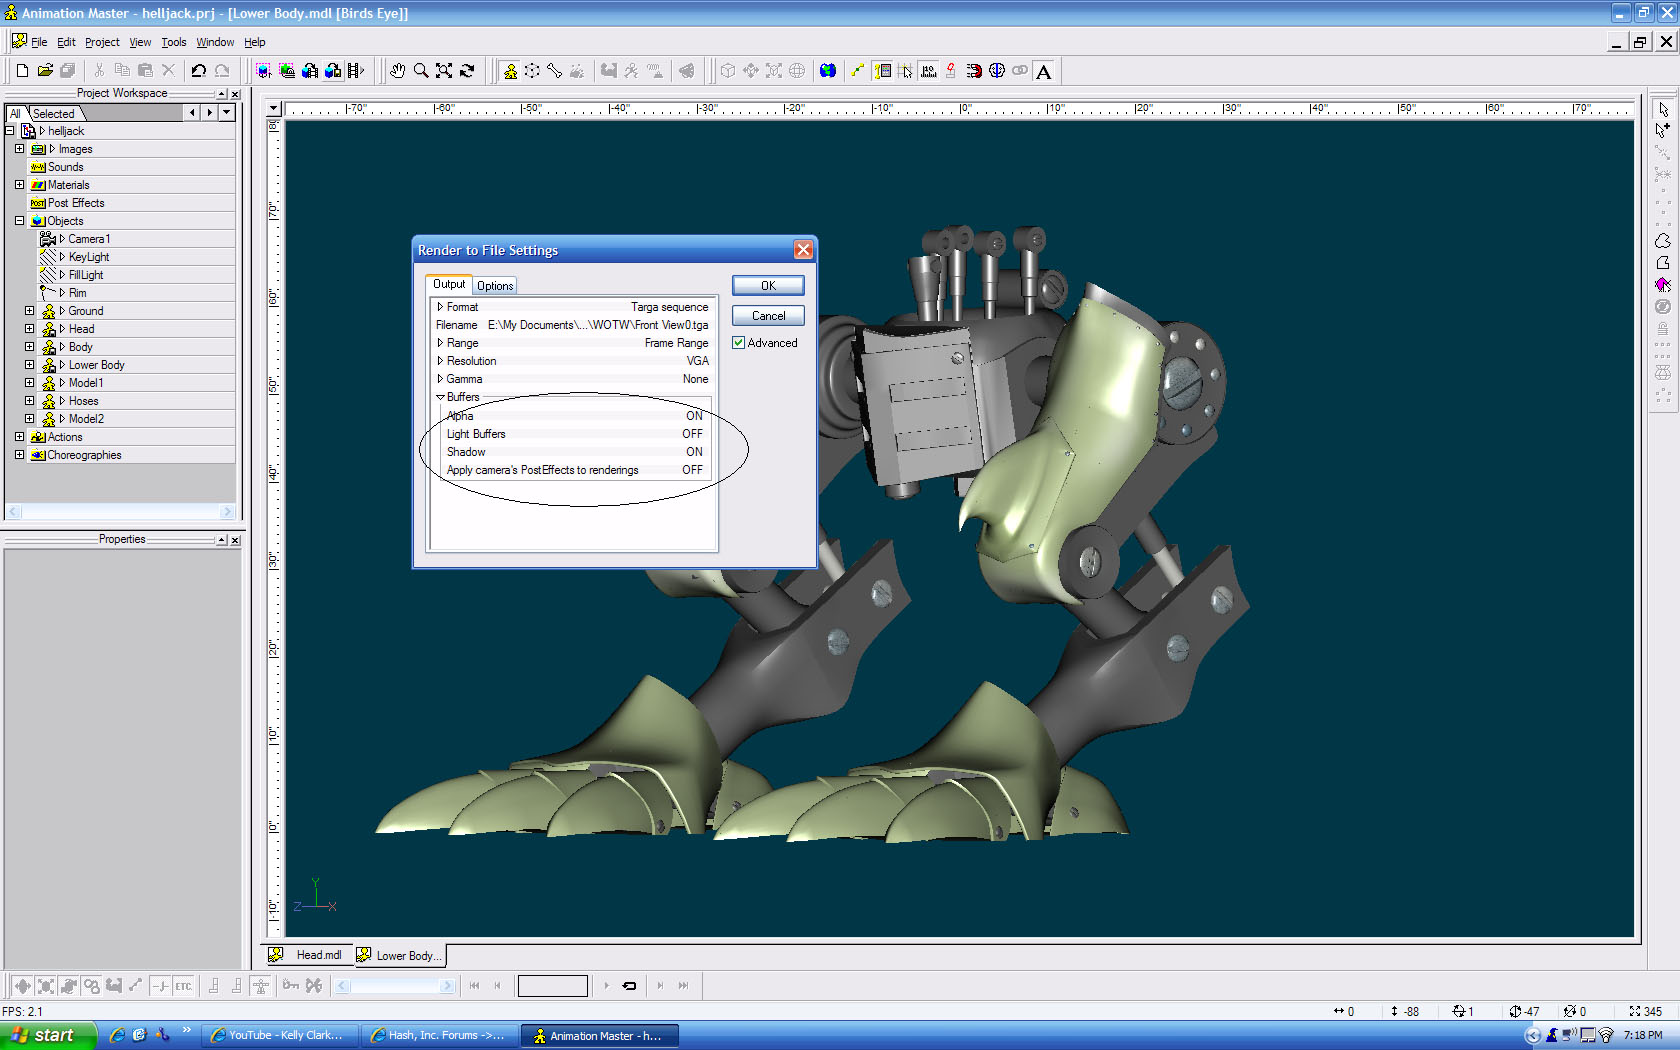
Not sure how to make an official bug report but I will explain what happened here for the benefit of others. I am not really even sure it would be considered a bug.
I rendered a targa sequence some time ago with shadow and alpha buffers on.
I haven't rendered anything since then. I tried today to render a quicktime file and have been scratching my head all day cause I was getting nothing in the render.
I tried everything I could think of.
Well, the problem turned out to be that since I had selected the shadow buffer with the Targa render, when I went to avi, mov, or jpg since there is no shadow buffer option, I could not turn it off. I had mistakenly assumed it would automatically be disabled since I had changed formats.
I finally selected targa as my render output just to see what would happen and sure enough the shadow buffer was still on.
Very odd. Once I deselected the shadow buffer, I could render the other formats.
Wade
-
Is that the old I wanna be a cowboy and you can be my cowgirl song from the 80's?
I've got my hat....on
I've got my boots....dusty
That song was stupid funny.
Wade
-
Okay so now I get attachments so here is a shot of what I am talking about:
boy you can tell I don't spend enough time on here. Can't even figure out how to post images anymore.

-
No the shadow was rendered in A:M. For some reason I can't add attachments so I will explain.
When you go to render to file, select advanced options. go to the Output tab click the expansion arrow next to buffers. You will see several buffers in there. Select the alpha and shadow buffers on.
As mentioned above, the final image or image series will appear to be a black screen. However, the alpha data is there. Once you import to another app the alpha channel will be clear.
Having said all of that, this could have been done inside of A:M, like I said, I was testing my skills in After Effects.
Wade
-
I did
using the process described above. I rendered with an alpha channel. Then I rendered with a shadow buffer.I composited in After Effects.
It was all done simply to try out my skills in After Effects. I was pretty pleased with the results even though the shadow is techinically not correct for the lighting in my kitchen.
Wade
-
I recently restored my laptop and had absolutely no problems re-installing version 15 from the same install file.
Wade
-
Thinking out loud.
If you built a very simple replica of the room and any items that you want to have the shadow interact with. Render with shadow and alpha buffers on. This should render the shadow with an alpha channel. It will look like a black screen. But trust me it will be a shadow with an alpha channel. Combine in After effects. This is covered in the tutorials noted above. I only recommend AE cause it is what I know. Any similar program will work.
was rendered out with the war of the worlds model on an alpha channel and the shadow rendered out seperately. Granted, I only needed the shadow on the ground plane but the process still worked. I combined the background image, the model, and the shadow After Effects.Also, there is a version of Icarus that works with A:M. It is free but you will have to do some internet digging to find it. This is used for motion tracking. Having used it, you will want to mount your camera on a tripod and use smooth pans if possible. This will give the cleanest track. A lot of jerky motion will make it very difficult to get a clean track.
-
How bout that. Sadly I have never noticed that forum. Probably can be attributed to the rigging novice that I am.
Wade
-
I have an unconventional rig that I am having problems with.
I have foot targets for each of 3 legs. The 'foot' is aimed at the foot target, the 'thigh' is kinematically constrained to the foot target.
I have a 'torso' null to move the whole beastie. When I move the torso, the kinematic leg constraints are not behaving like I want them to. When I push down on the torso for example, the 'feet' will still push below the y axis. The kinematic is working but it is almost like there it is not being 100% enforced but that is not the case. It may be that the bone structure simply won't allow for what I am trying to do. But it is a very simply skeleton and should work. Is there something obvious that I am missing? Or do you need more info?
Thanks,
Wade
-
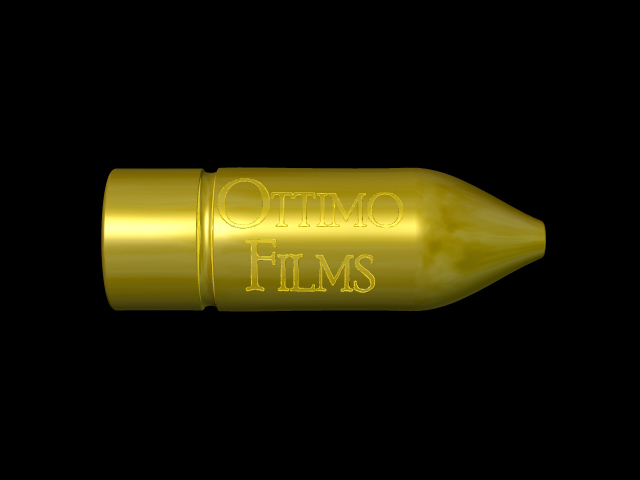
Gold has a highly reflective surface similar to the chrome materials. Without something to reflect it is not going to look nearly as good. If you are only doing quick renders in hte model window it is not going to truly show what you are going to get in the choreography.
Consider using the chrome material straight off of the CD and then using a second material with an environment map.
Consider the pics below, the first is the environment map. I only did a quick change to the color and wasn't really trying to perfect it. The second is a chrome material on top of the environment map. The third is the exact same shot but with the environment map changed to a grayscale image with the contrast tweaked to get a more chrome look even though it is still not perfect.
Good luck,
Wade


-
I assume the light blue pics are you wireframes? How are you getting that look. Those are almost as intriguing as the model itself.
Wade
-
I considered the decal but then comes the question of resolution dependence. At one point I tried it but then found myself in the same situation as I have been in in the past, do I scale the image to match the model or scale the model to match the image. I have never successfully answered this for myself so I tend to shy away from images where there may be a question of resolution. Most of what I do is so small that the time hit on a procedural is not usually an issue so I can afford the luxury for now. I usually only use images for small specific details like scratches in metal and the like. Having said that, I have been using a lot of images on a specific project I have been slowly working on for about a year now with pretty good success. And no it is not a huge project I am just really lazy.
Ultimately the upside down sky image worked as expected and I am back in business.
Wade
-
Thanks Rodney
The harder problem is when someone uses v14 or so and changes something and sends it back.
I troll all the time but have been stagnant otherwise. I have been fiddling some and need to upgrade I am so far behind on capabilites. I believe this comes from an addiction to youtube.
I have been following the Indymogul forums that I found through youtube and there are lots of things going on over there that need basic animating and compositing skills. Another reason to upgrade, IBL is a must have. I am also amazed at what people try to pull off with Gimp. It is also a great place to pick up After Effects skills.
I was gald to see who was on here in the wee hours, I knew I would get quick responses that helped.
Thanks again to everyone for the late night help,
Wade


How to build a flexible cable.
in Work In Progress / Sweatbox
Posted
I did not look at the project but when I made my simple chain, I translated the first bone in the chain to the 'Parent' or main object.
I did not translate to the last bone in the chain. This caused the problems you are describing. Instead, I set the target of the dynamic constraint to be the 'child' object' main bone.
This gave me the results I needed. I also set the offsets to 0 but you can set these offsets to place the end of the rope to whereever you need it in the child and parent models.
Wade