

jnord71
-
Posts
42 -
Joined
-
Last visited
Content Type
Profiles
Forums
Events
Posts posted by jnord71
-
-
Hello. I have been away from Animation Master for 3-4 years. I have been trying to open some old models I made. I have version 19P installed. When I try to open the models I get an error saying "invalid model file". One of my theories for this is I made the models in version 18. I am pretty sure I made my models in the version with the anteater. I have downloaded several installers for version 18 and 17 (18p, 18o, 18m, etc) and everytime I go to install, it says I am installing 19p with the figure of what looks like a spanish exporer.
If I remember correctly the newer software should open older models. Am I correct about this? If so, do you have any thoughts as to why the models will not open? If I am wrong, would someone please show me where I can find the installers for the older versions?
I have attached some of the models if someone feels like trying to open them.
Another theory I have is that they are altered. I had a hard drive die and these files were on it. I supposedly restored them, but maybe it did not work. If this is the problem, is there anything that can be done? I have my doubts, but thought it was worth asking.
Thank you
praying mantis - geometry done - texture done - rigging_09.mdl Jeep Wrangler8 - without wheels and tires.mdl wheels and tires only.mdl disc golf basket dynamic constraint.mdl
-
I started by capturing my own motion. I used that as a starting point, but then I went back over it and made many changes keyframing by hand. I like the idea of motion capture, I think once I have more experience with it my process will be faster than keyframing everything manually. However, I also don't want to only use motion capture because I feel that would take the art out of my animation. I think using the two together is a happy medium. Luckily, my friend Adam, The Toadstool in the forum, has made making our own motion capture files his priority, so he had it figured out and made that process relatively painless for me.
I do have plans to extend this someday. I might add a player or two and will probably include the previous throw/drive from the concrete teepad seen at the top of the hill at the very begining. It will be the opening scene in a longer short ending with the golfer or golfers being chased by something through the wooded park, but I have worked on this for so long that I am going to set it aside for a bit and come back to it.
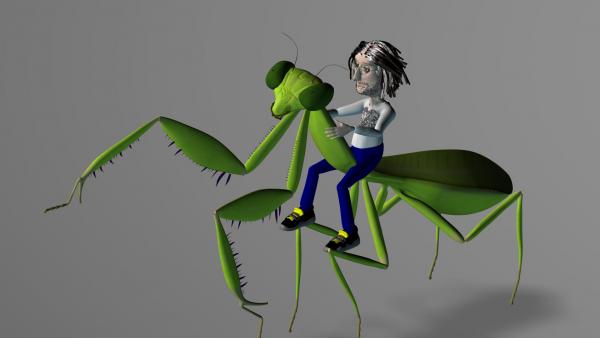
Rodney, I hadn't noticed how much the pants stick out. It wasn't intentional and I will make an adjustment for the future. I can't stop noticing it now that you pointed it out.
Thank you everyone for your comments and questions.
-
I borrowed the pine tree from the forum (thank you, John Bigboote), but I believe I made everything else. My friend Adam (The Toadstool) helped me with the home made Motion Capture. Thank you, Adam.
To make this short I used Motion Capture, Dynamic Constraints, Forces, several Particle Systems (hair, leaves, grass/weeds), a little Newton Physics, and Cloth along with animation by hand. Animation Master, Audacity, and Photoshop were the software used.
https://www.youtube.com/watch?v=c_j5nGkfCIE
-
 1
1
-
-
Wow. Fantastic.
-
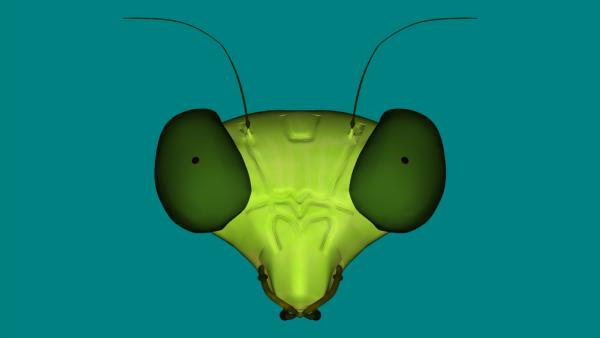
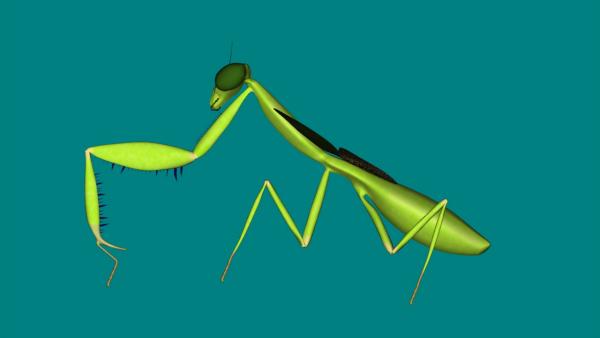
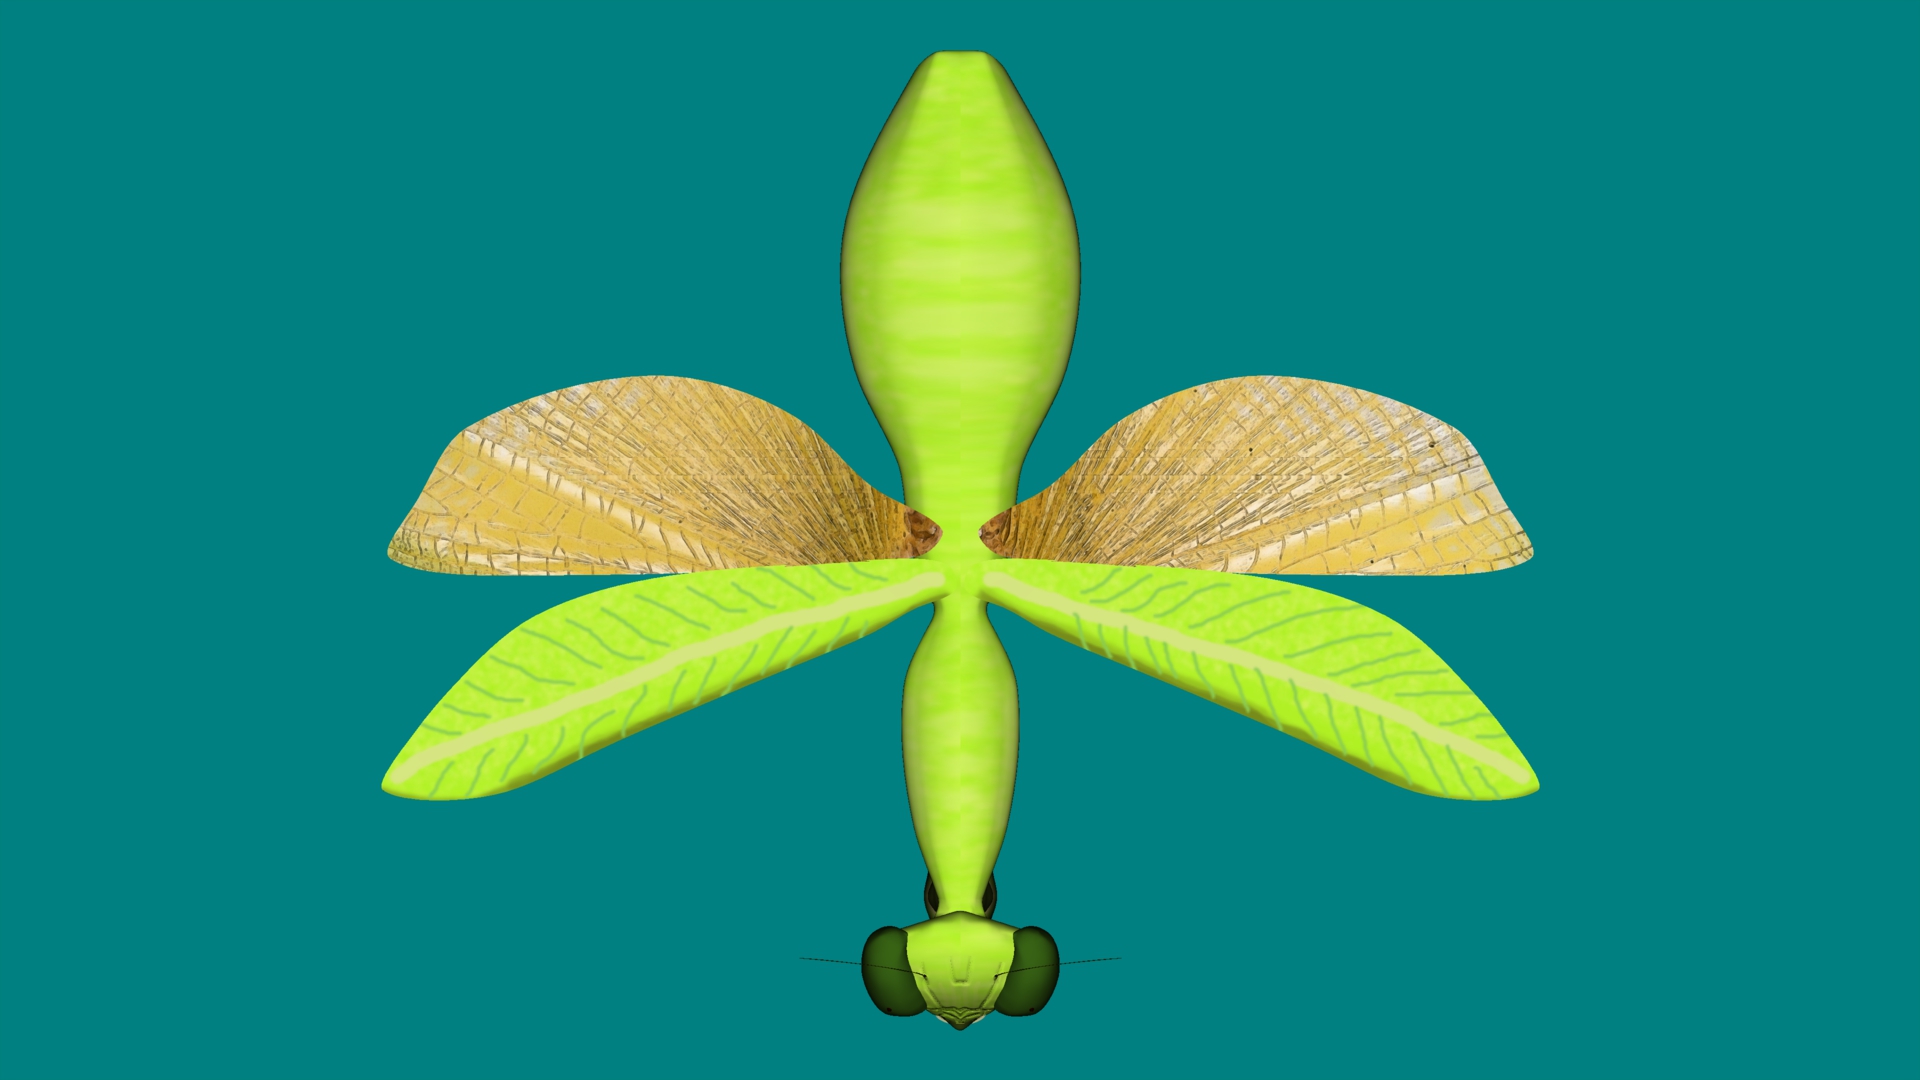
Rodney, I thought I had textured it. It is true there isn't any Specularity or Roughness. Can you mix surface attributes and decals? I should know that. For some reason I didn't think you could. I have decaled the entire mantis with diffuse colors and decaled the face with bump and distortion maps. I don't think I lit the shot very well because I don't see the colors on the mantis (I did paint him lightly). I would appreciate any advice.
Thank you, Robcat. I appreciate your compliments.

-
I meant to enter this model in the Insect contest, but I didn't make the deadline. The background picture is one I took of Mt. Hood. The flies are from one of the extras cds. I found the flies' buzzing sound somewhere online. I made the mantis model and sounds and recorded the frogs and crickets sounds myself.
-
2
-
-
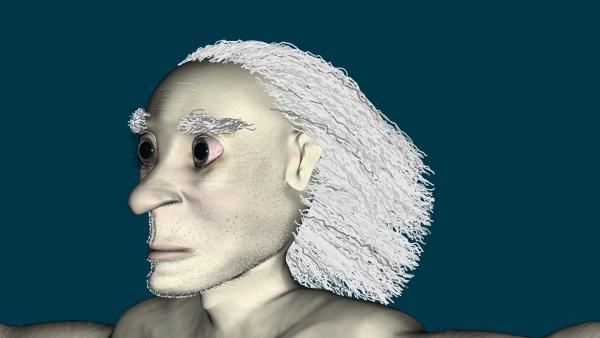
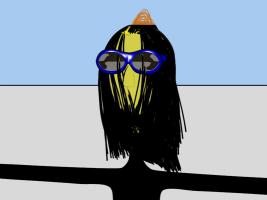
I am using it dynamically, but I have it set pretty stiff to try to get some movement out of it and yet keep its shape. I haven't moved the model around yet so I don't know if I have succeeded.
-
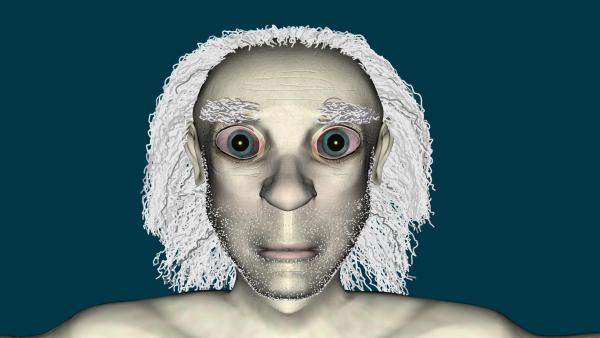
The hair was based on Doc Brown.
-
I plan to use it as a scientist. I may also dress it for a western.
-
Thank you both for your help. Setting the transparency for the hair emitter to 0 did end up being the fix. I didn't have the problem in v14. It is good to know for the future. Again, I appreciate both of your help. I spent a couple hours last night trying different things to get it to work right.
jeff
-
I updated to AM v18 today. Before this I was using v14 so there is no doubt many changes for me. I have opened an existing project into the new version and found I can't get the hair on the model to render. When the hair is turned on I see it on the model, but it disappears when I render. I've gone through all the setting in the options and done some searching in the forum, but haven't found a solution. Does anyone have an idea what setting I have wrong? Or is it possibly a glitch? It seems unlikely to me to be a glitch so I'm hoping someone can find a setting I have wrong. I've attached the project in hopes someone can find the problem. Thank you for your help.
jeff
-
Thanks for your help Bobby and Robcat. I've been working on Bobby's method this last week, when I haven't been sick. I've had some trouble understanding/using Chor Range, Crop Range, cycle, etc, but am getting closer/better. I also plan to try Robcat's suggestion, but wanted to make sure I thanked you before time got away from me and it was long in the past. Thanks again.
-
Thanks, Bobby, that looks really nice. I will definately use a dynamic constraint.
Thanks for the suggestions Paul and Paradymx. If I can't get the cable itself to move i will try to fake it.
I'd really like to get the cable to move around the path, though. I've been looking at and trying to do method #1 in the second entry here: http://www.hash.com/forums/index.php?showt...l=bicycle+chain . There used to be a project to inspect about this method in the 4th entry here - http://www.hash.com/forums/index.php?showt...eyor+distortion - but it doesnt exist anymore. There is further description in the 8th entry, but I haven't been able to get it to work yet. Does anyone have the project referenced in the 4th entry? Or could describe the process in better detail? If not Im going to try method #2 in that 1st link. I believe that is the alternative you suggested Paul. I haven't attempted that one and would love any additional advice.
I've attached what I've attempted using Method #1. I know my shaped cable looks funny, but I'm more interested in trying to get the process to work. I'll clean it up later.
Thanks again for past and future help.
Jeff
-
I have modeled a ski lift chair attached to a cable. I put in a path thinking i could constrain to it and the bones would carry the chair around the path. My problem is how to make the chair and cable move around the path. I have tried a few different relationship ideas - translate to, spin like, orient like, constraint to path - but haven't got it to work yet. I'm sure it is the wrong combination of relationships. Do i need to use cloth? I admit i don't know anything about cloth yet other than the flag waving tutorial. Here is an embedded project. Thank You.
-
That's weird. But good to know. Thanks Rob, Nancy, and Alano. I appreciate the help.
Jeff
-
I've seen posts about hair not rendering correctly in toon mode towards the top of the head. I've experienced that before myself. It didn't line the hair in that one area. I have a hunch these two problems are related. Flocks and hair both need the particle/fur turned on.
-
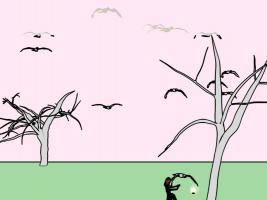
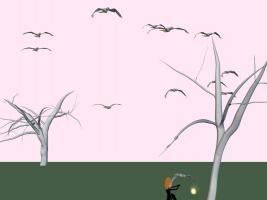
I don't see it happening in any of my other projects. It does it from every angle/render in this project, though. Here is the project embedded. The more i look at it, I don't think the models are being rendered lighter, but rendered without outlining toon lines. The birds have the toon lines and then when they fly into a certain region the lines disappear.
Jeff
-
Version 14.0c
-
I did the Flying South tutorial and added a fire and character. When i render in 3d it looks like it should, but if i render in 2d part of my flock flys into an area that lightens the color of the birds. I've attached a still shot of a few birds towards the top of the screen in an area affected by both the lighter and darker. Does anyone have an idea what could be causing the lightening of my birds? I've also attached the project.
Thank You
Jeff
-
When I rotate the pelvis the torso is supposed to translate with it a little side to side . Mine separates. The model breaks into two pieces - top half and bottom half.
Jeff
-
I checked all the constraints and they are all at 100%. I think I am going to try changing them all to on/off rather than percentage. Another thing I thought of is the skeleton the dojo tutorial built has a pelvis, hips, and a single back bone. To match this I deleted "back 2" from the 2001 skeleton I installed. I made sure the structure in the PWS of my project matched the structure of the dojo project. Any reason this would affect it?
I'd love to send my .prj files for review, but the forum keeps denying the attachments. I'd swear I've seen .prj and .mdl files on the forum. Is there a way to post them to the forum without attaching them to the message?
Secondary problem: I should probably solve one before starting another, but... When I have my model use an existing action (resolute walk, skip, jump) the knees behave like some described the knight's from 2006 do - they are nock kneed and bend backwards like a flamingo's would
Jeff
-
I am trying to teach myself to rig a model. I have been using a combination of tutorial #13 and the dojo bot anatomy tutorial ( http://www.museoffire.com/Lyceum/Dojo/Tuto.../Anatomy/T0.htm ) . The dojo anatomy tutorial built the skeleton from scratch. I wanted to avoid this so I imported the 2001 skeleton and installed it following the #13 tutorial. Once the skeleton was installed I followed the Dojo anatomy tutorial for the spherical constraints. Then I tried to follow the Declaration of Torso independence. I can't get the Translate to constraints to work. I understand the pelvis bone in the 2001 skeleton is upside down compared to the skeleton from scratch in the anatomy tutorial. I have tried adding these constraints not altering the 2001 skeleton, I have tried reversing the pelvis bone, I have tried adding the extra bone the anatomy tutorial directed to (called the pelvis tip target) starting both from the bottom towards the top and the top to the bottom on the pelvis bone in both the 2001 skeleton and the altered one. I can't think what else to try. I am attaching both projects. It seems to work in the pose window, but when I try an action window the model separates at the waiste. Thanks to anyone that can help.
Jeff
I don't seem to be allowed to upload .prj or .mdl files. I can email the .mdl files somewhere if that would help.
-
You were right. The splines weren't connected. Problem solved. Thanks for your help, Rodney.
Jeff
-
here is the close up of the wire frame and shaded.
Jeff


Can't open old models
in Off Topic
Posted
Thank you for checking, guys. I was afraid of that. I don't believe it worked when i "restored" them from the dead hard drive. I have one more idea to try before I give up. I am going to look at another old hard drive. They/some of them may still be there.
Thank you for the link, Fucher. I was trying to get the older versions from the forum. I will look at the link you posted.