NEKOSEI
-
Posts
120 -
Joined
-
Last visited
Content Type
Profiles
Forums
Events
Everything posted by NEKOSEI
-
Weapons test! http://s88.photobucket.com/albums/k163/NEK...ent=weapons.flv
-
I just checked it out myself, and I like how you're doing this so far. I'll see if I can create an attack pass myself with this sometime soon.
-
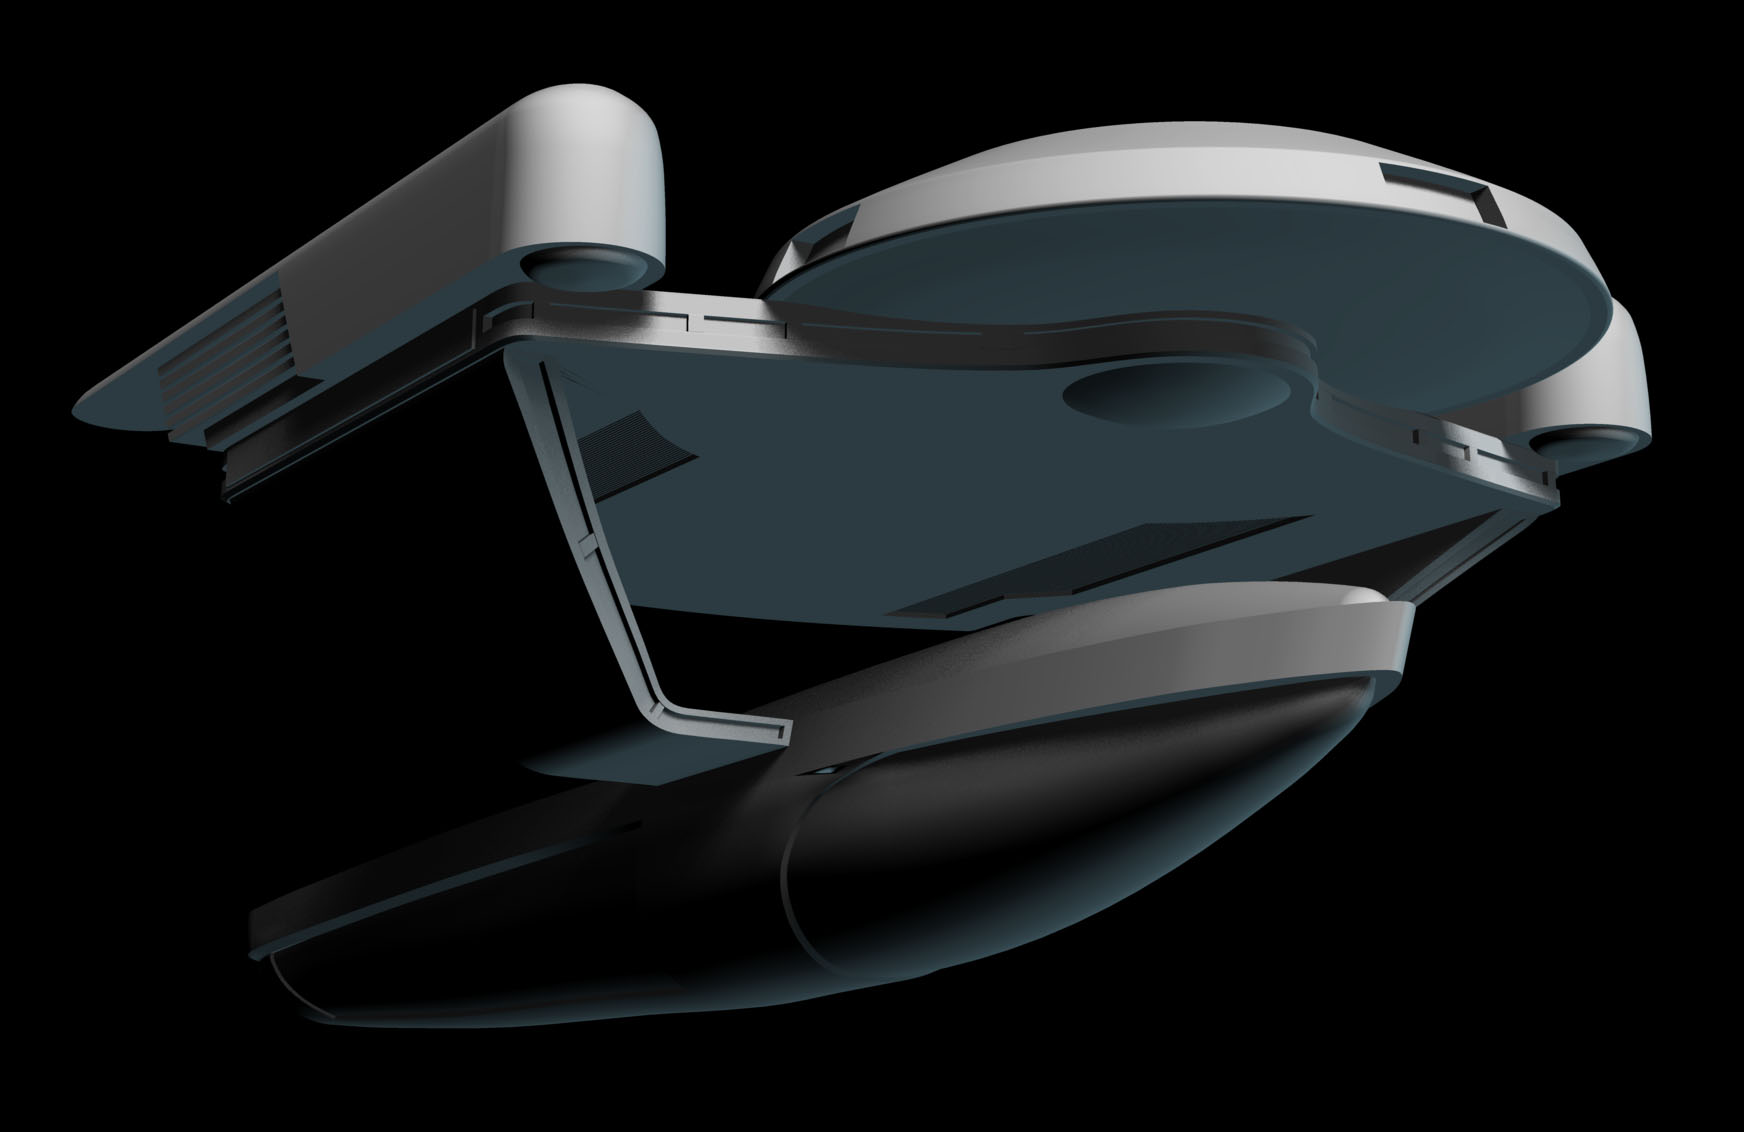
Very nice looking phaser effect there... The light right at the hull of the ship adds some realism there. The glow looks like it's coming from the red and the yellow sections of the beam... I'm wondering if the red glow can be turned off so make the beam seem more fuzzy? Also, keep in mind only a small portion of ships will be able to use the saucer wrap around phaser look from TNG, most of the ships at wolf 359 have singular turrets and fire more like the Enterprise 1701 and A in the movies. I need to show this to our director at some point... He's gonna want to see this.
-
Well, lets not worry about it.. Unless someone else posts up with a solution, I would say just use the Galaxy class ship you have as is... I'm sure you can make the weapons look just as spiffy with what you have. If you *really* want to try another model I can toss up one of the Excelsiors, but that one is render heavy even without any decals. Or I can give you the only v12 model I have made... the cube. You can at least leave the piping off and only render the interior portion.
-
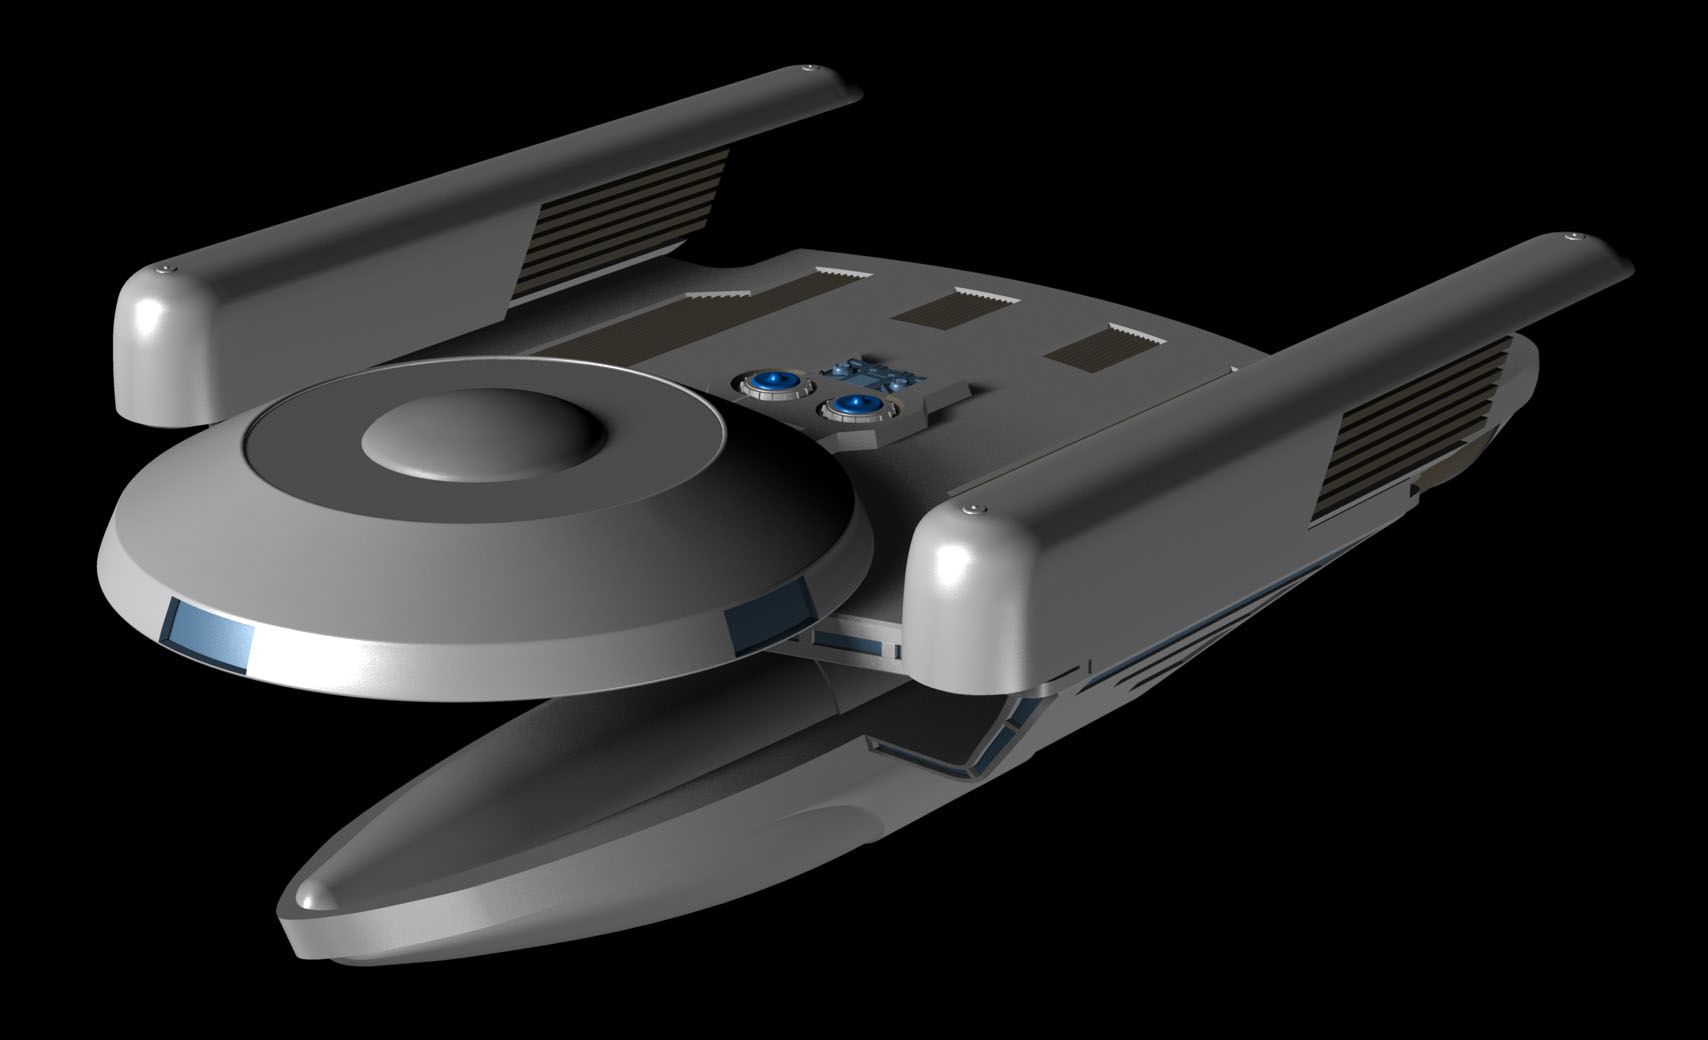
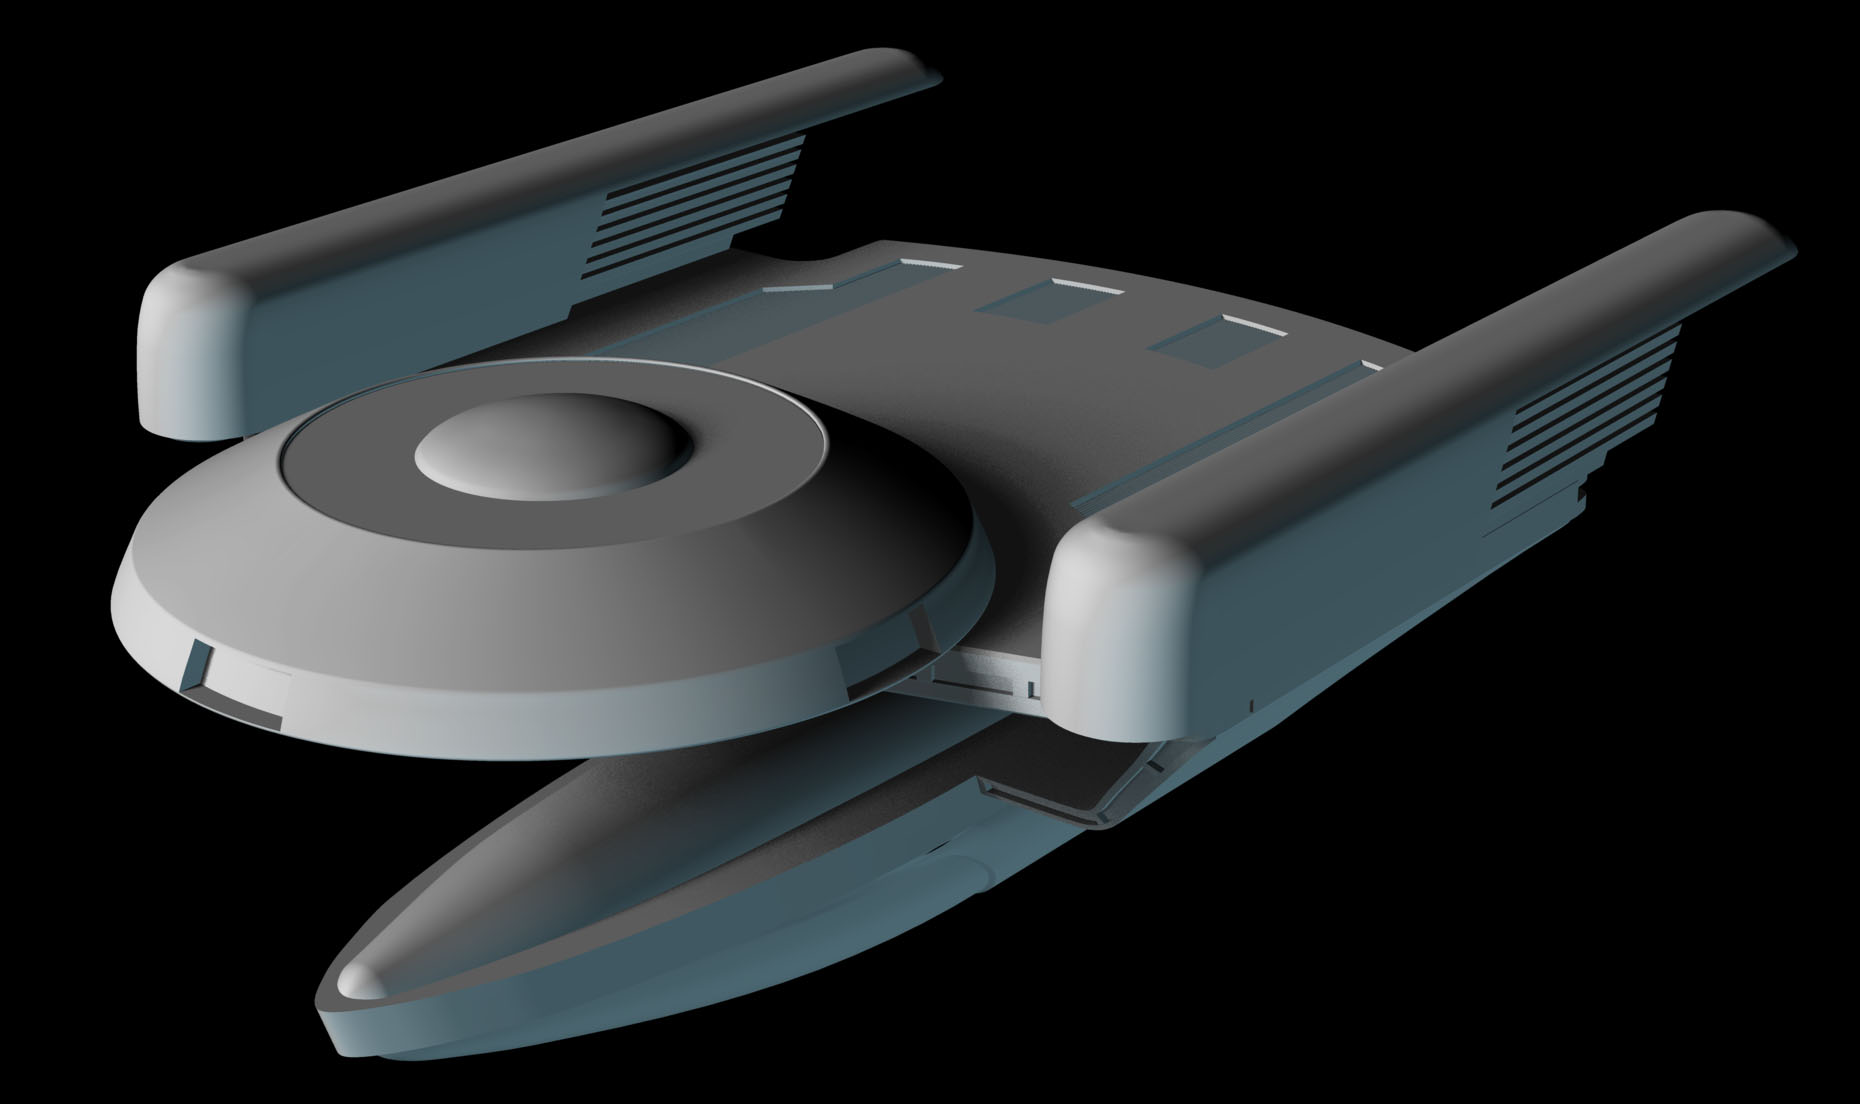
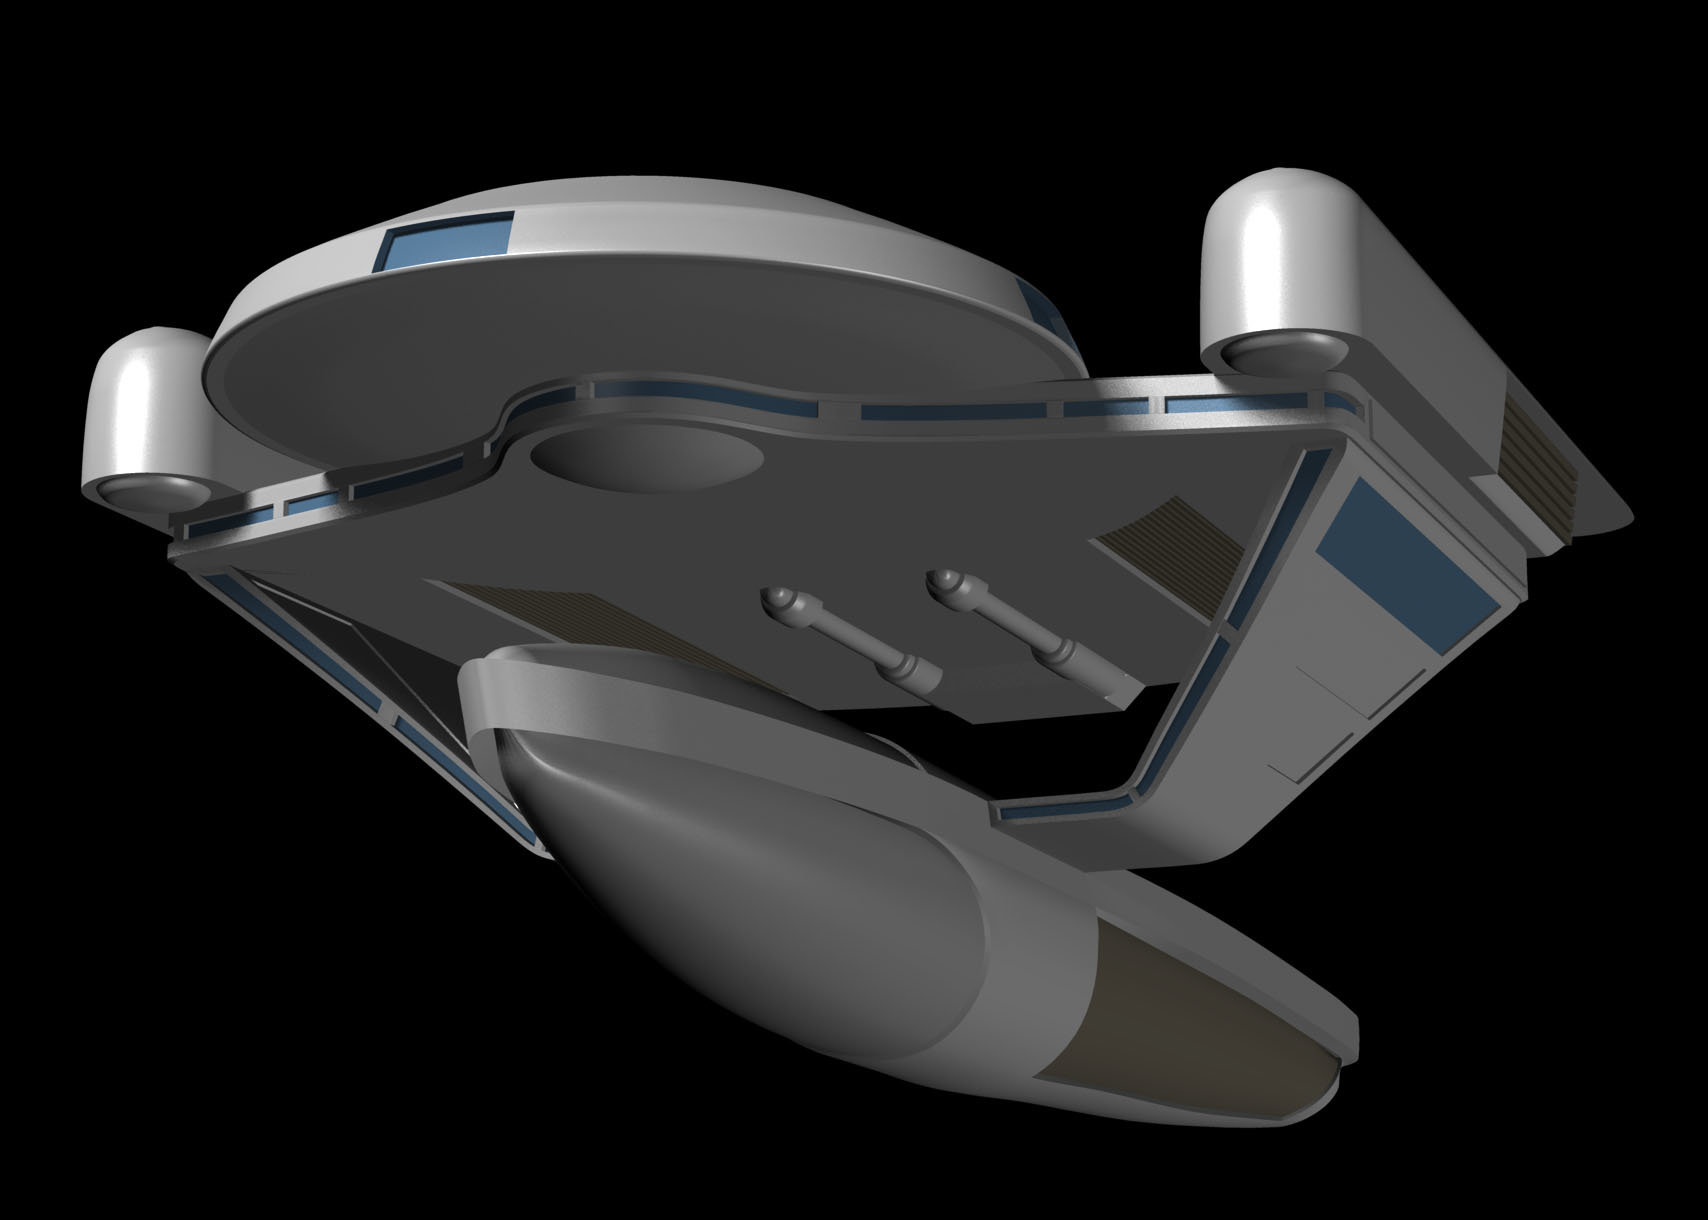
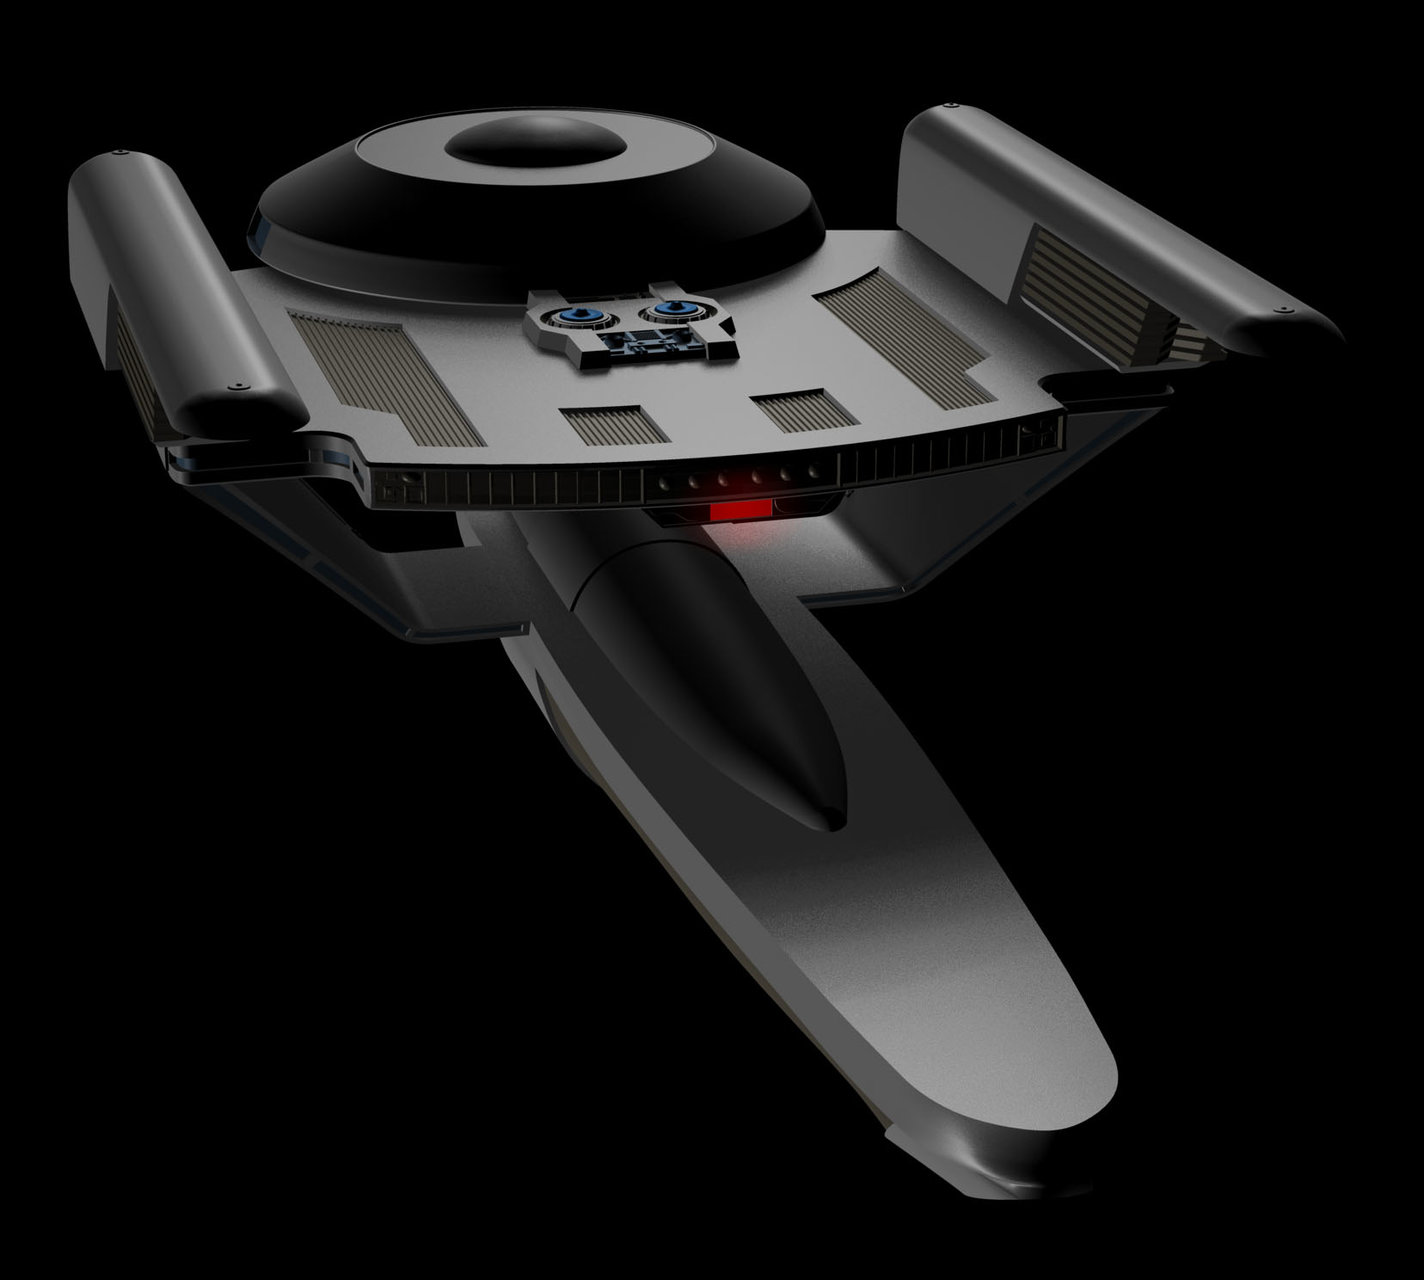
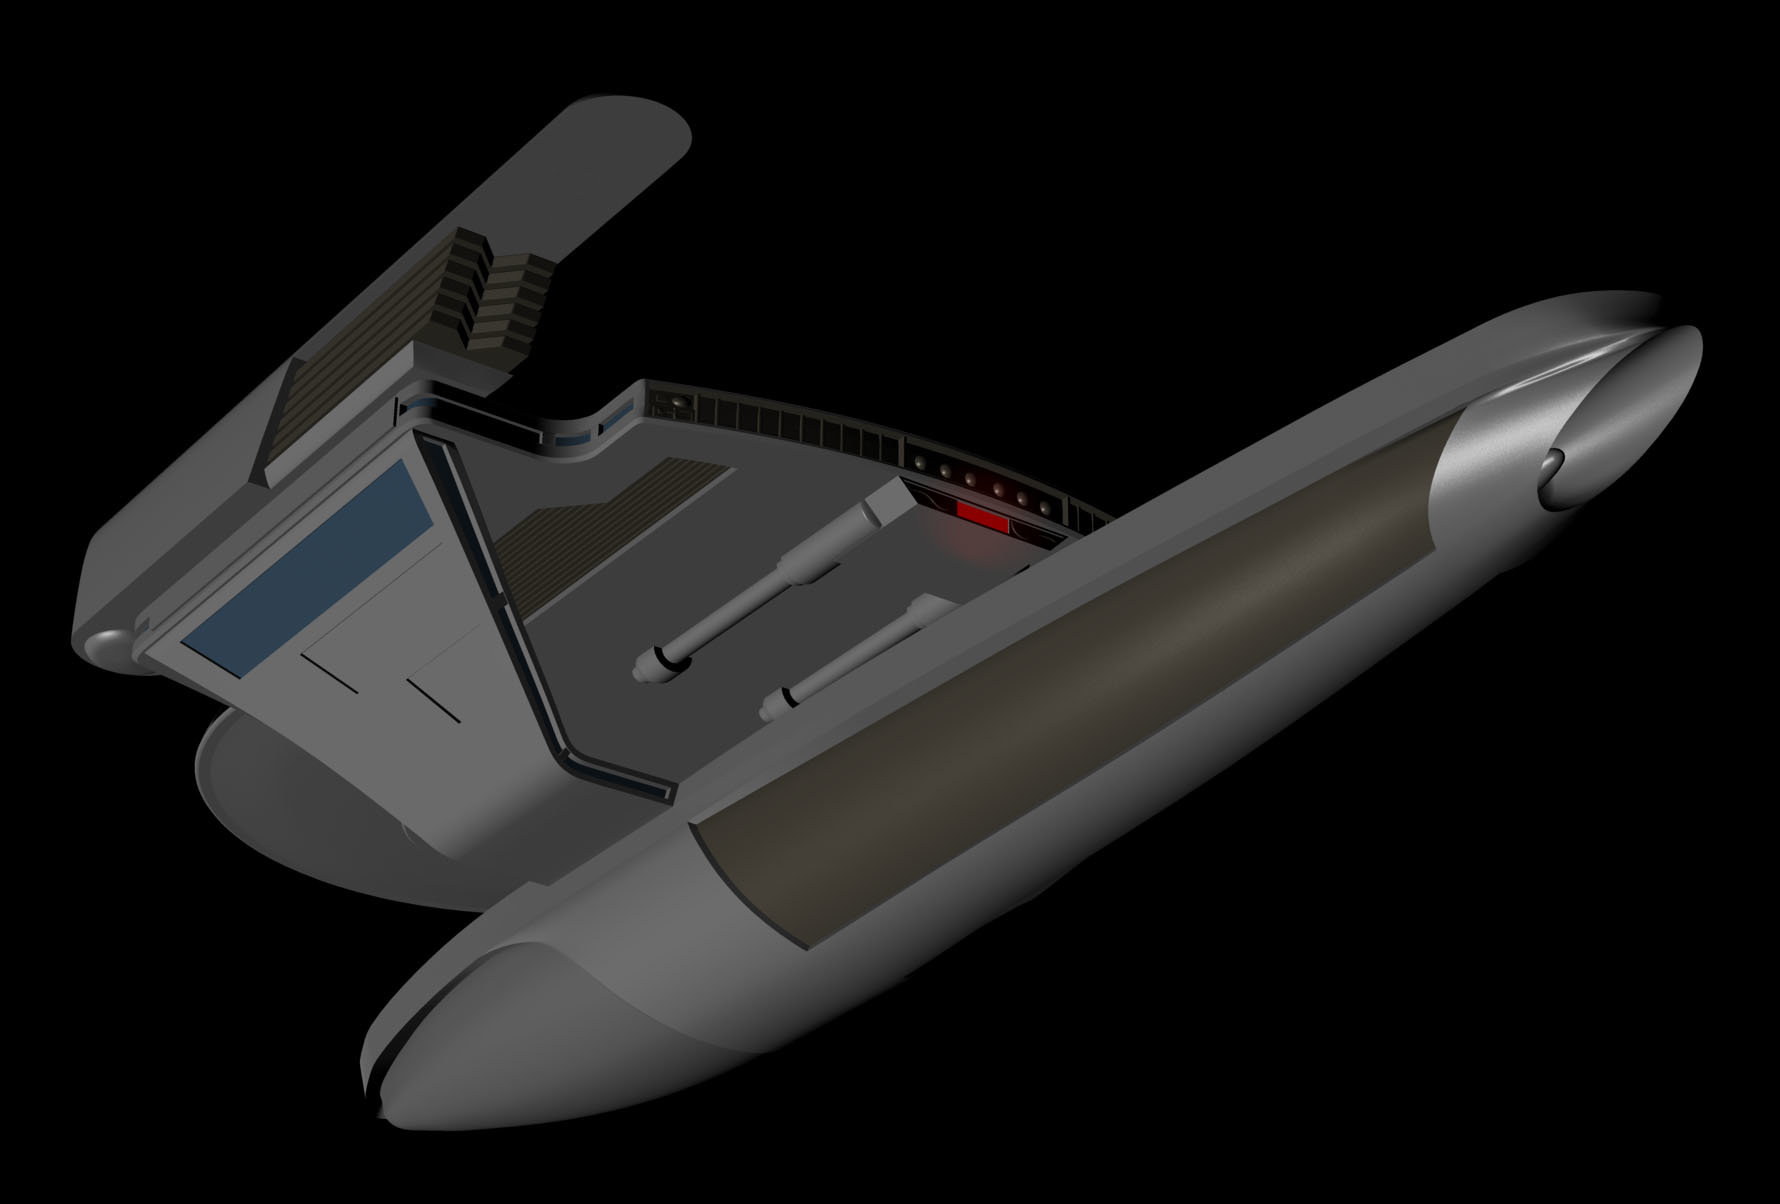
If you've got version 13 installed and that's not opening it, then I couldn't tell you what could be the problem. I seriously doubt updates to v13 would affect the opening of a model... I have version 13.0q installed. Anybody else have any problems opening up that Oberth model? Okay, lets try another model: Here is the re-vamped mesh of the U.S.S. Gage: USS_Gage.zip
-
Okay, I have no clue why it would do that... Opens just fine for me... It was made in version 13... If your version is earlier, then it won't work. If your version is later... I have no clue what could be the problem. The models that have been built are either version 12 or 13.
-
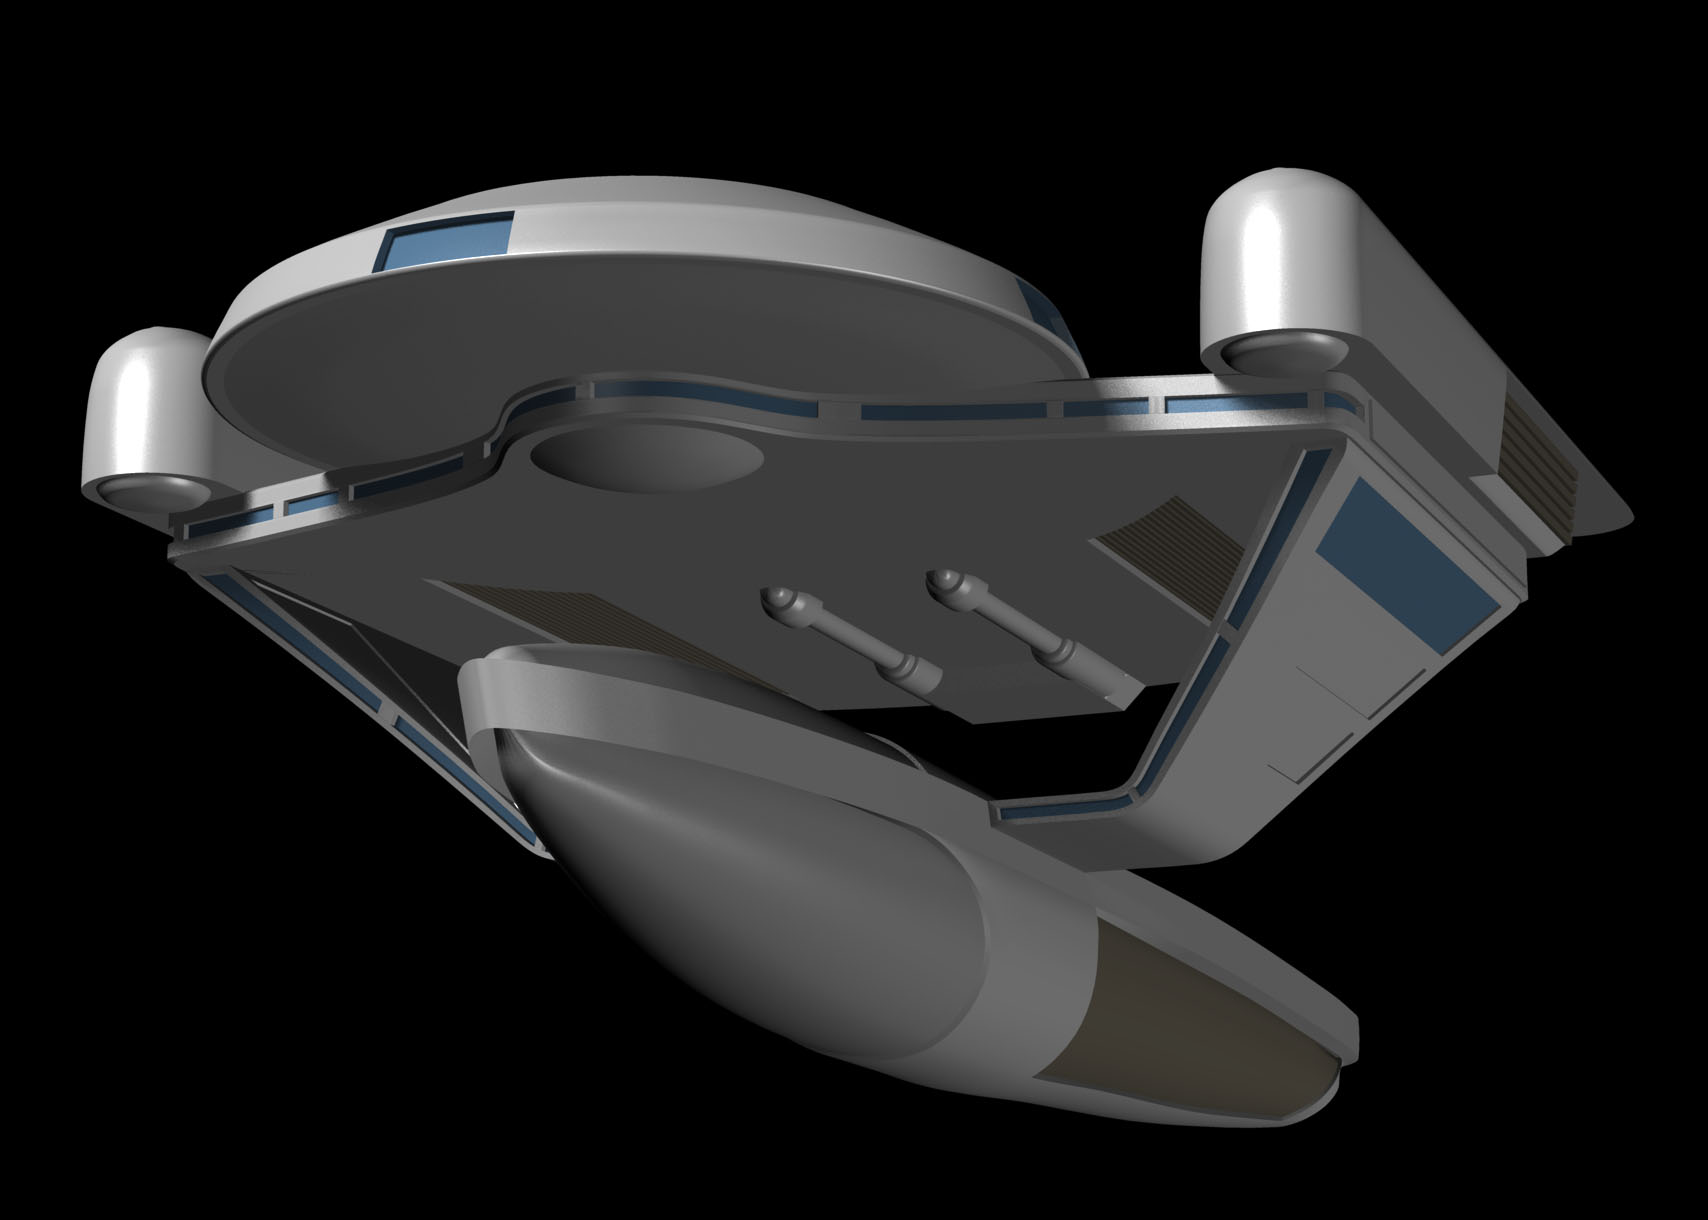
Oh, sure... have the Oberth to play with.... Oberth.zip When it asks for images, choose cancel. They are only the rotoscope images I used.
-
The Oberth modeling is now complete. Not entirely sure what I'm going to work on next... Maybe I'll take a little break from Trek and work some more on models for my own personal use... I have been wanting to get some rendering done on my comic idea for a long time... I just need to make/convert the models required to start.

-
Thank you! I did actually notice your Galaxy class model, and while we have no use for a galaxy class, we do have use for the parts for other ships that were kitbashes... like the Nebula class ships for example... Yeah, no kidding, huh? But hey, this will certainly make me learn how to do those *really* well. Thank you, also!
-
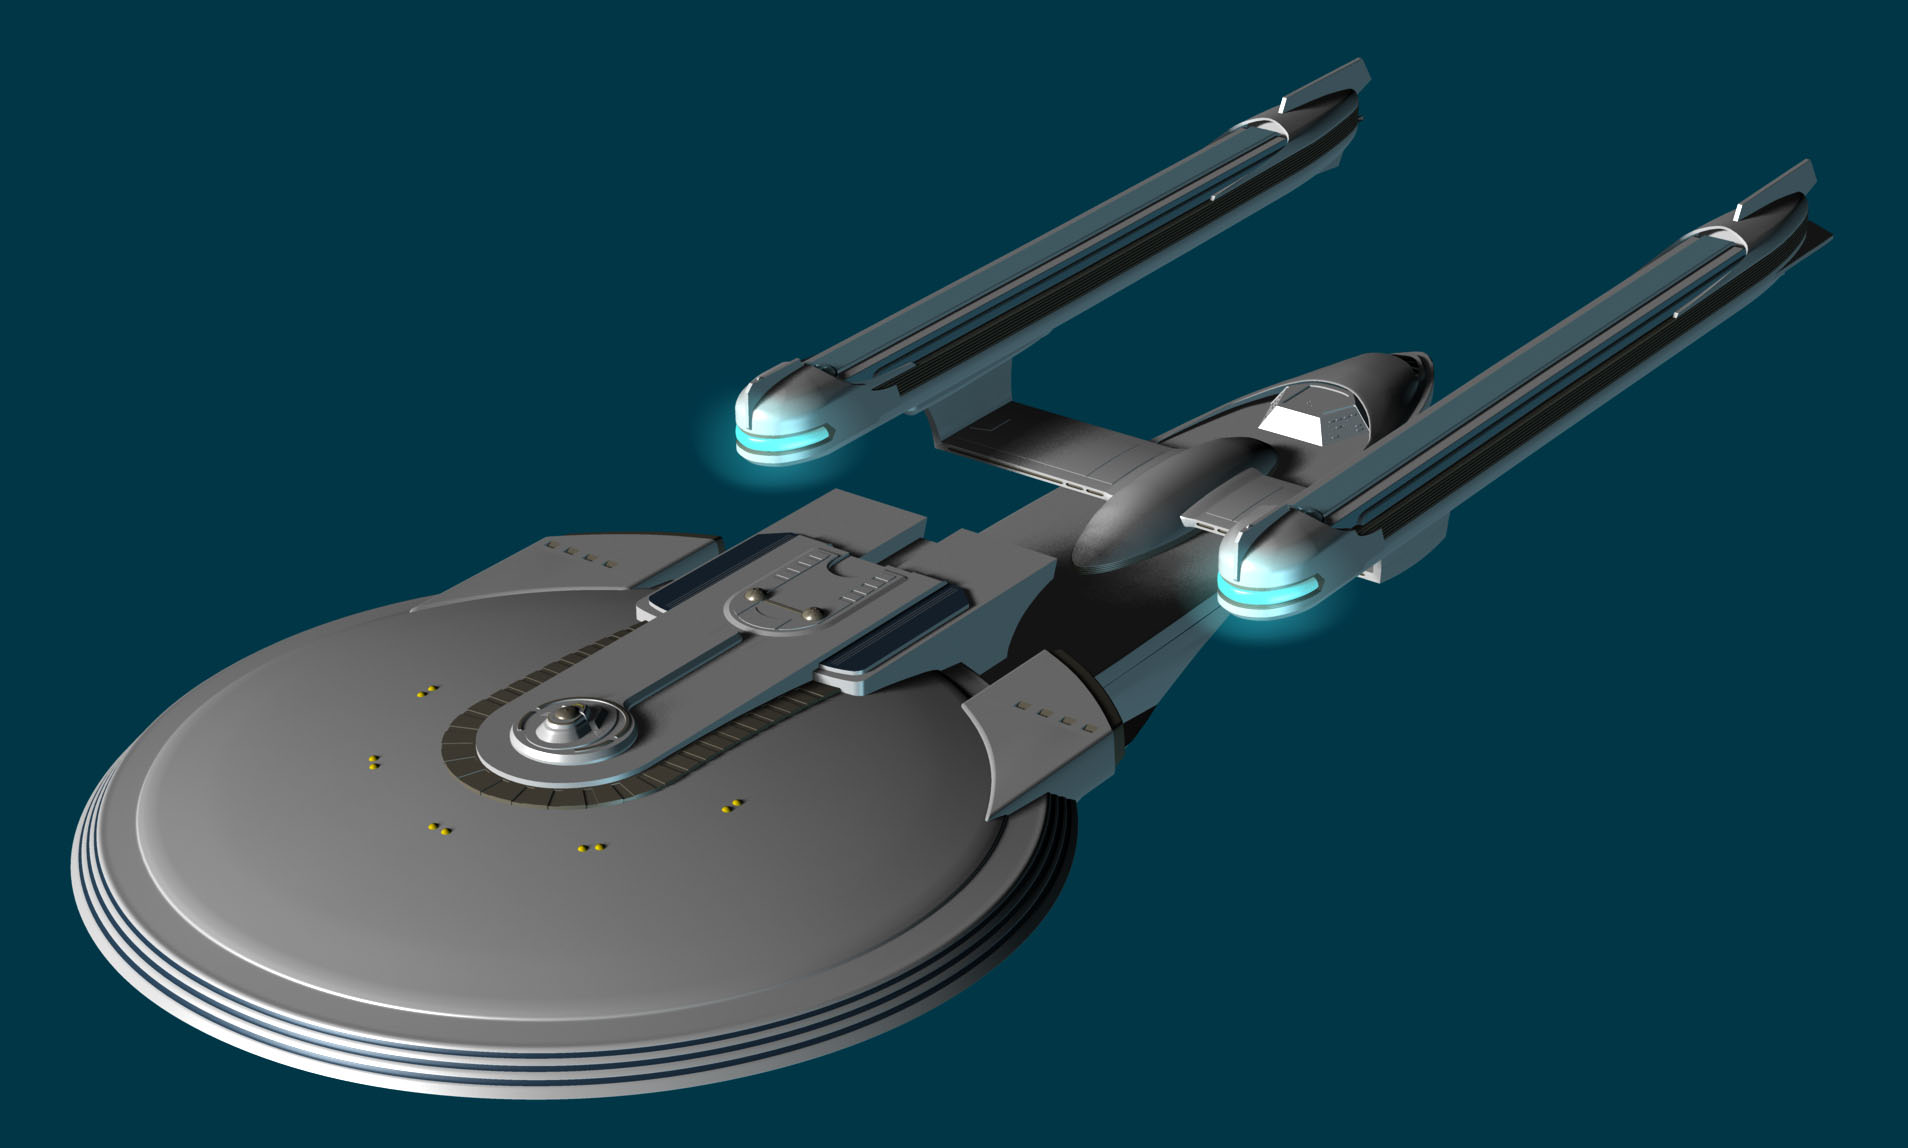
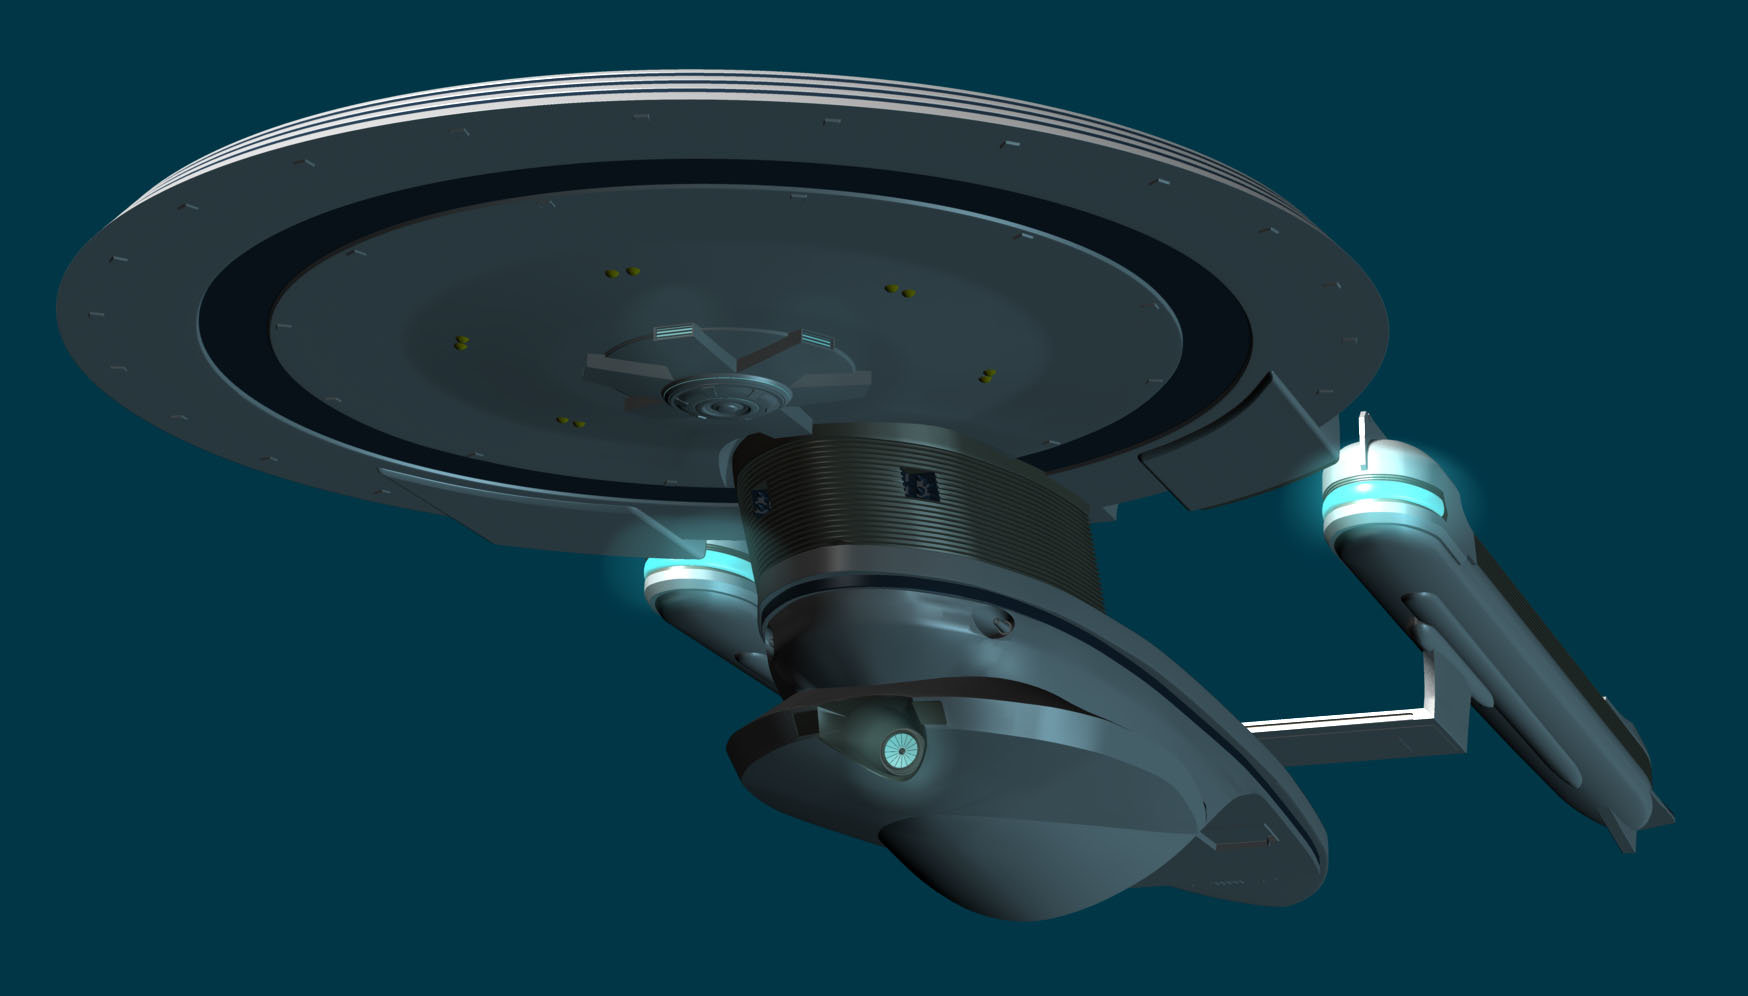
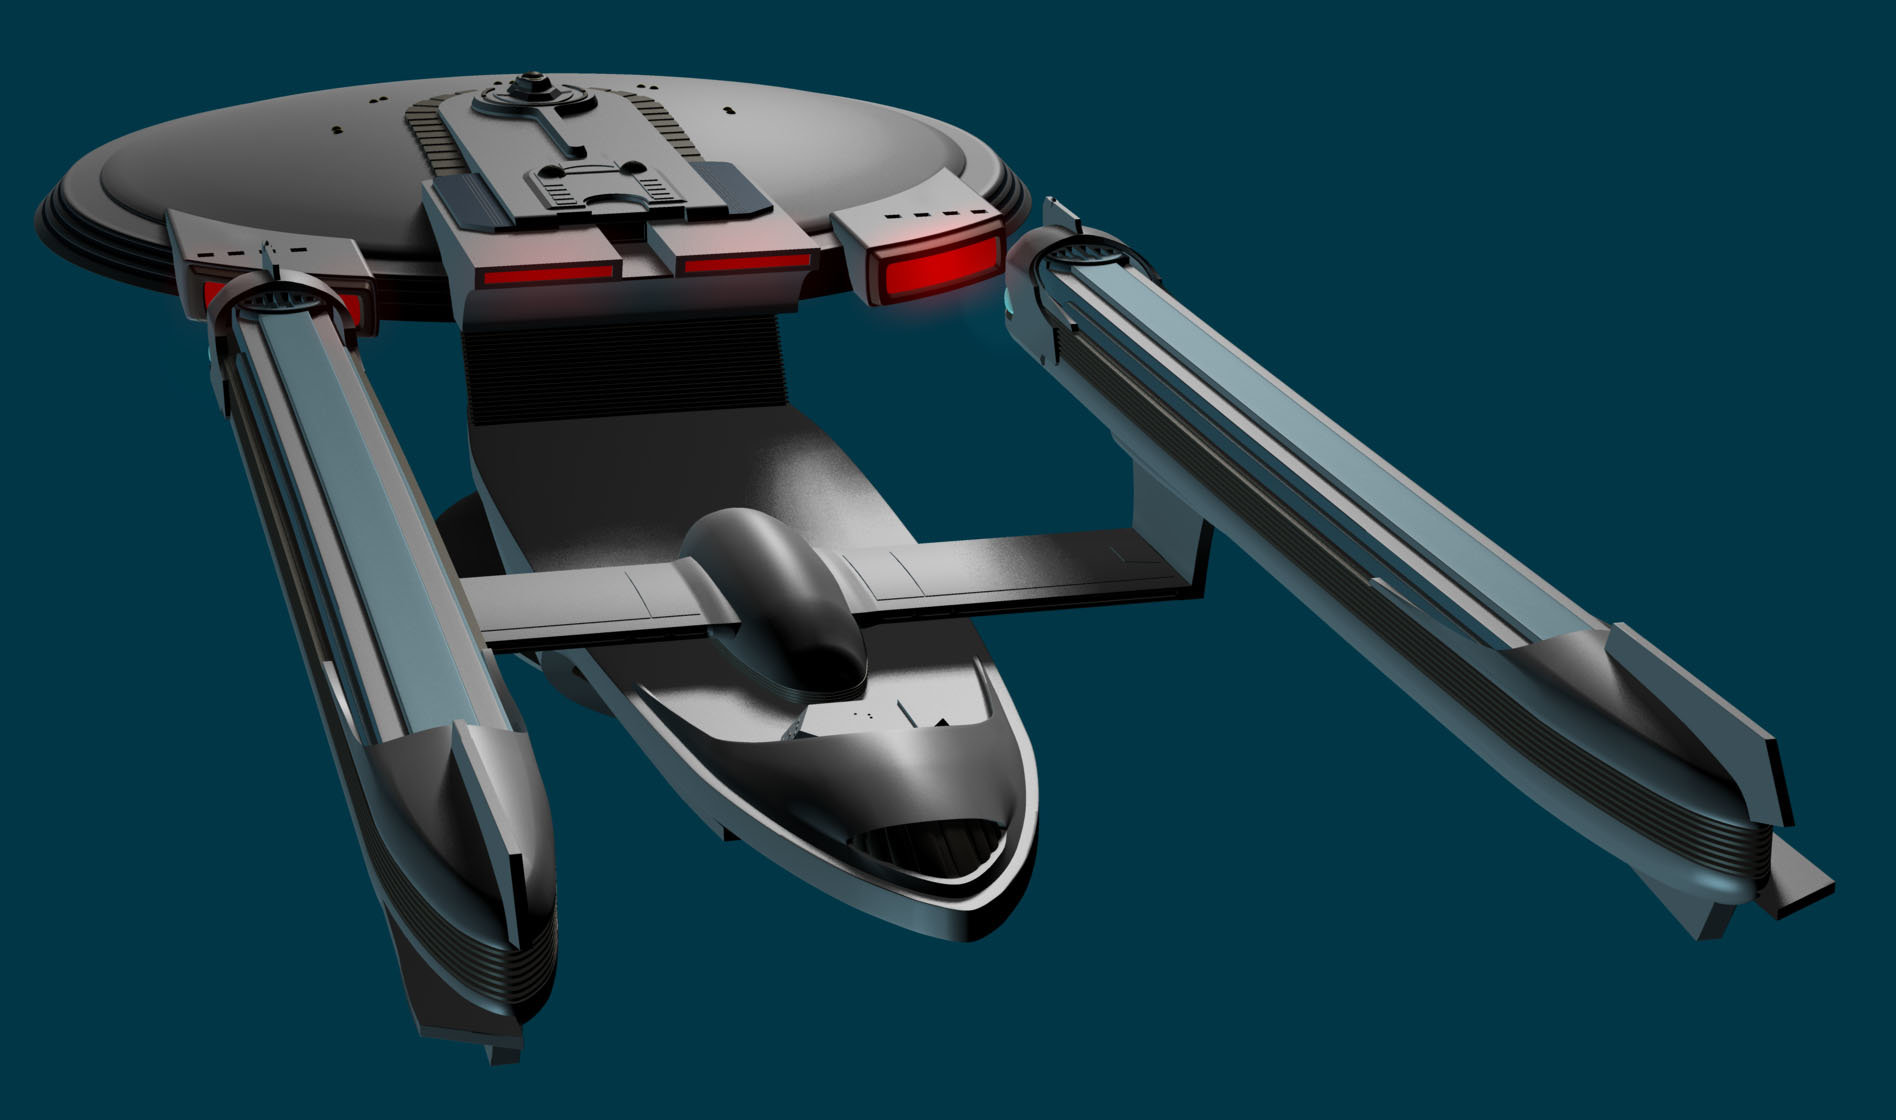
Sweet dude... thank you for the help! As for me, I've been busy this weekend. I finally got some decent time all to myself with very few distractions, so what did I do? Model! I have finished the Excelsior Heavy Cruiser class: And got a whole metric schwackload of work done on an Oberth class ship: Once the Oberth is done, we will have models for 12 of the 43 required ships completed (modeling wise anyway). ~25% complete baby!


-
Photon and Phasers as well as the Borg beam weapons will probably all be rendered in the choreography along with the ships, rather than added in later. That being said, we still need these items built, and in the case of the photons and borg beam, animated. If you are willing to work on those, then you are most welcome. We will need the following: Phaser Photon Torpedo Borg tractor beam Borg cutting beam Borg Torpedo Klingon Tractor beam Klingon Disruptor
-
Thank you both very much. I myself am *very* happy with the cube, and I was just floored to hear you both say that it's even better than the TV show's version. And yes, I'm deffinatly not mucking around with this thing anymore. It is done, done, and DONE! XD
-
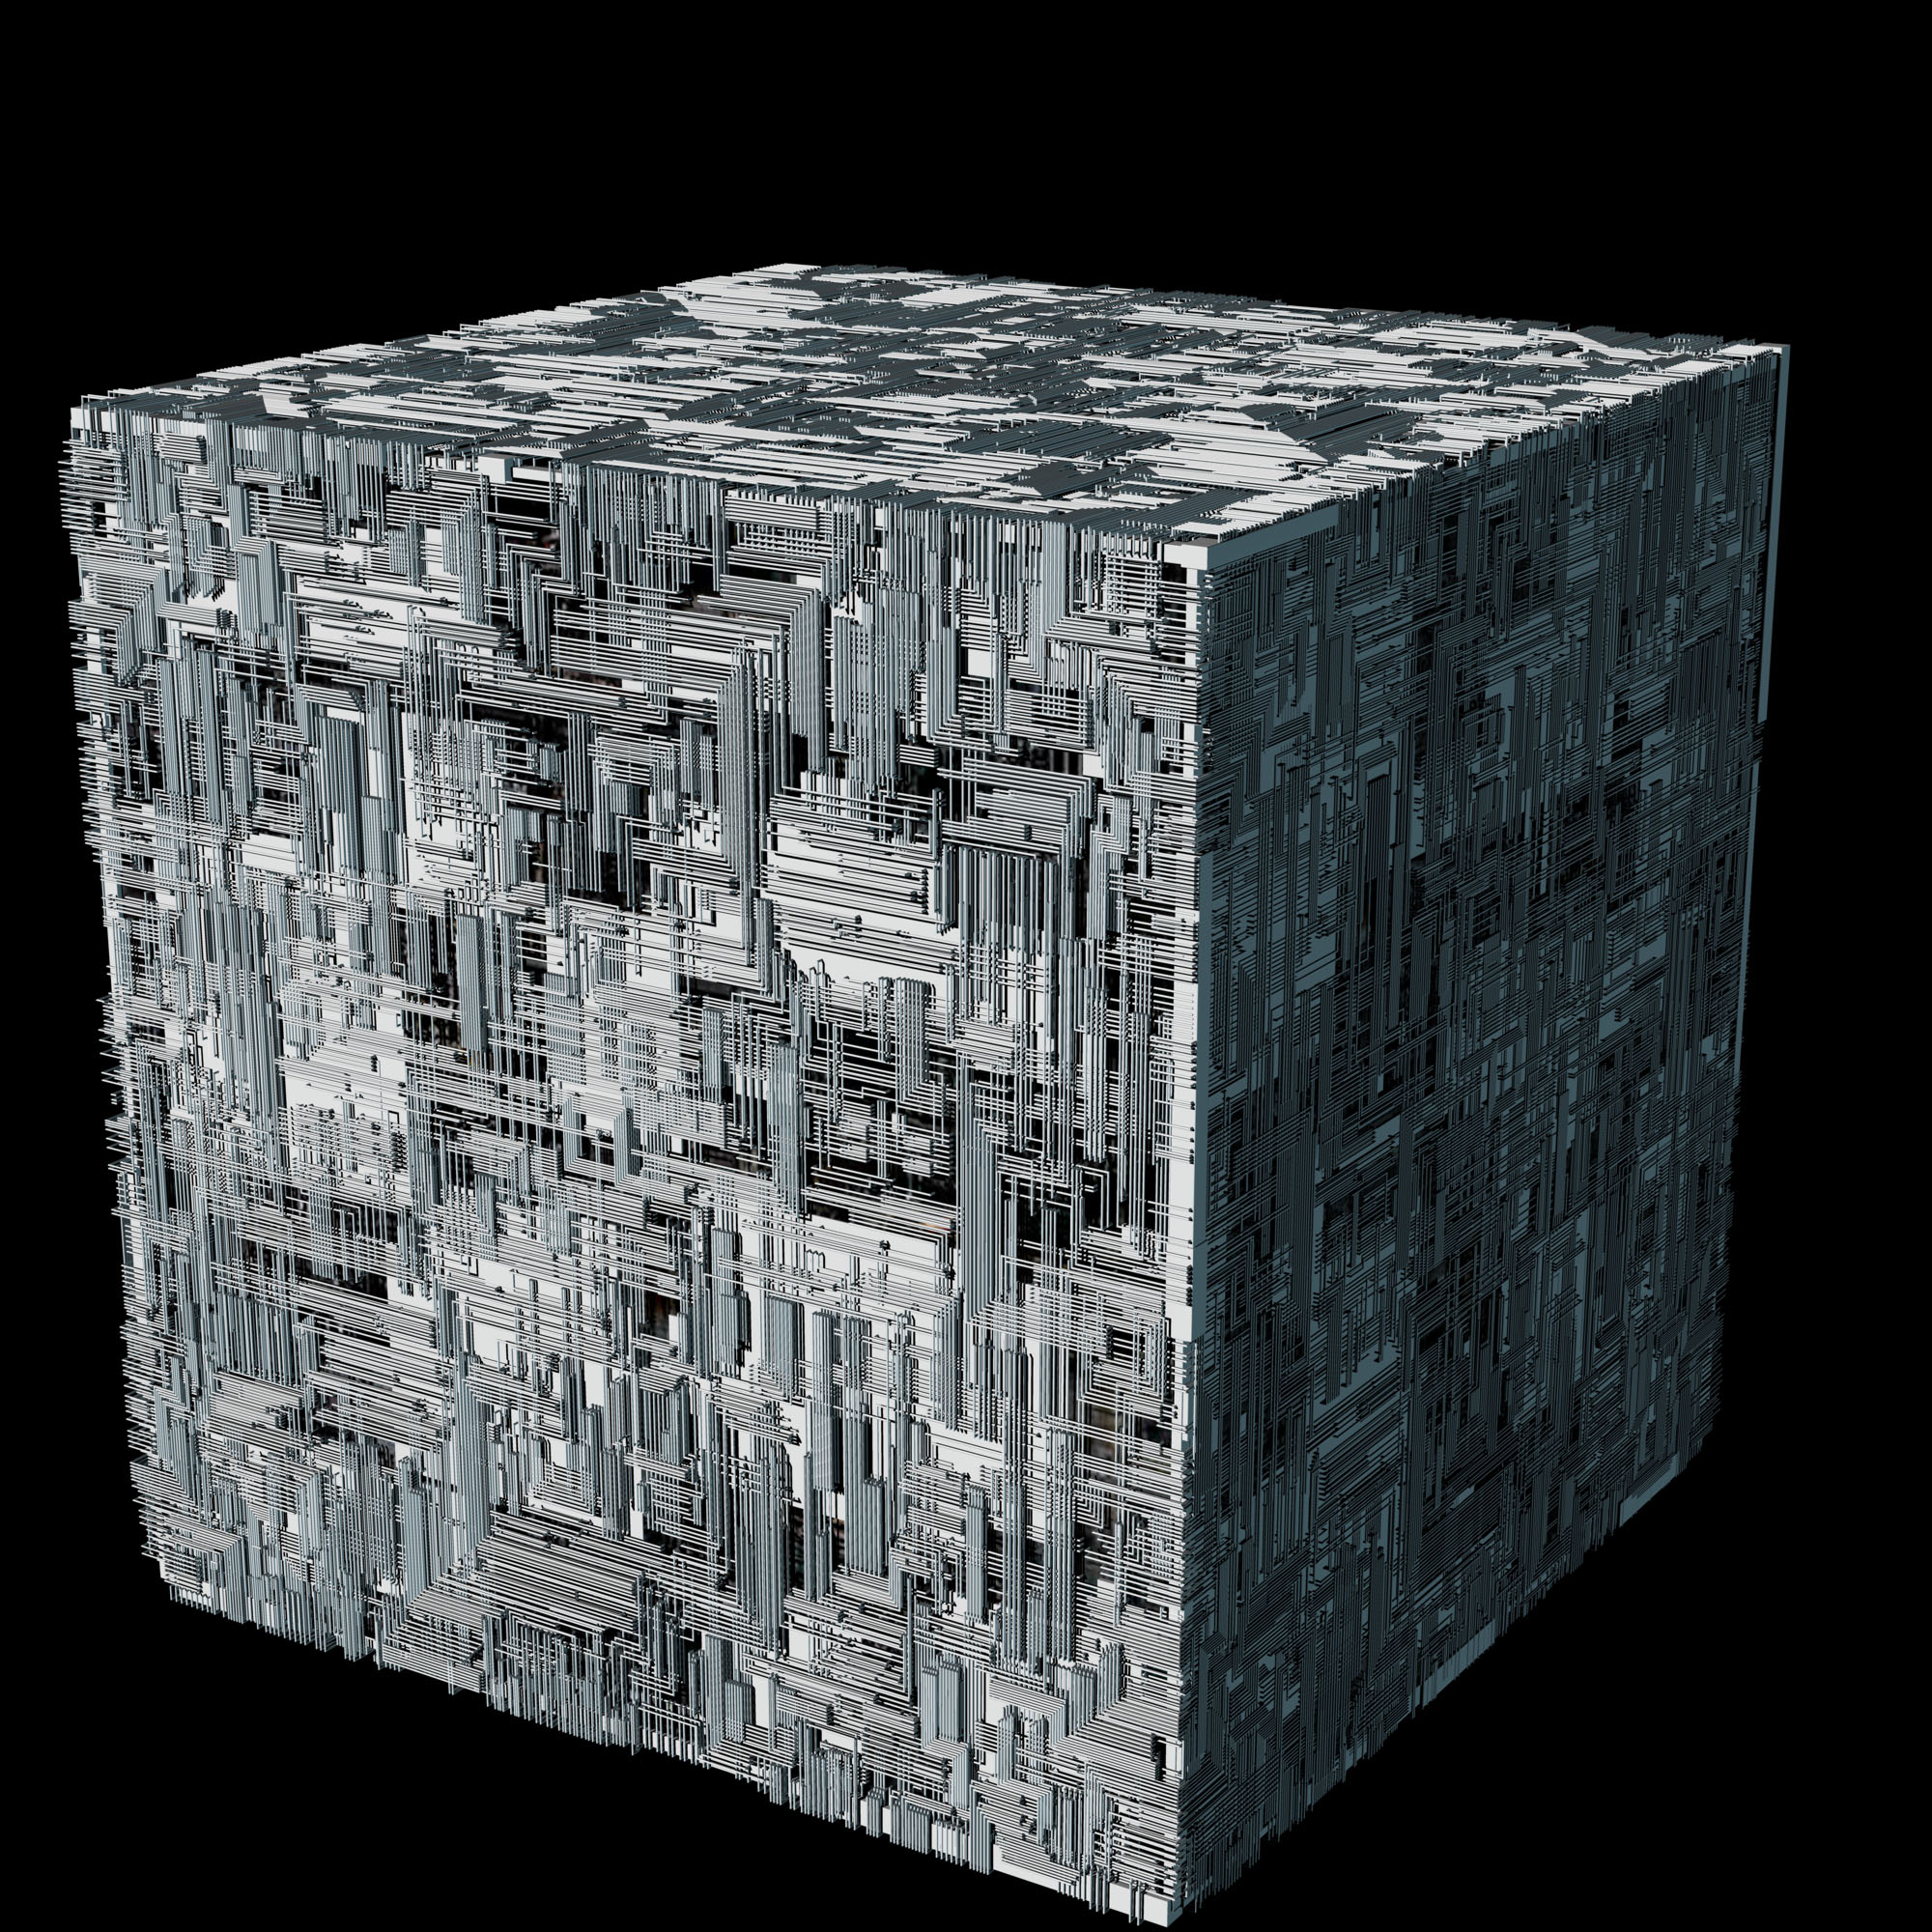
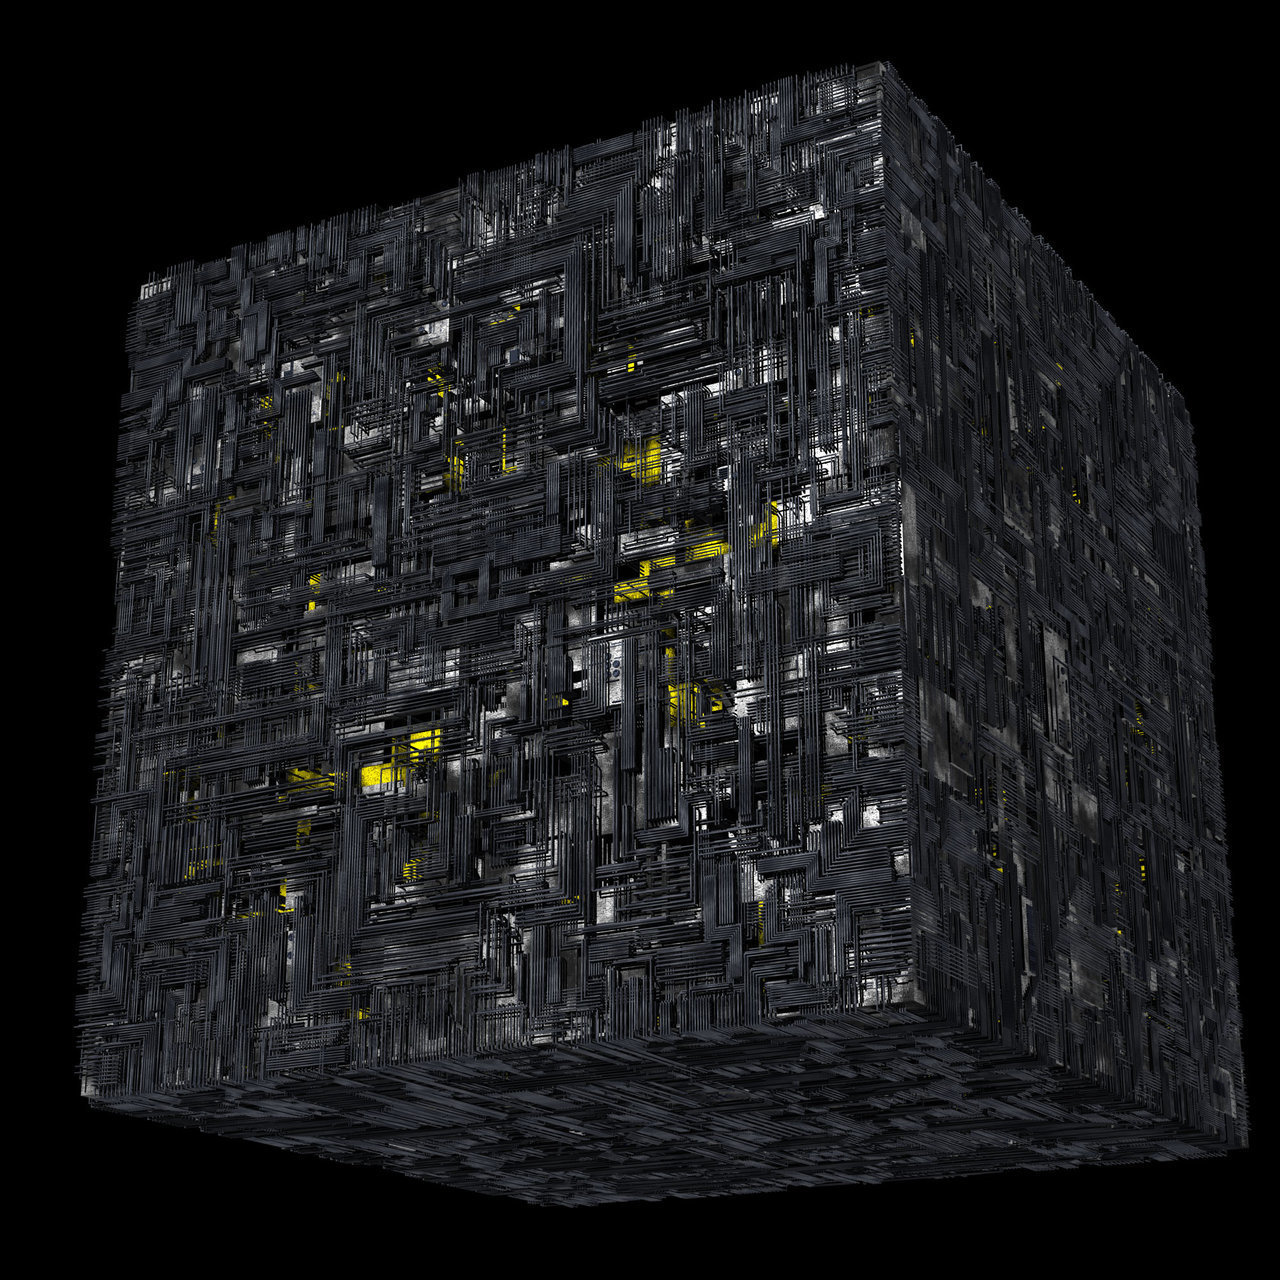
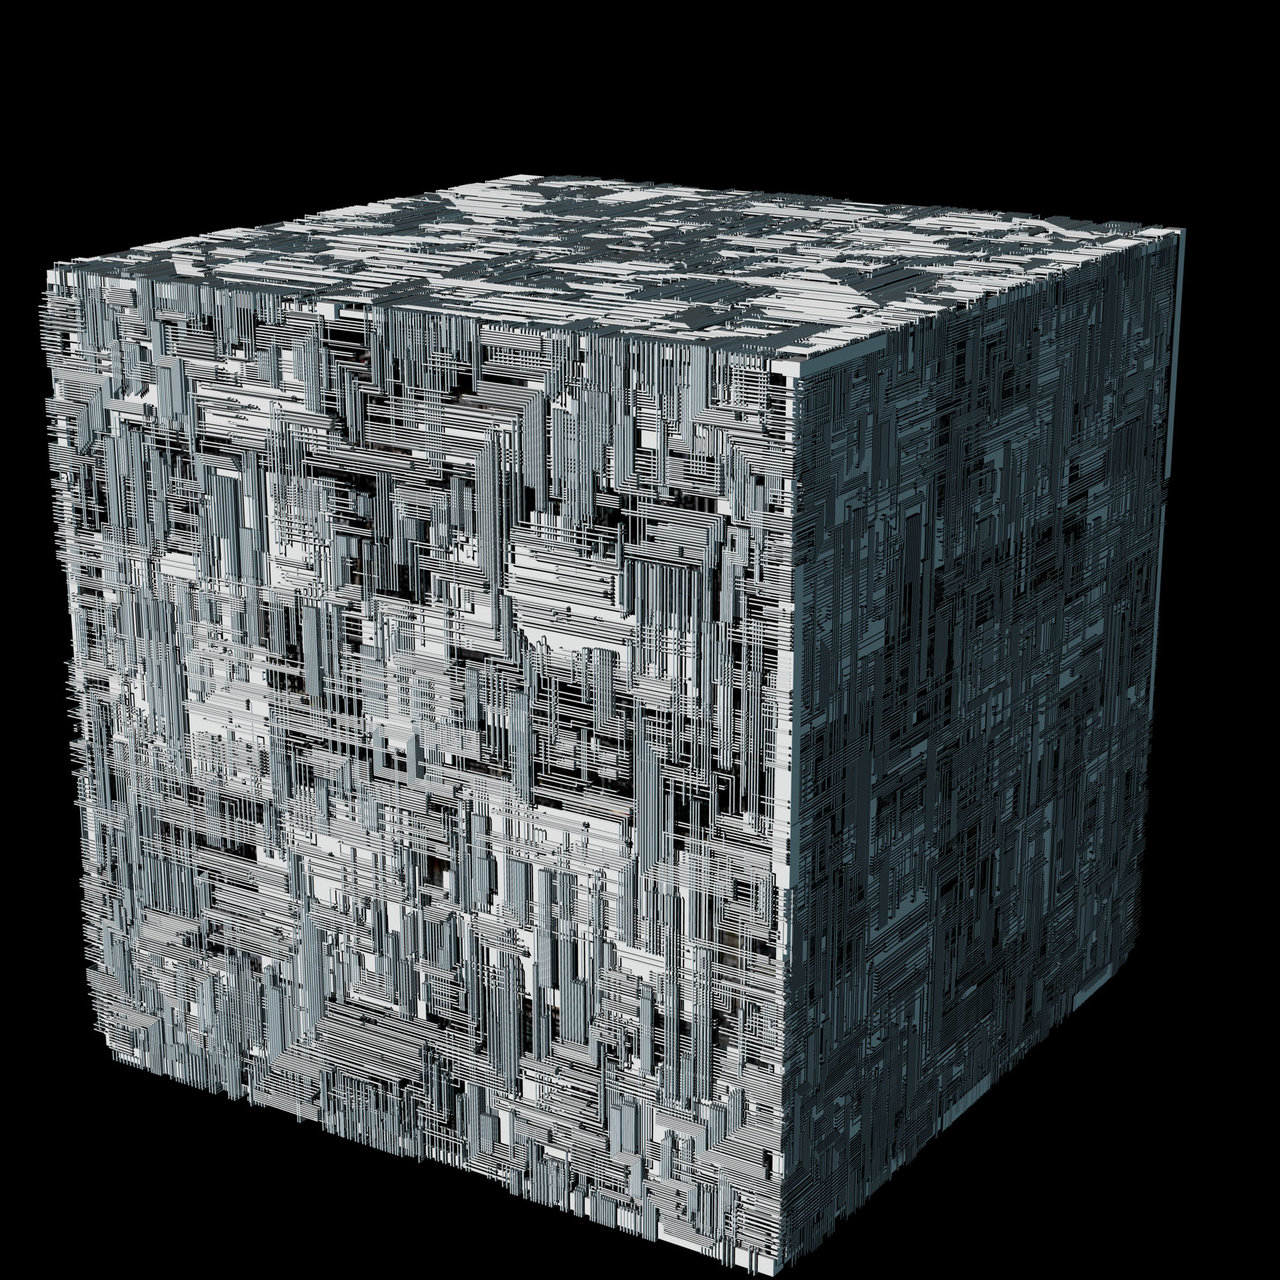
Well, all this time has been spent getting the cube to look *really* good. And while it's not 100% true to the model (no random pipe placements at angles) it's darn close enough for us to say that it is done. -Major changes since the last version shown: -Extra details added to certain panels that were raised a bit more above the piping. -Each side complexity on the box portion had been quadrupled. -There no longer is a light in the center of the cube. The illusion of lighting is created by an ambiance setting, and a complex decal to make it uneven. -Increased the complexity of the decals on the box portion. -Added a per-patch decal set to the piping to dirty those up and give them specularity. -Extended the ending points of the pipes so they actually go inside the cube mesh to give extra depth We are both pleased how this new cube looks. I know we can't please everyone, but I really think I got it looking good enough for our purposes. I will of course release the files to the public on my website eventually... Final render: Scene from the original trailer with new cube: Next up: Since I have minimal skill with mapping to irregular surfaces at this time I am unable to finish the excelsior properly. Saucers are easy to map. Secondary hulls are a pain in the butt requiring different mapping techniques that I am currently a novice in. So for now, I will build ships without decals, so that we can at least work on the animation while I improve my skills in mapping. Currently I am re-visiting the USS Gage and improving the mesh. I've already cut out 1400 patches from the saucer alone. After I plan to add the bits to the Excelsior to make it the Heavy cruiser variiant. Then... new ships! Finally! Until next time fellow AMers
-
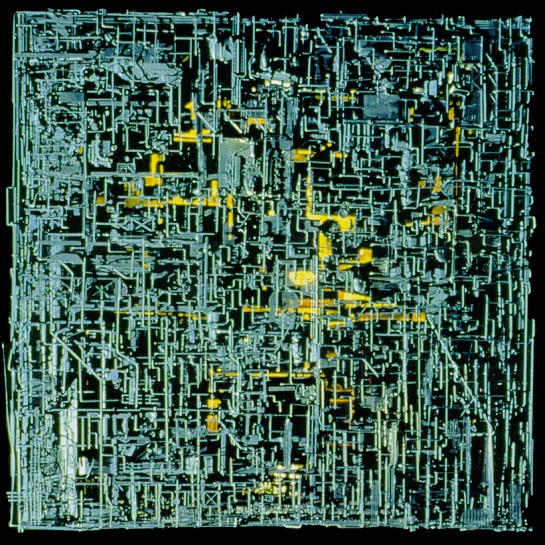
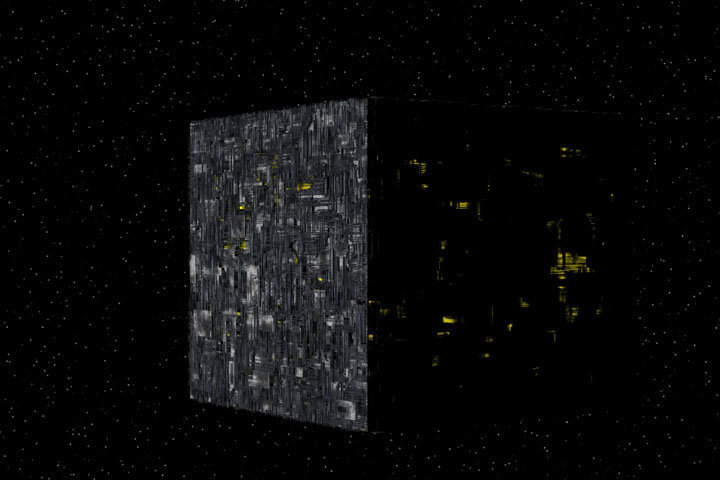
That one looks like it's from First Contact... That's not the original borg cube. The original looks like this: They quite literally took a bunch of the scrap from plastic models and glued them over a frosted cube shape with a lightbulb inside. They did made a nicer looking cube for Emisary and may have made a new one for best of both worlds, but pretty much made it them same way as the first one.
-
So very very true. And as I recently noticed, there are pipes that go in random directions as well. And the blocking is getting a bunch more added around the corners so a few more closer to the surface won't hurt. Heck some of the exsisting ones can be brought out further... This shall be added to the list of things to do! Thanks!
-
Thanks! The director okayed it, but wants the cube a bit lighter in color, however. He's so fussy. Oh wait... that's a synonym for director...
-
Very nice indeed... Simple, yet very effective on getting the look of a busy city. I myself am working on a city scape, oh so slowly... But I'm actually building simple models that look different. I won't be able toget away with every building looking the same for what I'm using it for. Ohhh hey... A whole bunch of wallets! And a rolex! Sweet! Yoink!
-
Color... and LIGHTING! Yep, lit just like the original studio model. May need some tweaks (we'll see what the director says soonish), but overall, I'm happy with this! I could sign off on it right now, but I won't just yet. Next update will probably be a wallpaper design like with the Gage... which I still need to re-model parts of... And get better textures going... ;_;

-
Ah right... For the story itself we will be giving starfleet some credit. They won't just toss 40 ships at the cube and hope to high hell they destroy it. They will have some kind of plan, or in this case 3 plans, to throw at the cube, with the giant furball as the last resort. We won't follow one specific person, but rather have a small series of emotional stories to give it the human touch, with an arc for the klingons when they arrive that involves a portion of a failed plan. My signature contains a link and the URL to my website... all the previous links in this thread are certainly dead as my website was forced to move during september 2006. However, I don't know how useful I will be for getting your ships to look better... while I have made an excellent looking Excelsior, I certainly have no clue how to finish the texturing aside from the saucer... The saucer textures were created all within AM, with some photoshop adjustments... And that same technique can't really work well for the rest of the ship. But we shall see what can work. As for the cube, I decided the edges with the wonky boxes all around it looked very messy. So I scrapped them and created a smooth, yet thin frame helping to curb the fuzzy dice look without looking silly in the process. I have also removed the base layer, and put two insances of the new paneling behind it to make it look complex and give it some depth. You can actually see the other side of the cube in some areas. So, next on the list: Color!
-
So I've added a whole metric (not imperial) schwackload of panels of various heights on each face and some stuff around the edges to get a bit more mechanical smoothness out of it. After doing all of that I have realized something... I could essentially do away with the base layer, layer the new panels inside a few times, stick in an instance or two of piping, then put one giant light in the middle as it was done in the first studio model... After that, adding bones to allow for various beam weapons to be emitted, and color!
-
Well, the narrative is going to be done more with "official starfleet chatter" then someone talking overtop of everything. There will be a briefing detailing the 3 main plans starfleet will be trying, after that it will be recordings of people giving orders, reports, and the like as was heard during the beginning of First Contact before Picard joined the fight. We have a whole messageboard of volunteers at Flare sci-fi forums to help us out with that. As for the fuzzyness of it, that's being cleaned up with the extra bits added on. *lol* Personally I don't think a decal would look good enough close up, no matter how detailed it was, even with the new bump rendering system. And it really only took a few days to set up the one layer. Make one side, copy paste rotate onto the other 6, move or delete pipe segments that overlap.
-
That's deffinatly an option... I had thought of having a low poly cube with mapped images of each side of this one made for distance shots, but I didn't think of creating a version with one layer of actual piping overtop of rendered images of the rest of it. That would be useful for medium shots for sure... Any bit that sticks out past the final pipe layer can simply be kept in as well... those certainly won't hurt impact rendertimes much. Great idea! Thanks for that one!
-
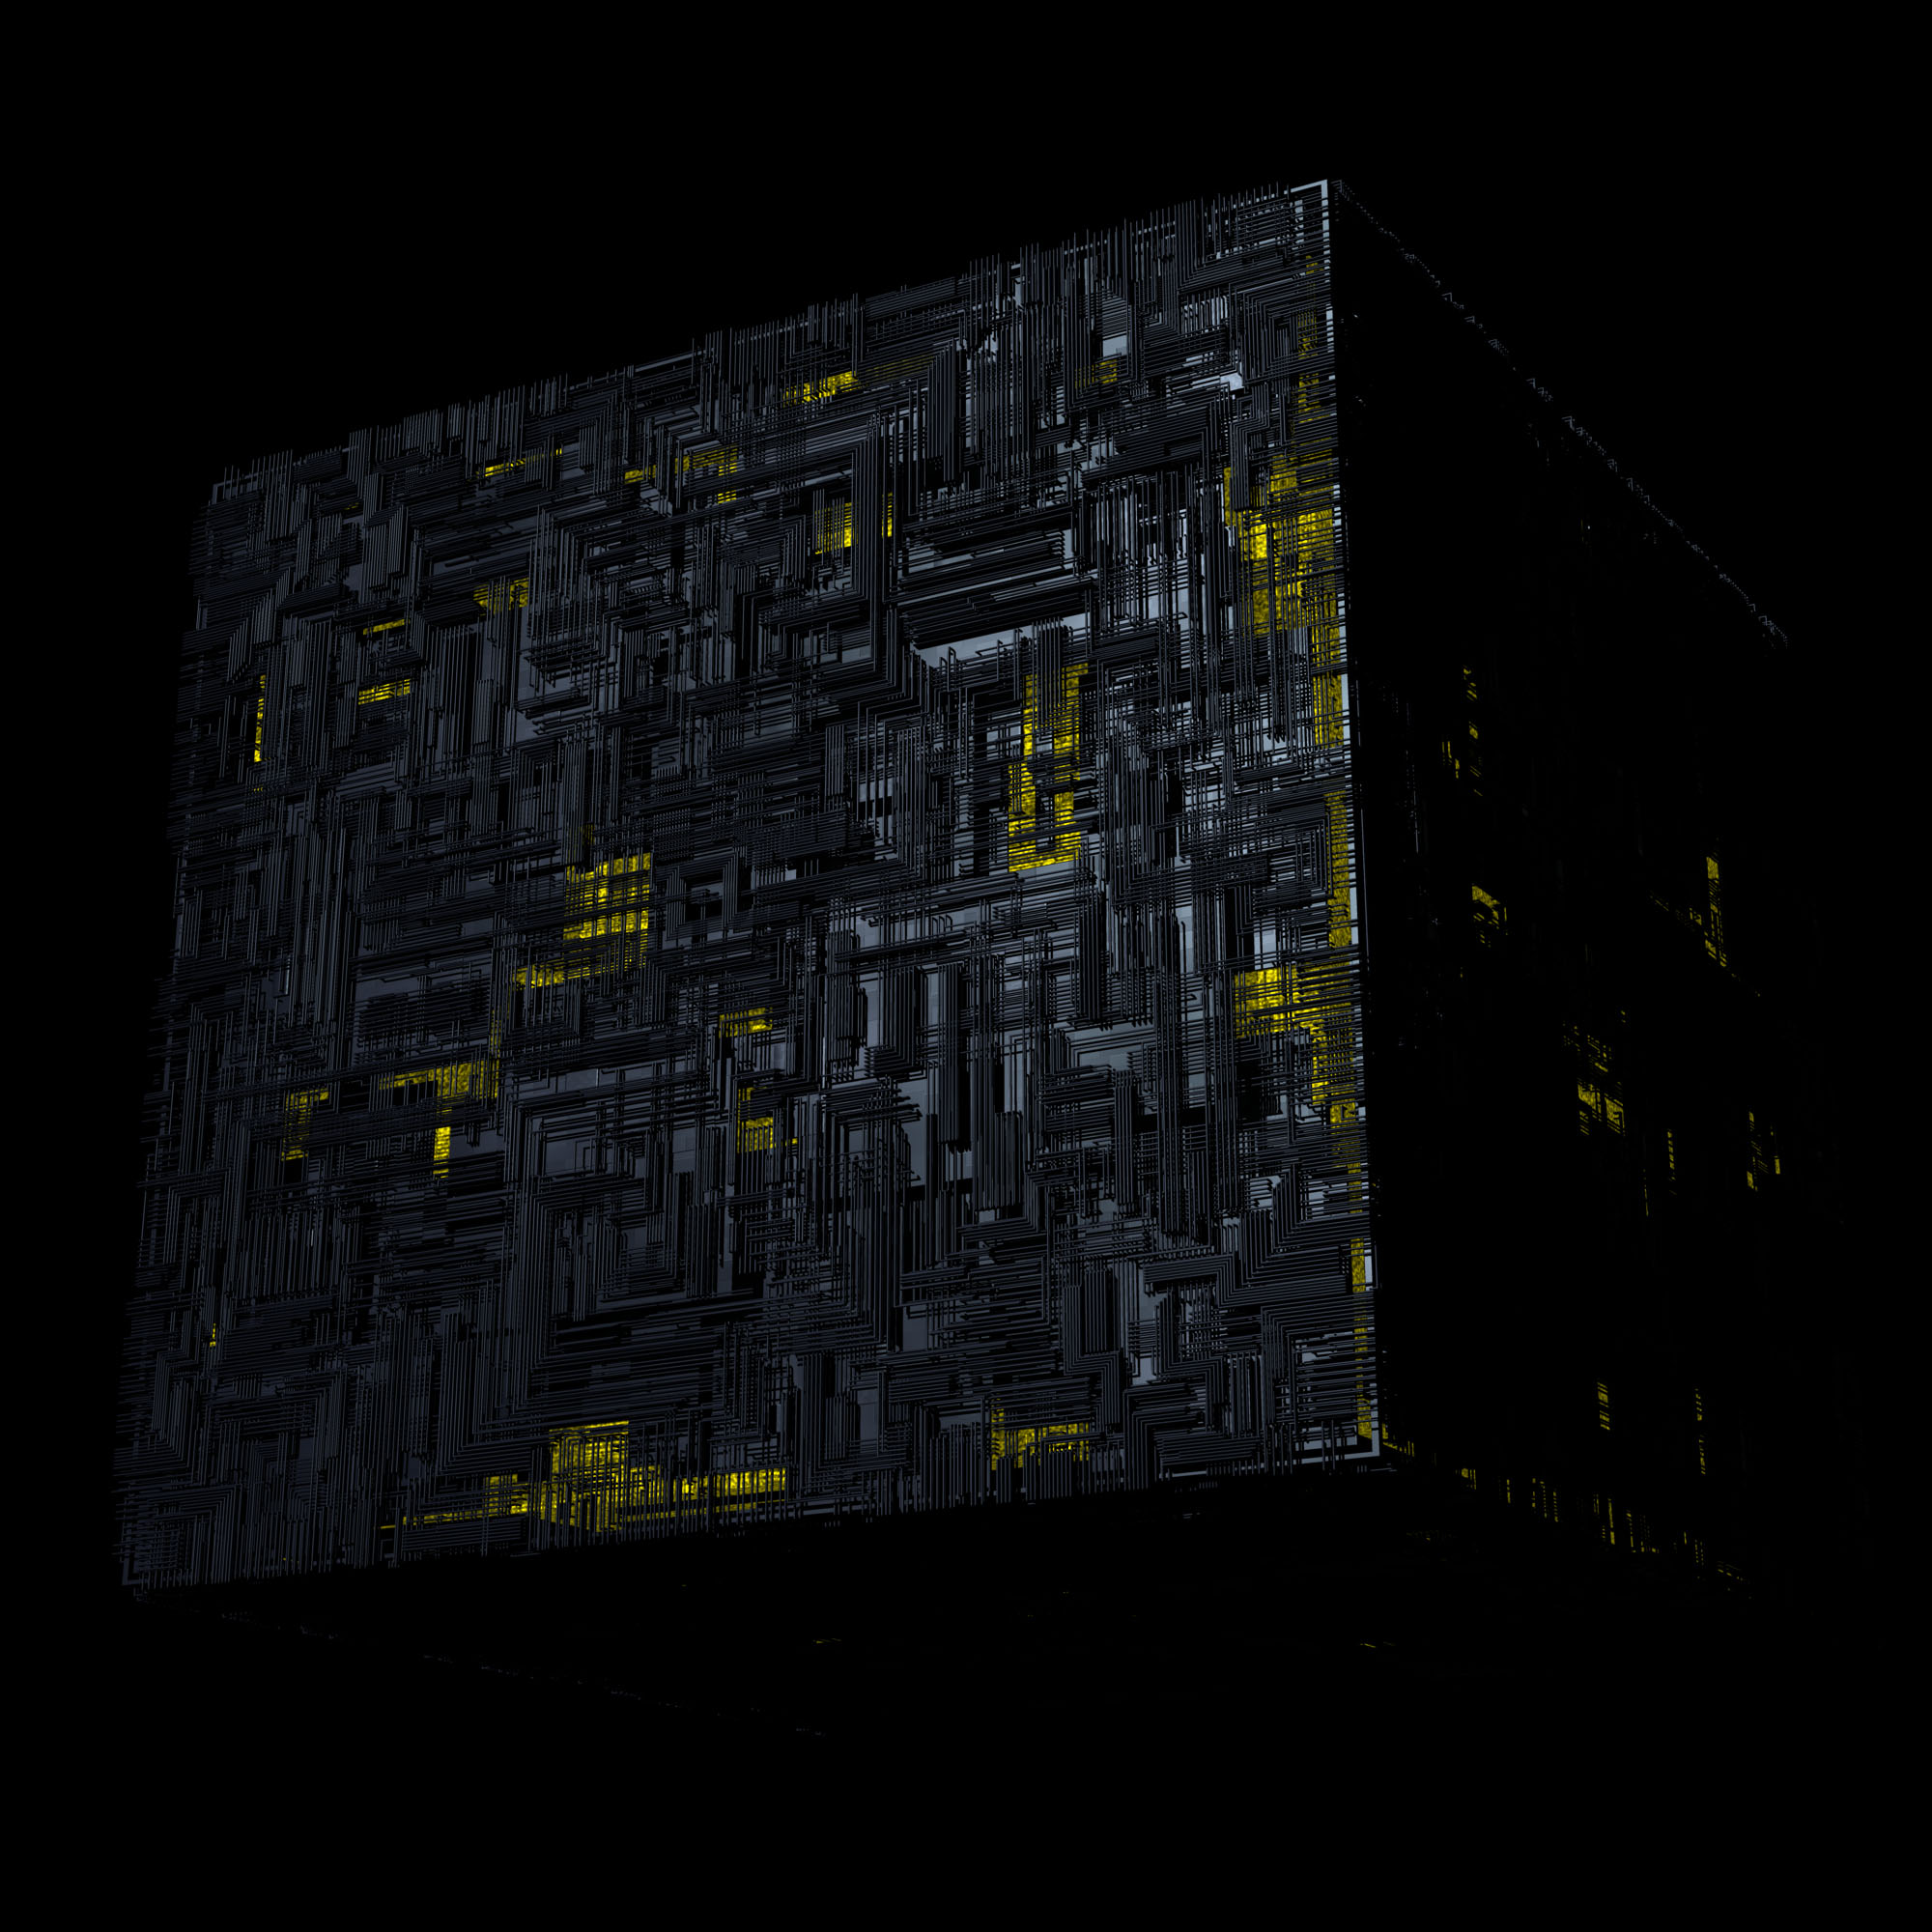
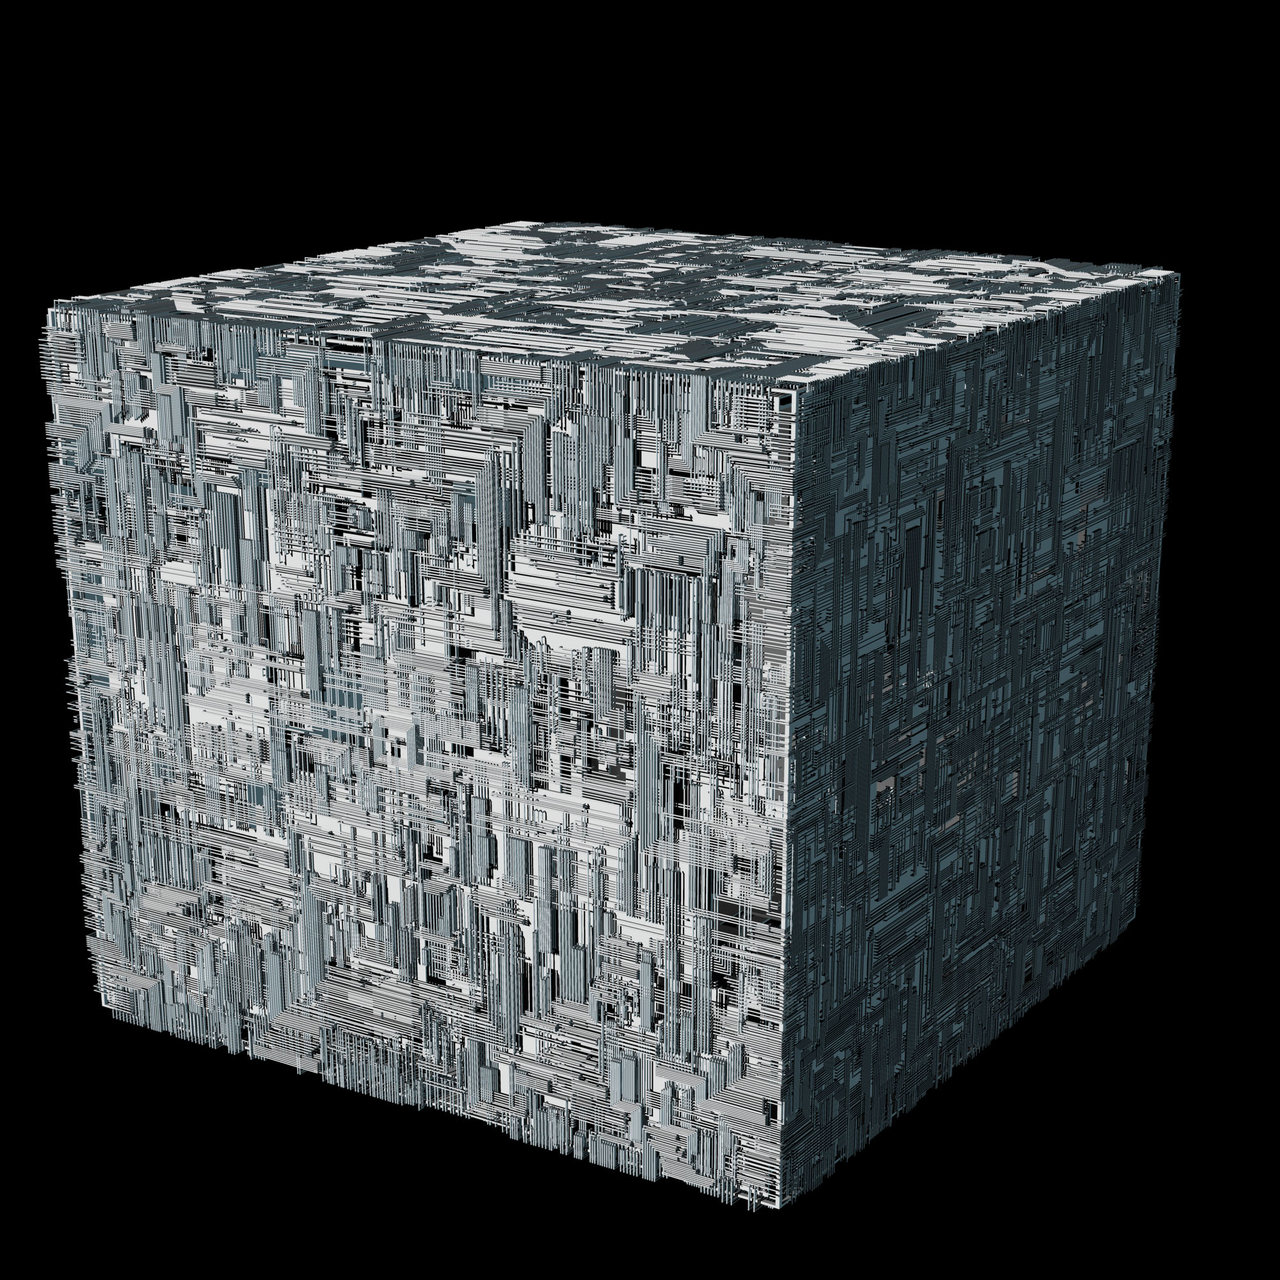
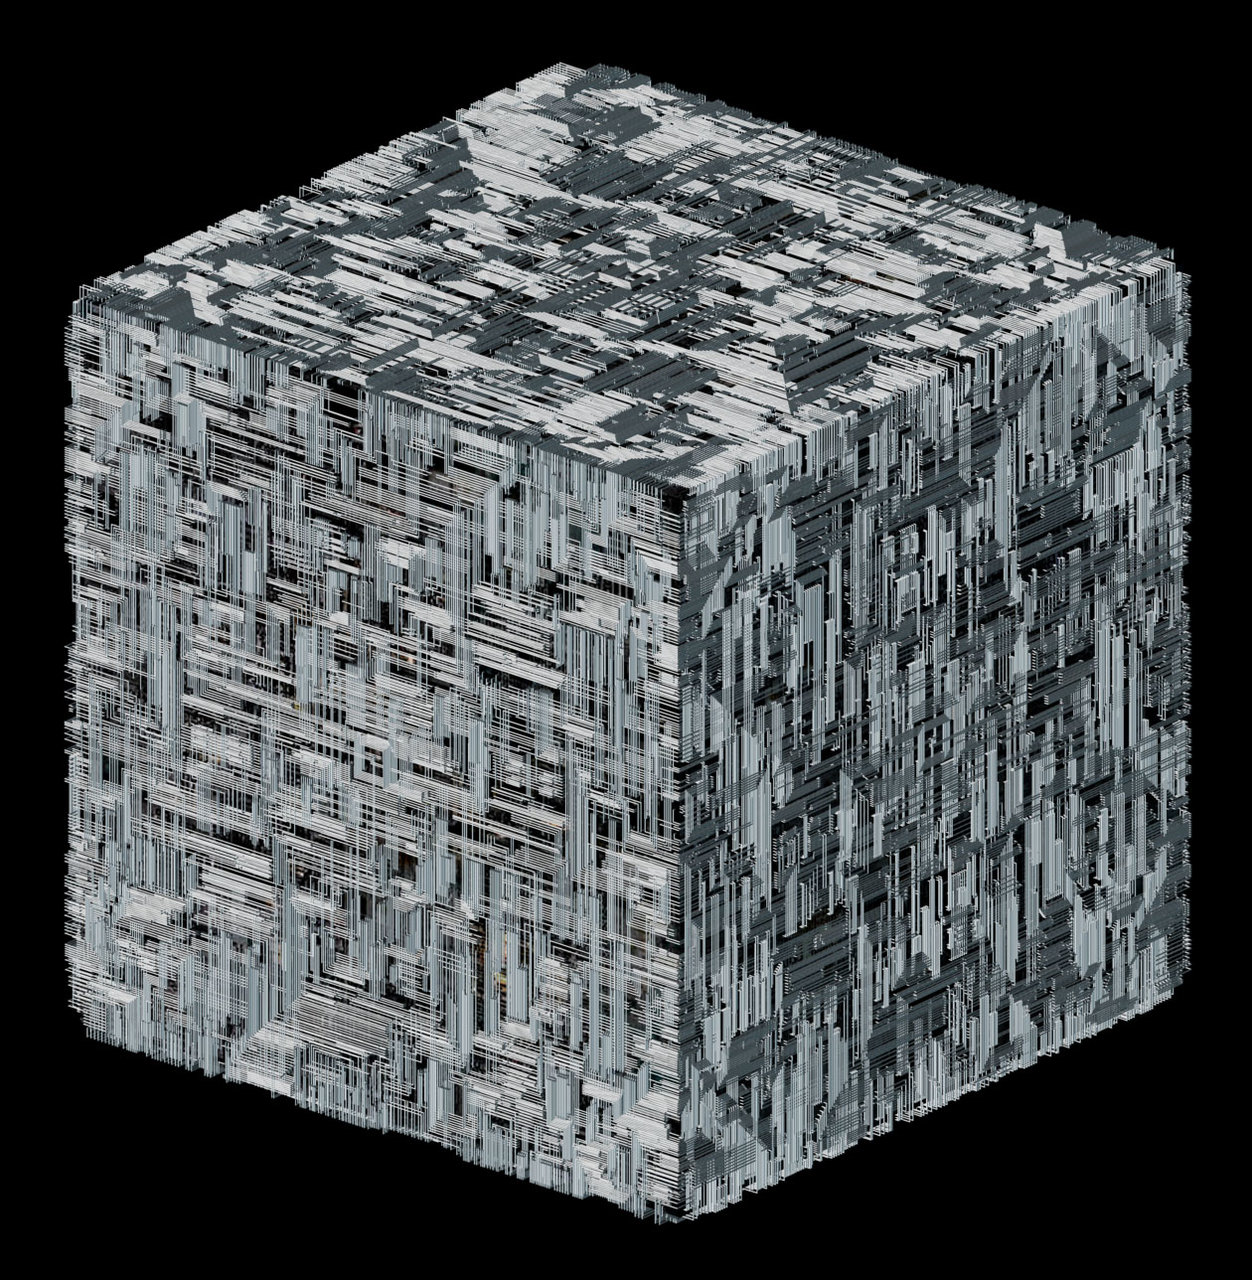
Well, it has been a *very* long time since I've done any work on this project, but since the last post about the Excelsior class I've learned a bunch of new things with A:M, even improved and finished a few models that have nothing to do with the Wolf 359 project, and re-vamped my website some. But I didn't want to post again until I had something significant to share with you all. The past week I have been working on the star of our little production... the Borg cube. I started with a simple cube. 6 patches, with a very nice looking texture mapped to each side. This was only to give the cube some depth when you look deep into the finished mesh of the piping all around it. Then I started laying the pipe work for the outer hull. Laying pipe after pipe after pipe. Even making the pipes a low poly count, I still had over 104,000 patches making up the single layer of piping around the cube. I hit a bit of a snag at this point however. It would take 6 hours for the program to find all the patches and normals if I deleted or attempted to copy and paste anything. So getting more then one layer of it was going to be a huge waste of time. So, I instead set up the single layer of pipes and the basic cube in separate models. Thus I can create a cube of massive complexity bringing in multiple instances of the same piping, and using actions putting them around the base and increasing the scale ever so slightly. This is with 4 layers of piping overtop of the base: Still not quite done, as I need to add color, and a bunch of chunks to give each side a bit more personality, but that will all be taken care of with the base... no waiting for hours to finish it off.
-

Assistance with Luxo Lamp for ABC
NEKOSEI replied to mfortunato's topic in Work In Progress / Sweatbox
One thing you can do to keep the arms where they are supposed to is use a bone for each arm rather then one bone for the whole upper rig. Then create an on/off relationship (set it to on) and have one of the bones orient like the other at all times. To get the area where the arms connect to the lamp aiming right should be fairly simple also. Attach the "neck" bone to the upper arm, put a null at the end of the lower arm bone, and in the relationship tell that "neck" bone to aim at the null. You can also add various constraints in that relationship to keep the bones from moving in ways they shouldn't. -
I totally agree with ypoissant on figureing out the anatomy, as I have been tweaking my first female figure since christmas to move better for what I want her to do. 2 Weeks alone trying to get her legs and hips to move right, though I *think* I got quite a bit closer today then I have been in a while. My advice: Right now, focus on making her look as good as you want her to look, and tweak her mesh later to fix how she works. Even though to do that you might need to remake a good portion of your girl's mesh. Of course that means you can make the mesh more efficient at the same time. On my model, I had to re-create her rib cage, breasts, hips, and shoulders from my original mesh simply to get things moving correctly. And when she is ready for mass-production (read: making her into my other characters) all this work getting it right will be so worth it. Also I've easily cut 10% of the polys out of her original mesh.