

JavierP
-
Posts
191 -
Joined
-
Last visited
Content Type
Profiles
Forums
Events
Posts posted by JavierP
-
-
I think it's improved. In fact, you can now see Trots leg poking through her dress!
 Let me know when you're finished and I'll fix that.
Just a tip....keep an eye on the script to see if the scene is set at night.
You could just delete the action off the (in this case) boat model in the chor. Then drop your action on to it.
Will the sea still be lit if it's excluded? If so, then yes use a light list.
Lighting was put in an action many sets are set over multiple scenes. It's easy just to drop the action on the set. I don't know if it applies in this case though.
Animation work required? Noted.
Cheers.
Hi Ken,
Thank you for the tip about the script. I had not checked for details like that. Yes I noticed her legs too, but I thought I had not simulated the cloth, or something, before rendering. As for the actions that create the original lighting, there are a bunch of them and they are applied to several models in the scene. So it is not as simple as deleting the action associated with the boat. I only asked because I would hate to ruin some other effect just to relight the scene.
I would exclude the sea from the shadow-casting light and use another non-shadow light to illuminate it so it would look the same only render faster.
By animation, I meant changing the color and intensity of the lights to match the feeling of danger in the scene as well as alter the look when they go underwater. It seems like the ambient intensity is already animated to create this effect. I would just be syncing the lights to it.
Javier
-
Hello everyone,
I have downloaded the svn folder and upgraded to ver 15. I have made some progress on the first scene that I have undertaken. It is (sequence)1_03_01. Here is a jpg image of the original lighting situation and my version. The original rendered in 2:25 @ 720x405 9 passes; and my one in 3:55 @ the same settings. The only adjustments were to the lights themselves and the global ambient color. I also removed the fake rim-light materials. The main lighting was done with a dummy light model that is constrained to the boat with lights as action objects. I hope that I have made an improvement.
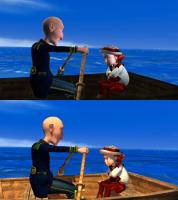
I have a few questions about what would be the best way to replace the lighting in the original scene since it is mostly done in actions: first should I just the delete the action or just deactivate the action object light; and secondly, should I use light lists? I think it may decrease render times if the lights were excluded from the ocean model. I would also like to know why lighting in an action is preferable to just placing the lights in the choreography. It is not a problem to work this way, just curious.
There is still a bit of work to be done to match the animation and the change of mood when the ork approaches and the boat capsizes.
Javier
-
Thank you for the detailed information Holmes. I agree that render times and stability of projects are of utmost importance. I wouldn't want to just go in and make a whole bunch of sweeping changes to any project files and I certainly don't want to ruin anyone's hard work.
Thank you Ken and Nancy. Although I certainly don't want to go in and change too much. I am just interested in adding that last cherry on the sundae, not changing the flavor of the ice cream

I am sorry Mark, I feel like I'm high-jacking your thread. I will start a new thread in the texturing section.
Thank you so much guys.
-
P.S. - I would be willing to help with lighting scenes if it is needed. However I am unsure how the system works regarding the handling of files and such. I am also willing to upgrade if it is necessary.
Well Javier, that would be great if you want to spend the time to light these scenes well. That is a lot of work. Please read these directions in order to download all the data. I think it is 3-4GB of data you will have to download. It would be good if you upgrade to the latest version.
http://www.hash.com/forums/index.php?showtopic=32558
If you have any questions, please ask.
Are there any scenes that have not been lit yet? I realize it would be a lot of work to redo the lighting, but I think we can get good results by simply adjusting the setups that are there. That was my original intent. Are there scenes that have been considered finalized, as far as lighting is concerned?
Thanks.
-
Truthfully I feel like I'm wasting my time. With minimal response to the renders I've posted, I don't even know if it's an improvement or not.
Hi Mark,
As a long-time AM user, I feel somewhat ashamed of not being more actively involved in this wonderful project. I truly admire your efforts, as well as that of the dedicated few that have been working on this movie. I check on the progress daily. I can say that you have definitely made improvements to the sets and the increase in overall quality is easily noticed.
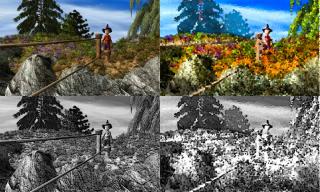
If I could offer any critique it would be that the saturation seems too low, and the lighting does not complement the composition of the scene. I don't know how these sets are lit, but it seems like an increase in color and intensity of the key light would do a lot. I think a warmer more intense key light coupled with some bluish haze would really make the scene pop. Also it would help if the lights focused on the area of action surrounding the scarecrow more. I hope the attached image explains what I am trying to say more clearly.
Once again, you are doing a great job. I apologize if anything I've said has been out of line.
Javier
P.S. - I would be willing to help with lighting scenes if it is needed. However I am unsure how the system works regarding the handling of files and such. I am also willing to upgrade if it is necessary.
-
Interesting intro. Sort of reminiscent of a Zatoichi or a Toshiro Mifune film. I also like the inclusion of some authentic Aikido in the description. Should be good.
-
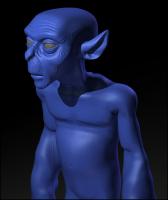
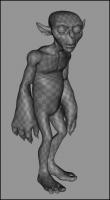
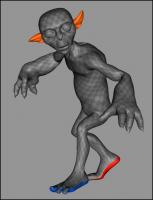
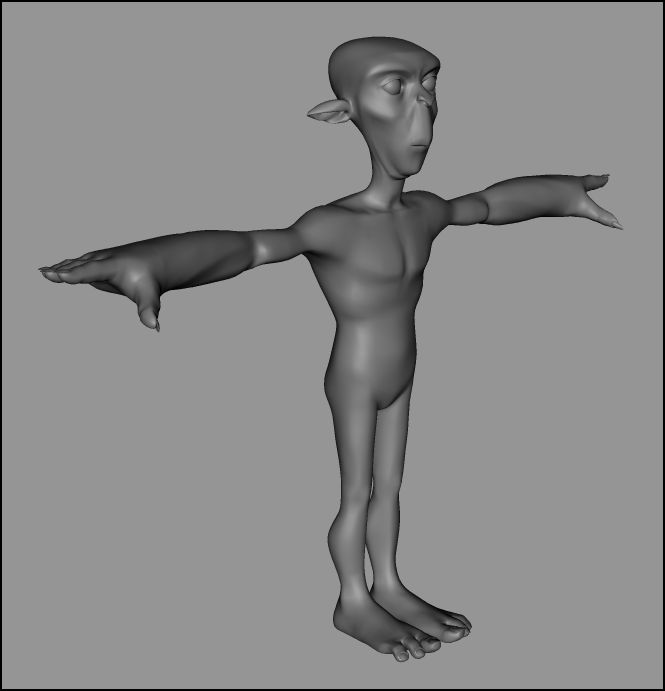
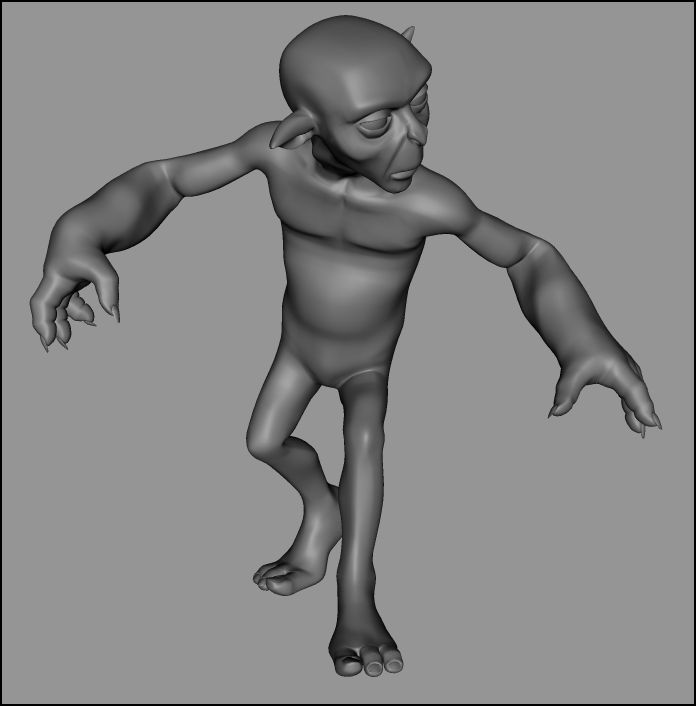
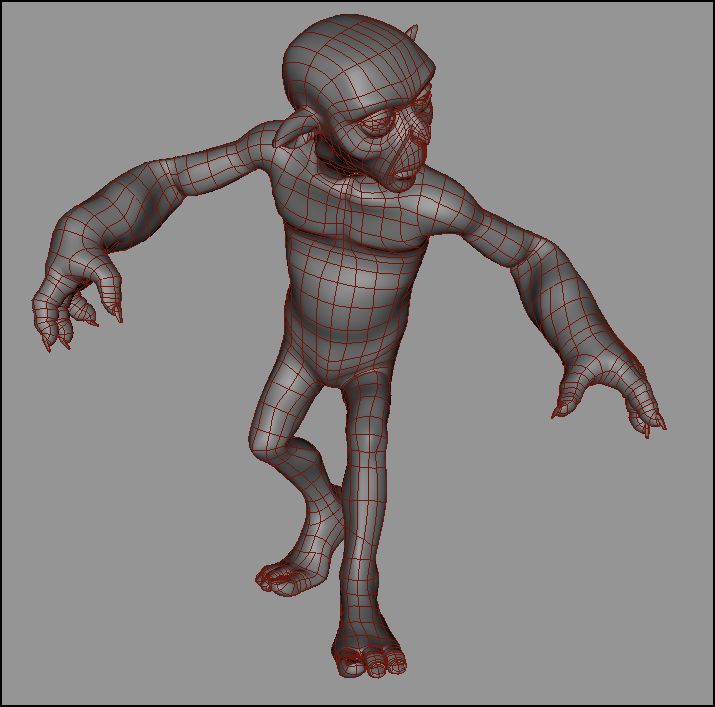
Here is another character for this short. I will start rigging him tomorrow. Will probably need to work on his hair a bit more too. He will have cloth sleeves, shirt tail and cloak.
The Popeye forearms bother me, but I like it none-the-less.
Hey ... what's wrong with Popeye forearms?!

Great models Hutch. You have a very clean and appealing style.
-
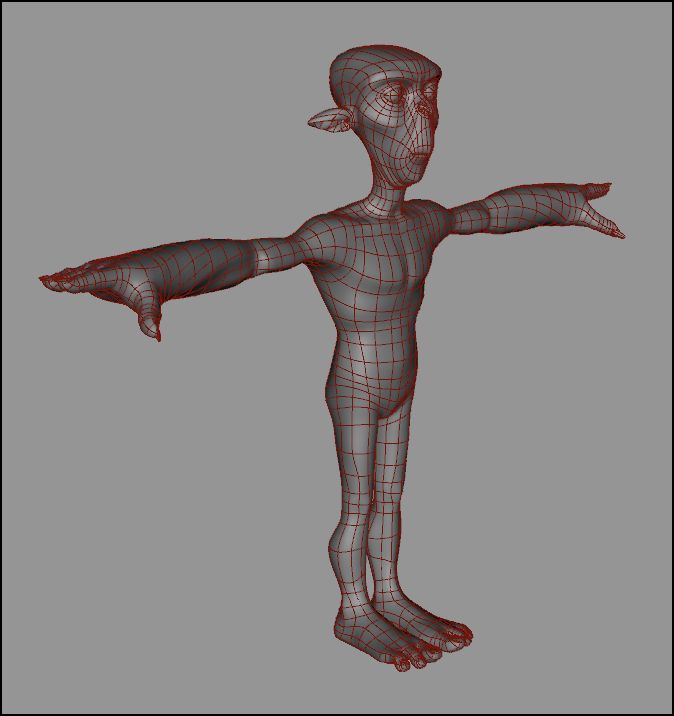
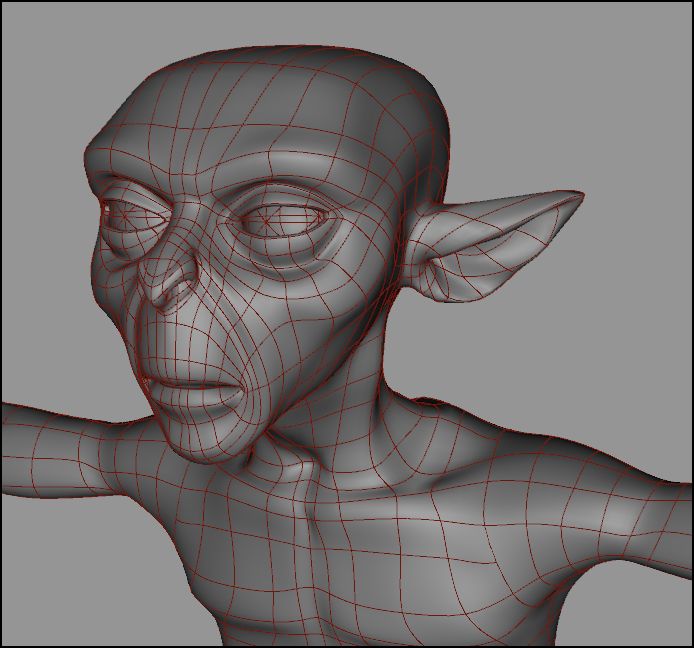
The pitted look around the nose looks too course for my tastes, but I do like this character.
Cheer
Thanks ken and David. Yes his nose was too coarse-looking for my tastes as well. I have changed that area of his bump map already.
-
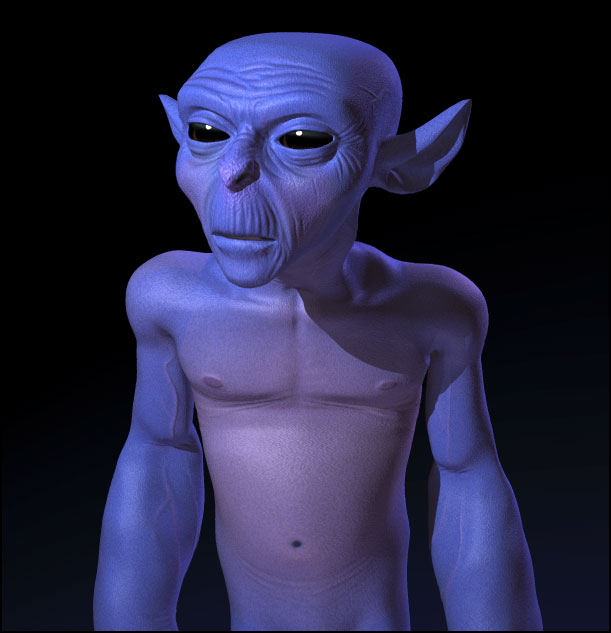
Great stuff Javier! Hey...how are you getting that nice rim-light on your characater as seen above in post #28?
Thanks Matt. The rim light is made by a "rim light". Its just a light placed behind the character, however, shadow casting is turned off. This only works if the light is at a glancing angle in relation to the model or the lack of shadows can become distracting.
-
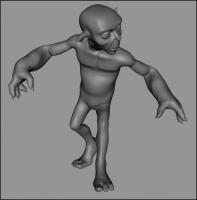
Well here's a minor update ... I'm still working on this but it has been slow going.
This is the second goon to follow the shaman. Hopefully I can have him rigged and ready to go by the end of the day.
-
Thanks guys. I've begun preliminary work on color and spec maps :

There are still areas that need work but he is nearing completion. I need to hurry up as I still have a few more of these guys to make.
-
As the light bounces off the walls it takes on the wall's color.
A typical Cornell box image takes about an hour to render with radiosity, but this takes about 15 seconds per frame to render.
This scene also has something in it that technically doesn't exist in A:M. Can anyone guess what it is? There are clues in the render.
Nice! It looks like you're using a z-buffered bulb light ( or omni light as it is called elsewhere). The only thing that I can't see is some yellow light reflected off Thom. Still great work thought. This is definitely proof that with a little work AM can certainly do just about anything.
-
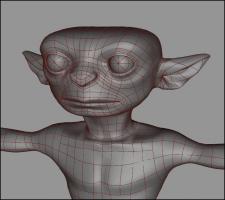
Haven't had much time to work on this, but here's a small update. I'm beginning to refine details and will soon be ready for color mapping.
This is displacement mapping, although bump mapping looks the same but really doesn't render any faster in my opinion.
-
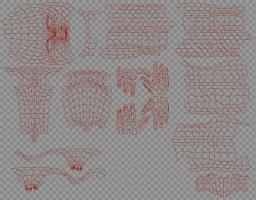
I've not done any UV unwrapping. I would be interested in knowing if there are some helpful tuts or tech refernces to this. I am thinking of adding more detail to some of my models for another project that I have in the works. This seems to be along the lines of being able to do that. I've seen Robcat's cylinder unwrap in the other posts, but how to get the full unwrapping as in your picture, JavierP? Most interested. Thanks.
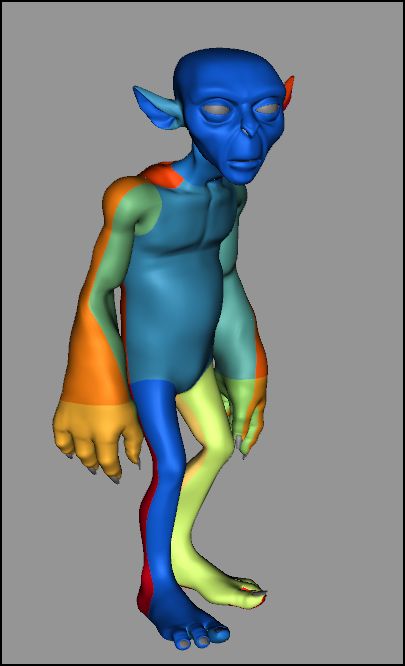
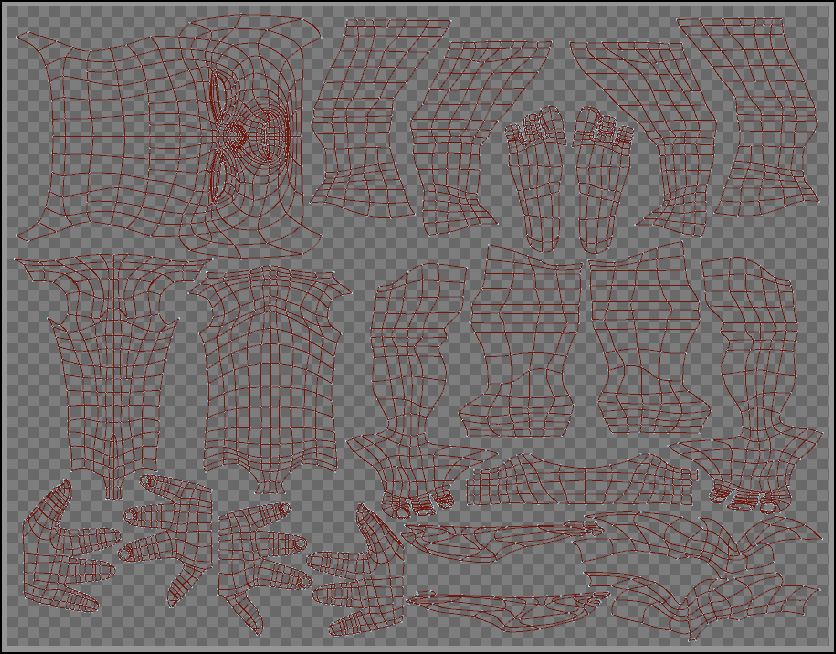
Ok, the model is fully unwrapped and textured (at least all the areas I plan to use decals on).
I have not seen many tutorials on this sort of thing. William Sutton had some good info on his site, but I'm can't recall all the details of it. In my case I really am just working to find the smoothest work-flow for my own projects. What I found was that if my model is dissected into logical groups that would take advantage of the mapping methods (spherical, cylindrical,planar) it was easier for AM to unwrap the geometry without too much distortion. If you look at my previous post of the UVs you see quite a few differences with the final result. The extra step of creating groups gave me much better control of the location of seams and the unwrap patterns.

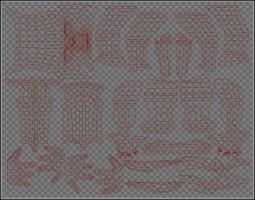
This model required 22 individual groups and stamps, but I'm sure that the number of stamps will change from model to model. The actual application of stamps is fairly straightforward, I will try to distill my technique and post a step by step for you to see.
-
I may have to flatten them manually instead of using the auto mapping in AM.
Is this a new feature I've missed? How are you "auto-mapping" UVs?
I don't think its a 'new' feature since I'm doing this with v13. I am still learning all the ins and outs of the new iterations of AM. Perhaps I'm not using the right terms, but I have found that manually flattening a model to apply decals is no longer necessary with the variety of application methods now offered (i.e. cylindrical, spherical, planar). It is fairly easy to map even a complex model with one decal to use in 3d painter (or even photoshop for that matter). AM unwraps them for you. Robcat has done some demonstrations of it lately in his 11 second club thread. My approach is different from his but the results are the same.
You basically end up with an UV setup like those seen in poly apps except with a whole lot more flexibility in less than half the time of manual flattening. It is a pretty powerful feature that does not seem to get much attention.
-
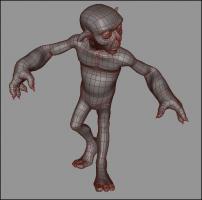
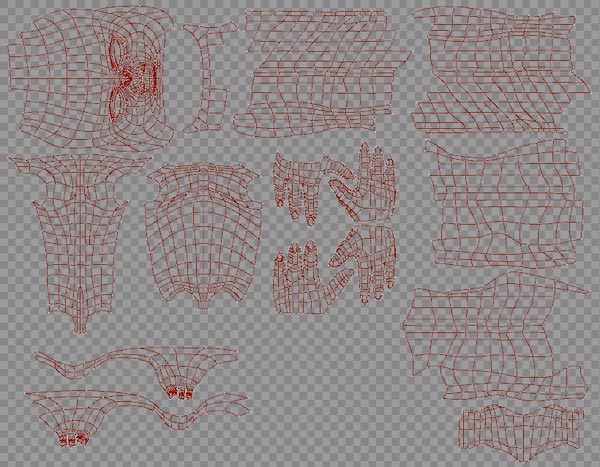
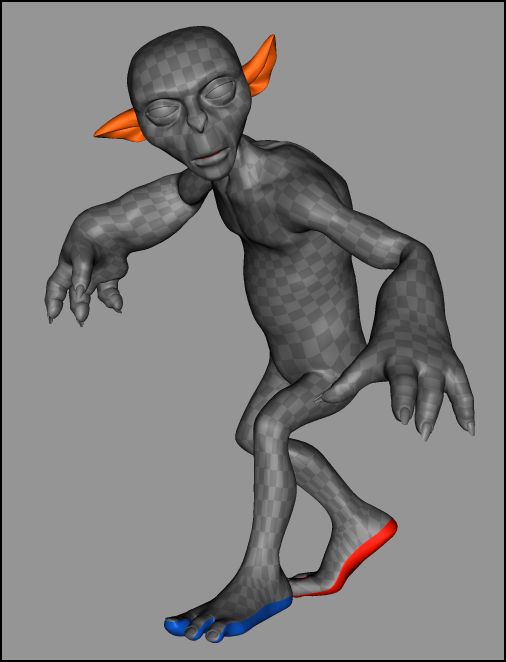
I managed to get some more work done on this project. UV mapping on the first character is almost finished. I'm just having a little trouble with the ears and the soles of his feet. I may have to flatten them manually instead of using the auto mapping in AM. Also working on a second goon for the orc leader.
its on to paint as soon as he is fully mapped

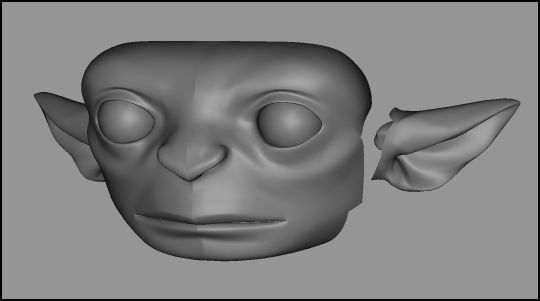
just fleshing out the face still. I may just modify the body of the first goon and attach it to his head ...
-
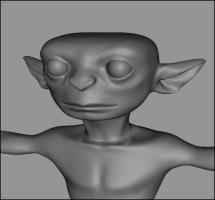
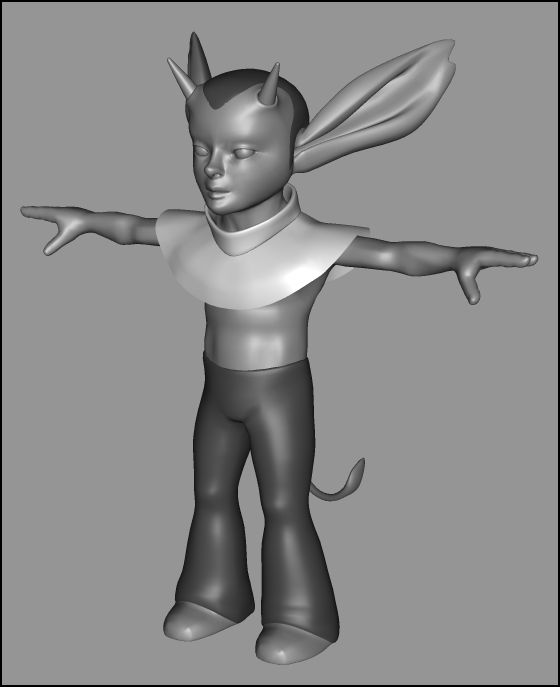
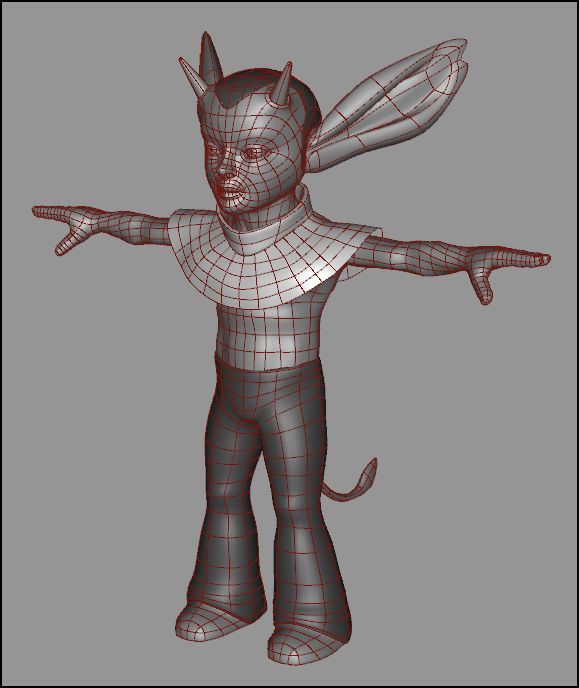
Here's a goon to follow the orc shaman. Its a model based on the original shaman model, but there are specific differences in the face layout and the layout of the torso. They will look similar because they are of the same race naturally, but I only re-used a portion of the original model.


More to come ...
-
Thanks guys. Unfortunately I can't enter this model in the contest. I had another model I intended to enter but could not finish in time. Actually that's sort of why I started this thread. Here are some pics of the other model. Since I won't enter, I guess I can show it. Still plenty to do, rigging, textures, clothsim etc...
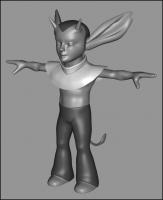

Good luck to all those who entered. Maybe I'll submit something next year ...
-
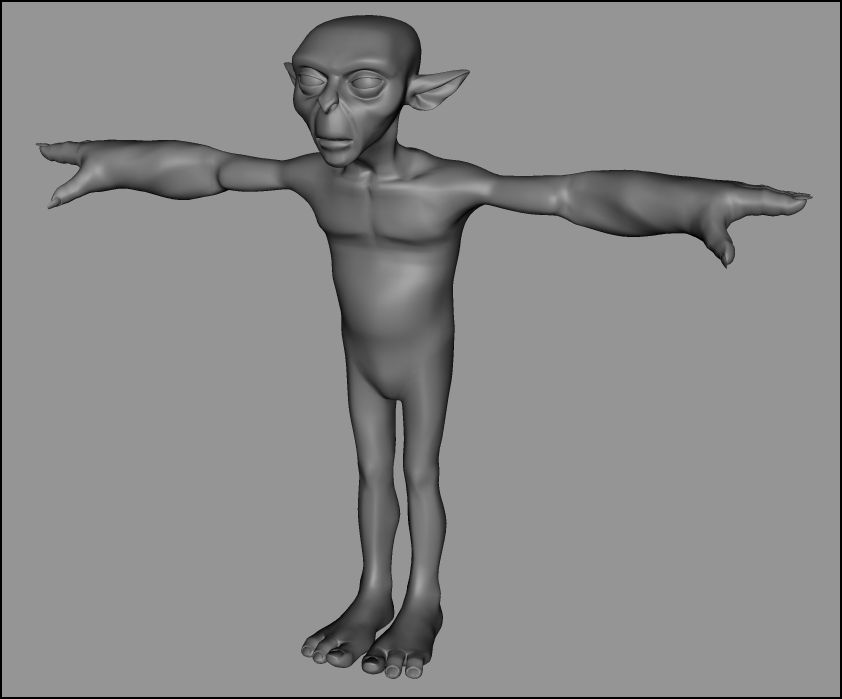
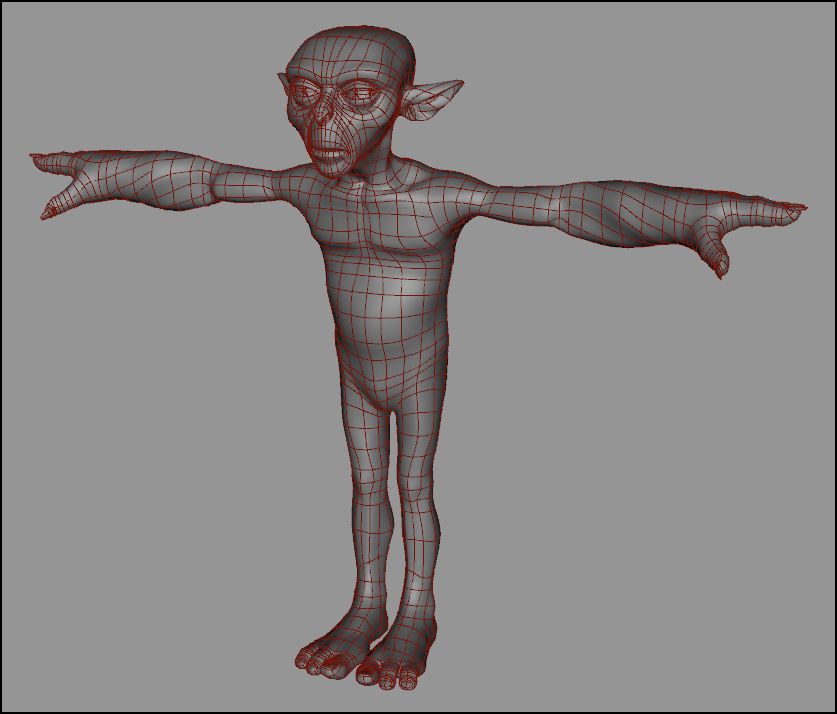
He's got Popeye arms!
Good looking splining!
Hey thanks!
I was worried about the arms for deformation when posing but they seem to work ok.
Up next is texturing. I will be using 3d painter.
-
Hi,
I've been planning to complete several projects in AM but I can't seem to get things rolling at a good pace. So I figured that if I post some WIPs I might be spurred along by the forum and eventually complete something. I usually have a few things going on at once so its a little difficult to concentrate on one project through to completion. I will try to change that for the new year. Hopefully I can find some success by doing this.
The project I'm currently working on is fairly complex with numerous characters and a very detailed background with lots of action. It will be a still. I am doing this only for my own amusement, especially since it would probably be easier for me to just paint the image.
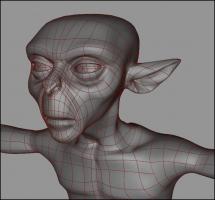
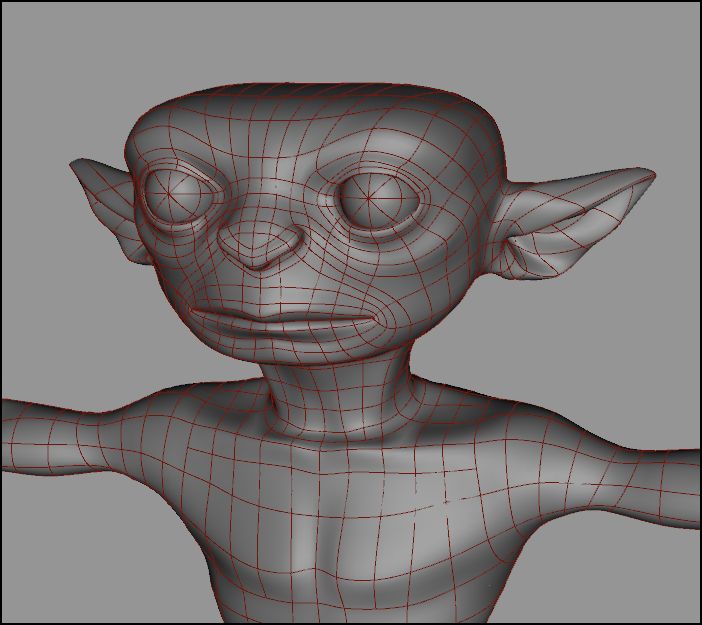
The first model is of an orc chieftain or shaman. I still have to add accessories.


and a closeup of the face,
Hopefully I can keep this going till its done.
-
That's a great result. Of course your 8 seconds would be like 20 on mine.

My main beef with kleig lights is it's hard to do daytime outdoor scenes with them.
Another software has z-buffered Sun lights. I have no idea how that can work. How do you map the shadows from a light that is infinitely wide?

But it would be handy.
I wish we could bake lighting onto objects, that would be really handy.
You know there is a way to have z-buffered shadows with a sun light. It's not 100% physically accurate or automatic but it works. Actually, let me make sure it still works ... then I'll post an explanation.
-
Here is the prj file:
Made in version 13. It's structure is a bit messy as far as my project files go, but it was a sort of a rushed example. One thing to keep in mind is that I created it with no real application in mind other than the smoke image itself. Serious planning in advance (i.e. camera angles, duration of shot, lighting etc.) would be required to make any kind of useful effect. Hope it shines some light on the answers you are looking for.
Javier
-
Here is a quick motion test without particles. Certainly rough, but with some time the desired timing and overall effect of the plume could be perfected. Hope this helps.
-
Sorry I wasn't a bit more clear. The image I posted was just a quick test I made to approximate the example you posted. I haven't animated it yet, and I don't have any of the tests I originally did, but it is a fairly straight-forward process. Animation would be done with muscle mode transformations of the mesh, or a few bones applied to the mesh to control the scale, rotation etc. The timing would be a little tricky to set up, especially for the transformation of the materials, but with a little forethought, it could be accomplished. I'll see if I can make a quick and dirty example to show.


Scene Lighting
in SO:Texturing
Posted
Thank you for all the detailed info Holmes. I think that I will just leave the fake rim-light material as it was originally. These scenes are cumbersome already and I wouldn't want to be adding more layers of complexity without it being necessary.
The draft renders and animatics you made are also helpful, because they allow the context of the scenes to be seen more clearly. Thanks.
Currently I have made a model to control lighting. It is simply a series of nulls parented to one main bone. There are two nulls for each light; one as a 'translate to' target and one as an 'aim at' target. I then create a new action and place the lights as action objects. In this way the lights are easily repositioned without affecting the scene at all. Also the same model can be used to create many different lighting situations simply by changing the action. In practice it seems to work well, but I have a question: is there are way to make light lists from lights that are present in a chor only as action objects on a separate model? I can't seem to figure out how that is done or even if it is possible. Unfortunately I am still learning the ins and outs of this new incarnation of AM.
Thanks again.
Javier